1.製品オーバーview
The Intermatic MIL72ASTUZH-240 is a robust 24-hour electromechanical timer module designed for precise control of electrical circuits. It is suitable for mounting inside a control panel, offering flexibility with both surface and DIN rail mounting options. This timer is engineered for light-duty commercial applications operating on 240 VAC single-phase power. Its applications include, but are not limited to, lighting control, HVACR systems, pumps, motors, fan controls, access control systems, and general-purpose electrical circuits. The unit features a non-replaceable Nickel Metal Hydride battery, which is pre-installed.
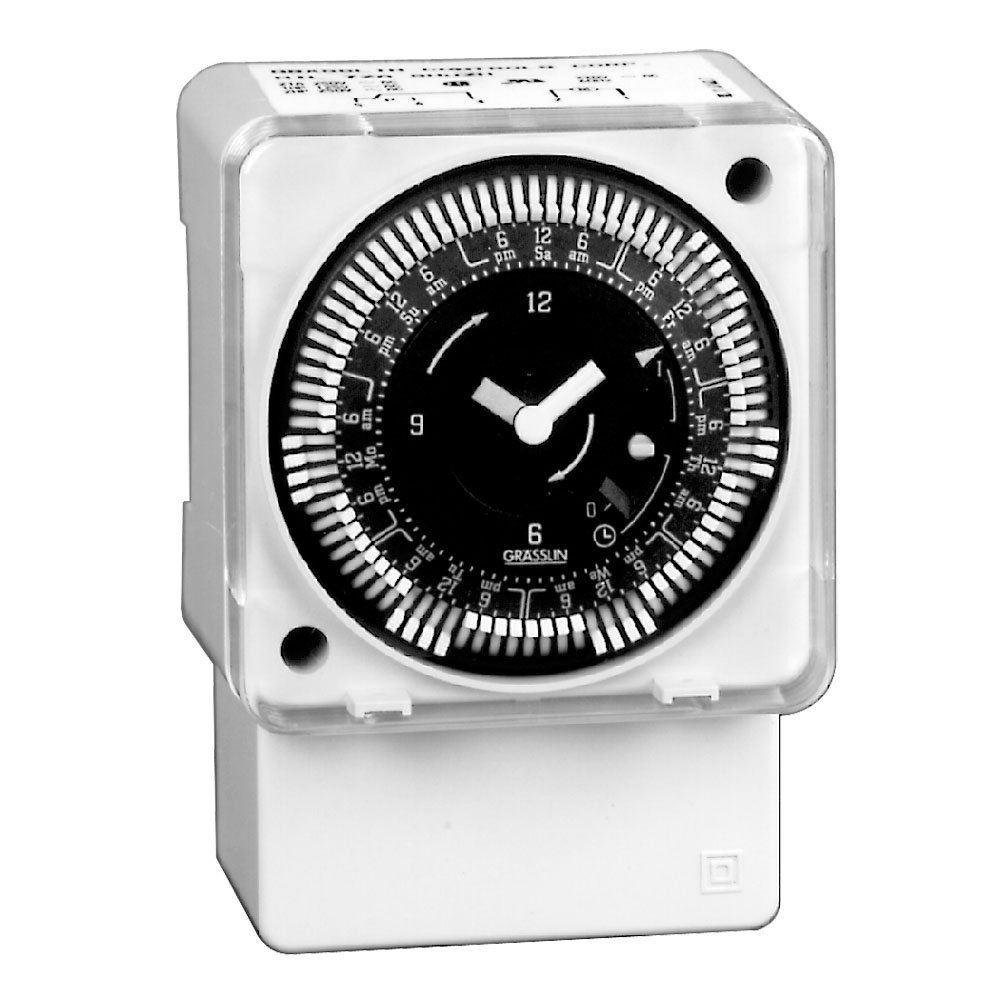
画像1.1:正面 view of the Intermatic MIL72ASTUZH-240 Electromechanical Time Control module.
2. 主な特徴
- 同期ドライブ: Operates without the need for battery backup for its primary timing function.
- 21 Amp SPDT Switch: Provides reliable switching for various electrical loads.
- Captive Trippers: Features 15-minute interval trippers for precise scheduling, which are captive to prevent loss.
- 1/4-Inch Quick-Connect Terminals: Facilitates easy and secure electrical connections.
- 3-Way Manual Override: Allows for temporary manual control of the timer's output, overriding the programmed schedule.
3. 仕様
| モデル番号 | MIL72ASTUZH-240 |
| 操作モード | マニュアル |
| 現在の評価 | 21 Amps |
| 営業巻tage | 240ボルト |
| 連絡先の種類 | Normally Open (SPDT Switch) |
| コネクタタイプ | Quick Connect (1/4-Inch) |
| 回路タイプ | 3ウェイ |
| アクチュエータタイプ | Push Button (for manual override) |
| 材料 | 金属 |
| 寸法(長さ×幅×高さ) | 4.63 x 3.25 x 3.25インチ |
| アイテム重量 | 8オンス |
| 国際保護格付け | IP00 |
| バッテリー | Non-replaceable Nickel Metal Hydride (pre-installed) |
4. インストールとセットアップ
4.1 安全上の注意
- 警告: Disconnect power at the circuit breaker or fuse box before installing or servicing the timer. Failure to do so may result in serious injury or death.
- 設置は、国および地域のすべての電気規則に従って、資格のある電気技師が行う必要があります。
- 稼働量を確認するtage of the timer (240V) matches the supply voltage.
4.2 取り付け
The MIL72ASTUZH-240 timer module is designed for installation inside a control panel. It supports two mounting methods:
- 表面実装: Secure the timer directly to a flat surface within the control panel using appropriate fasteners (not included).
- DINレールマウント: Attach the timer to a standard DIN rail within the control panel. Ensure the timer is securely clipped onto the rail.

画像4.1: 詳細 view of the timer showing mounting points and quick-connect terminals.
4.3配線
Connect the timer to the 240 VAC power supply and the load using the 1/4-inch quick-connect terminals. Refer to the wiring diagram provided with the product packaging for specific connection details. Ensure all connections are tight and secure.
- Identify the Line (L1, L2) and Load terminals.
- Connect the incoming 240V power to the appropriate Line terminals.
- Connect the device to be controlled (load) to the Load terminals.
5. 操作手順
5.1 Setting the Time of Day
Rotate the dial clockwise until the current time aligns with the time indicator arrow on the timer face. The dial is marked for 24 hours.
5.2 オン/オフ時間のプログラミング
The timer uses captive trippers for programming. Each tripper represents a 15-minute interval.
- 設定するには ON period, push the trippers outwards (away from the center) for the desired duration.
- 設定するには オフ period, leave the trippers in their inward position (towards the center).
- Ensure that the desired ON/OFF periods are clearly defined by the tripper positions.
5.3手動オーバーライド
The MIL72ASTUZH-240 features a 3-way manual override switch. This allows you to temporarily change the timer's state without altering the programmed schedule.
- Consult the timer's face or specific markings for the exact positions of the 3-way override. Common positions include:
- に: Forces the connected load to remain ON, regardless of the program.
- 自動: Allows the timer to follow its programmed schedule.
- OFF: Forces the connected load to remain OFF, regardless of the program.
- To return to automatic operation, set the override switch to the "AUTO" position.
6. メンテナンス
The Intermatic MIL72ASTUZH-240 is designed for minimal maintenance. Regular inspection is recommended to ensure optimal performance.
- クリーニング: Keep the timer free from dust and debris. Use a dry, soft cloth for cleaning. Do not use liquid cleaners or solvents.
- 接続: 定期的に電気接続部の締め付け具合や腐食の兆候がないか確認してください。
- バッテリー: The unit contains a non-replaceable Nickel Metal Hydride battery. This battery is primarily for internal clock operation during power outages and is not user-serviceable. The synchronous drive means the main timing function does not rely on this battery for continuous operation.
- 環境条件: Ensure the timer is operated within its specified environmental conditions (e.g., temperature, humidity) to prevent damage.
7。 トラブルシューティング
| 問題 | 考えられる原因 | 解決 |
|---|---|---|
| Timer not operating / Load not switching | No power supply; Incorrect wiring; Manual override engaged; Trippers not set correctly. |
|
| Load remains ON or OFF continuously | Manual override engaged; Trippers stuck or incorrectly set. |
|
| Timer dial not advancing | タイマーに電源が供給されていません。 | タイマーへの電源供給を確認します。 |
If troubleshooting steps do not resolve the issue, contact a qualified electrician or Intermatic customer support for assistance.
8. 保証とサポート
This product is sold without an explicit warranty from the manufacturer as per available information. For specific warranty details or support inquiries, please refer to the documentation included with your purchase or contact Intermatic directly through their official webサイトまたはカスタマー サービス チャネル。
メーカー: インターマティック株式会社
Webサイト: www.intermatic.com (This is a general link, specific support contact may vary)