
1. Prodotto finitoview
The VEVOR 4.5KW Professional Stud Welder Dent Repair Kit is designed for efficient and reliable automotive body dent removal. This workstation features two welding guns, six operational modes, and a mobile cart design for ease of use in various repair environments. It delivers high instantaneous peak output for strong weld joints, suitable for both minor dings and larger dents.

Image 1.1: The VEVOR 4.5KW Professional Stud Welder Dent Repair Kit, showcasing its compact design and integrated workstation features.
2. Istruzioni di sicurezza
Per evitare lesioni o danni all'apparecchiatura, attenersi sempre alle seguenti linee guida di sicurezza:
- Indossare dispositivi di protezione individuale (DPI) adeguati, tra cui guanti da saldatura, protezioni per gli occhi e indumenti protettivi.
- Assicurarsi che l'area di lavoro sia ben ventilata e priva di materiali infiammabili.
- Non utilizzare la saldatrice in damp o in condizioni di bagnato.
- Always disconnect the power supply before performing any maintenance or changing accessories.
- Tenere i bambini e il personale non autorizzato lontano dall'area operativa.
- Verificare il vol dell'alimentatoretage soddisfa i requisiti del saldatore.
- Avoid touching hot parts of the equipment immediately after use.
3. Componenti del prodotto
Il pacchetto include i seguenti articoli:
- 1 x Spot Welder Dent Puller Cart
- 1 x Set of Dent Repair Kit (including various welding and pulling tools)
- 1 x Manuale utente

Immagine 3.1: Passoview of the welding and pulling tools included in the dent repair kit.
4. Impostazione
4.1 Disimballaggio e ispezione
- Rimuovere con attenzione tutti i componenti dalla confezione.
- Ispezionare tutti i componenti per verificare la presenza di eventuali danni durante il trasporto. Contattare immediatamente l'assistenza clienti in caso di danni.
- Assicurarsi che tutti i componenti elencati siano presenti.
4.2 Assembling the Workstation
- Attach the extended push handle to the main unit.
- Secure the padded seat onto the workstation.
- Install the accessory trays on the sides of the unit.
- Ensure the smooth-rolling casters are securely attached and functional for mobility.

Image 4.1: The mobile workstation with its push-pull handle, side tool boxes, and smooth-rolling casters for easy transport and organization.
4.3 Connecting Power and Welding Guns
- Connect the power cord to a suitable electrical outlet (100-120V~ 60Hz for US models).
- Attach the two welding guns to their respective ports on the main unit. Ensure connections are secure.
5. Istruzioni per l'uso
The VEVOR Stud Welder offers six welding modes and adjustable power levels for versatile dent repair.
5.1 Selecting Welding Mode and Power Level
- Accendere l'interruttore di alimentazione principale.
- Rotate the mode selector knob to choose one of the six functional welding modes (e.g., OT Long Washers, Round Washer, Wavy Wire, Triangle Tab, Hot Pressing, Carbon Rod Heating).
- Use the High/Low power switch to select the appropriate power level for the repair task. 'H' for High (3900A) and 'L' for Low (3500A). This helps reduce burn-through risk or weak welds.

Image 5.1: The control panel showing the mode selector knob and the High/Low power switch for precise operation.

Image 5.2: Visual representation of the six functional welding modes: OT Long Washers, Round Washer, Wavy Wire, Triangle Tab, Hot Pressing, and Carbon Rod Heating.
5.2 Performing Dent Repair
- Clean the dented area thoroughly to ensure good electrical contact.
- Attach the appropriate welding accessory (e.g., stud, washer) to the welding gun.
- Place the tip of the welding accessory firmly against the dented surface.
- Press the trigger on the welding gun to initiate the weld. Hold for a brief moment until a secure weld is formed.
- Use the pulling tools (e.g., slide hammer, pull hooks) to gently pull the dent out.
- Repeat the process as needed, moving across the dented area.
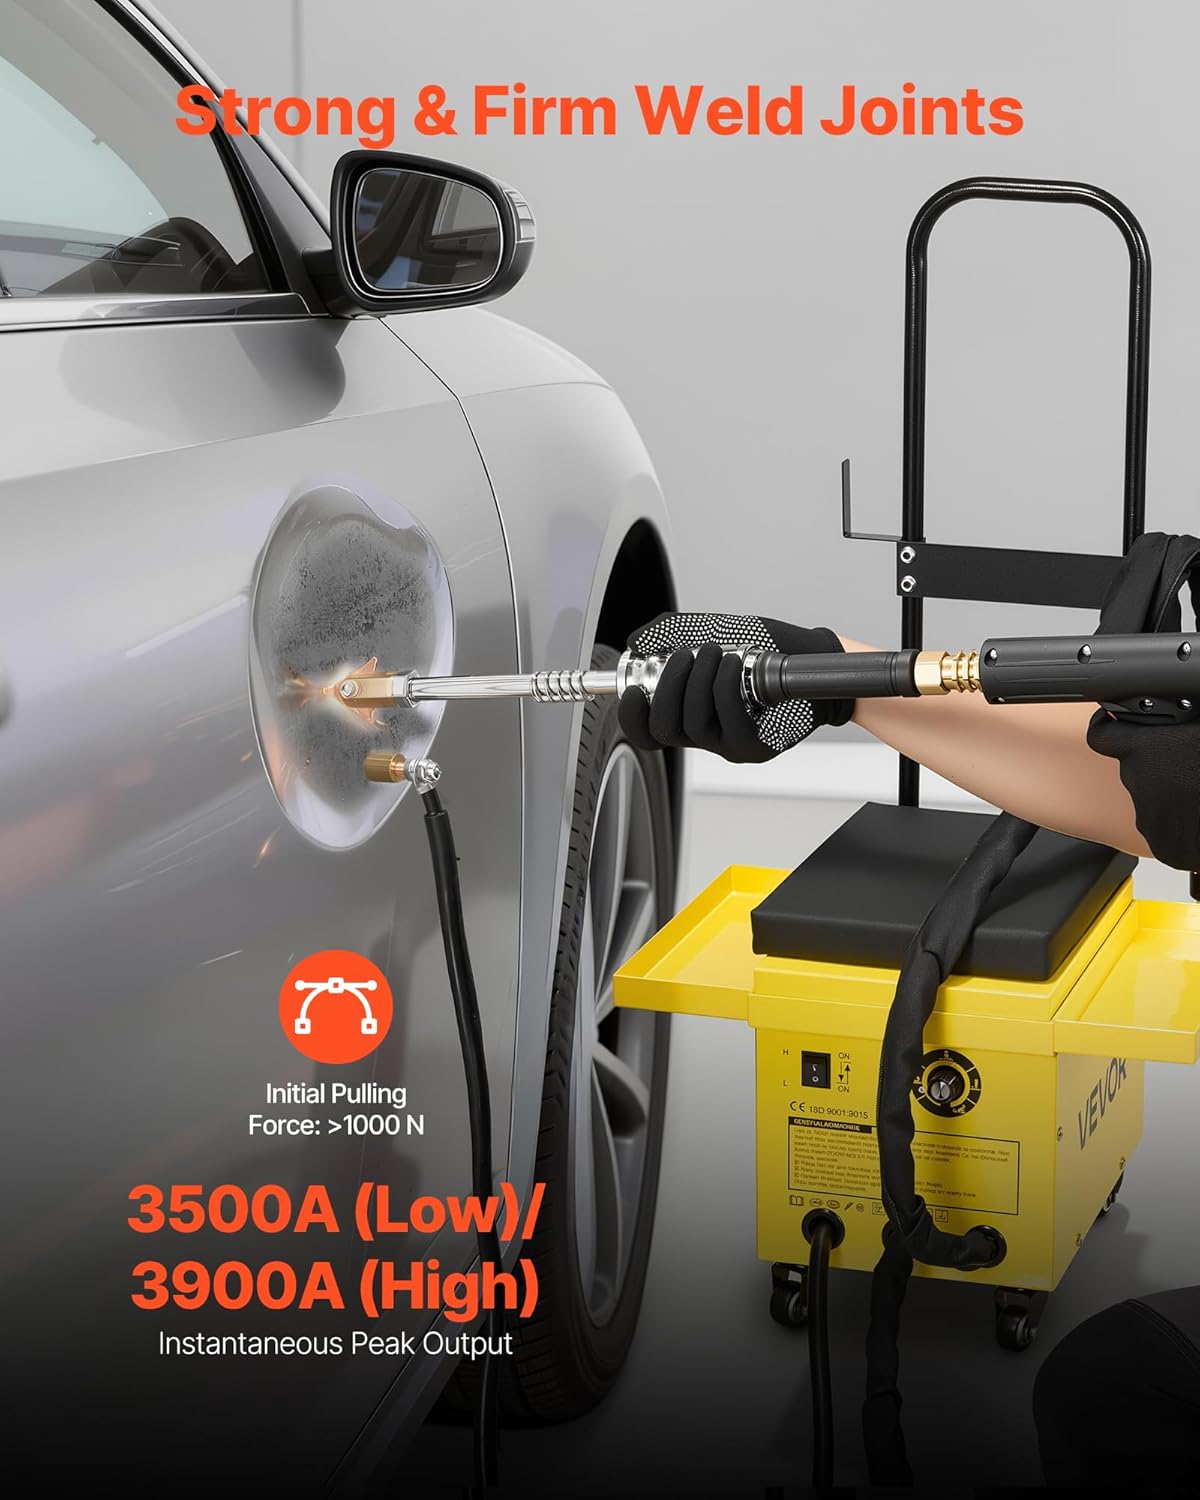
Image 5.3: Demonstrating the stud welding process on a vehicle panel, highlighting the strong and firm weld joints achieved with the unit's peak output.

Image 5.4: The dual welding gun setup allows for fast switching between tools, improving workflow and productivity during various repair steps.
5.3 Video ufficiale del prodotto
Video 5.1: An official product video demonstrating the VEVOR Professional Stud Welder Dent Repair Kit in action, showcasing its features and ease of use for various dent repair tasks.
6. Manutenzione
Regular maintenance ensures the longevity and optimal performance of your stud welder.
- Pulizia: Periodically clean the exterior of the unit and the welding guns to remove dust and debris. Use a dry, soft cloth.
- Ispezione dei cavi: Regularly inspect all cables and connections for wear, cuts, or damage. Replace damaged cables immediately.
- Ventilazione: Ensure the ventilation holes are clear of obstructions to allow for proper heat dissipation. The unit features multiple ventilated holes and automatic shutdown for overheat protection.
- Magazzinaggio: Store the unit in a dry, clean environment when not in use. Utilize the side tool boxes for organizing small accessories.

Image 6.1: The unit's ventilated cooling system, designed to ensure stable operation and prevent overheating during heavy loads.
7. Risoluzione Dei Problemi
Per i problemi più comuni e le relative soluzioni, fare riferimento alla seguente tabella:
| Problema | Possibile causa | Soluzione |
|---|---|---|
| La saldatrice non si accende. | Nessuna alimentazione; cavo di alimentazione danneggiato; fusibile interno bruciato. | Check power connection and outlet; inspect power cord; consult qualified technician for fuse replacement. |
| Saldature deboli o incoerenti. | Incorrect power setting; poor contact with workpiece; dirty workpiece surface; worn welding tip. | Adjust power to 'H' (High); ensure firm contact; clean workpiece; replace welding tip. |
| L'unità si surriscalda e si spegne. | Blocked ventilation; prolonged continuous use beyond duty cycle. | Clear ventilation openings; allow unit to cool down before resuming operation. |
| Welding gun not firing. | Loose connection; faulty trigger; ground clamp not properly attached. | Check all connections; ensure ground clamp is secure; contact support if trigger is faulty. |
8. Specifiche
| Caratteristica | Specificazione |
|---|---|
| Numero modello articolo | 7500 |
| Voltage (Stati Uniti) | 100-120V~ 60Hz |
| Energia | 4500W |
| Instantaneous Peak Output | 3500A (Low) / 3900A (High) |
| Metalli saldabili | Acciaio al carbonio, acciaio inossidabile |
| Peso netto | 62.4 libbre / 28.3 kg |
| Dimensioni del prodotto | 37.4 x 19.7 x 16.1 pollici / 950 x 500 x 410 mm |

Image 8.1: Diagram illustrating the key dimensions of the VEVOR Stud Welder Dent Repair Kit.
9. Garanzia e supporto
9.1 Informazioni sulla garanzia
This product typically comes with a manufacturer's warranty. Please refer to the warranty card included in your package or visit the official VEVOR website for detailed warranty terms and conditions. Optional protection plans may also be available for extended coverage.
- Piano di protezione biennale: Disponibile per l'acquisto una tantum.
- Protezione completa: Monthly subscription plan covering eligible purchases.
9.2 Assistenza clienti
Per assistenza tecnica, risoluzione dei problemi o reclami in garanzia, contattare l'assistenza clienti VEVOR tramite il loro sito ufficiale websito o le informazioni di contatto fornite nella documentazione del prodotto. Puoi anche visitare il sito Negozio VEVOR su Amazon per ulteriori informazioni.


