
Introduzione
Welcome to your new CREATE WIND CLEAR EDGE Ceiling Fan with Light. This manual provides essential information for the safe installation, operation, and maintenance of your appliance. Please read it thoroughly before use and keep it for future reference.
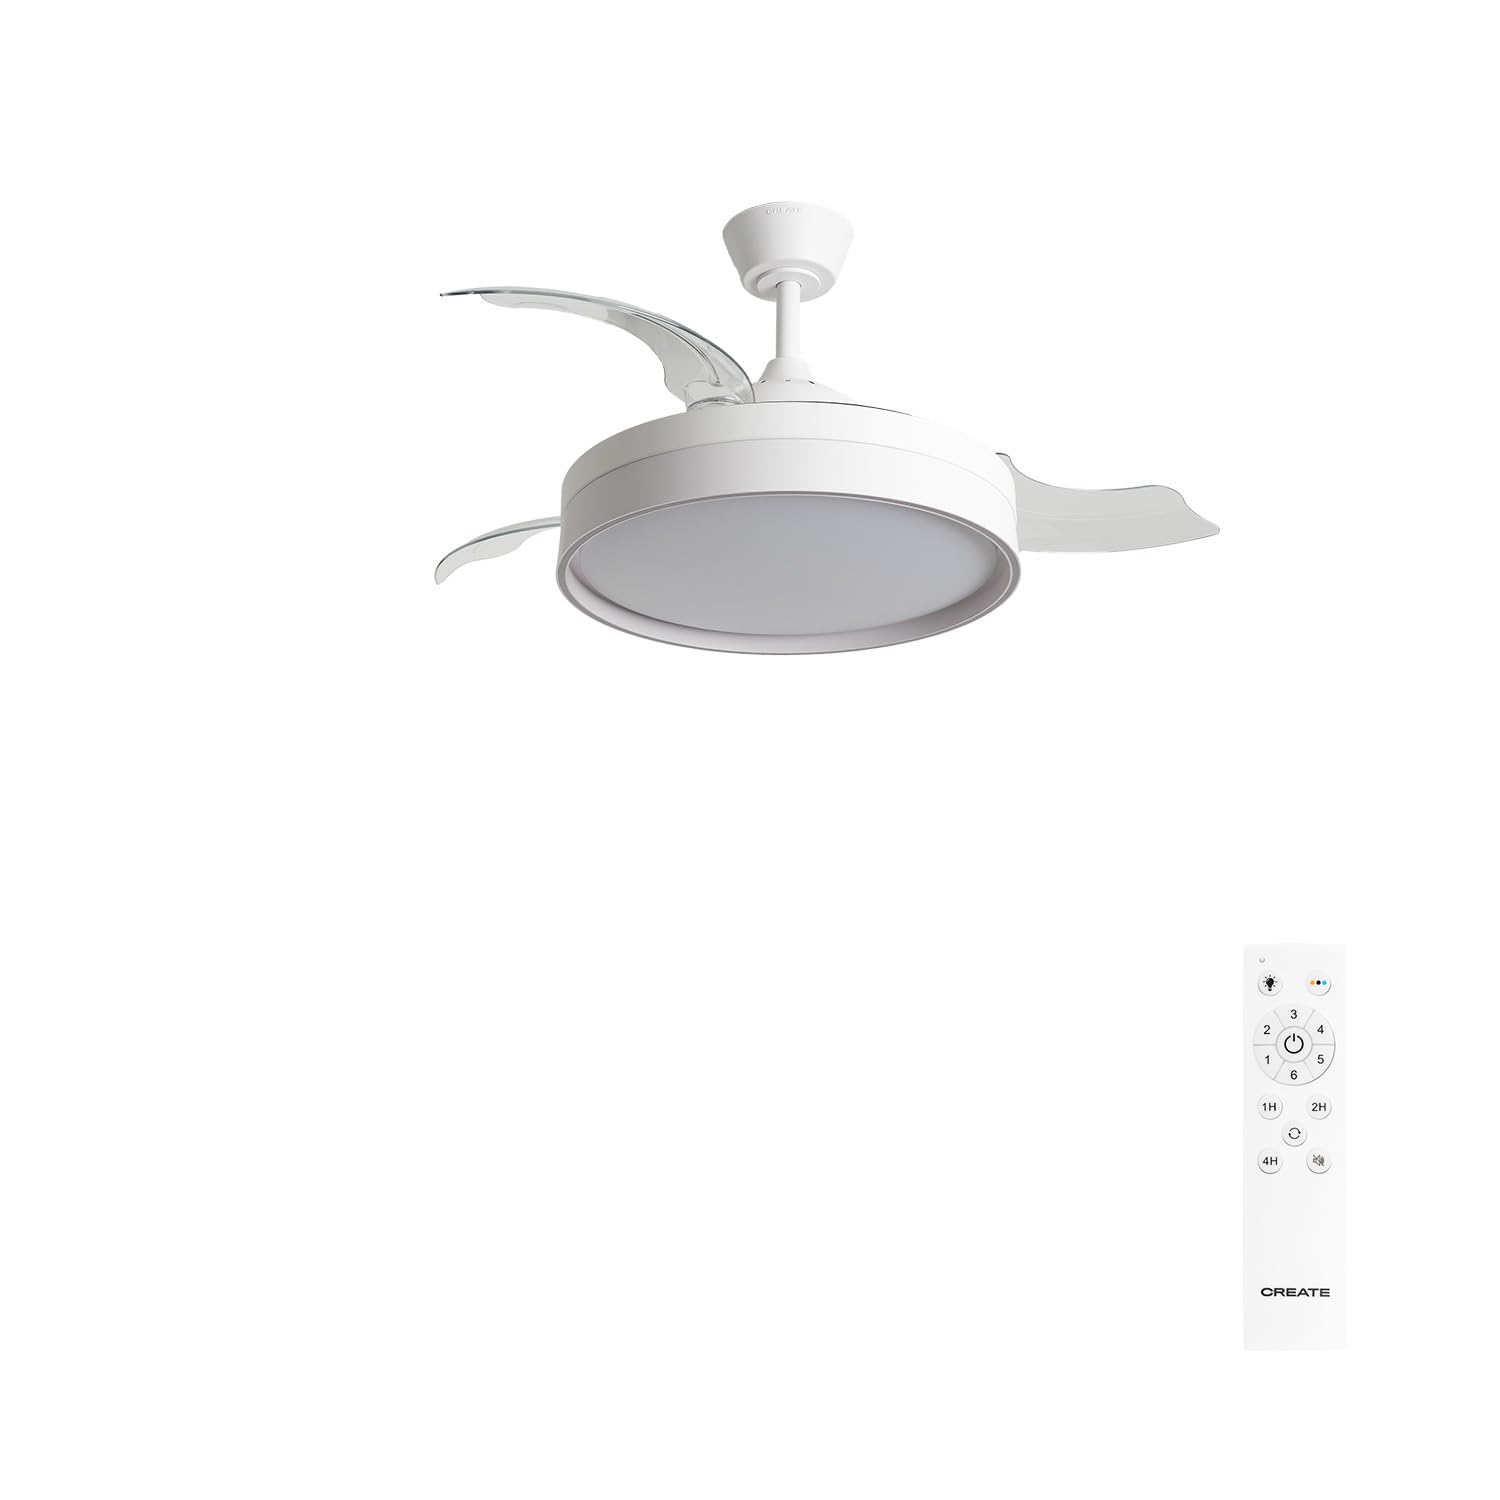
Image: The CREATE WIND CLEAR EDGE ceiling fan with its light on and blades retracted, blending seamlessly into a modern room setting.
Istruzioni di sicurezza
Per garantire un funzionamento sicuro ed evitare danni, osservare le seguenti precauzioni di sicurezza:
- Read all instructions carefully before installing and using the fan.
- Ensure the main power supply is disconnected at the circuit breaker before any installation, maintenance, or cleaning.
- L'installazione deve essere eseguita da un elettricista qualificato, nel rispetto di tutte le normative elettriche locali.
- Mount the fan securely to a ceiling structure capable of supporting its weight (approximately 5-7 kg).
- Do not insert objects into the fan blades while the fan is in operation.
- Tenere i bambini e gli animali domestici lontani dal ventilatore durante il funzionamento.
- Questo apparecchio è progettato solo per uso interno.
- Utilizzare solo il telecomando fornito con il ventilatore.
Contenuto della confezione
Disimballare con cura tutti i componenti e assicurarsi di aver ricevuto i seguenti articoli:
- Ceiling Fan Unit (Motor, Integrated LED Light, Retractable Blades)
- Staffa per montaggio a soffitto
- Verga
- Baldacchino
- Telecomando
- Hardware di montaggio (viti, tasselli)
- Manuale d'uso
Se qualche parte risulta mancante o danneggiata, contattare immediatamente l'assistenza clienti.
Configurazione e installazione
AVVERTIMENTO: Disconnect power at the circuit breaker before beginning installation.
- Preparare la posizione di montaggio: Ensure the ceiling joist or support structure can safely hold the fan's weight.
- Installare la staffa di montaggio: Secure the mounting bracket to the ceiling outlet box using the provided screws. Ensure it is firmly attached and can support the fan.
- Montare il ventilatore: Attach the downrod to the motor housing. Carefully feed the electrical wires through the downrod.
- Cablare la ventola: Collegare i cavi elettrici del ventilatore all'impianto elettrico domestico secondo le normative elettriche locali. In genere, questo comporta il collegamento dei cavi di fase, neutro e terra.
- Fissare il ventilatore: Lift the fan assembly and hang it on the mounting bracket hook. Secure the canopy to cover the wiring connections.
- Installare le lame: The WIND CLEAR EDGE features retractable blades that are typically pre-installed. Ensure they are correctly seated in their mechanism.
- Ripristina alimentazione: Una volta completata l'installazione e verificati tutti i collegamenti, ripristinare l'alimentazione tramite l'interruttore automatico.

Immagine: Primo piano view of the fan's ceiling mount and downrod, showing the connection point to the ceiling. The 'CREATE' brand name is visible on the canopy.

Image: The CREATE WIND CLEAR EDGE ceiling fan with its transparent blades fully extended, viewed from below, ready for operation. The central light fixture is illuminated.
Istruzioni per l'uso
Your CREATE WIND CLEAR EDGE fan is controlled by the included remote control.
Funzioni del telecomando
- Accensione/spegnimento: Premere il pulsante di accensione per accendere o spegnere la ventola e la luce.
- Velocità della ventola: Use the speed buttons to cycle through 6 available fan speeds.
- Controllo della luce:
- Premere il pulsante della luce per accendere o spegnere la luce LED.
- Press the color temperature button to cycle through 3 LED light temperatures: warm (2700K), neutral (3300K), and cool (4000K). The light intensity is not adjustable.
- Funzione timer: Set the fan to automatically turn off after 1 to 4 hours. (Up to 8 hours with optional Wi-Fi module and app, if purchased separately).
- Summer/Winter Function (Reverse Rotation): This function reverses the direction of the fan blades to optimize air circulation for different seasons.
- In Modalità estiva (counter-clockwise rotation), the fan creates a downward airflow, producing a cooling effect.
- In Moda invernale (clockwise rotation), the fan creates an upward airflow, circulating warm air trapped near the ceiling, improving heating efficiency.

Image: A graphic illustrating key features: a timer icon with "1-4h" indicating programmable operation, a crossed-out speaker icon for silent operation, and a bar graph icon with "6" for the six-speed motor.

Image: A diagram illustrating the three available LED light color temperatures: 2700K (warm white), 3300K (neutral white), and 4000K (cool white), each represented by a lightbulb icon and corresponding Kelvin temperature.

Image: A diagram showing the fan's Summer and Winter modes. In Winter mode, arrows indicate warm air being pushed up and circulated down the walls. In Summer mode, arrows show cool air being pushed directly downwards.
Lame retrattili
The fan features transparent retractable blades that extend when the fan is in operation and retract when the fan is turned off, transforming the unit into an elegant light fixture.

Image: The CREATE WIND CLEAR EDGE ceiling fan installed in a room, with its transparent blades extended and the light on, actively circulating air.
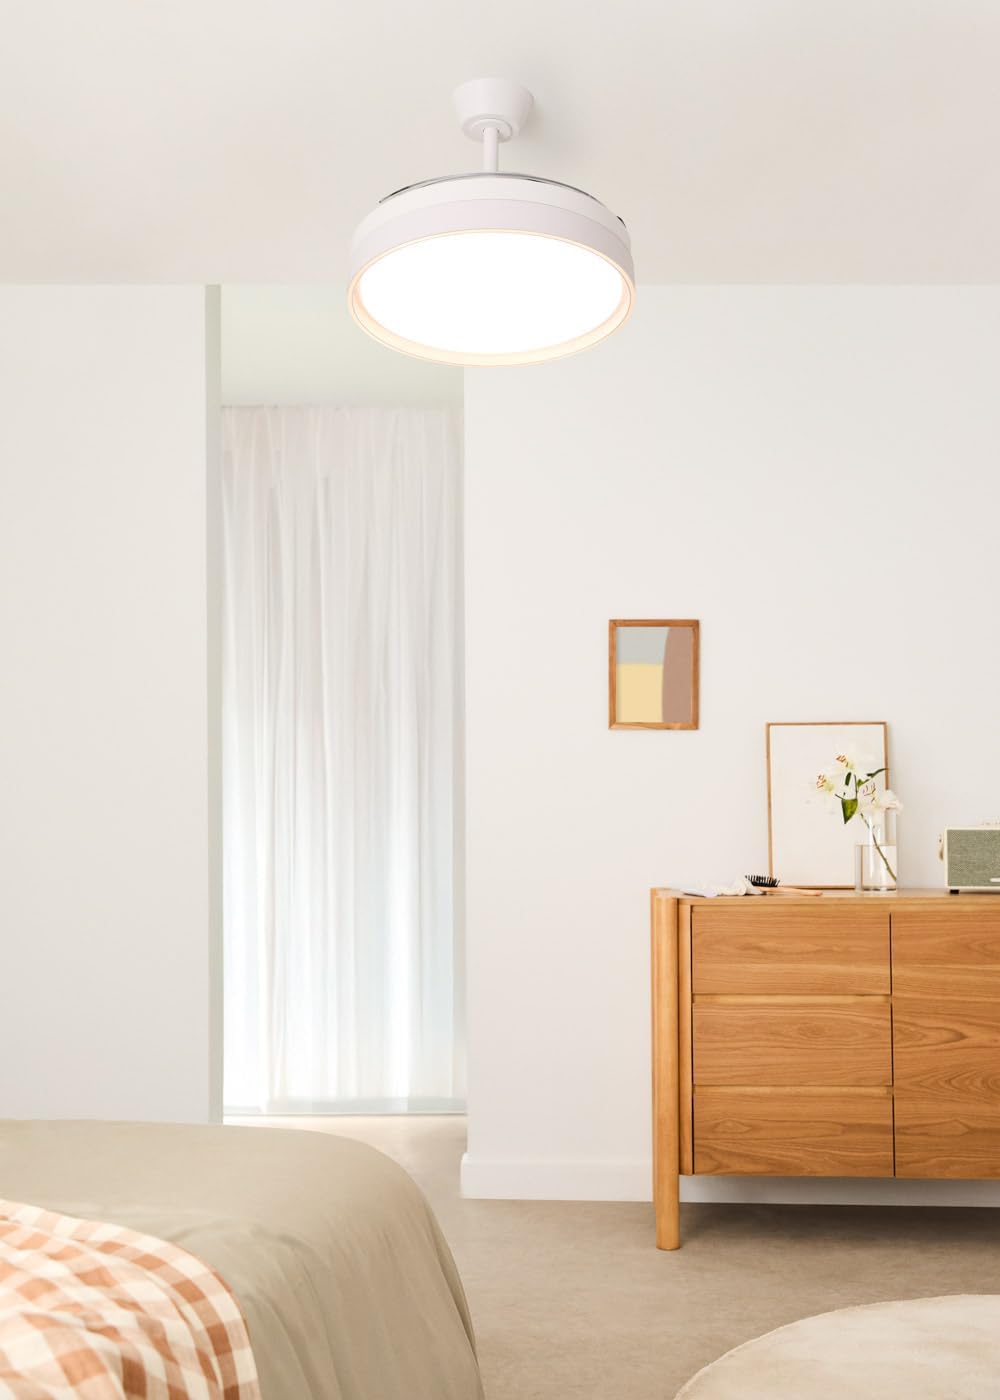
Image: The CREATE WIND CLEAR EDGE ceiling fan installed in a room, with its transparent blades fully retracted, making it appear as a modern ceiling light fixture. The light is on.
Manutenzione
Una manutenzione regolare garantisce prestazioni ottimali e longevità del ventilatore da soffitto.
- Pulizia: Scollegare l'alimentazione prima della pulizia. Utilizzare un panno morbido eamp panno per pulire l'alloggiamento e le pale della ventola. Non utilizzare detergenti abrasivi o solventi.
- Ispezione della lama: Periodically check the blades for any signs of damage or imbalance.
- Stringere i dispositivi di fissaggio: Con il tempo, alcuni elementi di fissaggio potrebbero allentarsi. Controllare e serrare tutte le viti e i collegamenti una volta all'anno.
- Sorgente luminosa: The LED light source is integrated. Do not attempt to replace individual LEDs. If the light fails, contact customer support.
Risoluzione dei problemi
Per i problemi più comuni e le relative soluzioni, fare riferimento alla tabella sottostante:
| Problema | Possibile causa | Soluzione |
|---|---|---|
| La ventola non si avvia | Nessuna alimentazione; Cablaggio allentato; Batteria del telecomando scarica. | Controllare l'interruttore automatico; verificare i collegamenti elettrici; sostituire le batterie del telecomando. |
| La luce non funziona | Nessuna alimentazione; cablaggio allentato; guasto del modulo LED. | Check circuit breaker; Verify wiring connections; Contact customer support for LED module replacement. |
| La ventola traballa | Viti di montaggio allentate; pale sbilanciate. | Ensure all mounting screws are tight; Check blades for damage and ensure they are properly seated. |
| Il telecomando non risponde | Low battery; Obstruction between remote and receiver; Remote not paired. | Replace batteries; Remove obstructions; Refer to pairing instructions (if applicable, not provided in source). |
Specifiche
- Marca: CREARE
- Nome modello: WIND CLEAR EDGE M
- Numero modello: 227415_674266
- Colore: Bianco
- Progettazione del ventilatore elettrico: Ventilatore a soffitto
- Fonte di energia: Cavo elettrico
- Dimensioni (P x L x A): Dimensioni: 107 cm x 107 cm x 51.5 cm
- Caratteristiche speciali: Remote Control, Retractable Blades, Summer/Winter Function, Integrated LED Light
- Tipo di montaggio: Montaggio a soffitto
- Numero di velocità: 6
- Livello di rumore: 40 decibel
- Energia: 40 Watt
- Numero di pale: 3
- Flusso d'aria: 172 Cubic meters per minute
- Voltage: 240 Volt
- Utilizzo: Al chiuso
- Materiale della lama: Plastica
- Luce LED: 30W, 3 Color Temperatures (Warm 2700K, Neutral 3300K, Cool 4000K)
- Timer: 1-4 hours (up to 8 hours with optional Wi-Fi module)
Garanzia e supporto
For detailed warranty information or technical support, please refer to the warranty card included with your product or visit the official CREATE websito. Conservare la ricevuta d'acquisto come prova d'acquisto per eventuali reclami in garanzia.