1. Prodotto finitoview
The YESWELDER MIG-185DS PRO is a versatile 5-in-1 multi-process welding machine designed for a wide range of welding applications. It supports Gasless Flux Core MIG, Gas MIG, Spool Gun MIG (for aluminum), Lift TIG, and Stick welding. This unit features an advanced digital display and synergic control for ease of use, making it suitable for both beginners and experienced professionals.

Image 1.1: The YESWELDER MIG-185DS PRO welding machine shown with its included accessories, including the MIG torch, ground clampe cavo di alimentazione.
2. Caratteristiche principali
- Multifunzionalità 5 in 1: Supports Gasless Flux Core MIG, Gas MIG, Spool Gun MIG, Lift TIG, and Stick welding.
- Capacità MIG alluminio: Compatible with an additional aluminum spool gun for high-quality aluminum welding.
- 185 Amp Produzione: Provides robust and stable welding performance.
- Compatibilità cavi: Works with 2LB/10LB .023''/.030''/.035''/.040'' welding wire.
- Controllo MIG sinergico: Abbina automaticamente il volumetage to wire feeding speed for simplified setup, ideal for beginners.
- Controllo MIG manuale: Consente agli utenti esperti di regolare manualmente la velocità e il volume di alimentazione del filotage.
- Display digitale: Advanced LED display for clear visual feedback and improved operational efficiency.
- Stick Welding Enhancements: Adjustable Hot Start, Arc Force, and Anti-Stick functions.

Immagine 2.1: Dettagliata view of the intelligent digital screen display, showing various welding parameters and mode selections.

Image 2.2: Visual representation of the five welding processes supported by the machine: Gas MIG, Flux Core, Stick, Lift TIG, and Spool Gun welding.
3. Importanti istruzioni di sicurezza
Welding can be hazardous. Always follow safety precautions to prevent injury or damage. Read and understand all safety warnings before operating this equipment.
- Elettro-shock: Può essere mortale. Assicurarsi che la messa a terra sia adeguata. Non toccare parti elettriche sotto tensione. Indossare guanti isolanti asciutti e indumenti protettivi.
- Fumi e Gas: Può essere pericoloso per la salute. Tenere la testa lontana dai fumi. Utilizzare un sistema di ventilazione o di aspirazione per rimuovere i fumi dalla zona in cui si respira.
- Raggi dell'arco: Può causare ustioni agli occhi e alla pelle. Indossare un casco da saldatura con un filtro di protezione adeguato. Indossare indumenti protettivi adeguati.
- Incendio ed esplosione: Le scintille di saldatura possono causare incendi o esplosioni. Tenere i materiali infiammabili lontano dall'area di saldatura. Tenere un estintore a portata di mano.
- Parti calde: Può causare gravi ustioni. Lasciare raffreddare l'apparecchiatura prima di toccarla.
- Rumore: Il rumore eccessivo può danneggiare l'udito. Indossare protezioni acustiche.
- Pacemaker: I campi magnetici generati da correnti elevate possono interferire con i pacemaker. Consultare il medico prima di saldare.
4. Configurazione iniziale
4.1 Collegamento di alimentazione
Connect the welder to a suitable power supply (110V or 220V) using the provided power cord. Ensure the power outlet is properly grounded and can handle the required ampper le tue attività di saldatura.
4.2 Collegamento gas (per MIG gas)
For Gas MIG welding, connect your shielding gas cylinder (e.g., Argon, CO2, or Argon/CO2 mix) to the gas inlet on the rear of the machine using a gas hose and regulator. Ensure all connections are tight to prevent leaks.
4.3 Installazione del filo (MIG/Flux Core)
Open the wire feed compartment. Install the appropriate welding wire spool (2LB or 10LB) onto the spindle. Thread the wire through the drive rollers and into the liner of the MIG torch. Ensure the drive rollers are set to the correct wire size and tension.
4.4 Torcia e messa a terra Clamp Connessione
Connect the MIG torch to the appropriate connector on the front panel. Attach the ground clamp cable to the designated terminal and secure the ground clamp to your workpiece or welding table, ensuring good electrical contact.

Image 4.1: A welder utilizing a spool gun, demonstrating its compatibility for aluminum welding with the MIG-185DS PRO.
5. Istruzioni per l'uso
5.1 MIG Welding (Gas MIG / Flux Core)
Select the MIG mode on the control panel. Choose between Gas MIG (with shielding gas) or Flux Core (gasless). For Synergic MIG, select the material type and wire diameter, and the machine will suggest optimal voltage and wire speed. For Manual MIG, adjust voltage and wire speed independently to suit your specific needs.
5.2 Spool Gun MIG (Aluminum Welding)
To weld aluminum, connect a compatible spool gun (sold separately) to the designated port. Load aluminum wire into the spool gun. Select the Spool Gun MIG mode and adjust settings according to the aluminum thickness and wire diameter.
5.3 Saldatura TIG di sollevamento
Connect a Lift TIG torch (sold separately) and a gas supply (typically Argon). Select Lift TIG mode. To initiate the arc, lightly touch the tungsten electrode to the workpiece and then lift it slightly. The machine will automatically start the arc.
5.4 Saldatura ad elettrodo
Collegare il portaelettrodo e il morsetto di terraamp. Select Stick mode. Insert the appropriate electrode into the holder. Adjust amperage based on the electrode type and material thickness. Utilize the adjustable Hot Start, Arc Force, and Anti-Stick features for improved arc control.
5.5 Using YESWELDER Welding Nozzle Gel
The included YESWELDER Welding Nozzle Gel helps prevent spatter build-up on MIG torch nozzles and contact tips, ensuring smoother wire feeding and extending consumable life. Dip the hot MIG torch nozzle into the gel periodically during welding operations.

Image 5.1: Two containers of YESWELDER Welding Nozzle Gel, designed to protect MIG torch consumables.

Image 5.2: Demonstrating the application of YESWELDER Welding Nozzle Gel by dipping the MIG torch nozzle into the container.

Image 5.3: Visual comparison illustrating the benefits of using welding nozzle gel, showing reduced smoke, sparks, and clogging compared to welding without it.
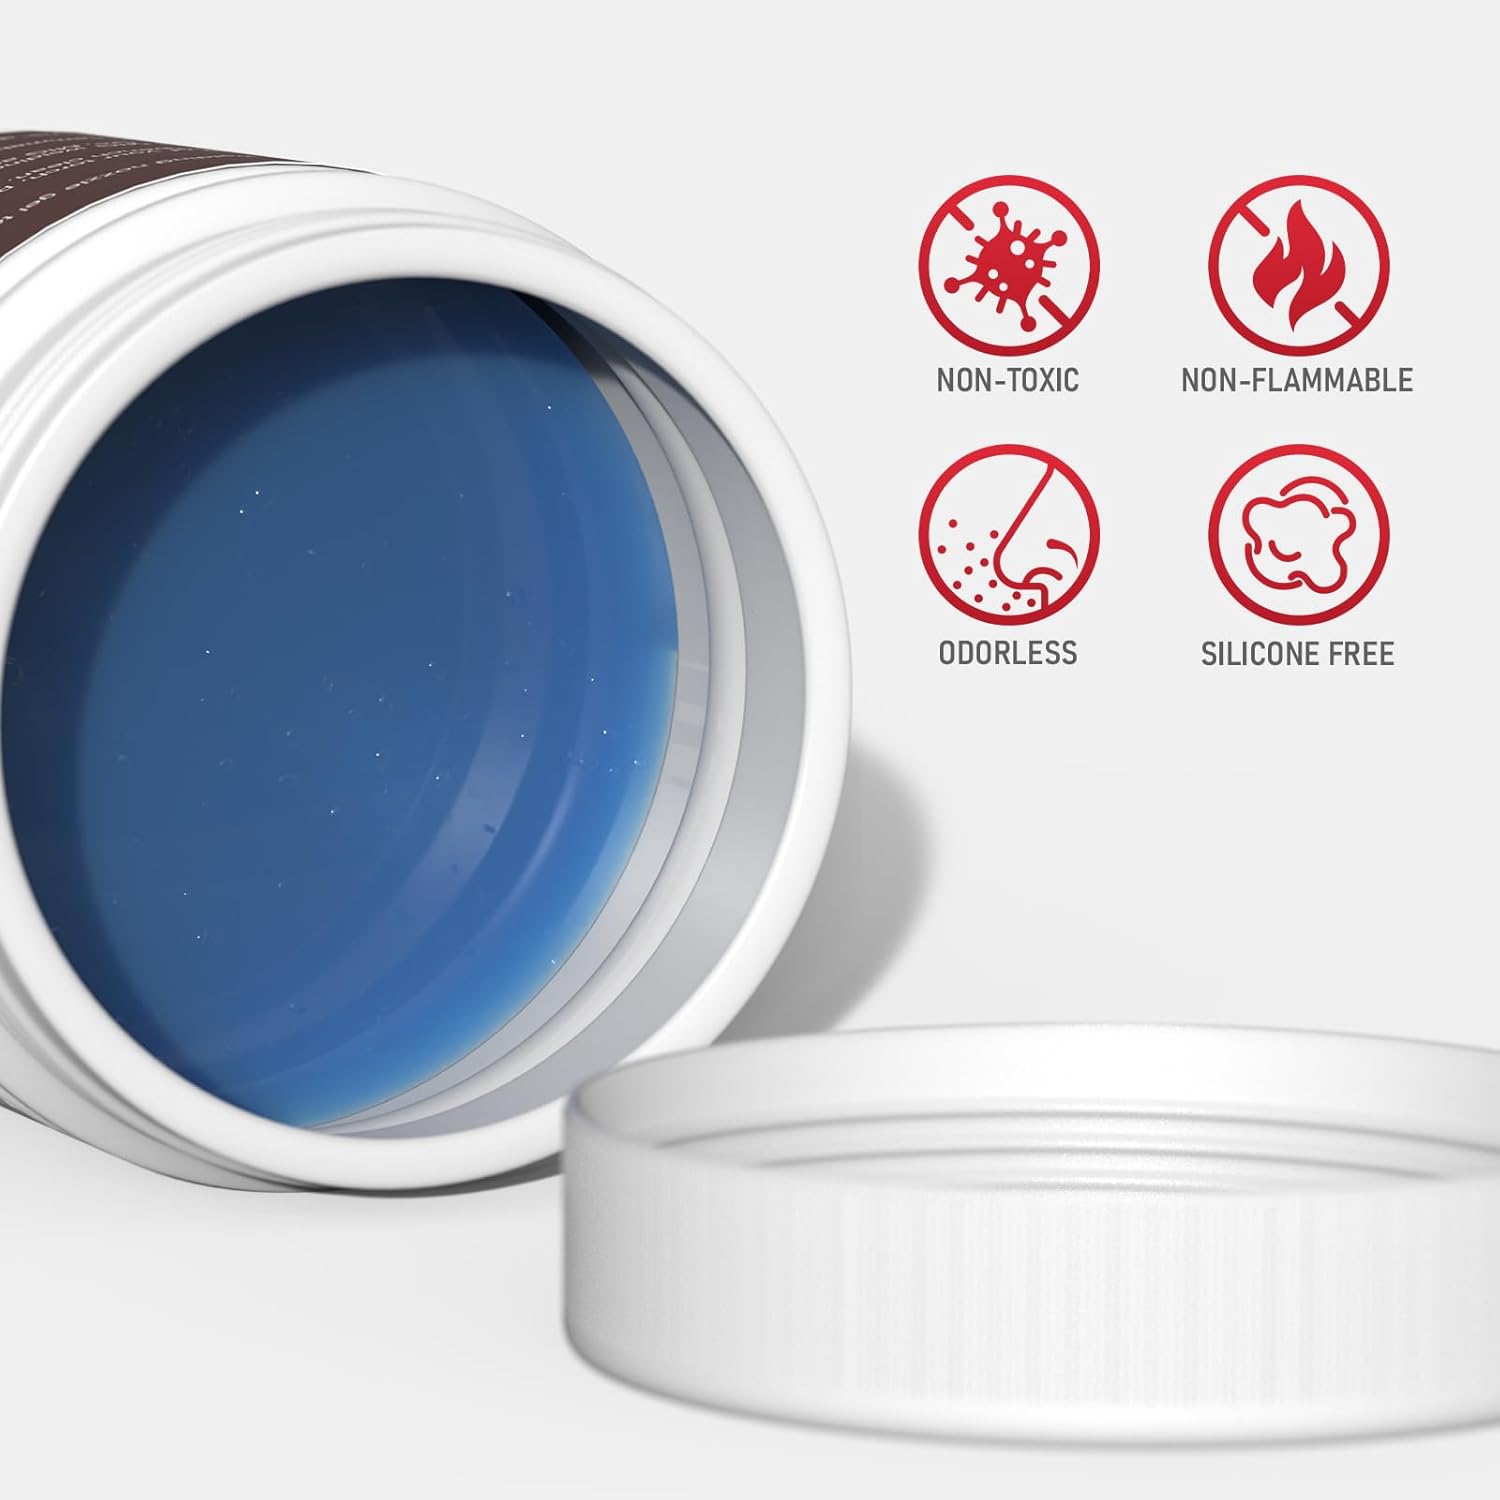
Image 5.4: Key properties of the welding nozzle gel: non-toxic, non-flammable, odorless, and silicone-free.
6. Manutenzione
Una manutenzione regolare garantisce prestazioni ottimali e prolunga la durata della vostra saldatrice.
- Pulizia: Periodically clean the interior of the machine with compressed air to remove dust and metal particles. Ensure the machine is unplugged before cleaning.
- Ispezione di torcia e cavi: Regularly inspect the MIG torch, TIG torch, electrode holder, and ground clamp cables for damage, fraying, or loose connections. Replace damaged components immediately.
- Sistema di alimentazione del filo: Clean the wire drive rollers and liner to prevent wire feeding issues. Ensure the drive rollers are free of debris and the liner is not kinked or clogged.
- Materiali di consumo: Replace MIG nozzles, contact tips, TIG collets, and electrodes as they wear out.
- Ventilazione: Ensure the cooling vents on the machine are clear and unobstructed to prevent overheating.
7. Guida alla risoluzione dei problemi
Questa sezione fornisce soluzioni ai problemi più comuni che potresti riscontrare.
| Problema | Possibile causa | Soluzione |
|---|---|---|
| Nessuna potenza alla macchina | Cavo di alimentazione scollegato, interruttore automatico scattato, interruttore di alimentazione difettoso | Check power cord connection, reset circuit breaker, contact service if switch is faulty |
| Nessun arco | Poor ground connection, incorrect welding mode, faulty torch/electrode holder, wrong settings | Ensure good ground contact, select correct mode, check torch/holder connections, verify settings |
| Problemi di alimentazione del filo (MIG) | Incorrect drive roller tension, clogged liner, wrong drive roller size, spatter in nozzle/tip | Adjust roller tension, clean/replace liner, ensure correct roller size, clean nozzle/tip with gel |
| Scarsa qualità della saldatura | Vol non correttotage/amperage, improper wire speed, insufficient shielding gas, dirty workpiece | Adjust settings, check gas flow, clean workpiece thoroughly |
| Protezione da surriscaldamento attivata | Ciclo di lavoro superato, ventilazione bloccata | Lasciare raffreddare la macchina, assicurarsi che i percorsi di ventilazione siano liberi |
8. Specifiche tecniche
| Specificazione | Valore |
|---|---|
| Modello | MIG-185DS PRO |
| ASIN | B0FS6V2TMM |
| Ingresso volumetage | 110 V/220 V doppio volumetage |
| Corrente di uscita | 185 Amps (massimo) |
| Processi di saldatura | MIG con nucleo di flusso, MIG a gas, MIG con pistola a bobina, Lift TIG, Stick |
| Capacità bobina filo | 2LB / 10LB |
| Compatibilità del diametro del filo | .023''/.030''/.035''/.040'' |
9. Garanzia e assistenza clienti
Per informazioni sulla garanzia, supporto tecnico o richieste di assistenza, fare riferimento alla scheda di garanzia inclusa con il prodotto o visitare il sito ufficiale YESWELDER website. You may also contact YESWELDER customer service directly for assistance with your MIG-185DS PRO welder.
Informazioni sui contatti: Please refer to your product packaging or the official YESWELDER websito per i dettagli di contatto più aggiornati dell'assistenza clienti.