Inefala L5951IT53-C490
Manuale di istruzioni per la Dash Cam Inefala L5951IT53-C490 1080P HD a 4 canali
La tua guida completa per l'installazione, il funzionamento e la manutenzione.
1. Prodotto finitoview
The Inefala L5951IT53-C490 is a 1080P HD 4-channel dash cam designed to capture comprehensive video footage around and within your vehicle. It features a 3.16-inch IPS screen, night vision, motion detection, and loop recording capabilities.

Image: Inefala 4-Channel Dash Cam showing its various components and features like wide angle, loop recording, 64G TF support, night vision, 360° protection, reversing view, 1080P resolution, IPS screen, exposure compensation, and moving detection.
2. Configurazione e installazione
2.1 Installazione della fotocamera frontale
- Pulisci il parabrezza: Ensure the area where the dash cam will be mounted is clean and free of dust.
- Apply Static Film: Place the electrostatic film on the cleaned area of the windshield. Smooth out any air bubbles to ensure a flat fit.
- Fissare la staffa di montaggio: Secure the mounting bracket to the static film. If your car's windshield is vertical, use the thicker support.
- Rimuovere la pellicola protettiva: Peel off the protective film from the dash cam's lens.
- Montare la Dash Cam: Slide the dash cam onto the mounting bracket until it clicks into place. Adjust the angle for optimal view.
- Connetti alimentazione: Use the original car charger. Connect the Type-C cable to the dash cam's power port.
- Cavo di alimentazione: Use the included pry tool to neatly tuck the power cable along the windshield trim and dashboard, leading it to your car's cigarette lighter socket or USB port.

Image: Step-by-step guide for easy dash cam installation, including cleaning the glass, attaching the mounting bracket, removing dust stickers, connecting cables, and adjusting the angle.
Video: A detailed guide on how to install a dashcam, covering cleaning, mounting, and cable management.
2.2 Installazione della telecamera posteriore
The waterproof rear camera can be installed either inside the rear windshield or outside above the rear license plate. Ensure the camera is positioned for a clear view of the rear roadway.
- Clean Rear Windshield/Mounting Area: Clean the chosen area for the rear camera.
- Rimuovere la pellicola protettiva: Peel off the protective film from the rear camera's lens.
- Collegare il cavo della telecamera posteriore: Securely connect the rear camera cable to the front dash cam's AV port.
- Montare la telecamera posteriore: Attach the rear camera using its adhesive. Adjust the angle for a clear view.
- Cavo della telecamera posteriore: Use the pry tool to neatly route the rear camera cable along the vehicle's interior trim to the front dash cam.
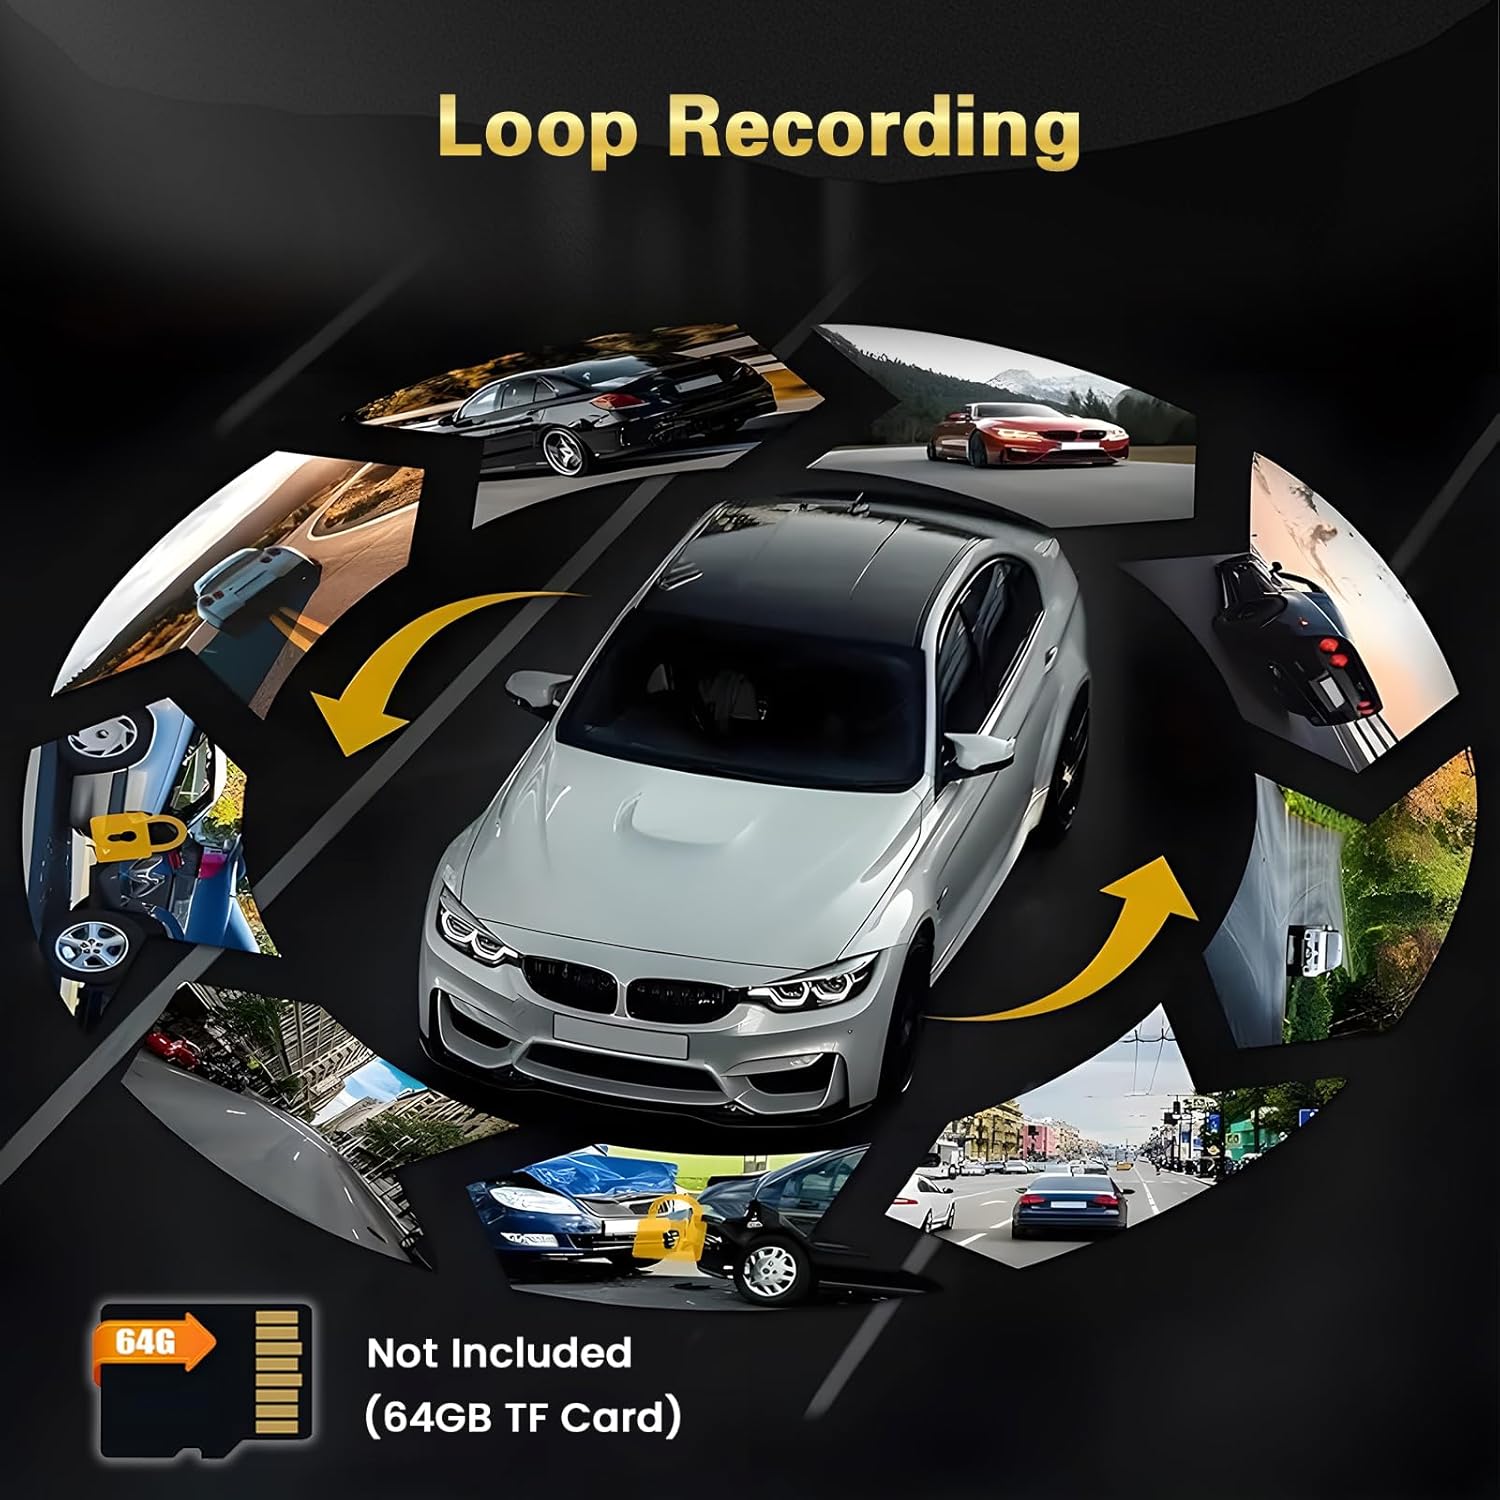
Image: The rear camera with its connecting cable, ready for installation.
3. Funzionamento di base
3.1 Accensione/spegnimento
- La dash cam si accenderà automaticamente e inizierà a registrare all'avvio del motore del veicolo.
- The dash cam will automatically power off when your vehicle's engine is turned off.
3.2 Modalità di visualizzazione dello schermo
Press the 'OK' button (usually the power button) to cycle through different display modes:
- Fotocamera frontale View
- Telecamera posteriore View
- Schermo diviso View (Fronte retro)
- Modalità salvaschermo
- Wi-Fi Information Page

Image: A visual representation of the 4-channel dash cam displaying views from the rear camera, front camera, right internal camera, and left built-in camera.
3.3 Registrazione in loop
The dash cam continuously records video in short segments (e.g., 1, 3, or 5 minutes). When the memory card is full, the oldest unlocked video files are automatically overwritten to make space for new recordings. Locked videos are protected from being overwritten.

Image: Diagram illustrating the loop recording function, where new footage overwrites the oldest files on the SD card, ensuring continuous recording.
3.4 G-Sensor (registrazione di emergenza)
In caso di impatto o collisione improvvisa, il sensore G integrato rileva automaticamente l'evento e blocca il video corrente file, impedendo che venga sovrascritto dalla registrazione in loop. Ciò garantisce foo criticitage è conservato.
3.5 Visione notturna
The dash cam is equipped with super night vision technology to provide clear video footage even in low-light conditions, enhancing safety during nighttime driving.

Image: A car driving at night, illustrating the effectiveness of the Super Night Vision feature compared to standard day mode.
3.6 Monitoraggio del parcheggio
For 24/7 parking monitoring, a hardwire kit (not included) is required. This feature allows the dash cam to record when motion is detected or an impact occurs while the vehicle is parked, providing security even when you're away.

Immagine: una vista dall'alto view of cars in a parking lot, demonstrating the 360-degree protection and detection zones provided by the dash cam's parking monitoring feature.
4. Connessione Wi-Fi e app mobile
The dash cam features built-in Wi-Fi for easy connection to your smartphone via the
Ask a question about this manual
Ask about setup, troubleshooting, compatibility, parts, safety, or missing instructions. Manuals+ will review the question and use this page’s manual context to help answer it.