EVERSECU AHD-K4100MP
Eversecu 4-Channel 1080P Home Security Camera System (Model AHD-K4100MP) User Manual
Model: AHD-K4100MP | Brand: EVERSECU
Introduzione
This manual provides comprehensive instructions for the installation, operation, and maintenance of your Eversecu 4-Channel 1080P Home Security Camera System. This system includes a 4-channel Digital Video Recorder (DVR) and four 1080P HD weatherproof cameras, designed for reliable surveillance. Please read this manual thoroughly before setup to ensure proper functionality and to maximize the system's capabilities.
Contenuto della confezione
- 1 DVR 1080P a 4 canali
- 4 x 1080P HD Weatherproof Cameras
- 4 x 60ft Premade Video/Power Cables
- 2 adattatori di alimentazione (per DVR e telecamere)
- Mouse 1 x USB
- Viti e ferramenta di montaggio
- Manuale dell'utente (questo documento)
Note: A hard drive (HDD) for video storage is not included and must be purchased separately. The system supports 500GB to 2TB 3.5-inch SATA HDDs.

Immagine: Oltreview of the Eversecu security system components, including the DVR, four cameras, connection cables, and power adapters.
Configurazione del sistema
1. Hard Drive (HDD) Installation (If applicable)
This system does not include a hard drive. To record video, you must install a 3.5-inch SATA HDD (500GB-2TB capacity recommended). Follow these steps:
- Unscrew the DVR Cover: Carefully remove the screws from the DVR casing per accedere ai componenti interni.
- Connect HDD Cables: Connect the SATA data cable and power cable from the DVR to the corresponding ports on your hard drive.
- Secure the HDD: Place the hard drive inside the DVR chassis and secure it with the provided screws.
- Replace DVR Cover: Reattach the DVR cover and secure it with the screws.

Image: Step-by-step guide for installing a 3.5-inch SATA hard drive into the DVR unit. This involves unscrewing the cover, connecting data and power cables, securing the drive, and reattaching the cover.
2. Collegamento delle telecamere
Each camera connects to the DVR using a single premade 60ft BNC video/power cable.
- Collega video: Attach the BNC connector of the camera cable to one of the "VIDEO IN" ports on the back of the DVR.
- Connetti alimentazione: Connect the power connector of the camera cable to the camera's power input. The other end of the power connector from the cable will connect to the camera power adapter.
- Montare le telecamere: Position the cameras in desired indoor or outdoor locations. The cameras are weatherproof (IP66 rated). Ensure a clear line of sight and optimal viewangolo di ing.
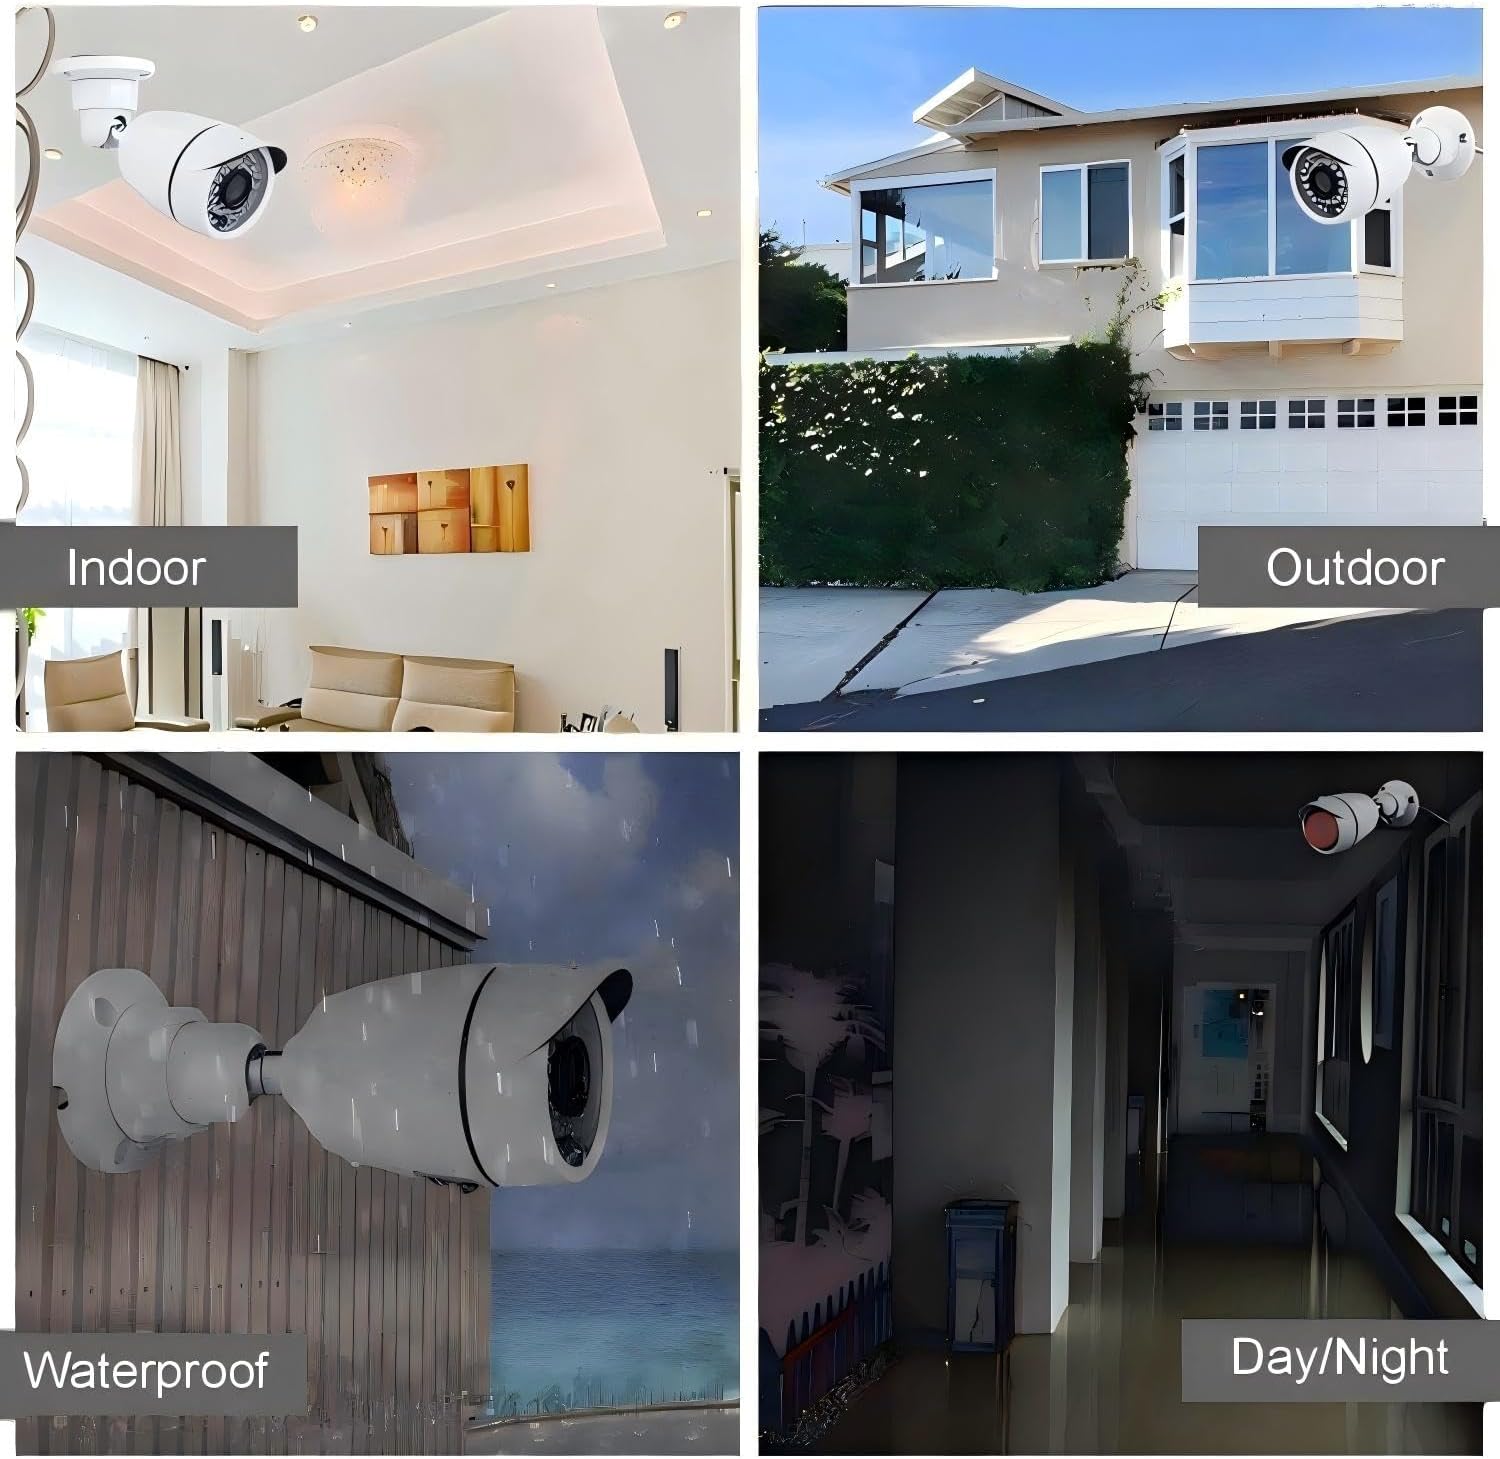
Image: Close-up of one of the Eversecu cameras, detailing its features such as the lens, IR LEDs for night vision, and durable weatherproof housing.
3. Connessioni DVR
Connect the DVR to your monitor, mouse, and network (optional) before powering on.
- Connetti il monitor: Collegare un monitor al DVR tramite la porta HDMI o VGA.
- Connetti il mouse: Collegare il mouse USB in dotazione a una delle porte USB del DVR.
- Connetti rete (facoltativo): Per l'accesso remoto, collegare un cavo Ethernet dalla porta LAN del DVR al router.
- Connetti alimentazione: Plug the DVR power adapter into the DVR's power input and then into a wall outlet.

Immagine: dettagliata view of the DVR's rear panel, highlighting ports for video input (BNC), audio input/output, HDMI/VGA monitor output, USB for mouse, and power input.
The system should power on automatically. Follow the on-screen prompts for initial setup, including language selection and time zone settings.
Operazione
1. Vivere View e Registrazione
Once the system is powered on and cameras are connected, you should see live video feeds on your connected monitor. The DVR supports 24/7 continuous recording (with an installed HDD).

Image: A monitor displaying a multi-camera live view from the Eversecu system, illustrating simultaneous monitoring of different areas.
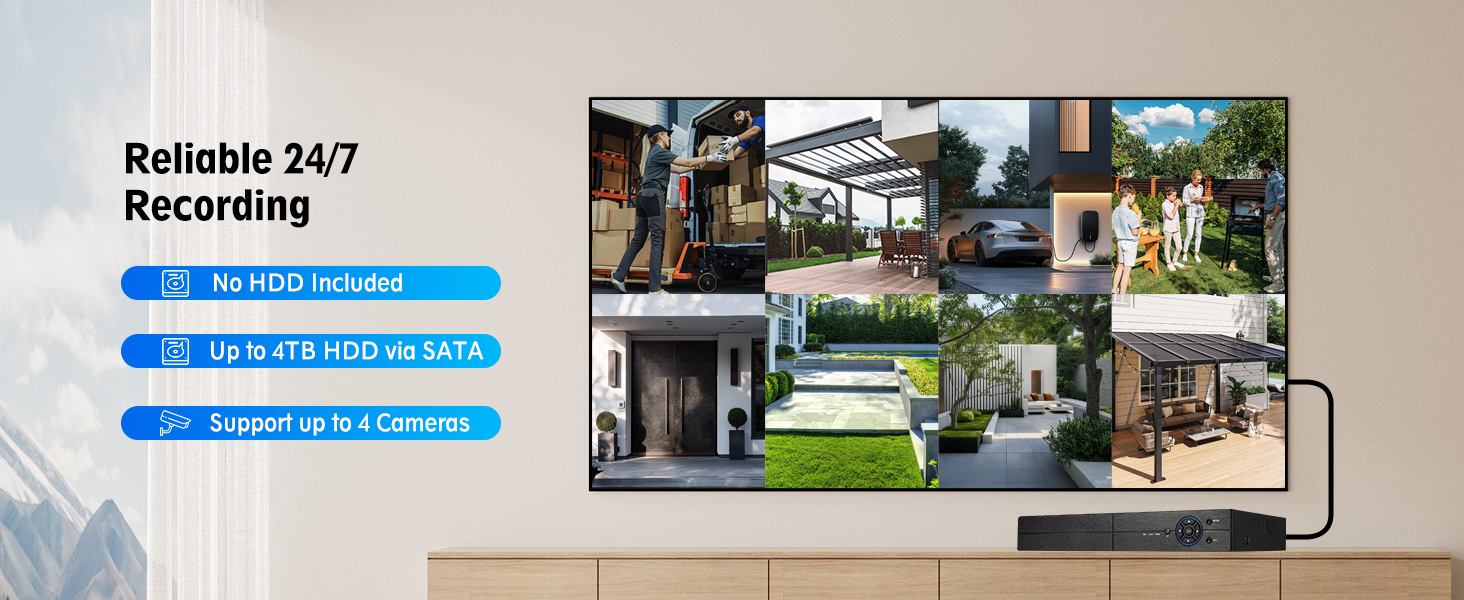
Image: This graphic highlights the system's 24/7 recording capability, clarifies that a hard drive is not included, and states support for up to 4TB SATA HDDs and up to 4 cameras.
The system utilizes H.265+ compression technology, which optimizes storage space and bandwidth. Dual-stream technology provides high-resolution local recording and efficient remote viewing.
2. Visione notturna
The cameras are equipped with infrared (IR) LEDs, providing clear black and white night vision up to 100 feet in low-light conditions. The system automatically switches between day (color) and night (black and white) modes.
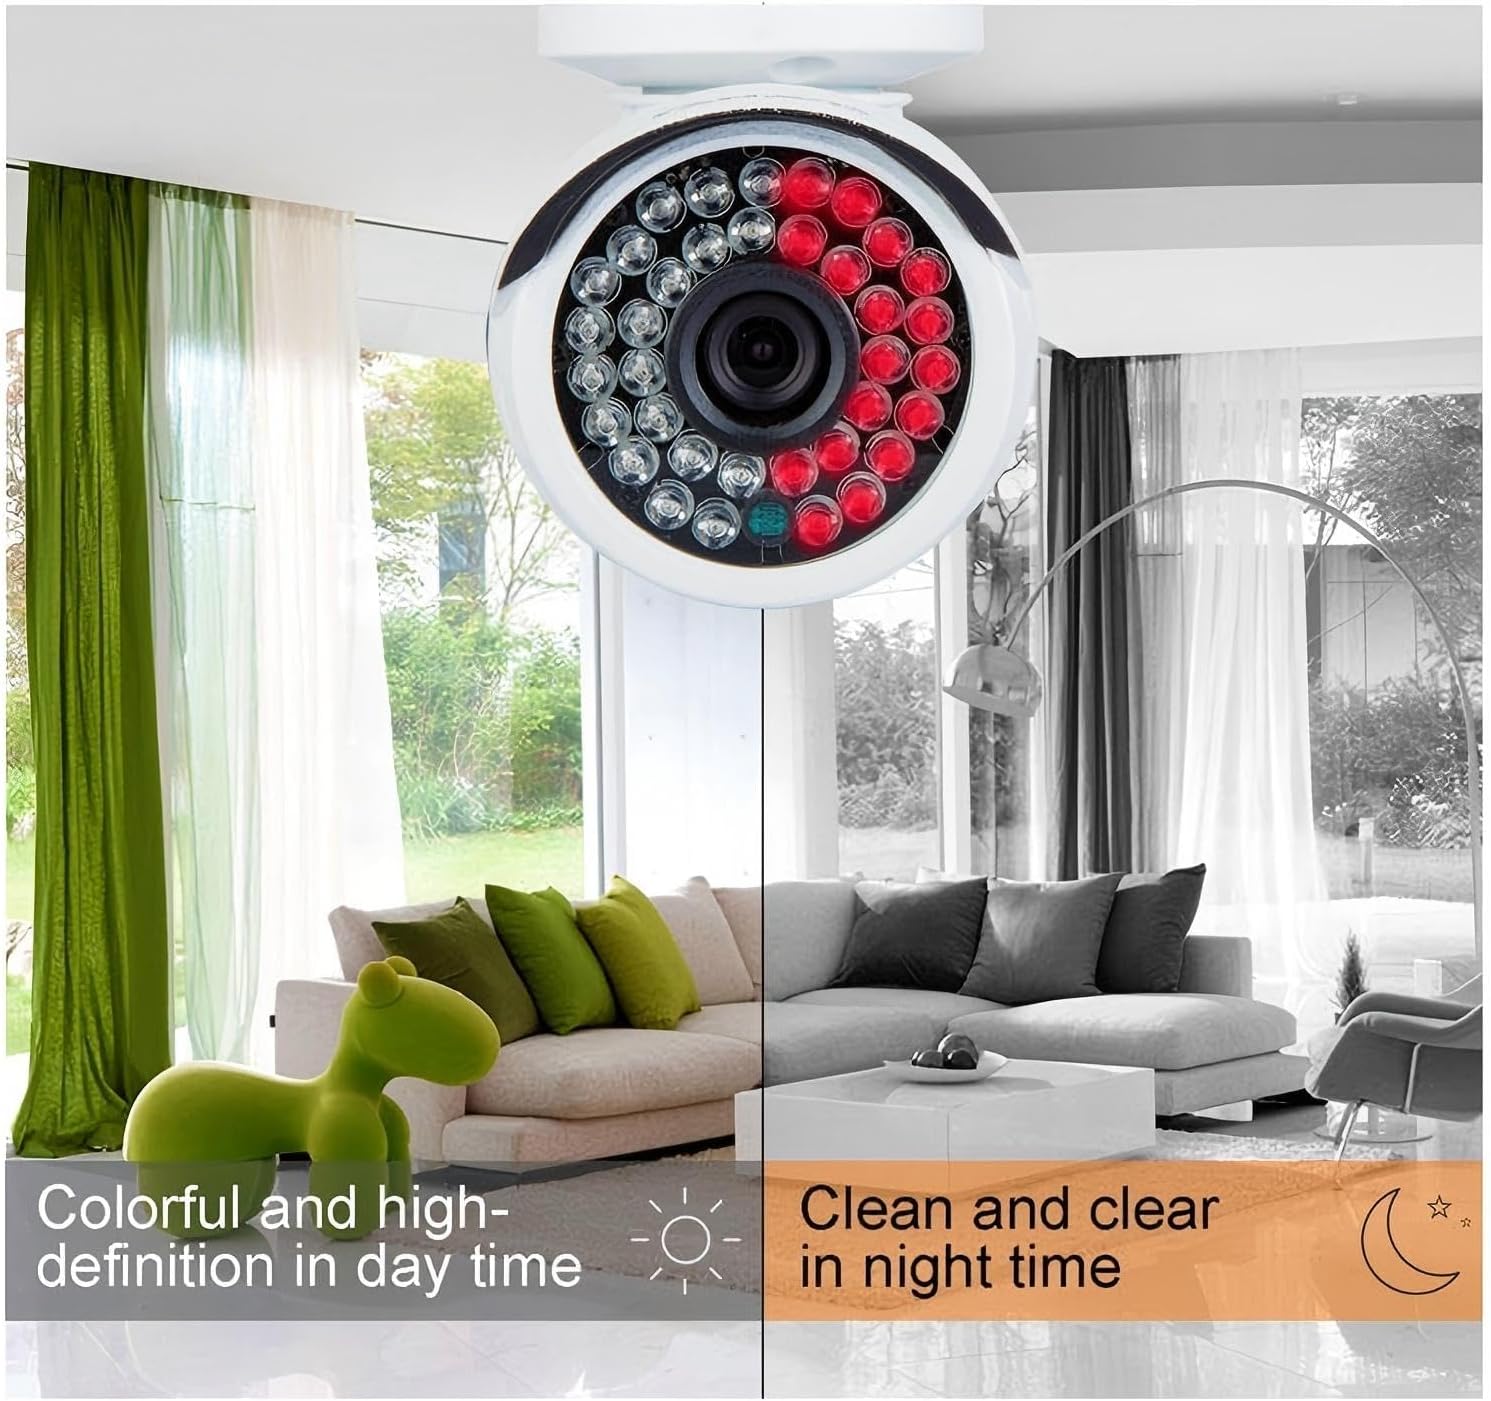
Image: Comparison of camera footage during day (color) and night (black and white infrared), demonstrating the automatic night vision capability.
3 Rilevamento del movimento e avvisi
Configure motion detection settings through the DVR's menu. When motion is detected, the system can trigger email notifications and mobile push alerts via the Xmeye APP.
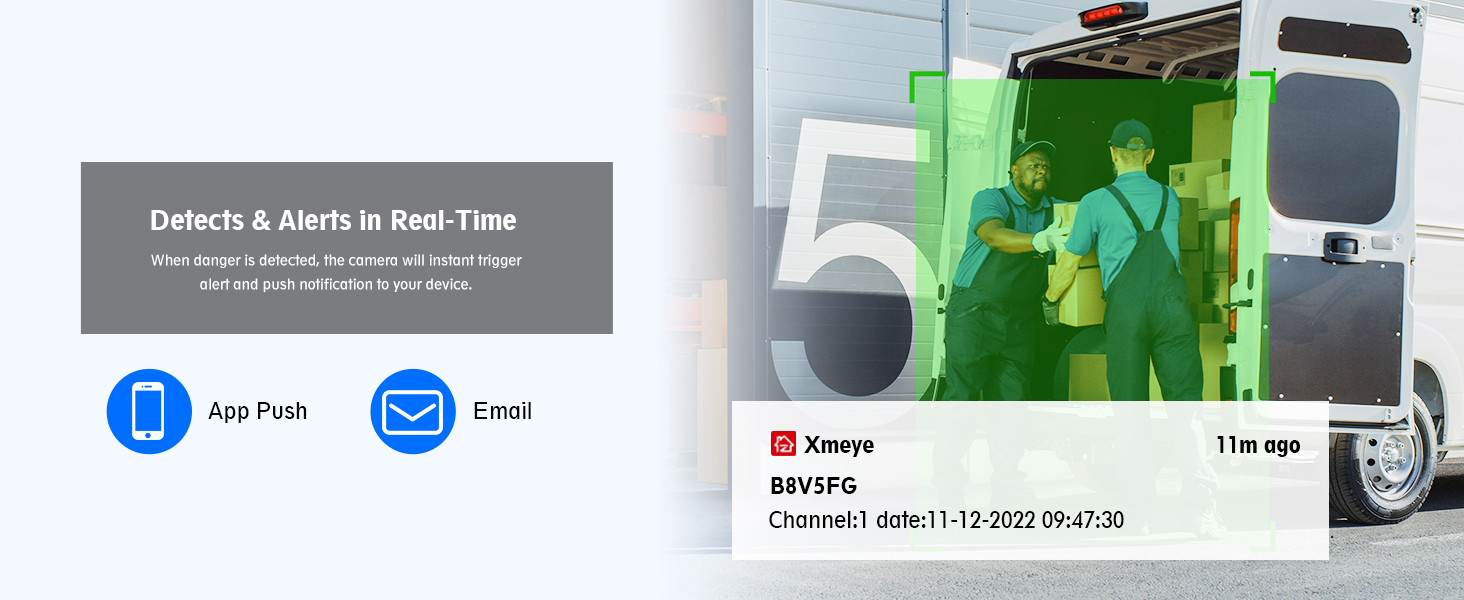
Image: Visual representation of how the system sends real-time alerts to your phone via app notifications and email when motion is detected.
4. Accesso remoto
To access your security system remotely, download the free Xmeye APP for iOS or Android devices. For desktop viewing, use the CMS software compatible with Windows and Mac systems. Ensure your DVR is connected to the internet via an Ethernet cable.
- Download Xmeye APP: Cercare "Xmeye" in your device's app store.
- Registra conto: Crea un account e accedi.
- Aggiungi dispositivo: Follow the in-app instructions to add your DVR using its serial number or QR code.
- View Alimentazione dal vivo: Una volta aggiunto, puoi view live feeds, playback recordings, and adjust settings from anywhere.

Image: A smartphone screen showing a live security camera feed, demonstrating the mobile remote viewcapacità.
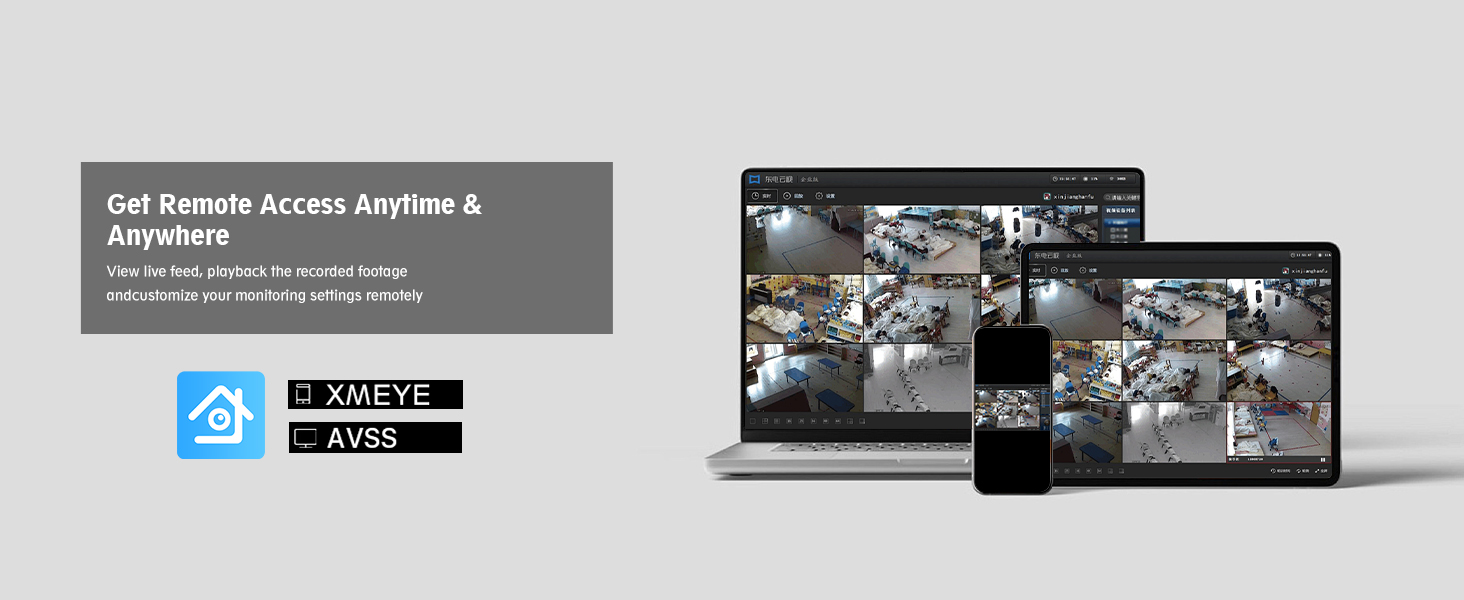
Image: A laptop and tablet displaying multiple camera feeds, illustrating remote access and monitoring capabilities across different devices.
Manutenzione
- Pulizia della fotocamera: Pulire periodicamente le lenti della fotocamera con un panno morbido eamp panno per garantire una qualità dell'immagine nitida. Evitare detergenti abrasivi.
- Ispezione dei cavi: Regularly check all cables for wear, damage, or loose connections, especially for outdoor installations.
- Ventilazione DVR: Assicurarsi che il DVR sia posizionato in un'area ben ventilata per evitare il surriscaldamento. Mantenere le prese d'aria libere da ostruzioni.
- Aggiornamenti del firmware: Controllare il produttore website for any available firmware updates for your DVR model to ensure optimal performance and security.
Risoluzione dei problemi
| Problema | Possibile causa | Soluzione |
|---|---|---|
| Nessuna visualizzazione video sul monitor | Cavo video allentato, ingresso monitor errato, DVR non acceso. | Check all video cable connections (BNC, HDMI/VGA). Ensure monitor is set to correct input source. Verify DVR power adapter is securely connected and DVR is on. |
| Nessuna immagine della telecamera | Loose camera cable, camera power issue, damaged cable. | Check camera video and power connections. Ensure camera power adapter is working. Test with a different cable if available. |
| L'accesso remoto non funziona | DVR non connesso alla rete, impostazioni di rete errate, problemi di configurazione dell'app. | Verify Ethernet cable is connected to DVR and router. Check DVR network settings. Ensure correct device ID/QR code is entered in the Xmeye app. Confirm router has internet access. |
| Nessuna registrazione | No HDD installed, HDD not initialized, recording schedule not set. | Install a compatible 3.5-inch SATA HDD. Access DVR menu to format/initialize the HDD. Configure recording schedules as needed. |
| scarsa visione notturna | LED IR ostruiti, obiettivo della telecamera sporco, potenza insufficiente. | Clean camera lens. Ensure no obstructions are blocking the IR LEDs. Verify camera is receiving adequate power. |
Specifiche
| Caratteristica | Dettaglio |
|---|---|
| Marca | EVERSECU |
| Numero di modello | AHD-K4100MP |
| Tecnologia di connettività | Cablato |
| Risoluzione di acquisizione video | Formato: 1080p |
| Caratteristica speciale | App Control, Motion Alert, Night Vision, Weatherproof Cameras |
| Numero di canali | 4 |
| Colore | White (Cameras), Black (DVR) |
| Fonte di alimentazione | Elettrico con cavo |
| Dimensioni del prodotto (DVR) | 14 x 12 x 7 pollici (circa, in base alle dimensioni dell'articolo) |
| Peso dell'articolo | 9.66 libbre (sistema totale) |
| Supporto HDD | 3.5-inch SATA, 500GB-2TB (not included) |
| Compressione video | H.265 + |
| Remoto ViewApp di ing | Xmeye (iOS/Android), CMS Software (Windows/Mac) |
| Valutazione della resistenza alle intemperie della fotocamera | Grado di protezione IP66 |
| Gamma di visione notturna | Fino a 100 piedi |
Garanzia e supporto
For warranty information and technical support, please refer to the official EVERSECU websito o contattare direttamente il servizio clienti. I dettagli di contatto si trovano in genere sulla confezione del prodotto o sul cartellino del produttore. websito.
Conservare la ricevuta d'acquisto per eventuali reclami in garanzia.