ARCCTV P2
Manuale utente della telecamera di sicurezza ARCCTV 2K per esterni P2
Modello: P2
1. Introduzione
This manual provides detailed instructions for the installation, operation, and maintenance of your ARCCTV 2K Security Camera Outdoor P2. Please read this manual thoroughly before using the product to ensure correct usage and optimal performance. Keep this manual for future reference.

Immagine 1.1: anteriore view of the ARCCTV 2K Security Camera Outdoor P2.
2. Cosa c'è nella scatola
Verificare che tutti i componenti siano presenti nella confezione:
- Corpo macchina fotografica
- Adattatore di alimentazione 5V1A
- Viti di montaggio (set)
- Screw Positioning Sticker
- Adesivo di avvertimento
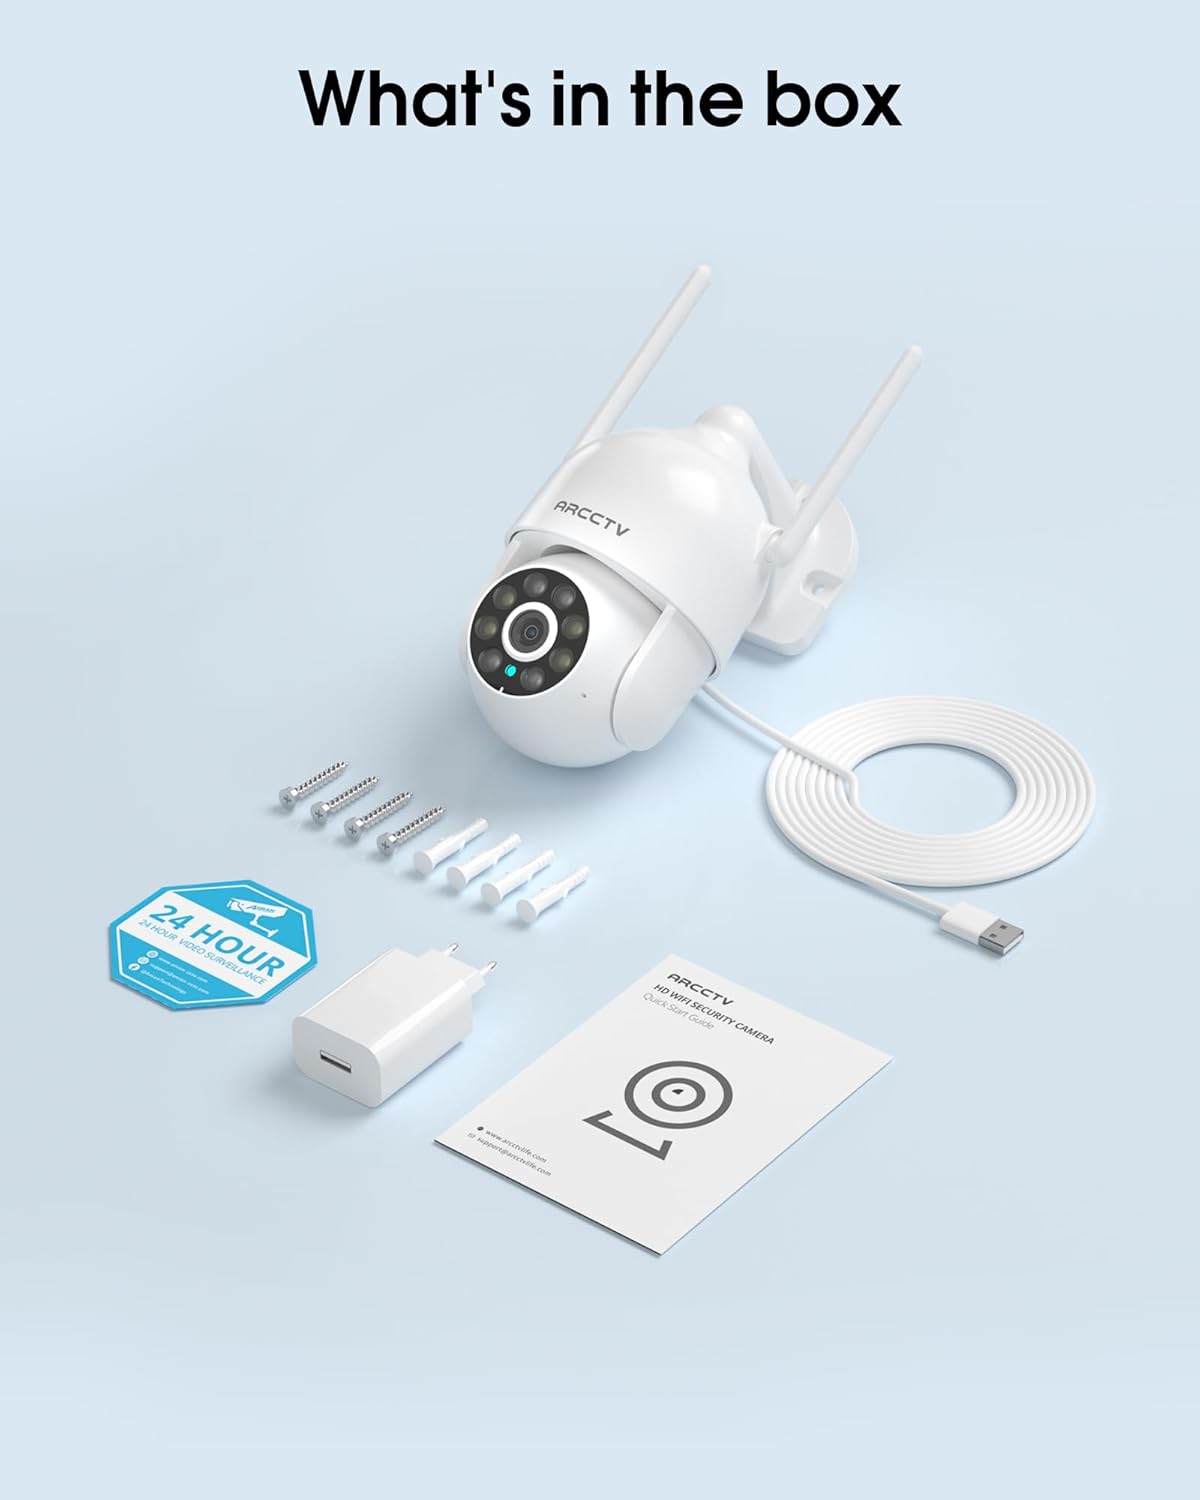
Image 2.1: All items included in the ARCCTV 2K Security Camera package.
3. Caratteristiche del prodotto
- Risoluzione Ultra HD 2K: Provides clear 2304x1296p video.
- Visione notturna a colori: Built-in spotlight enables vivid color monitoring in low light.
- Panoramica-Inclinazione-Zoom a 360° (PTZ): Remotely control 355° horizontal and 90° vertical rotation.
- Rilevamento automatico del movimento: Smart AI automatically follows and records detected movement.
- Wi-Fi dual band: Supporta sia il Wi-Fi 2.4G che quello 5G per una connettività stabile.
- Audio bidirezionale: Microfono e altoparlante integrati per la comunicazione.
- IP66 resistente alle intemperie: Durable design for outdoor use in various weather conditions (-4°F ~ 122°F).
- Archiviazione flessibile: Supporta l'archiviazione locale su scheda microSD (fino a 128 GB, non inclusa) e l'archiviazione cloud opzionale.
- Registrazione 24 ore su 7, XNUMX giorni su XNUMX: Continuous recording capability with stable power supply.
4. Impostazione
4.1 Installazione
- Scegli una posizione: Selezionare una posizione all'aperto con una chiara view of the area you wish to monitor. Ensure it is within range of your Wi-Fi network and a power outlet.
- Montare la fotocamera: Use the provided screw positioning sticker to mark drill holes. Drill holes, insert wall anchors, and secure the camera body to the wall using the mounting screws.
- Connetti alimentazione: Plug the 5V1A power adapter into the camera and then into a power outlet. The camera will power on and begin its startup sequence.
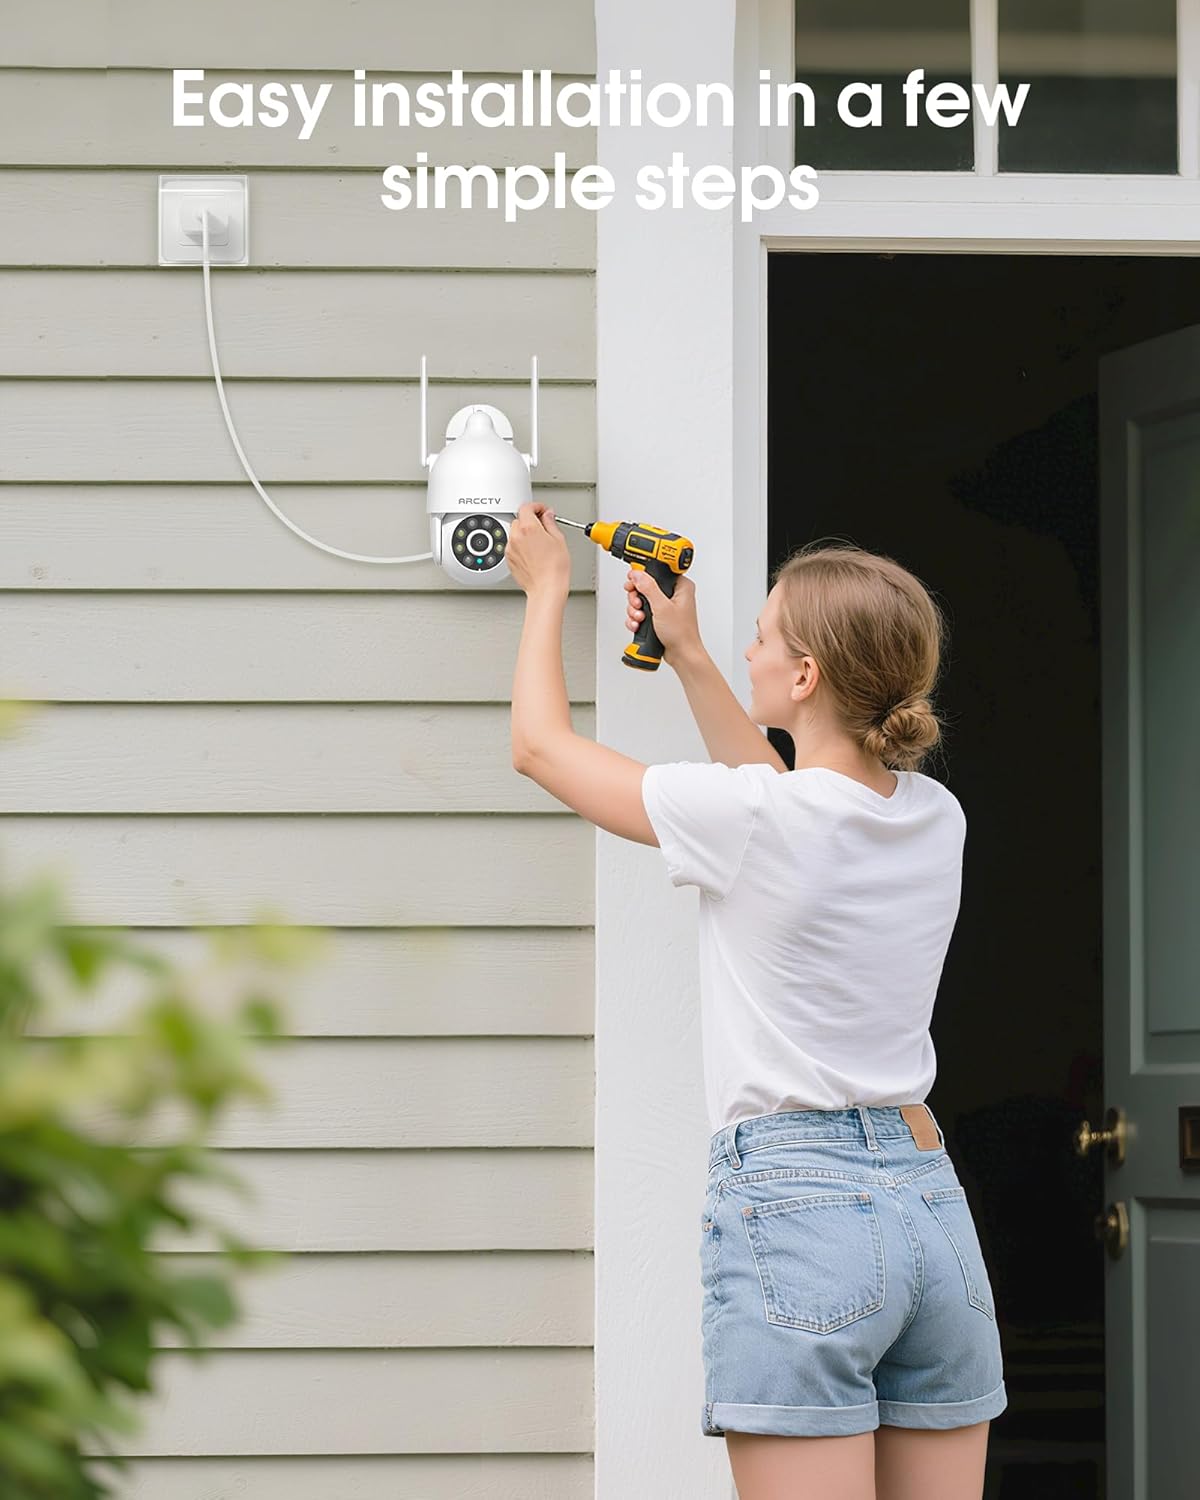
Image 4.1: Illustration of easy camera installation steps.
4.2 Download dell'app e creazione dell'account
- Download the official ARCCTV app from your smartphone's app store (iOS or Android).
- Apri l'app e segui le istruzioni sullo schermo per creare un nuovo account o per effettuare l'accesso se ne hai già uno.
4.3 Connessione Wi-Fi
- Nell'app, tocca l'icona "Aggiungi dispositivo" o "+".
- Select your camera model and follow the prompts to connect it to your Wi-Fi network. The camera supports both 2.4GHz and 5GHz bands for stable connectivity.
- Ensure your smartphone is connected to the same Wi-Fi network during the setup process.
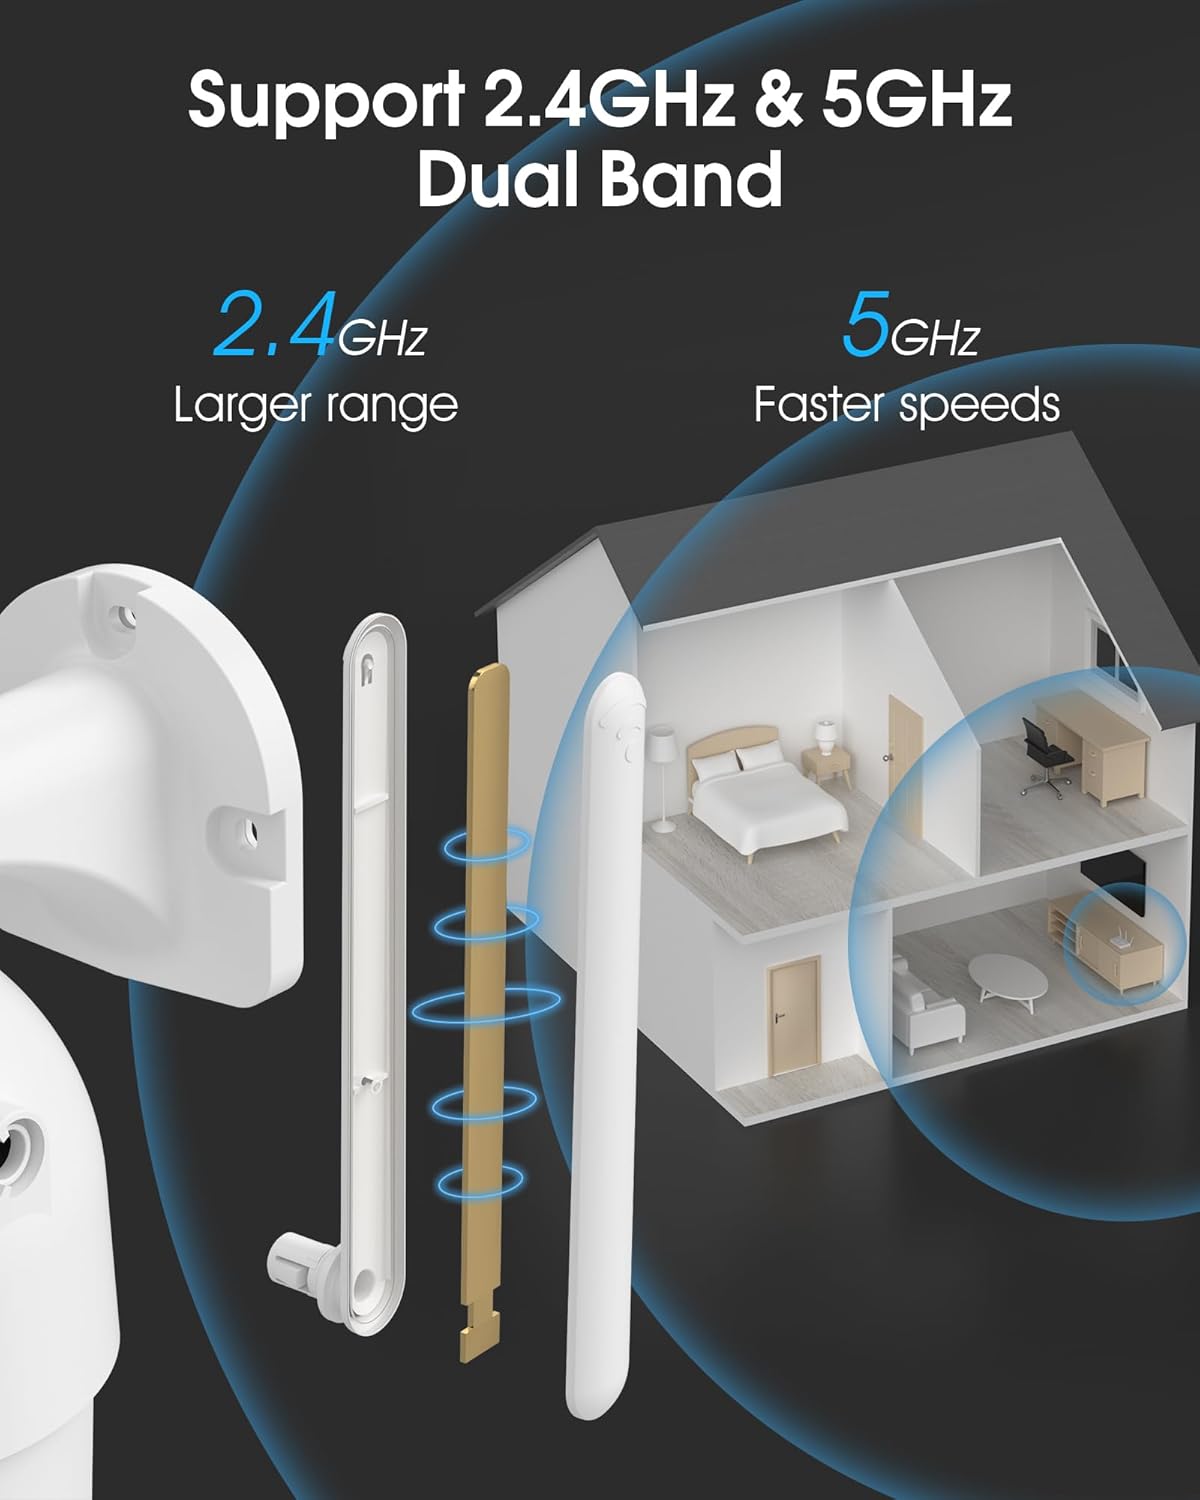
Image 4.2: The camera supports both 2.4GHz (larger range) and 5GHz (faster speeds) Wi-Fi bands.
4.4 Installazione della scheda MicroSD (facoltativa)
For local storage, install a microSD card (up to 128GB, not included) into the designated slot on the camera. Ensure the camera is powered off before inserting or removing the card.

Image 4.3: Location of the microSD card slot on the camera.
5. Utilizzo della fotocamera
5.1 Vivere View
Open the ARCCTV app and select your camera to view the live feed. You can monitor your property in real-time.
Controllo Pan-Tilt-Zoom (PTZ) 5.2
In diretta view screen, use the directional controls to rotate the camera horizontally (Pan: 355°) and vertically (Tilt: 90°) to adjust the viewangolo di navigazione. È anche possibile impostare punti preimpostati per una navigazione rapida.
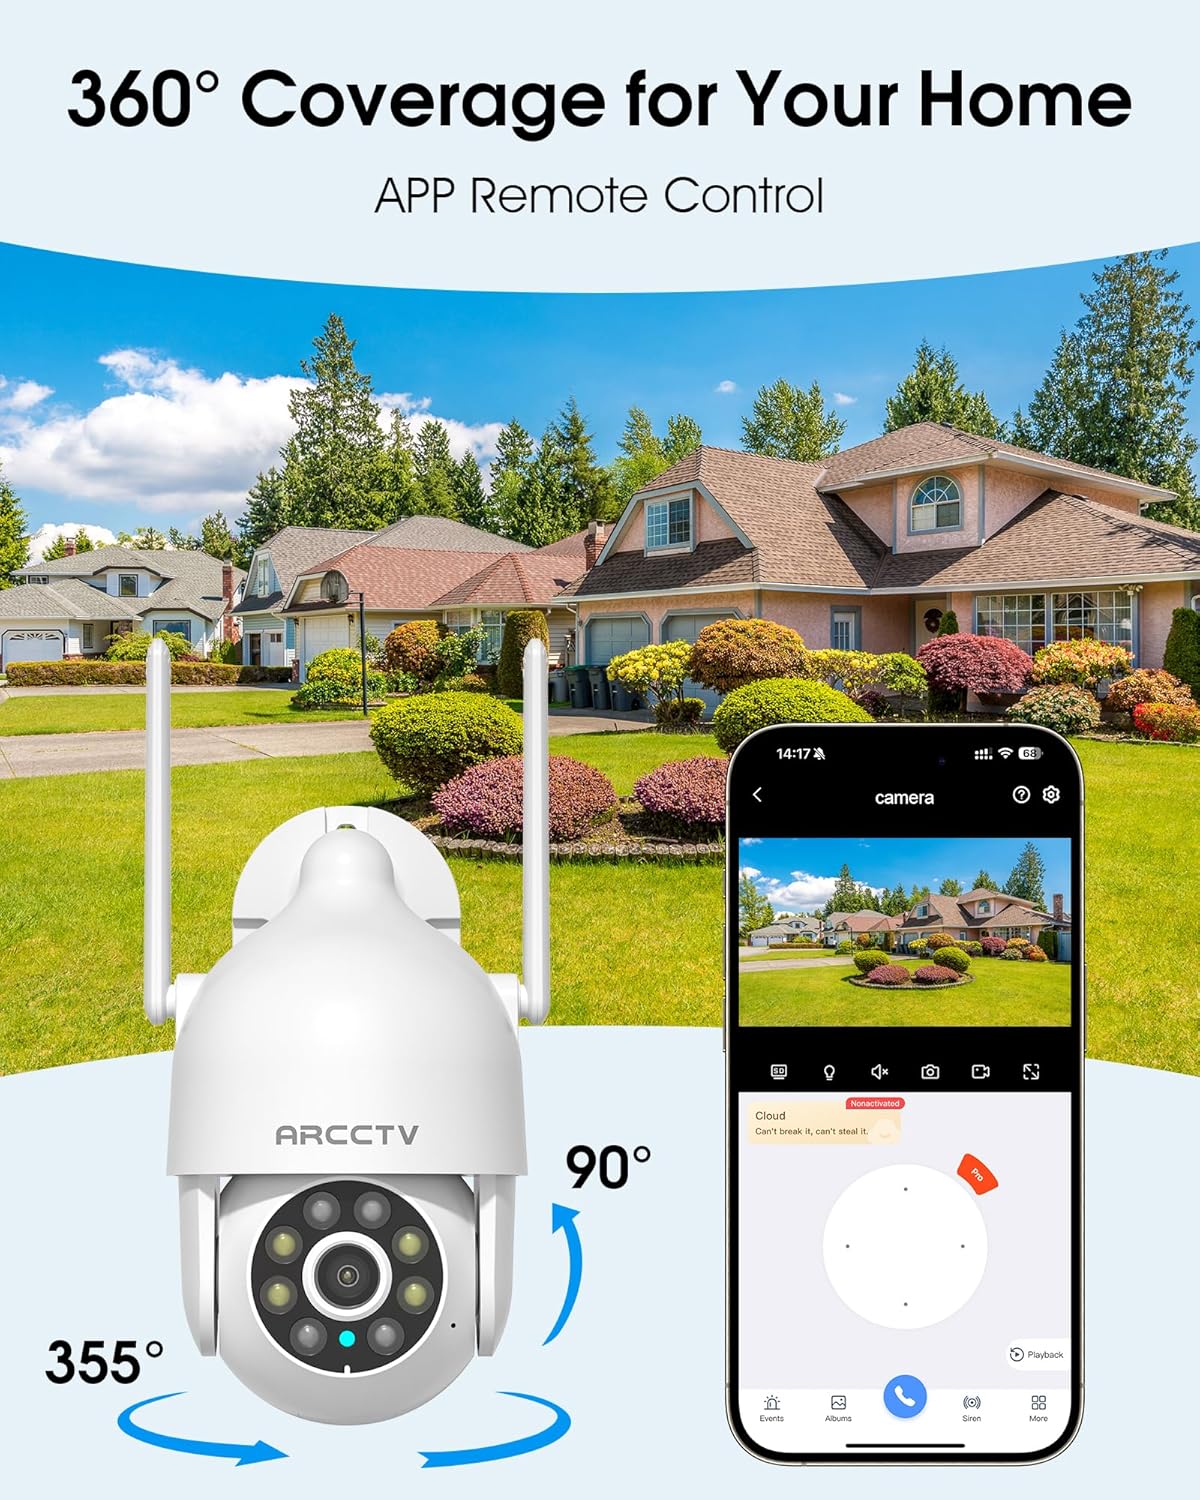
Image 5.1: The camera offers 360° coverage through remote pan and tilt controls.
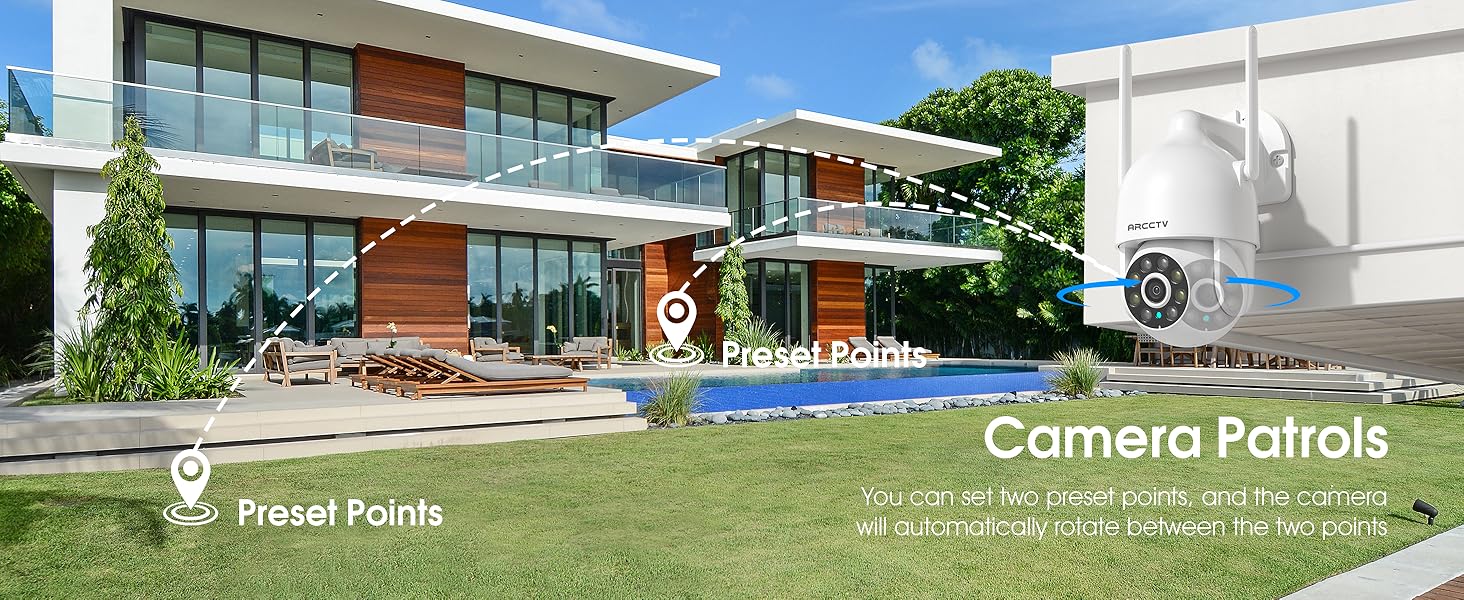
Image 5.2: Setting up camera patrol routes between preset points.
5.3 Monitoraggio del movimento e avvisi
The camera features smart AI motion tracking that automatically follows detected movement. You can customize alert zones and receive instant notifications on your smartphone when motion is detected.

Image 5.3: The camera's smart motion tracking feature in action.

Image 5.4: Instant alerts with customizable settings, including spotlight, siren, and two-way audio.
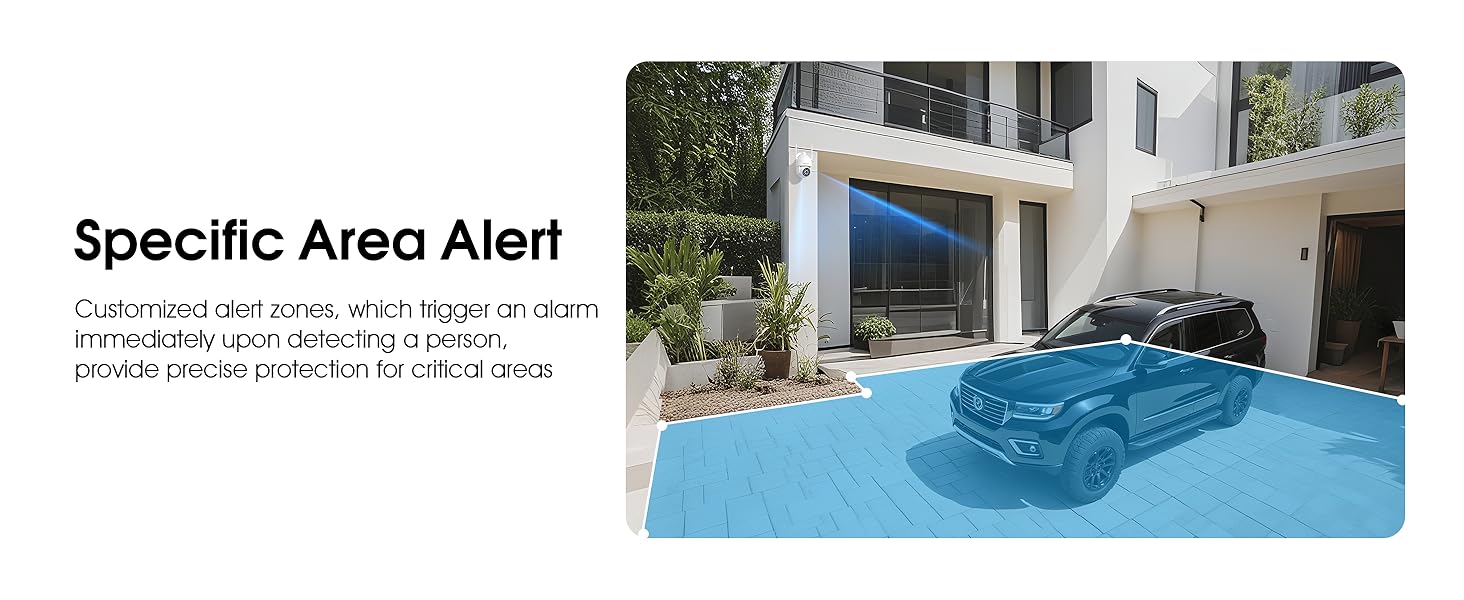
Image 5.5: Setting up specific area alerts for precise protection.
5.4 Modalità di visione notturna
The camera offers both full-color night vision (activated by the built-in spotlight) and infrared night vision for clear monitoring in various low-light conditions.

Image 5.6: Comparison of Color Night Vision and Infrared Night Vision.
5.5 Audio bidirezionale
Use the two-way audio feature to communicate with visitors or deter unwanted guests directly through the camera's built-in microphone and speaker.
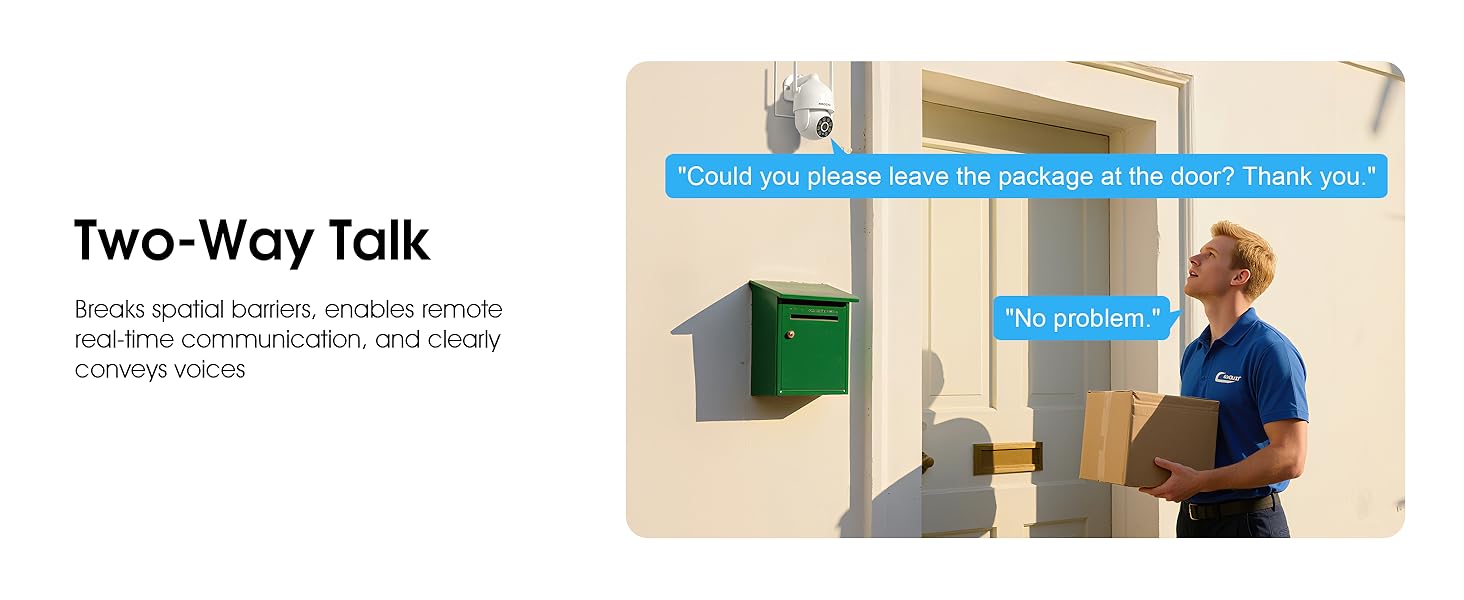
Image 5.7: Utilizing two-way talk for remote communication.
5.6 Registrazione e riproduzione
La telecamera supporta la registrazione continua 24 ore su 24, 7 giorni su 7. Footage can be saved to a local microSD card (up to 128GB) or to optional cloud storage. Access recorded videos through the app's playback function.

Image 5.8: The camera provides 24/7 recording capabilities.
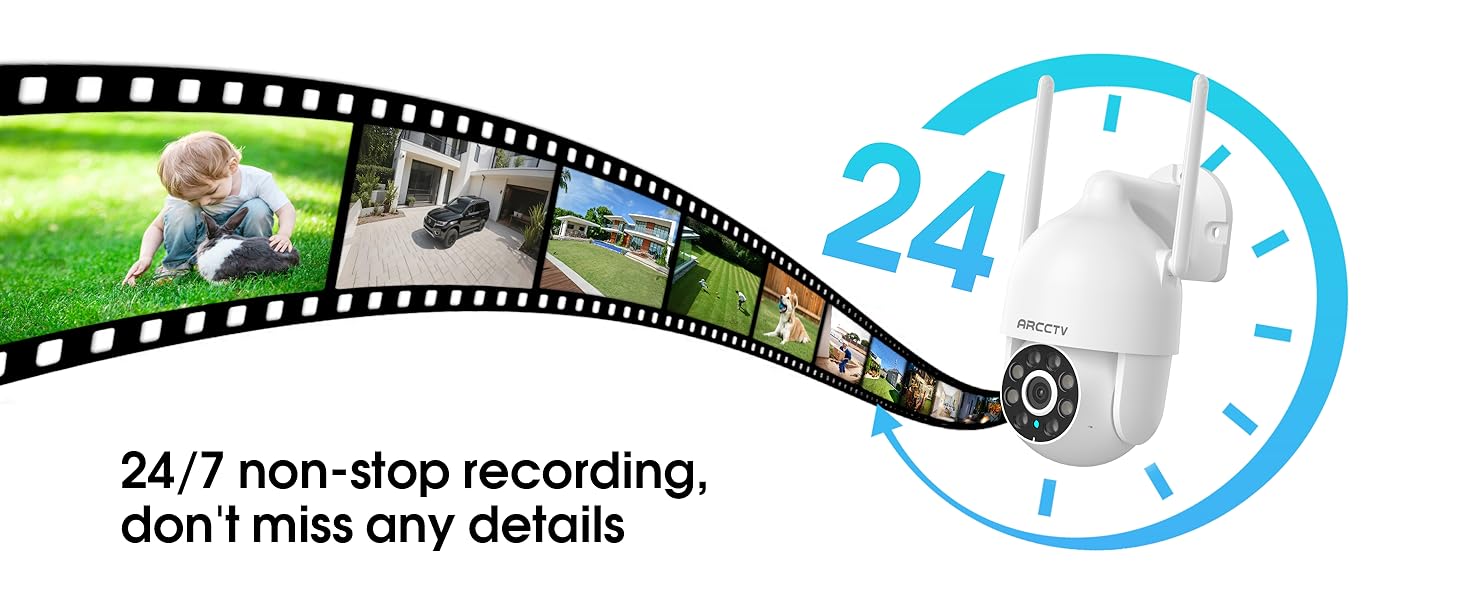
Image 5.9: Continuous 24/7 recording ensures no details are missed.
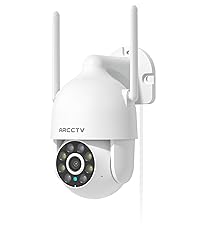
Image 5.10: Cloud storage encryption for secure and accessible recordings (subscription may apply).
5.7 Condivisione in famiglia
The app supports multi-member sharing, allowing family members to view the camera feed and collaborate on security monitoring.
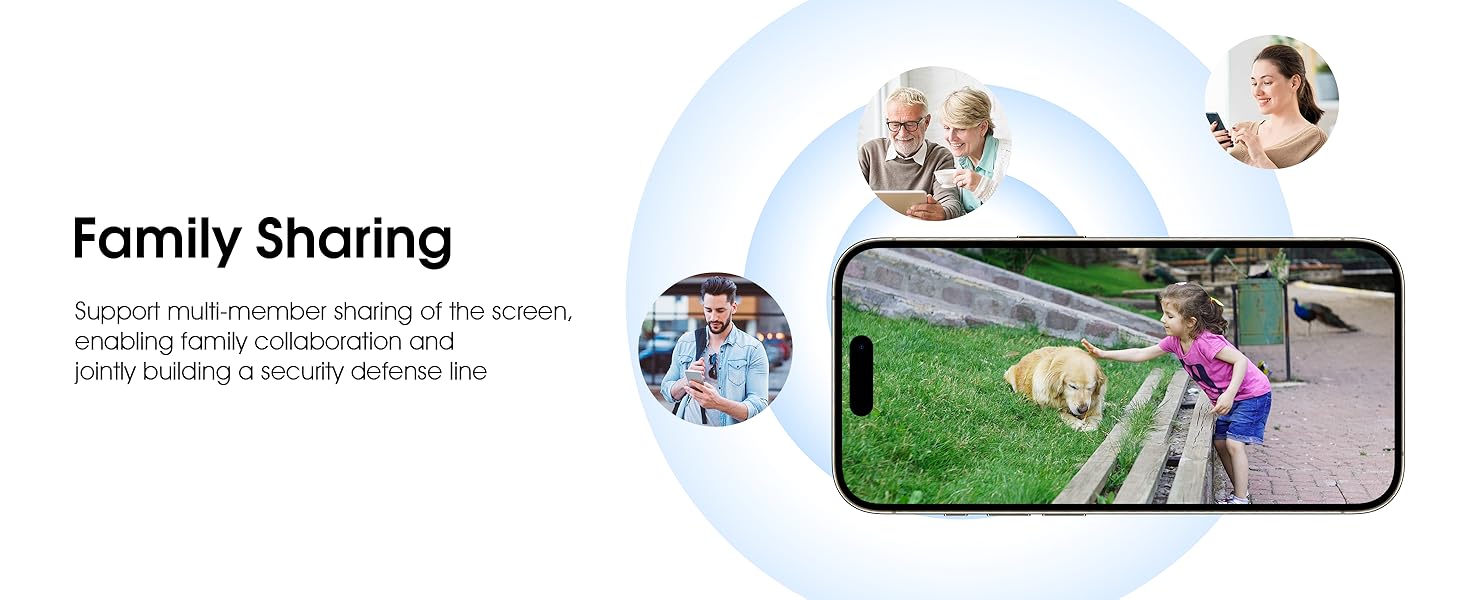
Image 5.11: The family sharing feature allows multiple users to access the camera feed.
5.8 Compatibilità con Alexa
The camera is compatible with Alexa, allowing you to check the monitoring screen using voice commands.
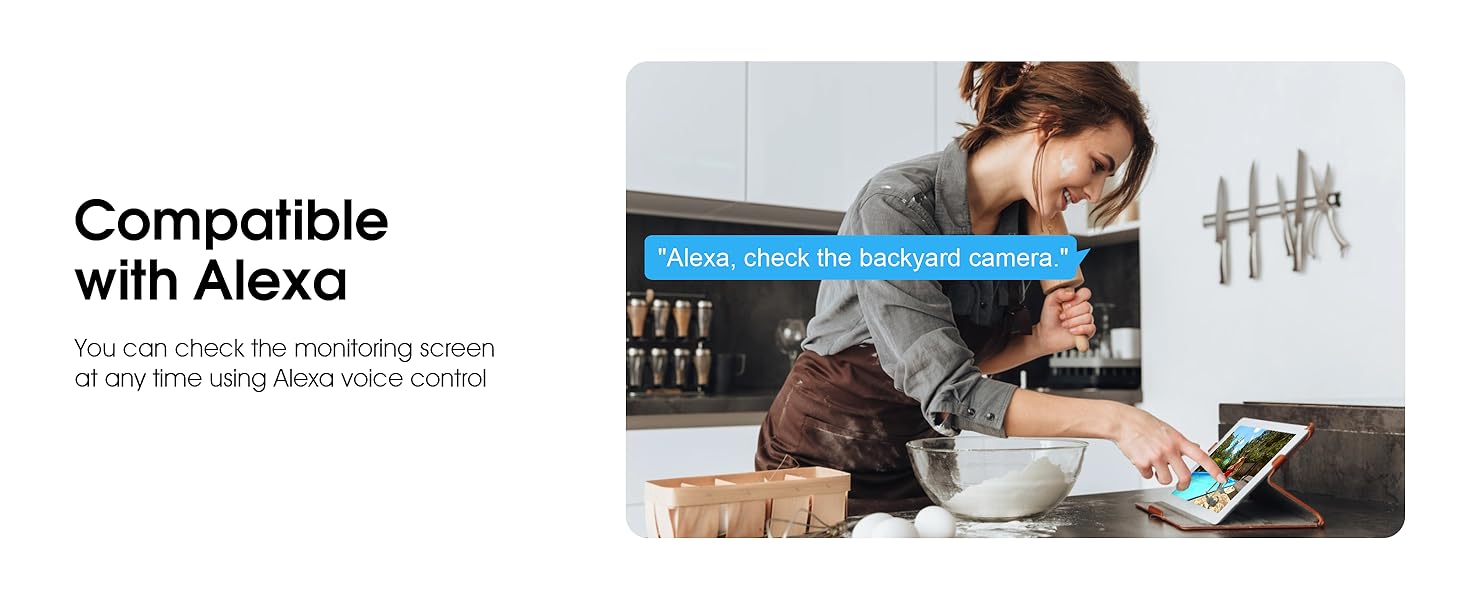
Image 5.12: Voice control via Alexa for convenient monitoring.
6. Manutenzione
6.1 Pulizia della fotocamera
Pulire periodicamente l'obiettivo e l'alloggiamento della fotocamera con un panno morbido eamp panno per rimuovere polvere e detriti. Non utilizzare prodotti chimici aggressivi o detergenti abrasivi.
6.2 Aggiornamenti firmware
Ensure your camera's firmware is up to date for optimal performance and security. Check for updates within the ARCCTV app and follow the instructions to install them.
6.3 Gestione dell'archiviazione
If using a microSD card, regularly check its status in the app. Format the card periodically to maintain performance. For cloud storage, manage your subscription and storage space through the app.
7. Risoluzione Dei Problemi
- La fotocamera non si connette al Wi-Fi:
- Ensure your Wi-Fi network is 2.4GHz or 5GHz and has a strong signal at the camera's location.
- Verificare che la password Wi-Fi sia stata inserita correttamente.
- Riavvia il router e la telecamera.
- Scarsa qualità dell'immagine:
- Pulisci l'obiettivo della fotocamera.
- Assicurare un'illuminazione adeguata per prestazioni ottimali nella visione notturna.
- Controlla la velocità della tua connessione Internet.
- Il rilevamento del movimento non funziona:
- Verificare che il rilevamento del movimento sia abilitato nelle impostazioni dell'app.
- Regola le impostazioni di sensibilità.
- Assicurarsi che non vi siano ostacoli nel campo di ripresa della telecamera view.
- Nessuna registrazione sulla scheda MicroSD:
- Ensure a microSD card is properly inserted and formatted in the app.
- Check if the card is full; consider formatting or replacing it.
- Verificare le impostazioni di registrazione nell'app.
8. Specifiche
| Caratteristica | Specificazione |
|---|---|
| Nome del modello | P2 |
| Uso interno/esterno | All'aperto |
| Risoluzione di acquisizione video | Risoluzione 2K (2304x1296p) |
| Tecnologia di connettività | Senza fili (Wi-Fi) |
| Tecnologia di comunicazione wireless | Wi-Fi (doppia banda 2.4G/5G) |
| Viewangolo di ing | 360 gradi (panoramica 355°, inclinazione 90°) |
| Gamma di visione notturna | 50 piedi |
| Livello di resistenza all'acqua | IP66 impermeabile |
| Fonte di alimentazione | Adattatore di alimentazione 5V1A |
| Dimensione massima supportata della memoria flash | 128 GB (MicroSD) |
| Capacità di registrazione audiovisiva | Video e audio |
| Caratteristica speciale | 2-Way Audio, Motion Tracking, Full Color Night Vision |
| Dimensioni dell'articolo L x P x A | 7.8 x 6.6 x 5.3 pollici |
| Peso dell'articolo | 1.39 libbre |
9. Garanzia e supporto
For warranty information and technical support, please refer to the official ARCCTV website or contact their customer service directly. Contact details are typically provided on the product packaging or within the mobile application.
Ask a question about this manual
Ask about setup, troubleshooting, compatibility, parts, safety, or missing instructions. Manuals+ will review the question and use this page’s manual context to help answer it.