1. Introduzione
Thank you for choosing the Necchi AutoPower 500-S Cordless Vacuum Cleaner. This manual provides essential information for the safe operation, maintenance, and troubleshooting of your appliance. Please read it thoroughly before first use and keep it for future reference.
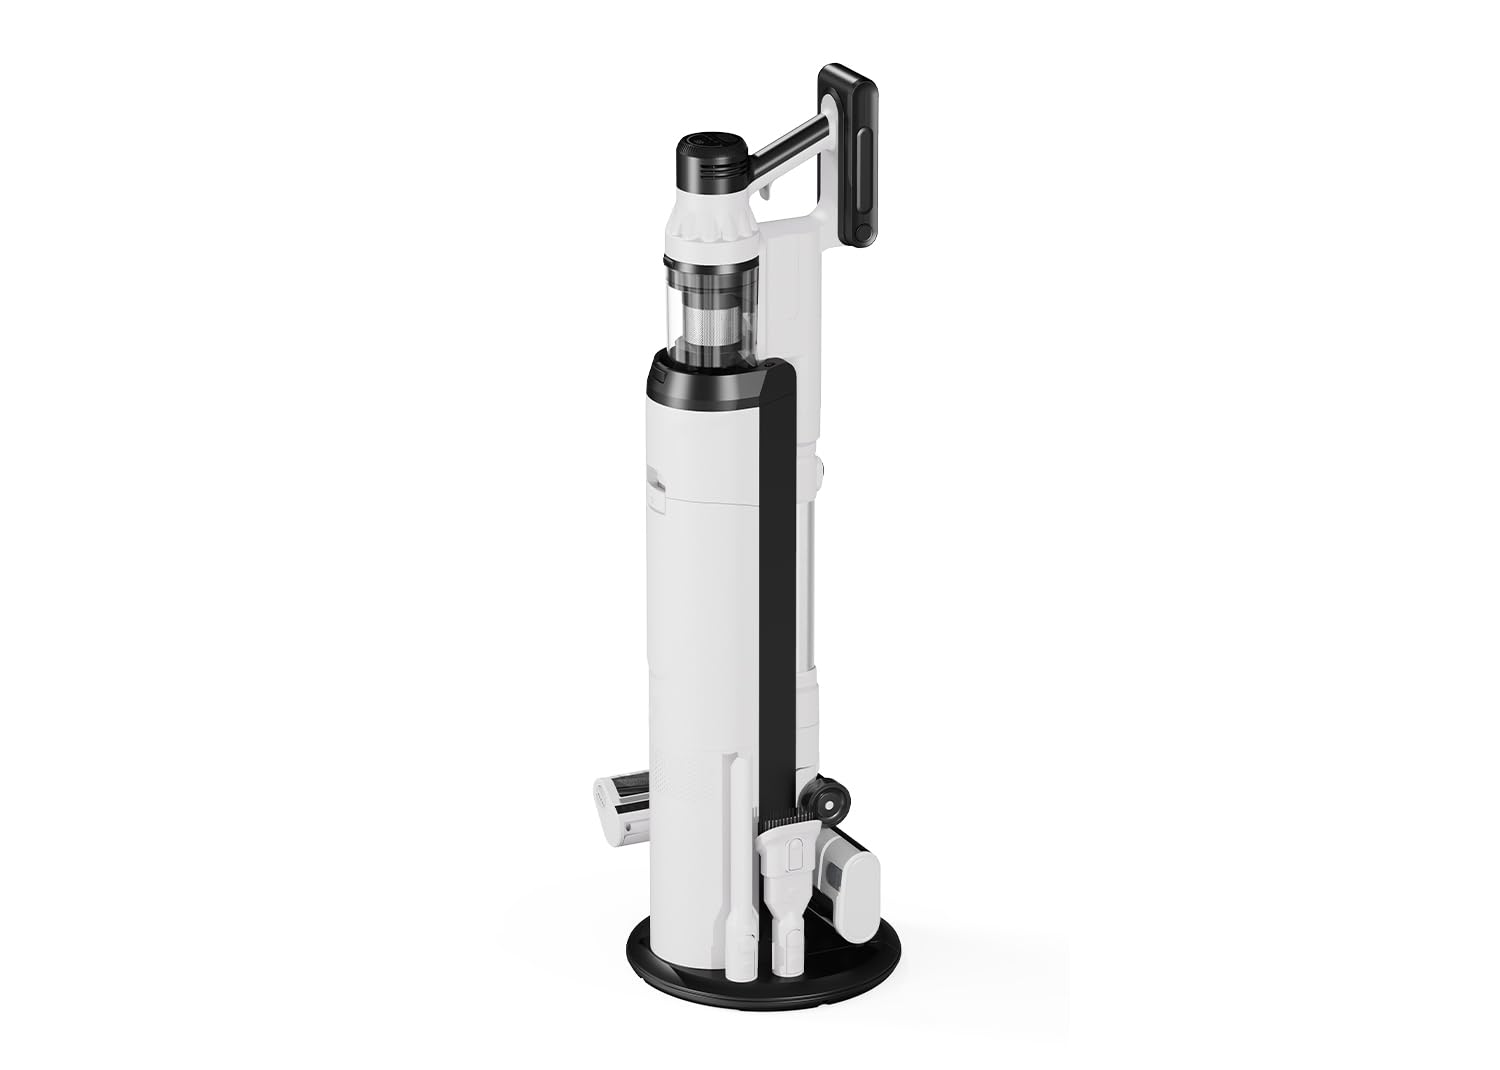
Image 1.1: The Necchi AutoPower 500-S Cordless Vacuum Cleaner in its full upright configuration.
2. Istruzioni di sicurezza
Per ridurre il rischio di incendi, scosse elettriche o lesioni, seguire sempre le precauzioni di sicurezza di base quando si utilizza un apparecchio elettrico.
- Leggere tutte le istruzioni prima di utilizzare l'apparecchio.
- Questo apparecchio è destinato esclusivamente all'uso domestico. Non utilizzare all'aperto o su superfici bagnate.
- Non permettere ai bambini di utilizzare l'aspirapolvere. È necessaria un'attenta supervisione quando l'aspirapolvere viene utilizzato in presenza di bambini.
- Utilizzare solo come descritto nel presente manuale. Utilizzare solo gli accessori consigliati dal produttore.
- Non raccogliere liquidi infiammabili o combustibili, come benzina, né utilizzarli in aree in cui potrebbero essere presenti.
- Non raccogliere nulla che stia bruciando o che stia producendo fumo, come sigarette, fiammiferi o cenere calda.
- Non utilizzare senza contenitore della polvere e filtri in posizione.
- Spegnere l'apparecchio prima di effettuare qualsiasi regolazione, sostituire gli accessori o riporre l'aspirapolvere.
- Ricaricare solo con il caricabatterie specificato dal produttore.
- Non maneggiare il caricabatterie o l'apparecchio con le mani bagnate.
- Non modificare o tentare di riparare l'apparecchio o la batteria.
3. Contenuto della confezione
Carefully unpack your Necchi AutoPower 500-S and check that all items are present and in good condition. If any items are missing or damaged, please contact customer support.
- Main Unit (Motor Body with Dustbin)
- Bacchetta di estensione
- Spazzola per pavimenti motorizzata
- Strumento per fessure
- Strumento Pennello 2 in 1
- Stazione di ricarica
- Adattatore di alimentazione
- Manuale d'uso

Image 3.1: The main unit shown with different cleaning attachments: crevice tool, 2-in-1 brush tool, and the motorized floor brush.
4. Componenti del prodotto
Familiarize yourself with the different parts of your vacuum cleaner:
- Unità principale: Contains the motor, dustbin, handle, and control panel.
- Bacchetta di estensione: Collega l'unità principale alla spazzola per pavimenti o ad altri accessori per una maggiore portata.
- Spazzola per pavimenti motorizzata: Designed for efficient cleaning of various floor types.
- Bocchetta per fessure: Ideale per spazi stretti e angoli.
- Strumento pennello 2 in 1: Combina una spazzola e un ugello largo per una pulizia versatile.
- Batteria rimovibile: Fornisce alimentazione all'unità.
- Stazione di ricarica: Used to store and charge the vacuum.
5. Impostazione
5.1 Montaggio
- Inserire la bacchetta di estensione nell'unità principale finché non scatta in posizione.
- Attach the motorized floor brush to the other end of the extension wand until it clicks. Alternatively, attach any other desired cleaning tool directly to the main unit for handheld use.
5.2 Installazione e ricarica della batteria
The battery may not be fully charged upon delivery. It is recommended to fully charge the battery before first use.
- To install the battery, slide it into the slot on the main unit until it locks securely.
- To charge, connect the power adapter to the charging station, then place the vacuum cleaner onto the charging station. Ensure the charging contacts align. The battery can also be charged separately by removing it from the main unit and connecting it directly to the power adapter.
- The battery indicator on the control panel will show the charging status.

Image 5.1: Illustration of how to remove the removable battery from the main unit for separate charging or replacement.
6. Istruzioni per l'uso
6.1 Accensione/spegnimento e selezione della modalità
The Necchi AutoPower 500-S features a touch control panel for easy operation.
- Premere il pulsante di accensione (U) on the control panel to turn the vacuum cleaner on or off.
- Press the mode selection button (icona della ventola) to cycle through the 4 available cleaning modes: AUTO, NORMAL, TURBO, and TURBO+.

Image 6.1: The control panel displaying the four cleaning modes: AUTO, NORMAL, TURBO, and TURBO+.
- Modalità automatica: The intelligent sensor automatically adjusts suction power based on the detected dust level and floor type.
- Modalità normale: Aspirazione standard per la pulizia quotidiana.
- Modalità TURBO: Increased suction for tougher dirt.
- TURBO+ Mode: Massima potenza di aspirazione per una pulizia profonda.
6.2 Utilizzo degli allegati
Seleziona l'accessorio più adatto al tuo compito di pulizia:
- Spazzola per pavimenti motorizzata: Best for hard floors and carpets.
- Bocchetta per fessure: Use for tight spaces, edges, and corners.
- Strumento pennello 2 in 1: Use the brush for delicate surfaces like upholstery or curtains, and the wide nozzle for general dust and debris.

Image 6.2: The vacuum cleaner used in handheld mode with an attachment for cleaning upholstery.
7. Manutenzione
Una manutenzione regolare garantisce prestazioni ottimali e prolunga la durata del tuo aspirapolvere.
7.1 Svuotamento del cestino
The Necchi AutoPower 500-S features an automatic emptying station. When the vacuum is placed on the charging station, the dustbin can be automatically emptied into a larger container within the station.
- Ensure the automatic emptying function is enabled on the charging station.
- Place the vacuum cleaner onto the charging station. The station will automatically initiate the emptying process.
- Alternatively, the dustbin can be manually emptied by detaching it from the main unit and opening the bottom flap over a waste bin.

Image 7.1: Visual representation of the automatic dustbin emptying process when the vacuum is docked in its charging station.
7.2 Pulizia dei filtri
L'aspirapolvere utilizza un multi-stage filtration system including a HEPA H13 filter, a multi-cyclonic filter, and a permanent filter. Clean filters regularly to maintain suction power.
- Spegnere l'aspirapolvere e staccare il contenitore della polvere.
- Remove the HEPA filter and multi-cyclonic filter assembly.
- Tap out loose dirt. Rinse the filters under cold running water. Do not use detergent.
- Lasciare asciugare completamente i filtri all'aria per almeno 24 ore prima di rimontarli. Non utilizzare asciugacapelli o altri dispositivi di riscaldamento.

Immagine 7.2: Esploso view diagram illustrating the components of the multi-stage filtration system, including the HEPA filter, multi-cyclonic filter, and permanent filter.
7.3 Pulizia della spazzola motorizzata per pavimenti
Hair and debris can get tangled in the brush roll. Clean it regularly.
- Spegnere l'aspirapolvere e staccare la spazzola per pavimenti.
- Locate the release tab or button on the side of the brush head and open the cover.
- Rimuovere la spazzola rotante. Utilizzare le forbici per tagliare eventuali peli o fibre aggrovigliati.
- Pulire eventuali detriti dall'alloggiamento della spazzola.
- Reinserire la spazzola rotante e chiudere bene il coperchio.

Image 7.3: The motorized floor brush with its cover removed, showing the brush roll for cleaning and maintenance.
8. Risoluzione Dei Problemi
Se riscontri problemi con l'aspirapolvere, consulta la tabella seguente per i problemi più comuni e le relative soluzioni.
| Problema | Possibile causa | Soluzione |
|---|---|---|
| L'aspirazione non si accende | La batteria non è carica o non è installata correttamente. | Caricare la batteria. Assicurarsi che la batteria sia ben inserita in posizione. |
| Potenza di aspirazione debole | Dustbin is full; Filters are clogged; Obstruction in the nozzle, wand, or brush. | Empty the dustbin. Clean or replace filters. Remove any obstructions. |
| Il rullo della spazzola non gira | Hair or debris tangled in the brush roll; Brush roll is jammed. | Turn off the vacuum, remove the brush roll, and clean it thoroughly. Check for any obstructions. |
| Rumore insolito | Obstruction in the air path; Damaged component. | Verificare la presenza di eventuali ostruzioni e rimuoverle. Se il rumore persiste, contattare l'assistenza clienti. |
| Batteria non in carica | Power adapter not connected; Charging station not properly connected; Faulty battery or charger. | Ensure the power adapter is securely plugged into both the wall outlet and the charging station. Verify the vacuum is correctly seated on the charging station. If issues persist, contact support. |
9. Specifiche
Technical specifications for the Necchi AutoPower 500-S Cordless Vacuum Cleaner:
- Marca: Necchi
- Modello: AutoPower 500-S
- Colore: Bianco
- Peso dell'articolo: 2.4 kg
- Cosatage: 500 L
- Numero di velocità: 4
- Durata: Fino a 50 minuti (in modalità Eco)
- Caratteristiche speciali: Automatic emptying station, Intelligent sensor
- Tipo di filtro: HEPA H13, Multi-cyclonic, Permanent
- Superfici consigliate: Tutti i tipi di pavimento
- Fonte di energia: Battery (28.8V, 2500mAh Li-ion)
- Livello di rumore: Sotto i 80 dB
10. Garanzia e supporto
The Necchi AutoPower 500-S comes with official Necchi 100% Italian assistance. For product registration, repairs, or any technical support, please refer to the official Necchi websito o contattare direttamente il servizio clienti.
Per ulteriore assistenza, visitare il sito Negozio Necchi su Amazon oppure consulta le informazioni di contatto fornite sulla confezione del prodotto.
Image 10.1: The Necchi 100% Italian Assistance logo, indicating dedicated customer support.