1. Introduzione
This manual provides detailed instructions for the installation, operation, and maintenance of your ELUSH 60Amp MPPT Solar Charge Controller. This device is designed to efficiently manage power from your solar panels to charge various battery types, including LiFePO4, AGM, and Gel batteries, in 12V, 24V, and 48V systems.
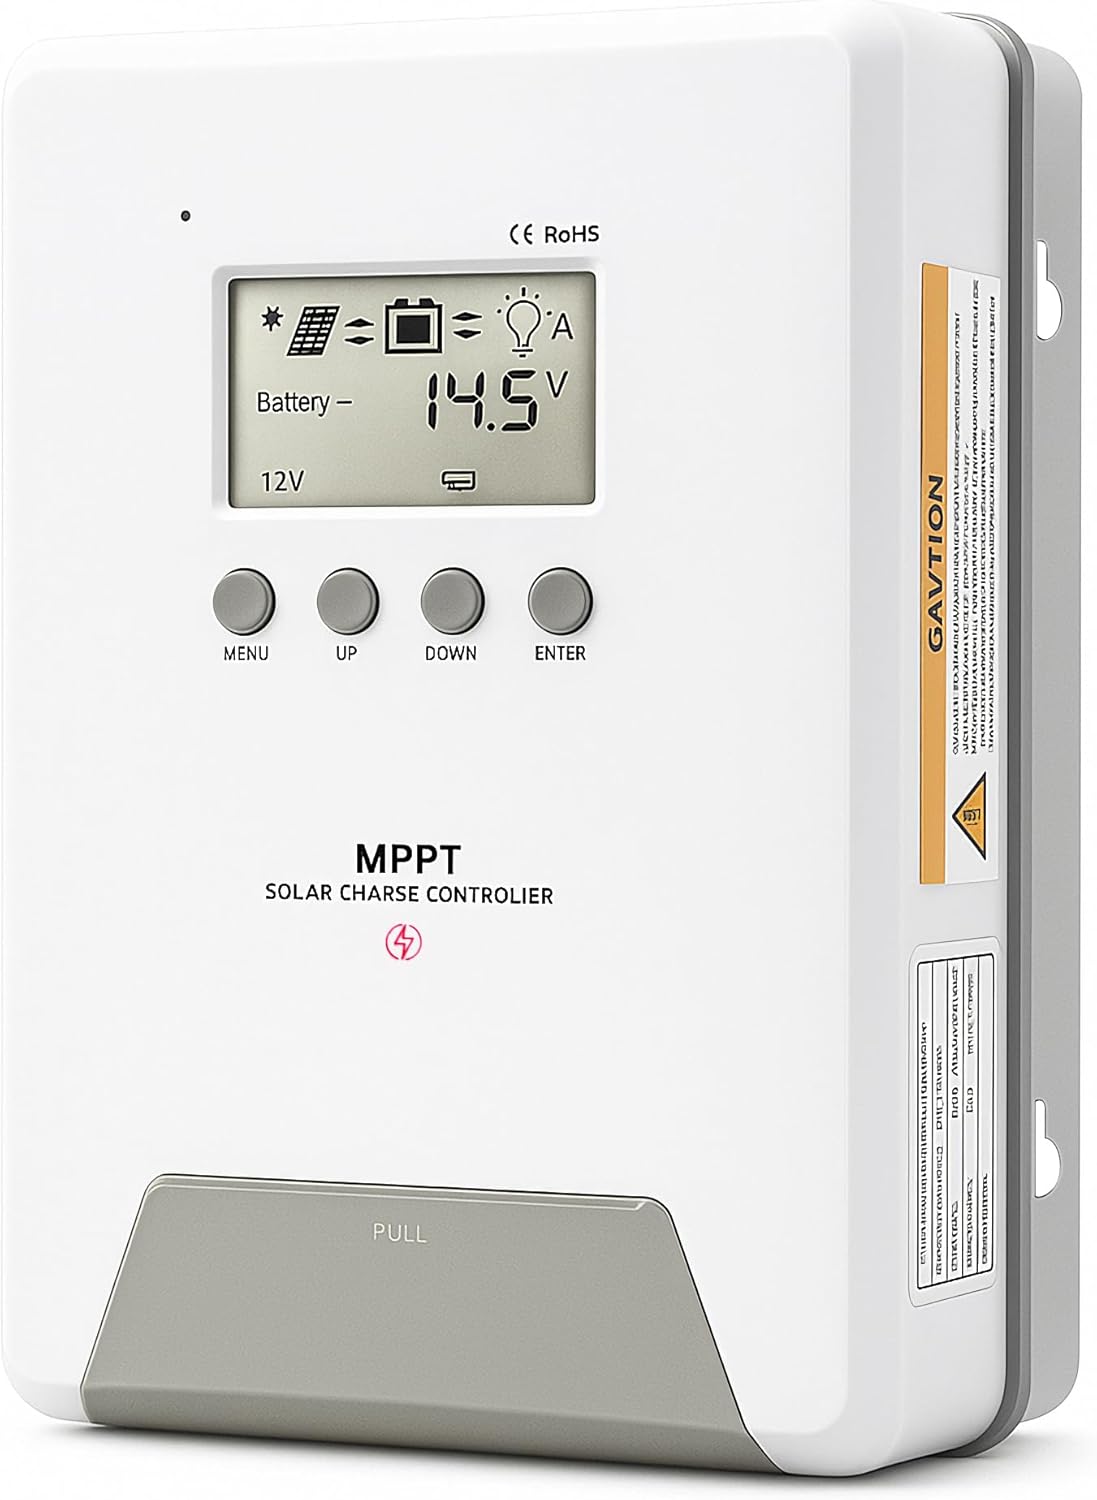
Image 1.1: ELUSH 60Amp Regolatore di carica solare MPPT.
2. Caratteristiche principali
- Tecnologia MPPT avanzata: Maximizes energy harvest from solar panels with tracking efficiency no less than 99% and peak conversion efficiency up to 98%.
- System Auto-Detection: Automatically detects 12V, 24V, and 48V DC system voltages upon startup.
- Ampia compatibilità della batteria: Supports Sealed (AGM), Gel, Flooded lead-acid batteries, and Lithium batteries (LiFePO4, Ternary Lithium/Li-ion).
- Display LCD chiaro: Provides real-time monitoring of PV voltage, volume della batteriatage/current, charging power, accumulated energy generation, and load status.
- Essential Built-in Protections: Includes safeguards against overvoltage, sovracorrente, undervoltage, e alta temperatura.
- Dissipazione efficiente del calore: Features a high-quality aluminum heatsink for stable operation and optimal performance.

Image 2.1: MPPT Technology highlighting 99% tracking efficiency and 98% peak conversion efficiency.
3. Safety Information and System Protection
The ELUSH MPPT Solar Charge Controller is equipped with multiple protection features to ensure safe and reliable operation of your solar power system. Always adhere to local electrical codes and safety guidelines during installation and operation.
- Protezione da scarica eccessiva: Prevents batteries from being discharged below a safe voltage livello.
- Protezione da sovraccarico: Safeguards against excessive current draw from the load terminals.
- Short-circuiting Protection: Protects against short circuits in the solar panel, battery, or load circuits.
- Protezione da inversione di polarità: Previene i danni causati da collegamenti errati della batteria o del pannello solare.
- Protezione da sovraccarico: Ensures batteries are not overcharged, extending their lifespan.
- Compensazione della temperatura: Adjusts charging parameters based on battery temperature for optimal charging.
- Protezione da corrente inversa: Prevents current from flowing back from the battery to the solar panel at night.

Image 3.1: Visual representation of the controller's system protection features.
4. Installazione e cablaggio
Una corretta installazione è fondamentale per il funzionamento sicuro ed efficiente del regolatore di carica solare. Seguire attentamente questi passaggi.
4.1 Sequenza di connessione
Always connect components in the following order to prevent damage:
- Collegare la batteria: Connect the battery to the controller's battery terminals. Ensure correct polarity (+ to + and - to -). The battery terminals should be installed with safety fuses. Ensure the distance does not exceed 150mm.
- Collegare il carico: Collegare i carichi CC ai terminali di carico del controller.
- Connect the solar panel: Connect the solar panel to the controller's solar energy terminals. Ensure correct polarity.
- Accendere il controller: The controller will automatically power on once all connections are secure.
Nota: If you want to connect an inverter, connect it directly to the battery, not to the load terminal of the controller.

Image 4.1: Diagram showing the connection points for solar energy, battery, and load.

Image 4.2: Step-by-step visual guide for connecting the system components.
4.2 Hidden Installation Wiring
For a clean and secure installation, the wiring can be routed and hidden. After all connections are properly made and tested, tighten the screws on the terminals and close the bottom cover of the controller to complete the installation. This protects the wiring and provides a neat appearance.
5. Istruzioni per l'uso
Il controller è dotato di un display LCD intuitivo e di pulsanti per il monitoraggio e la configurazione.
Display LCD e pulsanti 5.1
The LCD screen provides real-time information about your system. The buttons allow you to navigate menus and adjust settings.
- Sensore di temperatura: Located on the controller, it measures ambient temperature for accurate charging compensation.
- Schermo LCD: Shows PV voltage, volume della batteriatage, charging current, load status, and other system parameters.
- Pulsante MENU: Used to enter and exit menu settings.
- Pulsante SU: Navigates upwards through menu options or increases values.
- Pulsante GI: Navigates downwards through menu options or decreases values.
- Pulsante INVIO: Conferma le selezioni o accede ai sottomenu.
Image 5.1: The controller's LCD display and button layout for user interaction.
5.2 Volume automaticotage Recognition and Battery Compatibility
The controller automatically detects the system voltage (12V, 24V, or 48V) upon startup. It is compatible with a wide range of battery types, ensuring efficient and safe charging for your specific setup.
- Lithium-ion batteries (Li): For standard lithium-ion chemistries.
- Lithium Iron Phosphate batteries (LiFePO4): Specifically designed for LiFePO4 batteries.
- Lead-acid batteries (BAT): Includes Sealed (AGM), Gel, and Flooded types.

Image 5.2: Illustration of automatic voltage recognition and compatibility with various battery types.
6. Specifiche
| Marca | ELUSH |
| Numero di modello | Modello DM60A |
| Valutazione attuale | 60A |
| Volume di sistematage | 12V/24V/48V Auto Detection |
| Max ingresso PV Voltage | 150V |
| Materiale | Alluminio |
| Tipo di visualizzazione | LCD |
| Colore | Nero |
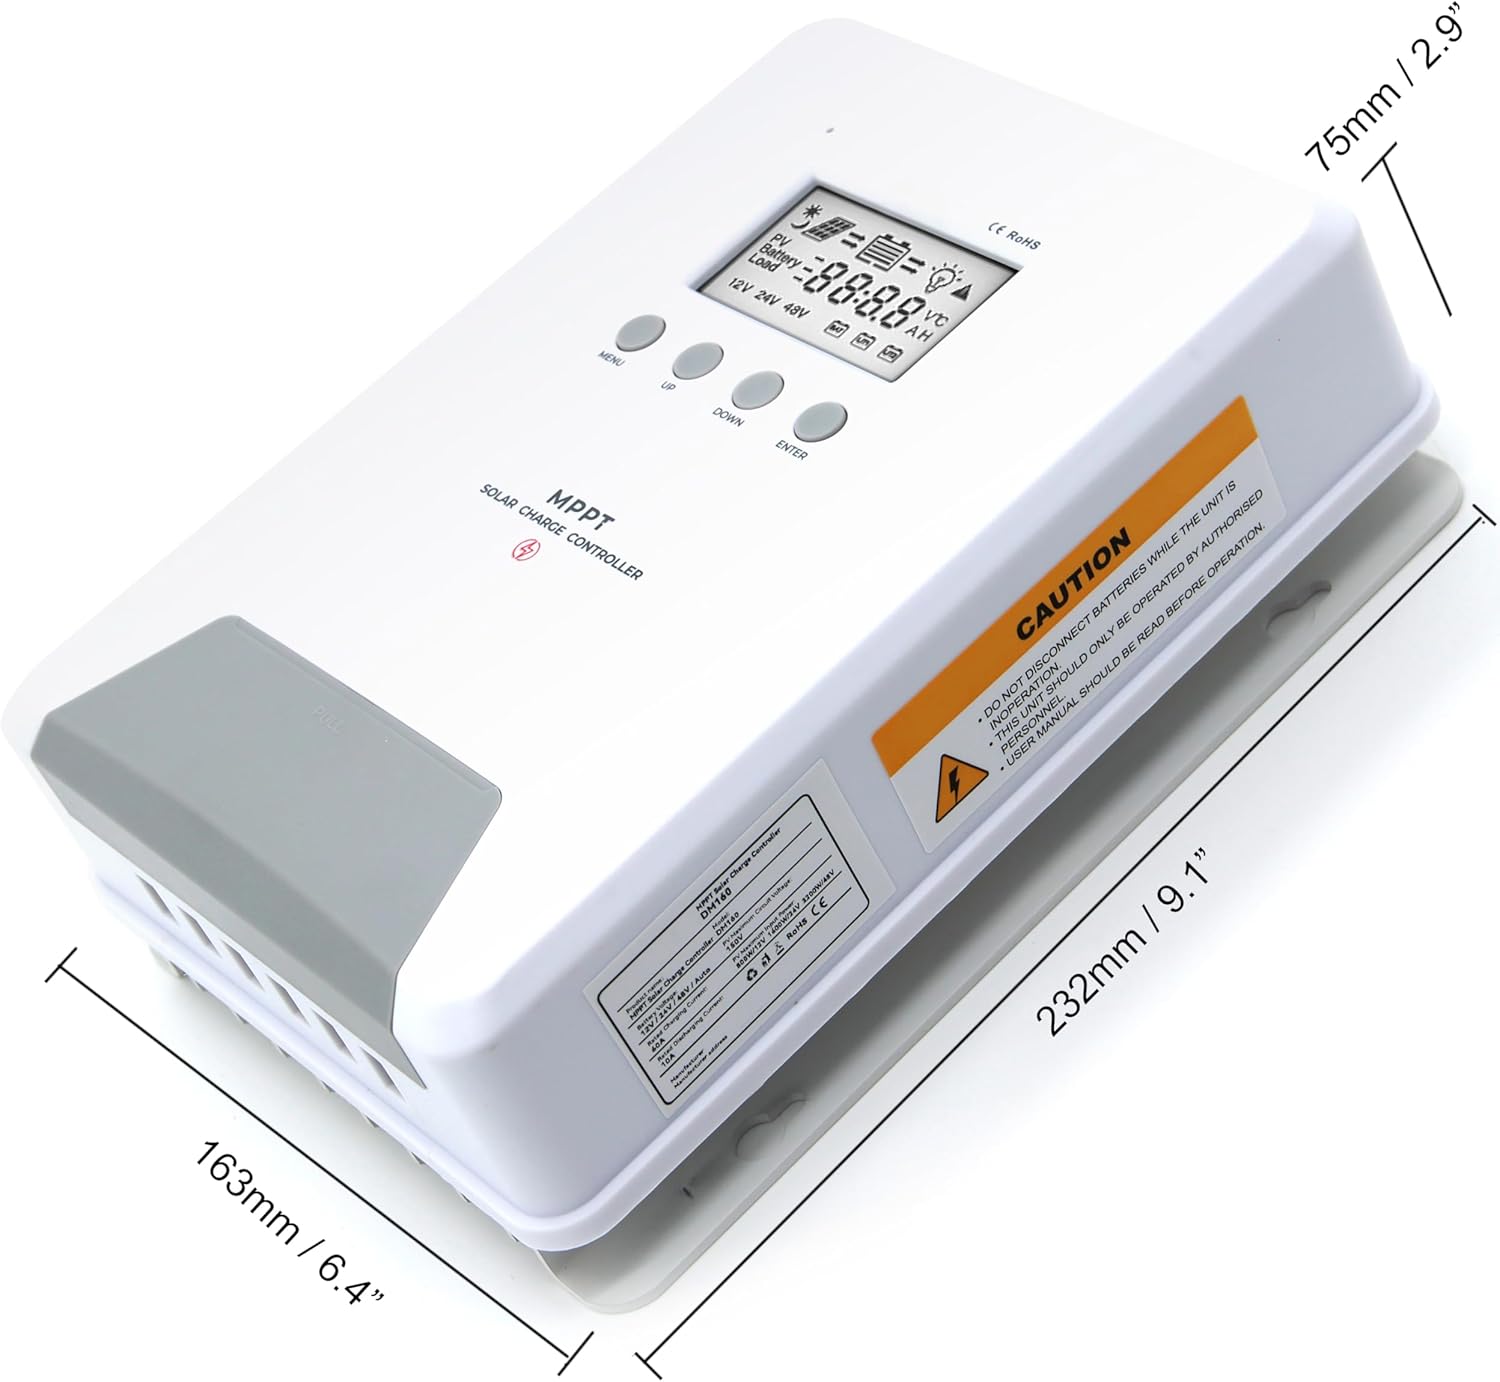
Image 6.1: Physical dimensions of the ELUSH 60Amp Regolatore di carica solare MPPT.
7. Manutenzione
Per garantire prestazioni ottimali e longevità del regolatore di carica solare, si consiglia una manutenzione regolare:
- Ispezionare le connessioni: Controllare periodicamente tutti i collegamenti elettrici per verificarne la tenuta e la corrosione. Collegamenti allentati possono causare surriscaldamento e danni.
- Pulisci il controller: Mantenere il controller pulito e privo di polvere e detriti. Utilizzare un panno asciutto per pulire l'esterno. Assicurarsi che le aperture di ventilazione non siano ostruite.
- Prestazioni del monitor: Regularly check the LCD display for normal operating parameters. Note any unusual readings or error codes.
- Stato della batteria: Assicuratevi che le batterie siano sottoposte a corretta manutenzione, secondo le linee guida del produttore.
8. Risoluzione Dei Problemi
If you encounter issues with your ELUSH MPPT Solar Charge Controller, refer to the following basic troubleshooting steps:
- Nessun display/Nessuna alimentazione: Controllare i collegamenti della batteria e assicurarsi che la batteria sia carica.tage is within the controller's operating range. Verify fuses are intact.
- Batteria non in carica: Verificare i collegamenti e la polarità del pannello solare. Verificare la presenza di luce solare sufficiente e assicurarsi che il pannello solare sia alimentato.tage è superiore al volume della batteriatage. Verify battery type settings are correct.
- Carico non funzionante: Check load connections and ensure the load current does not exceed the controller's rating. Verify load output settings on the controller.
- Codici di errore: If the LCD displays an error code, consult the full product manual (if available) or contact technical support for specific guidance.
- Surriscaldamento: Ensure the controller is installed in a well-ventilated area, away from direct sunlight or heat sources. Check for any obstructions to the heatsink.
9. Garanzia e supporto
ELUSH provides professional technical support for its products. If you have any questions, require assistance with installation, operation, or troubleshooting, please feel free to contact us. Refer to your purchase documentation for specific warranty terms and contact information.