

Introduzione
This manual provides essential information for the safe and efficient operation of your Philips PLD2030P7 DVD Player. Please read these instructions thoroughly before using the device and retain them for future reference.
1. Impostazione
1.1 Disimballaggio
Rimuovere con attenzione tutti i componenti dall'imballaggio. Assicurarsi che siano presenti tutti gli articoli elencati di seguito:
- Philips PLD2030P7 DVD Player
- Telecomando
- Cavo HDMI
- RCA
1.2 Collegamento a un televisore
The Philips PLD2030P7 DVD Player offers both HDMI and RCA connections for video and audio output.
HDMI Connection (Recommended for HD TVs)
- Collegare un'estremità del cavo HDMI alla porta HDMI OUT del lettore DVD.
- Collegare l'altra estremità del cavo HDMI a una porta HDMI IN disponibile sul televisore.
- Selezionare l'ingresso HDMI corrispondente sul televisore utilizzando il telecomando.
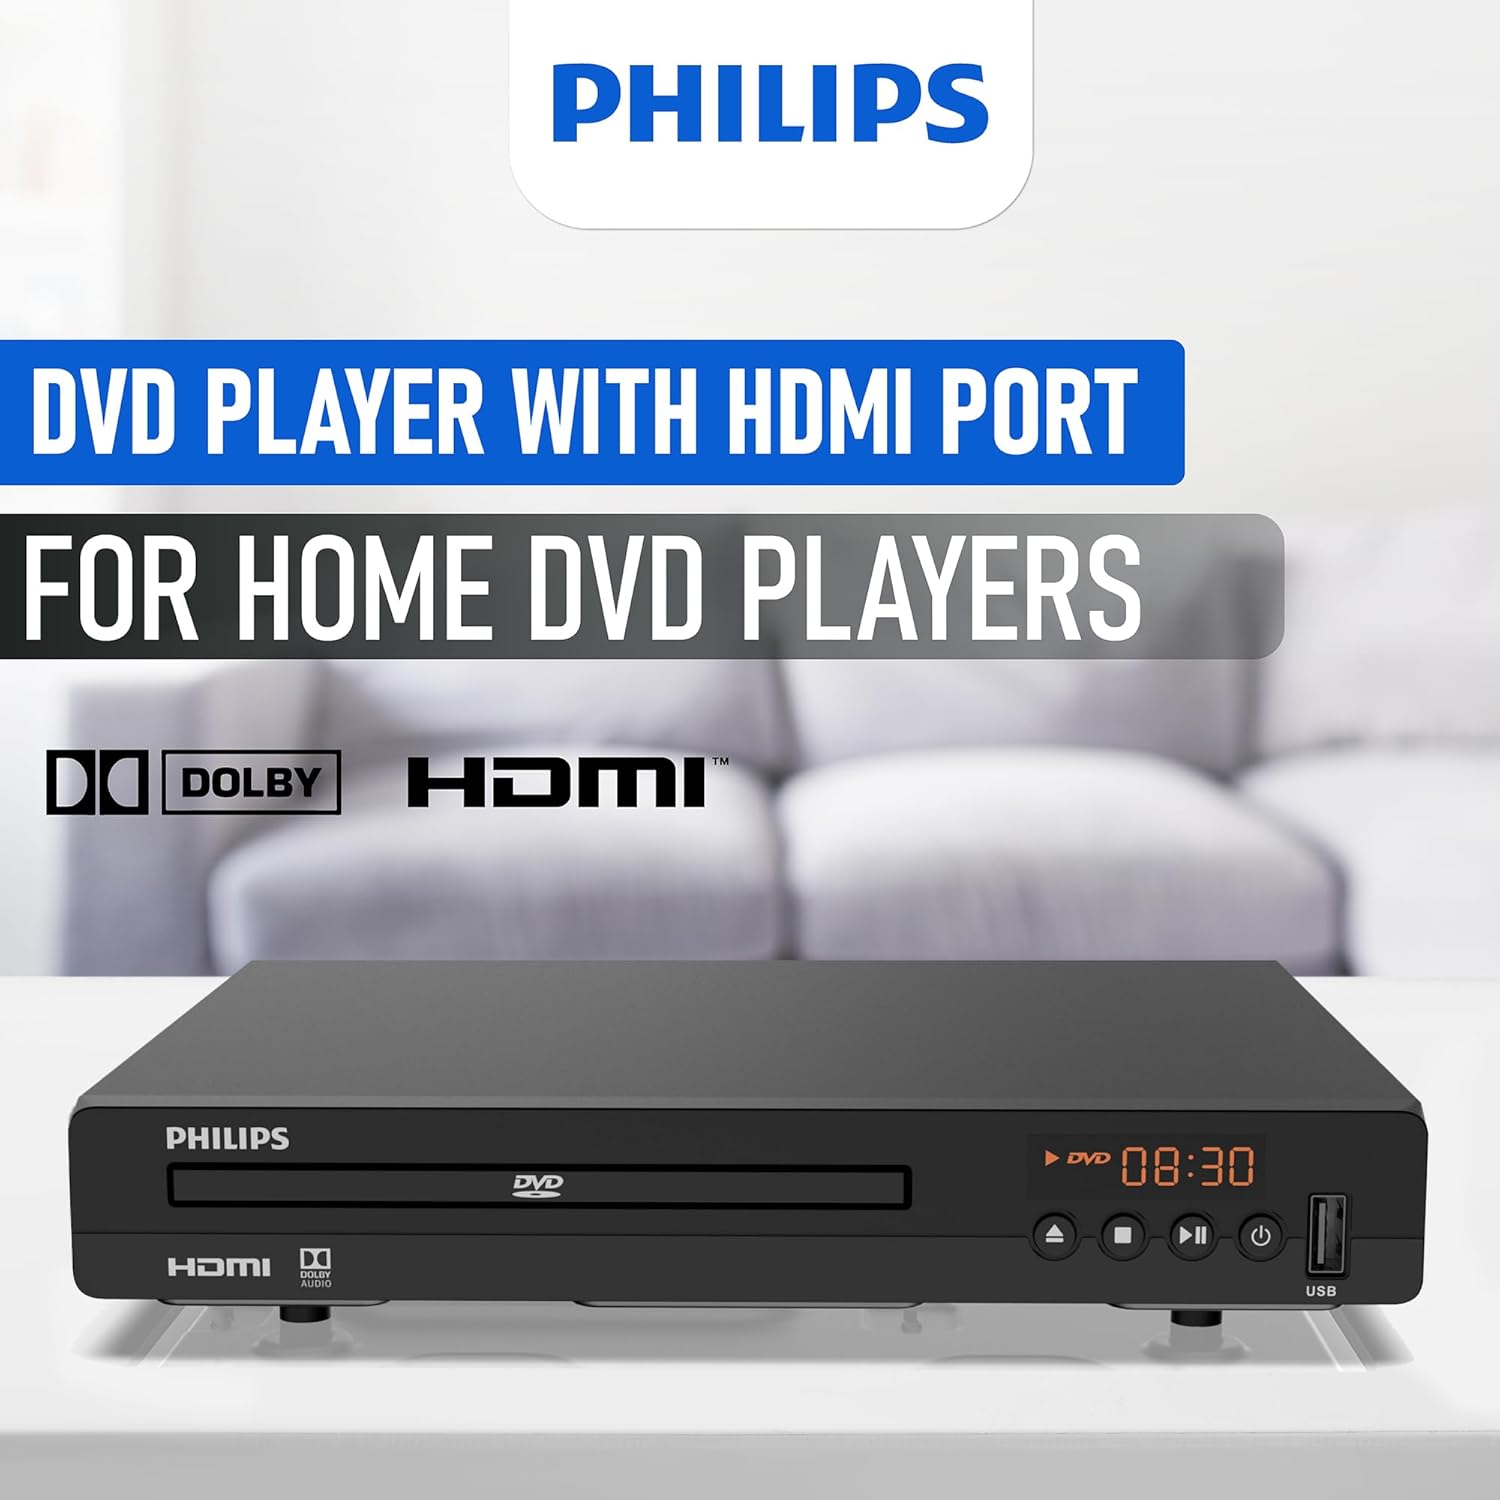
Illustration of the HDMI connection process, highlighting the 1080P upconversion capability from 480P resolution.
RCA Connection (For older TVs or alternative audio)
- Connect the red, white, and yellow RCA plugs from the RCA cable to the corresponding color-coded AV OUT jacks on the DVD player.
- Connect the other end of the RCA cable to the matching color-coded AV IN jacks on your television or home stereo system.
- Select the corresponding AV input on your television or stereo system.

Visual guide to various connection types, including HDMI for Smart TVs, projectors, and monitors, and RCA for older TVs, speakers, soundbars, amplifiers, and tuners.
1.3 Accensione
After connecting the player to your TV, plug the power cord into an electrical outlet. Press the Power button on the front panel or the remote control to turn on the DVD player.
1.4 Region Free Setup Guide
This DVD player supports multiple regions (1,2,3,4,5,6). To adjust region settings:
- Connect your DVD player to a TV.
- Ensure no disc is in the compartment, or press the APRI/CHIUDI button to eject the disc tray. The TV screen should display 'NO DISC'.
- Using the remote control, input the number "5168" to access the Super Setup Mode.
- Premere il tasto UP button to highlight "REGION". Press the GIUSTO button to highlight the region code. Press the UP button to highlight "TEST 0". Press the ENTRARE pulsante per confermare.
- Premere IMPOSTARE per uscire.
Visual instructions detailing the process to configure the DVD player for region-free playback, including remote control input and screen prompts.
2. Istruzioni per l'uso
Riproduzione di dischi 2.1
The Philips PLD2030P7 is compatible with CD, (S),VCD,DVD,DVD+R/RW,DVD-R/RW, or MP3 discs.
- Premere il tasto APRI/CHIUDI pulsante per aprire il vassoio del disco.
- Posizionare delicatamente il disco sul vassoio con il lato dell'etichetta rivolto verso l'alto.
- Premere il tasto APRI/CHIUDI button again to close the tray. The player will automatically begin playback or display a disc menu.
- Use the remote control to navigate menus and control playback (Play, Pause, Stop, Skip, Fast Forward/Rewind).
2.2 Riproduzione multimediale USB
The player supports media playback from USB devices for JPEG, MP3, and MP4 files.
- Insert your USB device into the USB port on the front of the DVD player.
- The player should automatically detect the USB device and display a media browser. If not, press the USB pulsante sul telecomando.
- Naviga attraverso il tuo files utilizzando il telecomando e premere GIOCARE or ENTRARE per avviare la riproduzione.

Demonstration of the USB input functionality, illustrating how to connect a USB device and the supported media formats including video (AVI, DIVX, MPG, MPEG, VOB), images (JPG), and music.
2.3 Screen Fit Feature
To optimize the picture to fill your screen, press the Adattamento dello schermo button on the remote control during playback. This feature adjusts the aspect ratio to match your display.
2.4 Qualità audio e video
The player features a 10-bit/108 MHz video DAC for superior picture quality and a built-in Dolby decoder chip for immersive audio.

Visual representation emphasizing the DAC/Dolby audio technology, which provides an immersive audio experience.

Description of the 10-bit/108 MHz video processing, ensuring sharp and natural images.
3. Manutenzione
3.1 Pulizia dell'unità
To clean the exterior of the DVD player, use a soft, dry cloth. Do not use liquid or aerosol cleaners, as they may damage the finish. Ensure the unit is unplugged before cleaning.
3.2 Cura del disco
Handle discs by their edges to avoid fingerprints. Store discs in their cases when not in use to prevent scratches and dust accumulation. Clean discs with a soft, lint-free cloth, wiping from the center outwards.
4. Risoluzione Dei Problemi
Se riscontri problemi con il tuo lettore DVD, fai riferimento ai seguenti problemi comuni e alle relative soluzioni:
| Problema | Possibile causa | Soluzione |
|---|---|---|
| Nessun potere | Cavo di alimentazione non collegato; presa di corrente non attiva | Assicurarsi che il cavo di alimentazione sia collegato saldamente; testare la presa con un altro dispositivo |
| Nessuna immagine in TV | Incorrect input selected on TV; Loose video cable connection | Select correct HDMI/AV input on TV; Check HDMI/RCA cable connections |
| Nessun suono | TV/receiver volume too low; Loose audio cable connection | Increase volume; Check HDMI/RCA audio cable connections |
| Il disco non viene riprodotto | Disc is dirty or scratched; Incorrect disc type; Region code mismatch | Clean disc; Ensure disc is compatible (DVD, CD, VCD); Verify region settings (refer to 1.4) |
| Il telecomando non funziona | Le batterie sono scariche o inserite in modo errato; ostruzione tra il telecomando e il lettore | Replace batteries; Ensure correct polarity; Remove obstructions; Point remote directly at player |
5. Specifiche
Below are the technical specifications for the Philips PLD2030P7 DVD Player:
| Caratteristica | Dettaglio |
|---|---|
| Marca | Philips |
| Nome del modello | PLD2030P7 |
| Tipo di supporto | CD, DVD, VCD |
| Caratteristica speciale | Compact, Progressive Scan |
| Risoluzione | 1280x800 (Internal processing), Video Output: 1080p |
| Tipo di connettore | Cavo HDMI |
| Tecnologia di connettività | Cavo HDMI |
| Colore | Nero |
| Peso dell'articolo | 2.3 libbre |
| Modalità di uscita audio | Circondare |
| Formato audio supportato | Dolby Digital |
| Configurazione del canale audio surround | 5.1 |
| Numero totale di porte HDMI | 1 |
| Codifica video | Formato MPEG-2 |
| Dispositivi compatibili | AV Receiver, Home Stereo System, Television |
| File Format (USB) | JPEG, MP3, MP4 |
| Media integrati | DVD Player, HDMI Cable, RCA Cable, Remote Control |
| Codice UPC | 850041387796 |
| ASIN | B0F4F53JSS |
| Codice GTIN | 850041387796 |

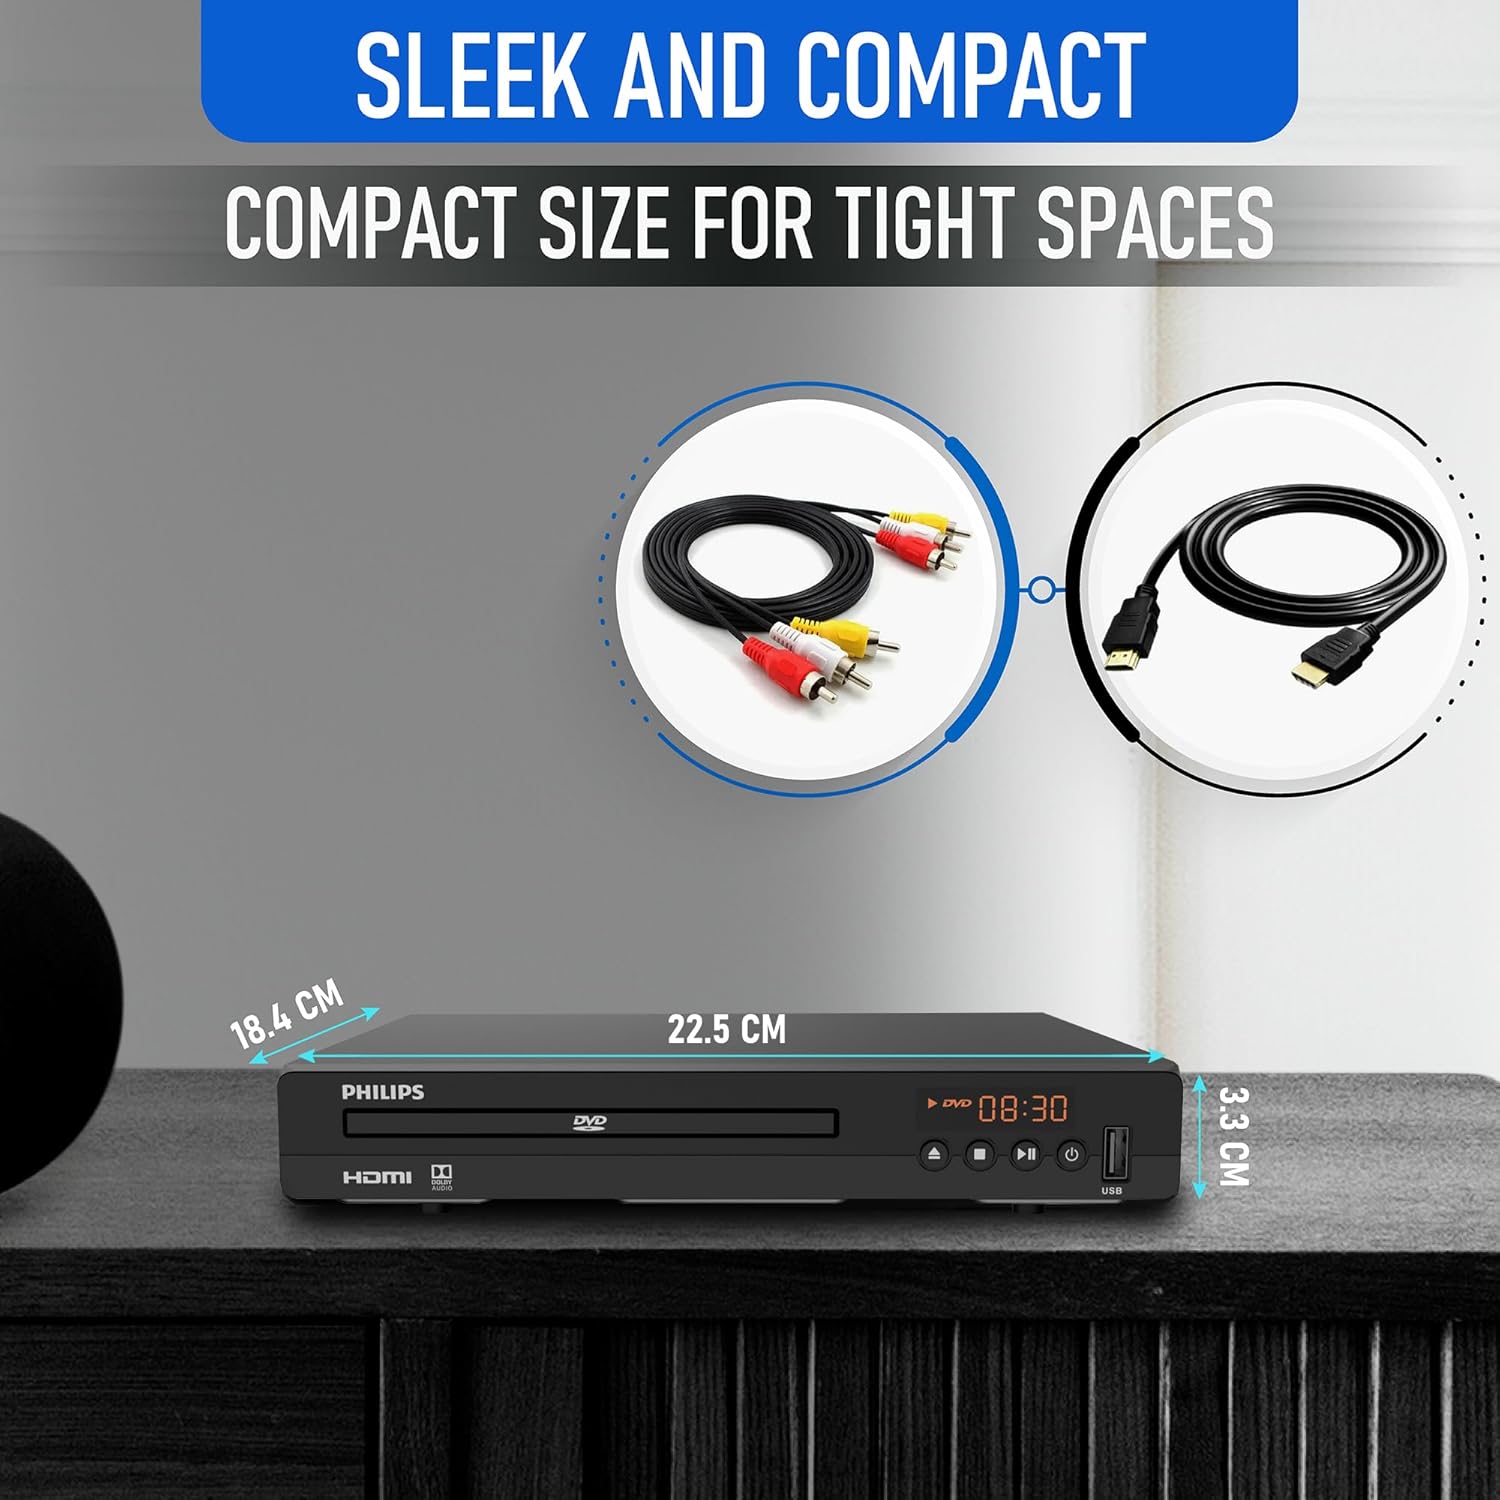
Diagram illustrating the compact dimensions of the DVD player: 22.5 cm (width), 18.4 cm (depth), and 3.3 cm (height).
6. Informazioni sulla garanzia
For detailed warranty information, please refer to the warranty card included in your product packaging or contact Philips customer support. The manufacturer's warranty covers defects in materials and workmanship under normal use.
7. Assistenza clienti
If you require further assistance or have questions not covered in this manual, please contact Philips customer support through their official websito o le informazioni di contatto fornite nella documentazione del prodotto.