POYBPCY CT369-S
Manuale utente della Dash Cam 4K POYBPCY
Model: CT369-S | Brand: POYBPCY
1. Introduzione
Thank you for choosing the POYBPCY 4K Dash Cam. This manual provides essential information for the proper installation, operation, and maintenance of your device. Please read this manual thoroughly before use to ensure optimal performance and safety. This dash cam is designed to record high-quality video footage of your journeys, providing crucial evidence in case of incidents and enhancing your driving safety.
2. Informazioni sulla sicurezza
- Do not operate the dash cam while driving. Adjust settings or review pippotage only when the vehicle is safely parked.
- Assicurarsi che la dash cam sia montata saldamente e non ostruisca la visuale view della strada o interferire con l'attivazione dell'airbag.
- Use only the original power cable provided to prevent damage to the device or your vehicle.
- Avoid exposing the dash cam to extreme temperatures, direct sunlight for prolonged periods, or excessive moisture.
- Keep the lens clean to ensure clear video recording. Use a soft, dry cloth for cleaning.
- Non tentare di smontare o riparare da soli il dispositivo. Contatta l'assistenza clienti per assistenza.
3. Contenuto della confezione
Si prega di selezionare la casella per i seguenti elementi:
- POYBPCY 4K Front Dash Cam
- Cavo di alimentazione di tipo C
- Filtro CPL
- Scheda SD da 64 GB
- USB Card Reader
- Supporto adesivo 3M
- Strumento di leva (piede di porco)
- Fermacavi
- Manuale d'uso
- Ripristina PIN

Image: All items included in the POYBPCY 4K Dash Cam package.
4. Prodotto finitoview
The POYBPCY 4K Dash Cam features a compact design with a 3.69-inch IPS display for clear viewing and playback. It utilizes a magnetic mount for easy installation and removal, and the front camera angle is adjustable up to 40 degrees for optimal positioning.
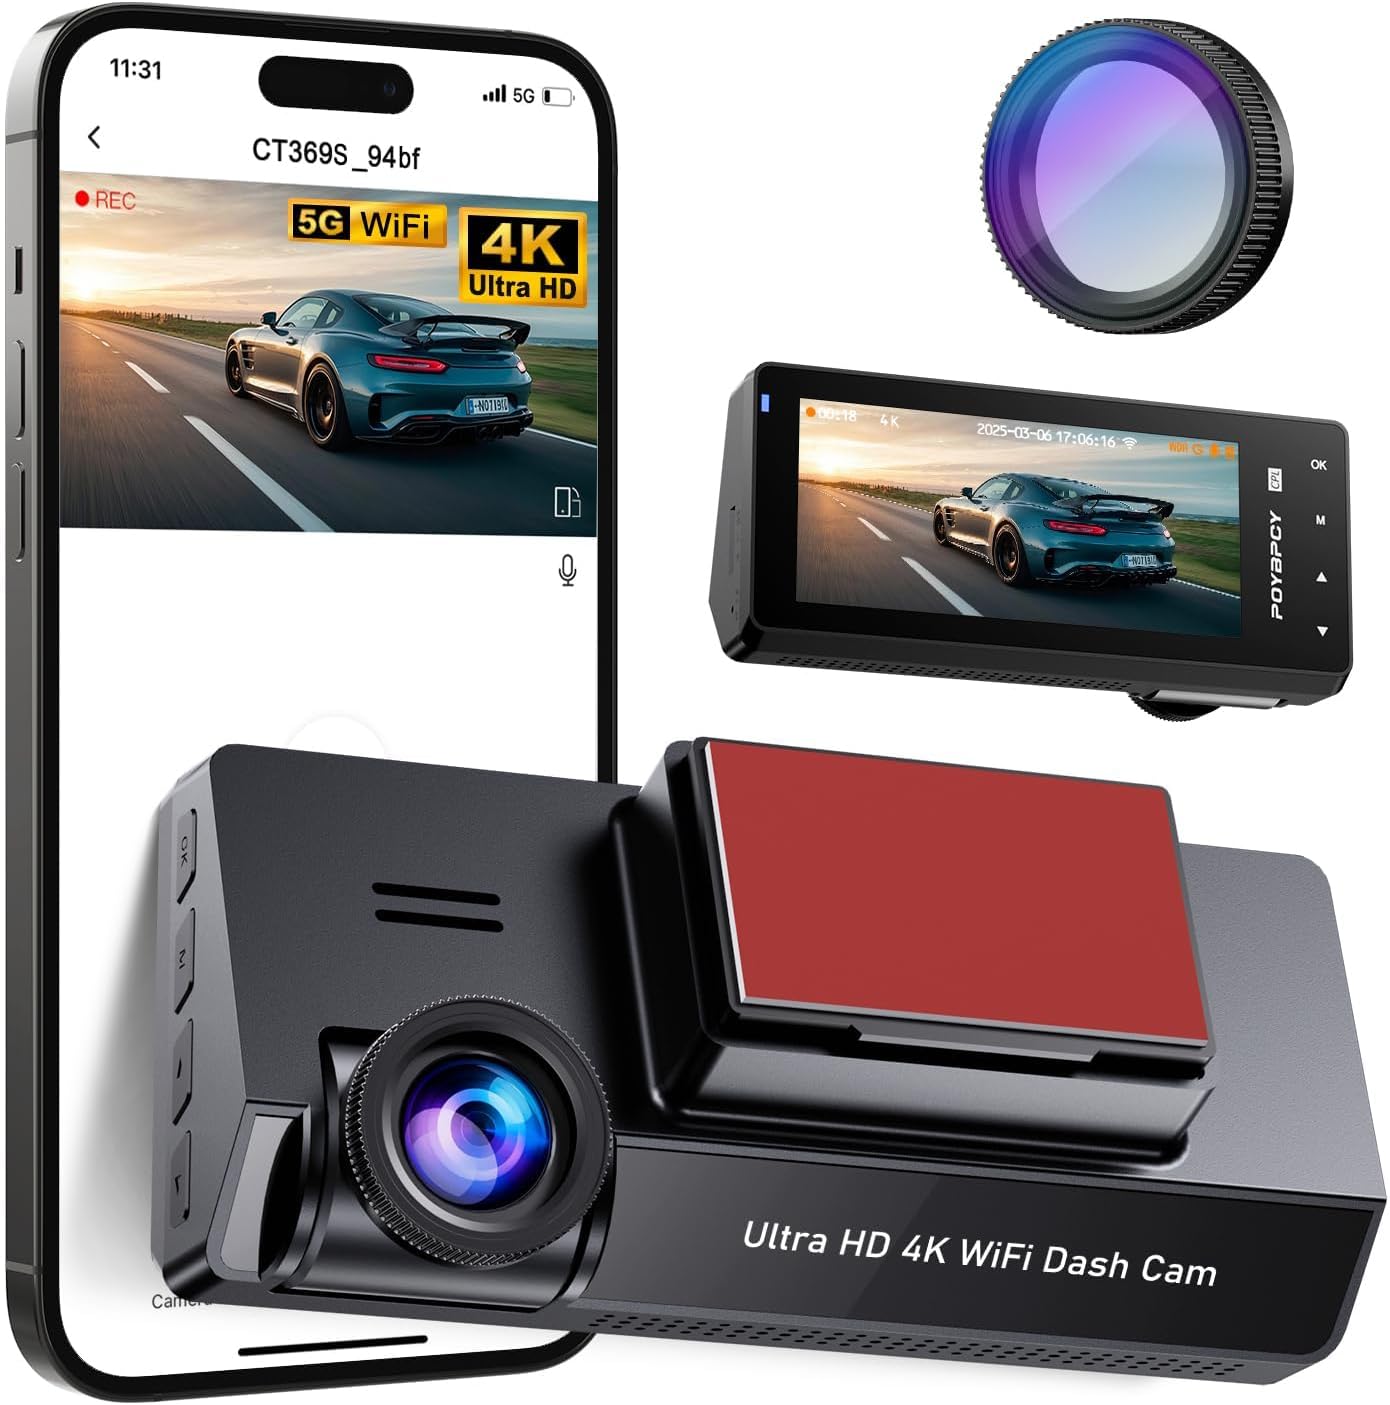
Image: POYBPCY 4K Dash Cam and its key components.

Image: Details of the 3.69-inch screen, magnetic mount, and adjustable camera angle.
5. Impostazione
5.1. Installazione della scheda SD
- Assicurarsi che la dash cam sia spenta.
- Individuare lo slot per la scheda SD sul lato della dash cam.
- Insert the provided 64GB SD card into the slot until it clicks into place.
- Per rimuoverla, spingere delicatamente la scheda finché non scatta fuori.
5.2. Montaggio della Dash Cam
- Pulisci la zona del parabrezza dove intendi montare la dash cam. Assicurati che sia priva di polvere e grasso.
- Attach the 3M adhesive mount to the desired location on your windshield, ensuring it does not obstruct your view.
- Connect the dash cam to the magnetic mount. The magnetic connection allows for easy attachment and detachment.
- Adjust the camera angle to ensure the lens captures the road ahead clearly. The camera can be rotated up to 40 degrees vertically.
5.3. Collegamento elettrico
- Connect the Type-C power cable to the dash cam's power port.
- Plug the other end of the power cable into your vehicle's cigarette lighter socket or a suitable USB power source.
- Route the cable neatly using the provided cable clips to avoid interference with driving.
6. Istruzioni per l'uso
6.1. 4K UHD Recording
The dash cam records video in stunning 4K resolution, capturing every detail on the road. It features a 170° wide-angle front camera, providing extensive coverage and minimizing blind spots.
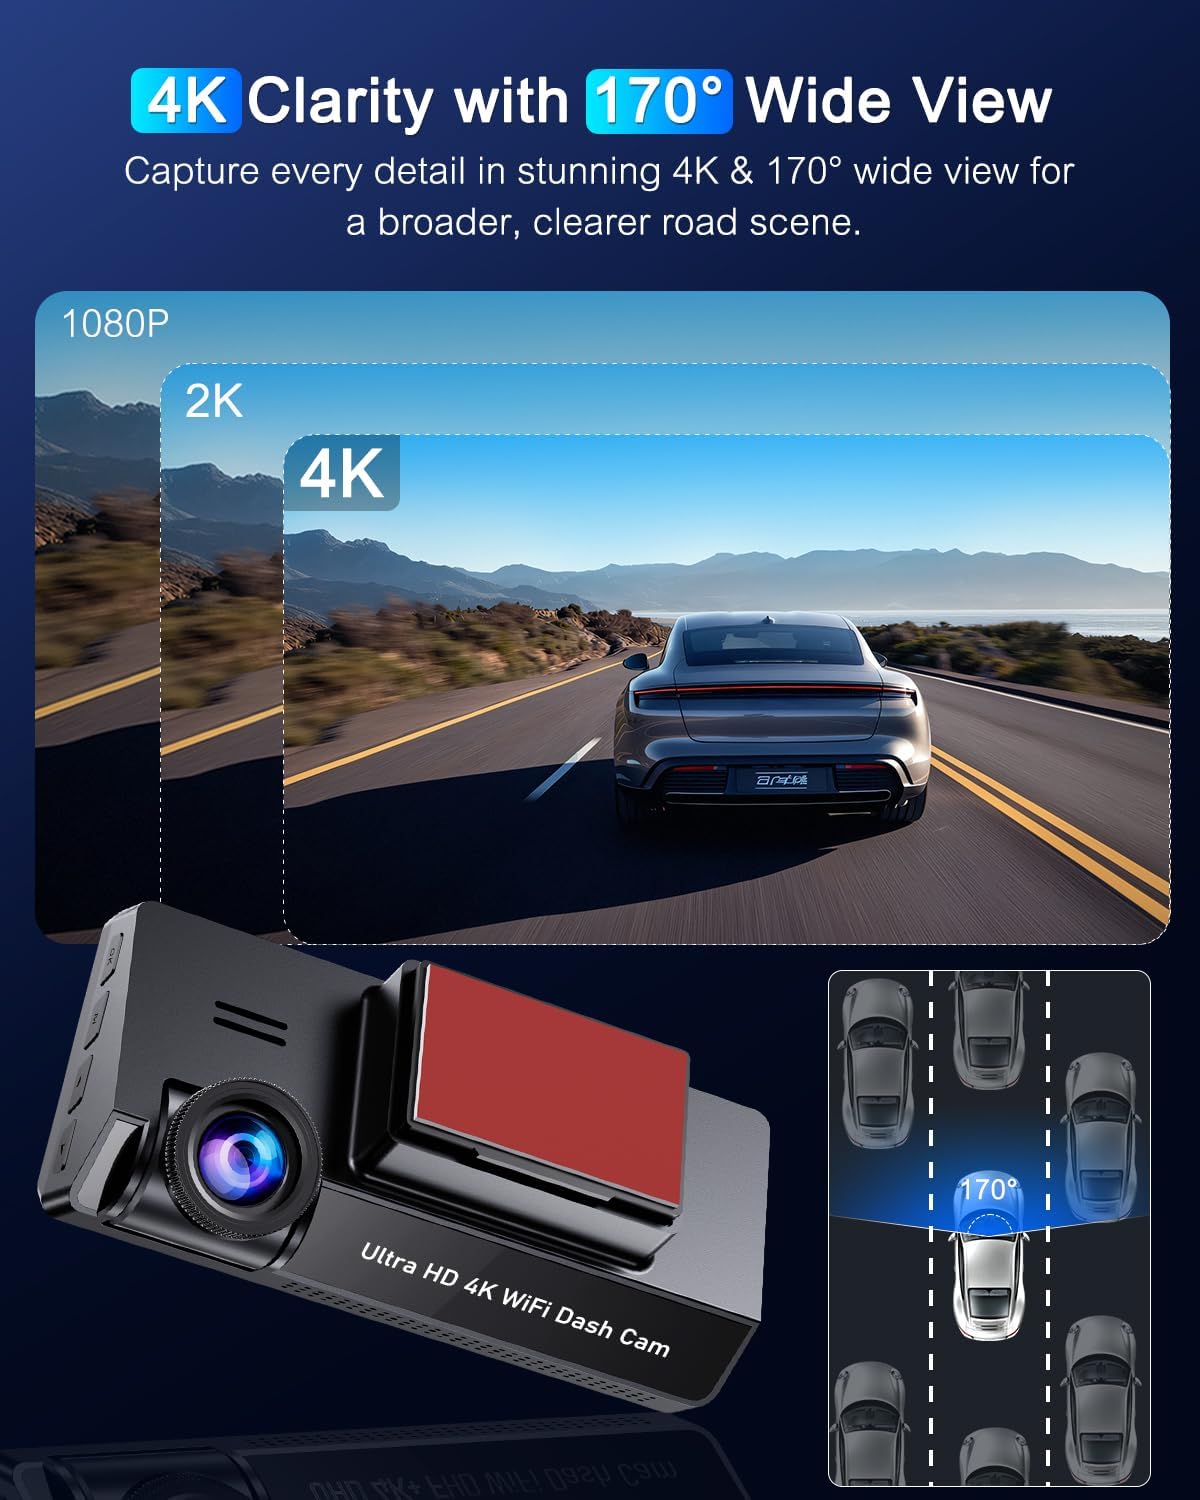
Image: 4K clarity and 170° wide view.
6.2. Filtro CPL
The included CPL (Circular Polarizing Lens) filter reduces glare and reflections from the windshield, improving image quality, color tone, and detail, especially in bright conditions. It also enhances night recording by reducing light reflection.

Image: CPL Filter for glare-free clarity.
6.3. 5GHz WiFi Connectivity & App Control
Connect to the dash cam via 5GHz WiFi using the dedicated app (available on Apple App Store and Google Play). The app allows you to view live recordings, download/edit files, and modify dash cam settings wirelessly. The 5GHz connection offers faster data transfer speeds compared to 2.4GHz.

Image: Built-in 5GHz WiFi for app control.
6.4. Super visione notturna e WDR
Equipped with advanced Night Vision and WDR (Wide Dynamic Range) technology, the dash cam automatically adjusts to varying light conditions, providing clear and detailed visibility even at night or in low-light environments. This ensures optimal exposure and color balance for video recording.
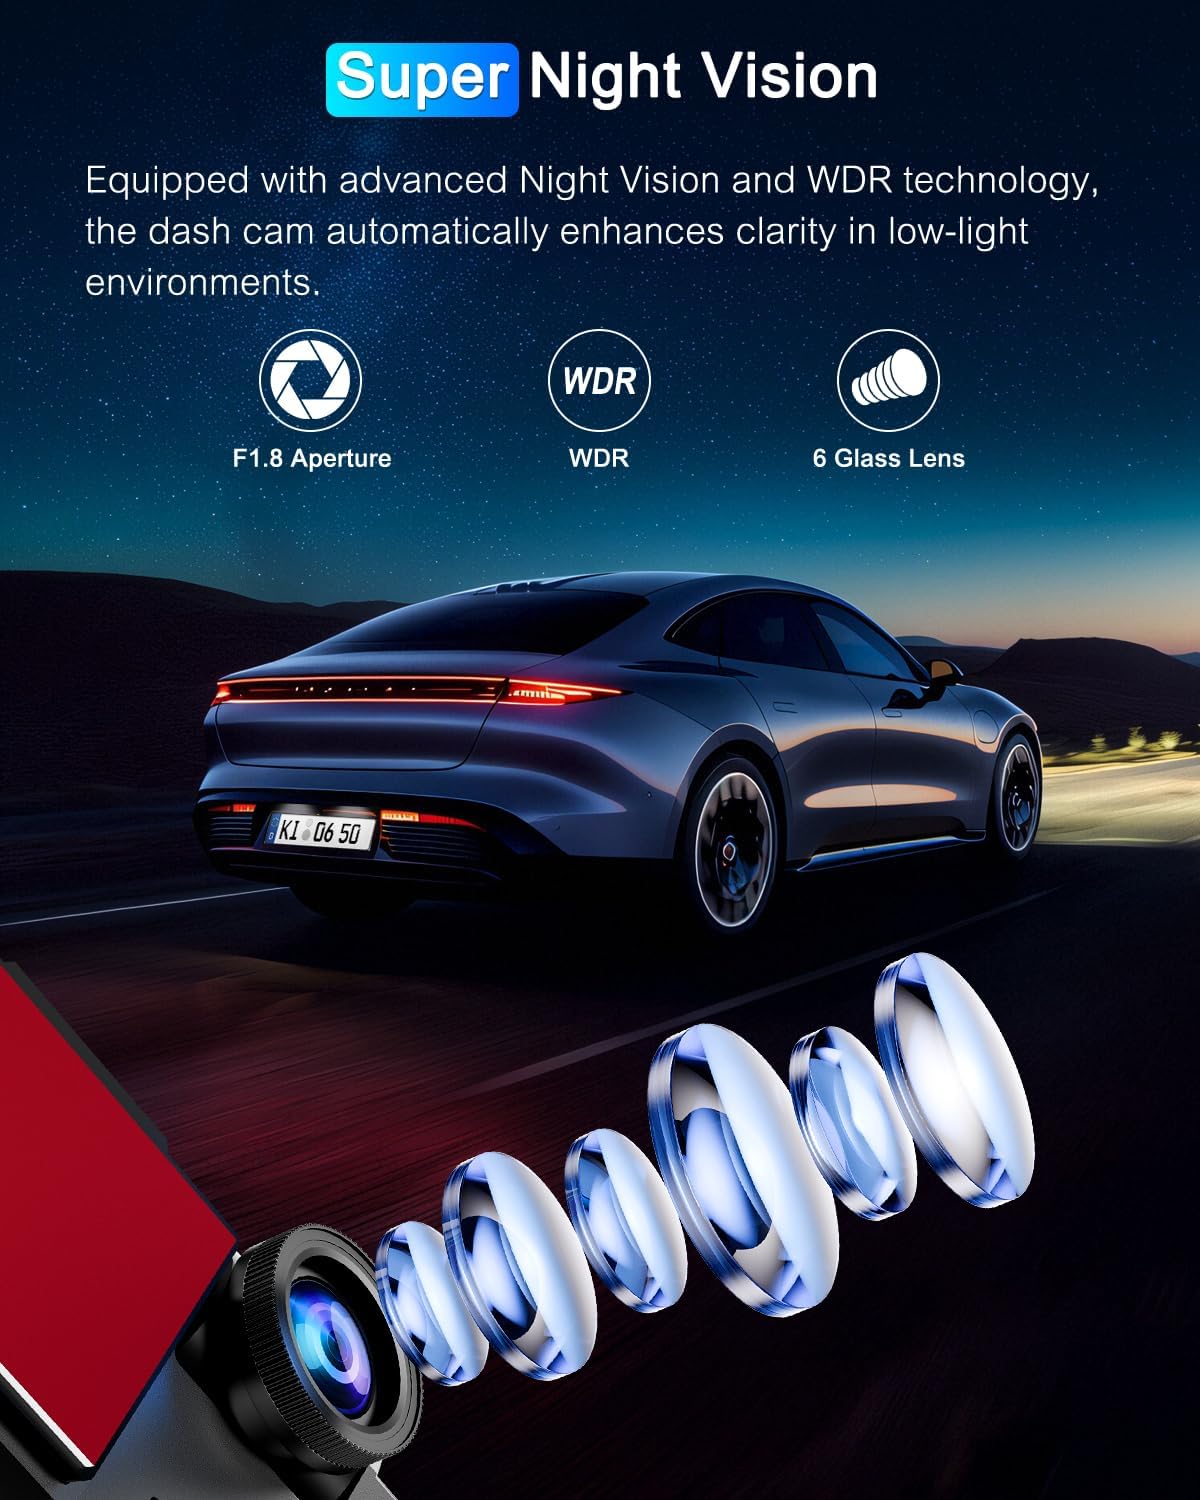
Immagine: tecnologia Super Night Vision.

Image: WDR Technology for optimized video recording.
6.5. Sensore G e registrazione in loop
The G-Sensor automatically detects sudden vibrations or collisions. When activated, the current video footage is locked and saved as evidence, preventing it from being overwritten. It is recommended to set the G-Sensor sensitivity to low during driving to avoid unnecessary locking of files.
Loop recording ensures continuous recording. When the memory card is full, the newest videos automatically overwrite the oldest unlocked videos. Locked fileI messaggi sono protetti dalla sovrascrittura.

Image: G-Sensor, Loop Recording, and 24H Parking Monitor features.
6.6. Monitoraggio del parcheggio 24 ore su 24
When your vehicle is parked and the dash cam is connected to a hardwire kit (not included, sold separately), it automatically switches to parking mode. This mode records continuously with minimal power consumption and a low frame rate, protecting your vehicle from theft or vandalism 24/7. It supports time-lapse photography and collision detection modes.

Image: Two modes of 24H parking monitoring.
7. Manutenzione
7.1. Gestione della scheda SD
- Regularly format the SD card (at least once a month) to ensure optimal performance and prevent data corruption. This can usually be done through the dash cam's settings menu.
- Use high-quality Class 10 or U3 (UHS Speed Class 3) microSD cards for reliable 4K recording.
7.2. Pulizia del dispositivo
- Wipe the dash cam's exterior and lens with a soft, lint-free cloth.
- Do not use chemical cleaners or abrasive materials, as they may damage the device.
8. Risoluzione Dei Problemi
| Problema | Possibile causa | Soluzione |
|---|---|---|
| La dash cam non si accende. | Nessuna alimentazione; cavo difettoso; problema con la presa di corrente del veicolo. | Check power cable connection. Ensure vehicle's power outlet is working. Try a different power source. |
| La registrazione si interrompe o si blocca. | Errore scheda SD; scheda SD piena; scheda SD incompatibile. | Format the SD card. Use a high-quality Class 10/U3 SD card. Replace the SD card if damaged. |
| Scarsa qualità video. | Dirty lens; CPL filter not adjusted; low light conditions. | Clean the lens. Adjust or remove the CPL filter if not needed. Ensure WDR is enabled for low light. |
| Problemi di connessione WiFi. | Password errata; troppo lontano dal dispositivo; problemi con l'app. | Ensure correct WiFi password. Stay within close range. Restart the app and dash cam. |
| Il sensore G è troppo sensibile/non abbastanza sensibile. | L'impostazione della sensibilità è troppo alta/bassa. | Adjust G-Sensor sensitivity in the settings menu. |
| Il monitor del parcheggio non funziona. | Kit di cablaggio non installato; impostazioni errate. | Ensure a hardwire kit is properly installed and connected. Check parking mode settings. |
9. Specifiche
| Caratteristica | Dettaglio |
|---|---|
| Marca | POYBPCY |
| Nome del modello | CT369-S |
| Dimensioni del prodotto | 3.8P x 11L x 5H cm (approx. 3.78 x 11 x 4.93 cm) |
| Peso dell'articolo | 100 grammi |
| Dimensioni dello schermo | 3.69 pollici |
| Tipo di visualizzazione | LCD |
| Risoluzione di acquisizione video | 2160p (4K UHD) |
| Angolo reale di View | 170 gradi |
| Caratteristiche speciali | Loop Recording, G-Sensor, WDR, Night Vision, CPL Filter, 5GHz WiFi, 24H Parking Monitor (requires hardwire kit) |
| Dimensioni della scheda di memoria inclusa | 64 GB |
| Tipo di batteria | Polimero di litio (incluso) |
| Tipo di montaggio | Windshield Mount (Magnetic) |
10. Garanzia e supporto
For any questions, technical support, or warranty claims, please contact POYBPCY customer service. Refer to the contact information provided on the product packaging or the official POYBPCY websito. Si prega di conservare la prova d'acquisto ai fini della garanzia.