1. Introduzione
Thank you for choosing the NOENNULL Sports Stopwatch Timer. This manual provides detailed instructions for the setup, operation, and maintenance of your new device. Please read this manual thoroughly before use to ensure proper functionality and to maximize your product experience.
Contenuto della confezione:
- 1 x NOENNULL Sports Stopwatch Timer (Model: XL-013A)
- 1 x cordino
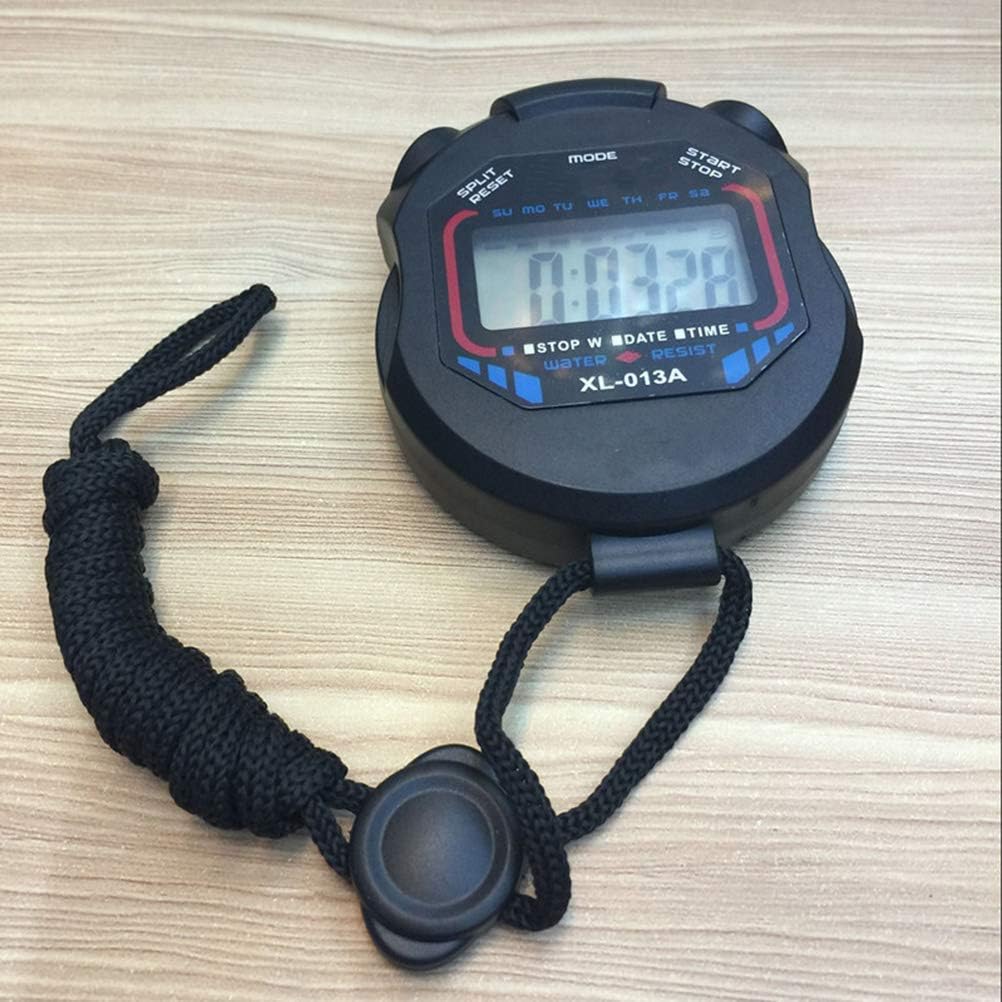
Image 1.1: The NOENNULL Sports Stopwatch Timer, showing the device with its attached lanyard.
2. Prodotto finitoview e Caratteristiche
The NOENNULL Sports Stopwatch Timer is designed for athletes, coaches, and fitness enthusiasts, offering precise time measurement and multiple display modes. Its compact and durable design makes it suitable for various activities.
Caratteristiche principali:
- Display multifunzione: Features 3 display modes for checking time, date, and setting alarms.
- Costruzione durevole: Made of plastic material for long-lasting use.
- Design portatile: Compact size and lightweight design make it easy and portable to carry.
- Cordino incluso: Comes with a lanyard for convenient carrying during sports activities.
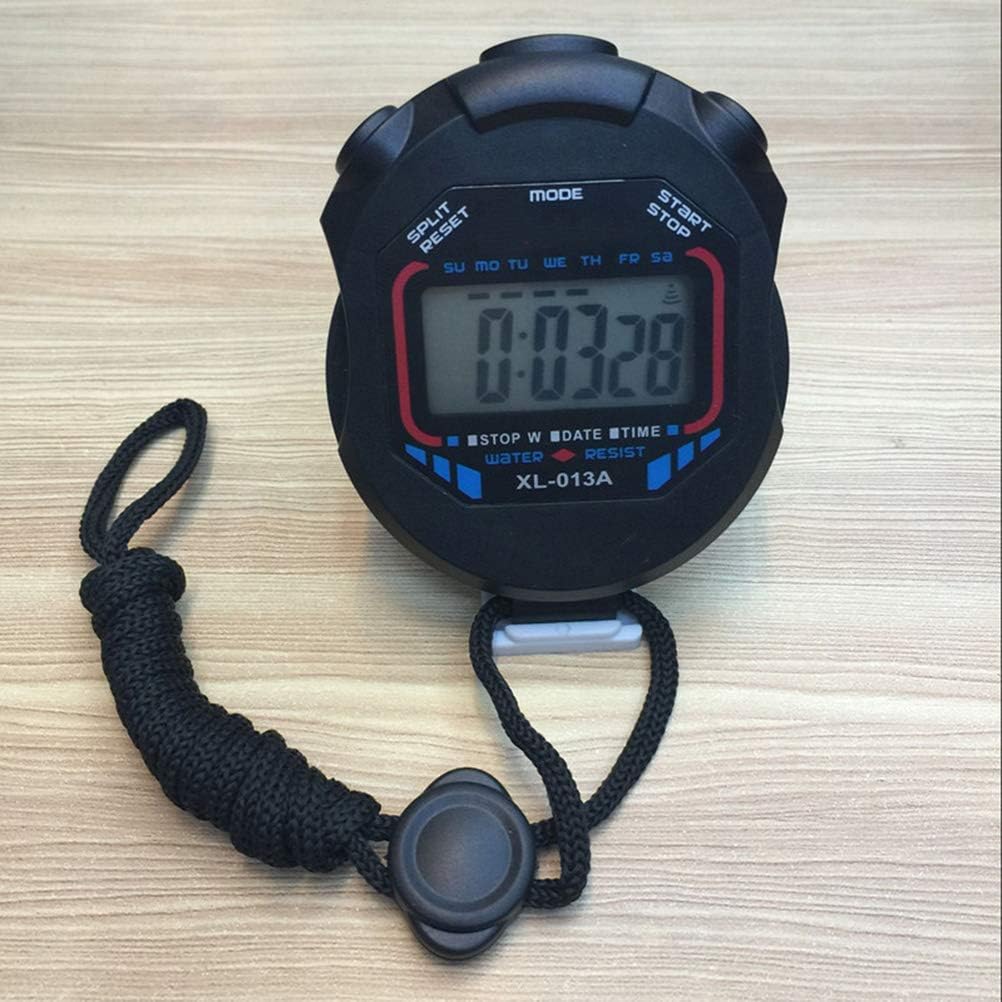
Immagine 2.1: anteriore view of the stopwatch, highlighting the digital display and control buttons.
3. Impostazione
3.1 Fissaggio del cordino
- Locate the small loop on the top or side of the stopwatch casing.
- Thread the thin end of the lanyard through this loop.
- Pass the larger loop of the lanyard over the stopwatch and pull it tight to secure the lanyard.
3.2 Accensione iniziale e batteria
The stopwatch typically comes with a pre-installed battery. If the display is blank, gently press any button to activate it. If the display remains blank, the battery may need replacement (refer to Section 5.2 for battery replacement instructions).
4. Istruzioni per l'uso
The stopwatch features three primary buttons: MODALITÀ, AVVIO/ARRESTO, E DIVIDI/RESET. These buttons control all functions of the device.
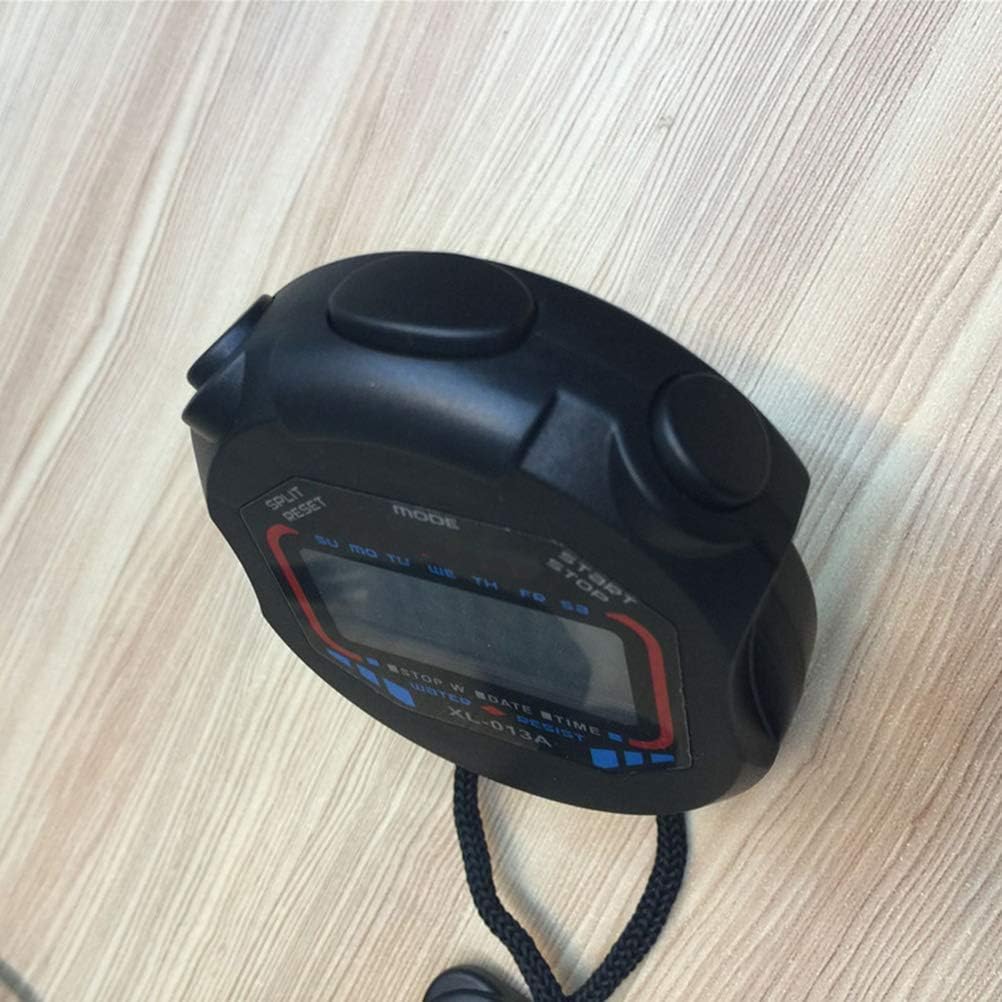
Immagine 4.1: In alto view of the stopwatch, indicating the positions of the MODE, START/STOP, and SPLIT/RESET buttons.
4.1 Modalità di commutazione
Premere il tasto MODALITÀ button to cycle through the available display modes:
- Visualizzazione ora/data: Mostra l'ora corrente, il giorno della settimana e la data.
- Funzione cronometro: Used for timing events.
- Impostazione allarme: For setting and activating the alarm.
4.2 Impostazione di data e ora
Per impostare l'ora e la data correnti:
- Ensure the stopwatch is in Visualizzazione ora/data modalità.
- Premere e tenere premuto il tasto AVVIO/ARRESTO per alcuni secondi finché le cifre dell'ora non iniziano a lampeggiare.
- Utilizzare il DIVIDI/RESET pulsante per regolare la cifra lampeggiante (ore, minuti, secondi).
- Premere il tasto MODALITÀ pulsante per passare alla cifra o all'impostazione successiva (ad esempio, dalle ore ai minuti, quindi alla data).
- Repeat steps 3 and 4 until all desired settings (time, date, day of week) are adjusted.
- Premere il tasto AVVIO/ARRESTO nuovamente il pulsante per confermare e uscire dalla modalità di impostazione.

Image 4.2: The stopwatch display showing the current time and day of the week.
4.3 Utilizzo della funzione cronometro
To use the stopwatch for timing events:
- Premere il tasto MODALITÀ pulsante fino a raggiungere il Funzione cronometro display (usually indicated by '0:00:00' or similar).
- Premere AVVIO/ARRESTO per iniziare a cronometrare.
- To record a split time (lap time) without stopping the main timer, press DIVIDI/RESETIl display mostrerà il tempo parziale mentre il timer continua a scorrere in background. Premere DIVIDI/RESET di nuovo per tornare al tempo di esecuzione.
- Premere AVVIO/ARRESTO di nuovo per mettere in pausa il timer.
- Per riprendere il cronometraggio, premere AVVIO/ARRESTO.
- Per azzerare il cronometro, assicurarsi che sia in pausa, quindi premere DIVIDI/RESET.
4.4 Impostazione e utilizzo della sveglia
Per impostare e attivare la sveglia:
- Premere il tasto MODALITÀ pulsante fino a raggiungere il Impostazione allarme modalità.
- Premere e tenere premuto il tasto AVVIO/ARRESTO finché le cifre dell'ora della sveglia non iniziano a lampeggiare.
- Utilizzare il DIVIDI/RESET pulsante per regolare la cifra lampeggiante (ore, minuti).
- Premere il tasto MODALITÀ pulsante per spostarsi tra ore e minuti.
- Premere AVVIO/ARRESTO di nuovo per confermare l'ora della sveglia.
- In Alarm Setting mode, press DIVIDI/RESET to toggle the alarm ON/OFF. An alarm icon will typically appear on the display when the alarm is active.
- Quando suona la sveglia, premere un pulsante qualsiasi per disattivarla.
5. Manutenzione
5.1 Pulizia
To clean your stopwatch, use a soft, dry cloth. For stubborn dirt, a slightly damp cloth with mild soap can be used, followed by a dry cloth. Do not use abrasive cleaners, solvents, or harsh chemicals, as these can damage the casing o display.
5.2 Sostituzione della batteria
The stopwatch uses a standard button-cell battery (e.g., AG13 or LR44, specific type may vary). When the display becomes dim or unresponsive, the battery may need replacement.
- Locate the battery compartment on the back of the stopwatch. This may require a small screwdriver to open.
- Rimuovere con attenzione la vecchia batteria.
- Insert a new battery of the correct type, ensuring the positive (+) side is facing up.
- Chiudere saldamente il vano batteria.
Nota: Smaltire le vecchie batterie in modo responsabile secondo le normative locali.
5.3 Conservazione
Store the stopwatch in a cool, dry place away from direct sunlight, extreme temperatures, and high humidity. Avoid dropping or subjecting the device to strong impacts.
6. Risoluzione Dei Problemi
- Il display è vuoto o poco luminoso:
Controllare la batteria. Sostituirla se necessario (vedere la Sezione 5.2). - I pulsanti non rispondono:
Ensure the stopwatch is not in a locked mode (if applicable, though this model typically does not have a lock). Try removing and reinserting the battery to perform a soft reset. - Ora/data errate:
Per reimpostare l'ora e la data, seguire le istruzioni nella Sezione 4.2. - Stopwatch not starting/stopping:
Ensure you are in the correct Stopwatch Function mode (Section 4.3) and pressing the AVVIO/ARRESTO pulsante.
7. Specifiche
| Marca | NOENNULL |
| Model Name (as shown on product) | XL-013A |
| Numero modello articolo (interno) | NOENNULL3ip19dgft5-67 |
| Dimensioni del prodotto | 3.93 x 2.75 x 1.18 pollici (7 x 6 x 2.5 cm) |
| Peso dell'articolo | 1.8 once |
| Materiale | Plastica |
| Modalità di visualizzazione | Time, Date, Alarm, Stopwatch |
| Produttore | NOENNULL |
| Data prima disponibilità | 2 dicembre 2024 |
8. Garanzia e supporto
This product is covered by a standard manufacturer's warranty. For specific warranty details, please refer to the product packaging or contact your retailer. If you encounter any issues or require technical assistance, please contact NOENNULL customer support through your purchase platform or the contact information provided with the product.