tectake SK1000W
tectake SK1000W Sandwich Maker Instruction Manual
Model: SK1000W
1. Introduzione
Thank you for choosing the tectake SK1000W Sandwich Maker. This appliance is designed for preparing delicious toasted sandwiches quickly and efficiently. Please read this instruction manual carefully before first use to ensure safe operation and optimal performance. Keep this manual for future reference.
2. Importanti istruzioni di sicurezza
- Leggere tutte le istruzioni prima di utilizzare l'apparecchio.
- Non toccare le superfici calde. Utilizzare maniglie o manopole.
- Per proteggersi da scosse elettriche, non immergere il cavo, le spine o l'apparecchio stesso in acqua o altri liquidi.
- È necessaria un'attenta supervisione quando un elettrodomestico viene utilizzato da bambini o nelle loro vicinanze.
- Scollegare dalla presa quando non in uso e prima di pulire. Lasciare raffreddare prima di mettere o togliere parti e prima di pulire l'apparecchio.
- Non utilizzare alcun apparecchio con un cavo o una spina danneggiati, o dopo che l'apparecchio ha subito malfunzionamenti o è stato danneggiato in qualsiasi modo. Contattare il servizio clienti per un controllo, una riparazione o una regolazione.
- L'uso di accessori non consigliati dal produttore dell'apparecchio può causare lesioni.
- Non utilizzare all'aperto.
- Non lasciare che il cavo penda dal bordo del tavolo o del bancone o che tocchi superfici calde.
- Non posizionare sopra o vicino a un fornello a gas o elettrico caldo, oppure in un forno caldo.
- Prestare la massima attenzione quando si sposta un apparecchio contenente olio bollente o altri liquidi bollenti.
- Collegare sempre prima la spina all'apparecchio, quindi collegare il cavo alla presa a muro. Per scollegarlo, posizionare un qualsiasi interruttore su "off", quindi rimuovere la spina dalla presa a muro.
- Non utilizzare l'apparecchio per scopi diversi da quelli previsti.
- Questo apparecchio non è destinato all'uso da parte di persone (bambini compresi) con ridotte capacità fisiche, sensoriali o mentali, o prive di esperienza e conoscenza, a meno che non siano supervisionate o abbiano ricevuto istruzioni riguardanti l'uso dell'apparecchio da una persona responsabile della loro sicurezza.
- I bambini devono essere sorvegliati per assicurarsi che non giochino con l'apparecchio.
3. Impostazione
3.1 Disimballaggio
Carefully remove the sandwich maker from its packaging. Retain the packaging for future storage or disposal. Ensure all components are present and undamaged. The package should contain the sandwich maker and this instruction manual.
3.2 Pulizia al primo utilizzo
Prima del primo utilizzo, pulire le piastre di cottura antiaderenti con un panno umido.amp panno o spugna. Asciugare accuratamente. L'esterno può essere pulito con un panno morbido eamp stoffa. Non immergere l'apparecchio in acqua.
3.3 Posizionamento
Place the sandwich maker on a stable, heat-resistant, and dry surface. Ensure there is adequate ventilation around the appliance. Do not place it near flammable materials or under cabinets that could be damaged by heat or steam.
4. Istruzioni per l'uso
4.1 Preriscaldamento
- Close the sandwich maker and plug the power cord into a suitable wall outlet (220-240V).
- The red indicator light will illuminate, indicating the appliance is powered on and beginning to heat.
- Allow the sandwich maker to preheat for approximately 3-5 minutes. The green indicator light will illuminate when the optimal cooking temperature is reached.
4.2 Making Sandwiches
- Once the green indicator light illuminates, carefully open the sandwich maker using the handle.
- Place your prepared sandwiches onto the lower cooking plates. The appliance is designed for two sandwiches.
- Close the lid gently, ensuring the latch is secured. Do not force the lid shut if the sandwiches are too thick, as this may damage the appliance.
- Cook for approximately 3-6 minutes, or until the sandwiches are golden brown and the filling is heated through. Cooking time may vary depending on the ingredients and desired crispness.
- During cooking, the green indicator light may cycle on and off, indicating that the thermostat is maintaining the correct temperature.
- Once cooked, carefully open the lid and remove the sandwiches using a heat-resistant plastic or wooden utensil. Do not use metal utensils, as they can damage the non-stick coating.
- Dopo l'uso, scollegare l'apparecchio dalla presa a muro.

Image 1: The tectake SK1000W Sandwich Maker showing its non-stick cooking plates and indicator lights. The red light indicates power, and the green light indicates readiness for cooking.
5. Pulizia e manutenzione
Always unplug the sandwich maker and allow it to cool completely before cleaning.
- Piastre di Cottura: The non-stick coating allows for easy cleaning. Wipe the cooking plates with a damp cloth or sponge. For stubborn residue, a small amount of mild dish soap can be used, then wipe clean with a damp cloth. Do not use abrasive cleaners, scouring pads, or metal utensils, as these will damage the non-stick surface.
- Esterno: Pulire l'esterno dell'apparecchio con un panno morbido, damp stoffa. Non utilizzare detergenti aggressivi o abrasivi.
- Magazzinaggio: Once clean and dry, the sandwich maker can be stored in a vertical position to save space. Wrap the power cord neatly around the base if a cord wrap feature is present.
- Non immergere l'apparecchio in acqua o in altri liquidi.
6. Risoluzione Dei Problemi
- L'apparecchio non si riscalda:
- Assicurarsi che il cavo di alimentazione sia collegato saldamente a una presa elettrica funzionante.
- Check if the red indicator light is on. If not, check the power supply.
- Sandwiches are not cooking evenly:
- Ensure the appliance was fully preheated (green light on) before placing sandwiches.
- Check that the sandwiches are evenly placed on the cooking plates and the lid is closed properly.
- Regolare il tempo di cottura secondo necessità.
- Fumo o odore insolito durante il primo utilizzo:
- A slight smoke or odor may occur during the first use due to manufacturing residues. This is normal and should dissipate quickly. Ensure good ventilation. If it persists, unplug the appliance and contact customer support.
7. Specifiche
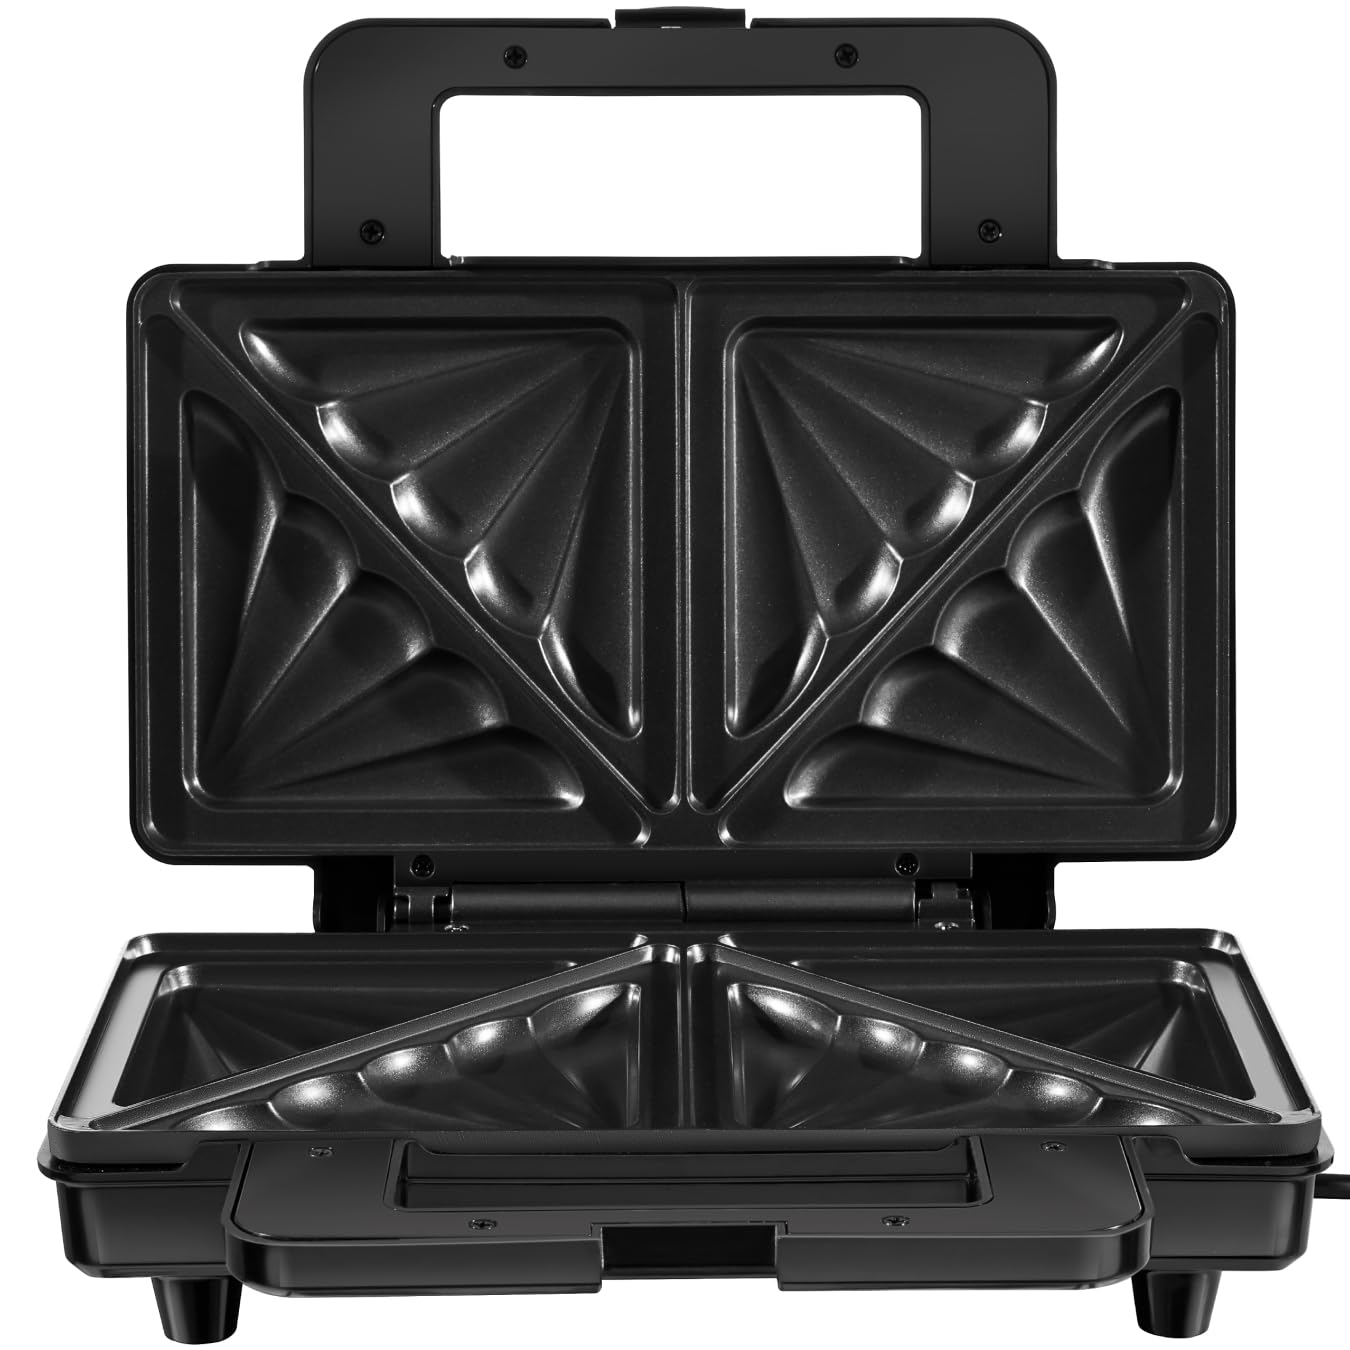
Image 2: The tectake SK1000W Sandwich Maker with key dimensions and technical details highlighted.
| Numero di modello | 405369 |
| Dimensioni totali (L x P x A) | Circa. 29 cm x 24.5 cm x 10 cm |
| Per Sandwich Compartment | Circa 14.5 cm x 13.5 cm |
| Peso | Circa 1.7 kg |
| Energia | 1000 L |
| Voltage | 220 - 240 V (CA) |
| Lunghezza del cavo | Circa 63 cm |
| Materiali | Aluminum, Bakelite, Stainless Steel, Copper Alloy, Polyvinyl Chloride |
| Caratteristiche speciali | Temperature control, Non-stick coating |
8. Garanzia e supporto
This product is covered by the standard warranty terms and conditions of tectake. For detailed warranty information, please refer to the documentation provided with your purchase or visit the official tectake website. If you encounter any issues or require technical assistance, please contact tectake customer support. Information regarding spare parts availability is not provided in this manual.
Per ulteriore assistenza, visitare il sito tectake Brand Store.