
1. Product Overview
The Ailgely Motorcycle LED Digital Gauge (Model Aiafz5gcgpun-1) is a multi-functional instrument designed for motorcycles. It integrates a speedometer, odometer, tachometer, and fuel gauge into a single compact unit, providing essential riding information with a clear LED display.
Key features include:
- Customizable Settings: Easily adjust speed, RPM, and fuel capacity with a simple button press for a personalized riding experience.
- Comprehensive Monitoring: Displays speed, total mileage (odometer), engine RPM, and fuel level.
- Enhanced Visibility: Features a white backlight and a large LCD display for clear readability in both day and night conditions, reducing eye strain.
- Accurate Fuel Indication: The fuel gauge precisely shows the oil level in 5 segments, enabling efficient fuel management.
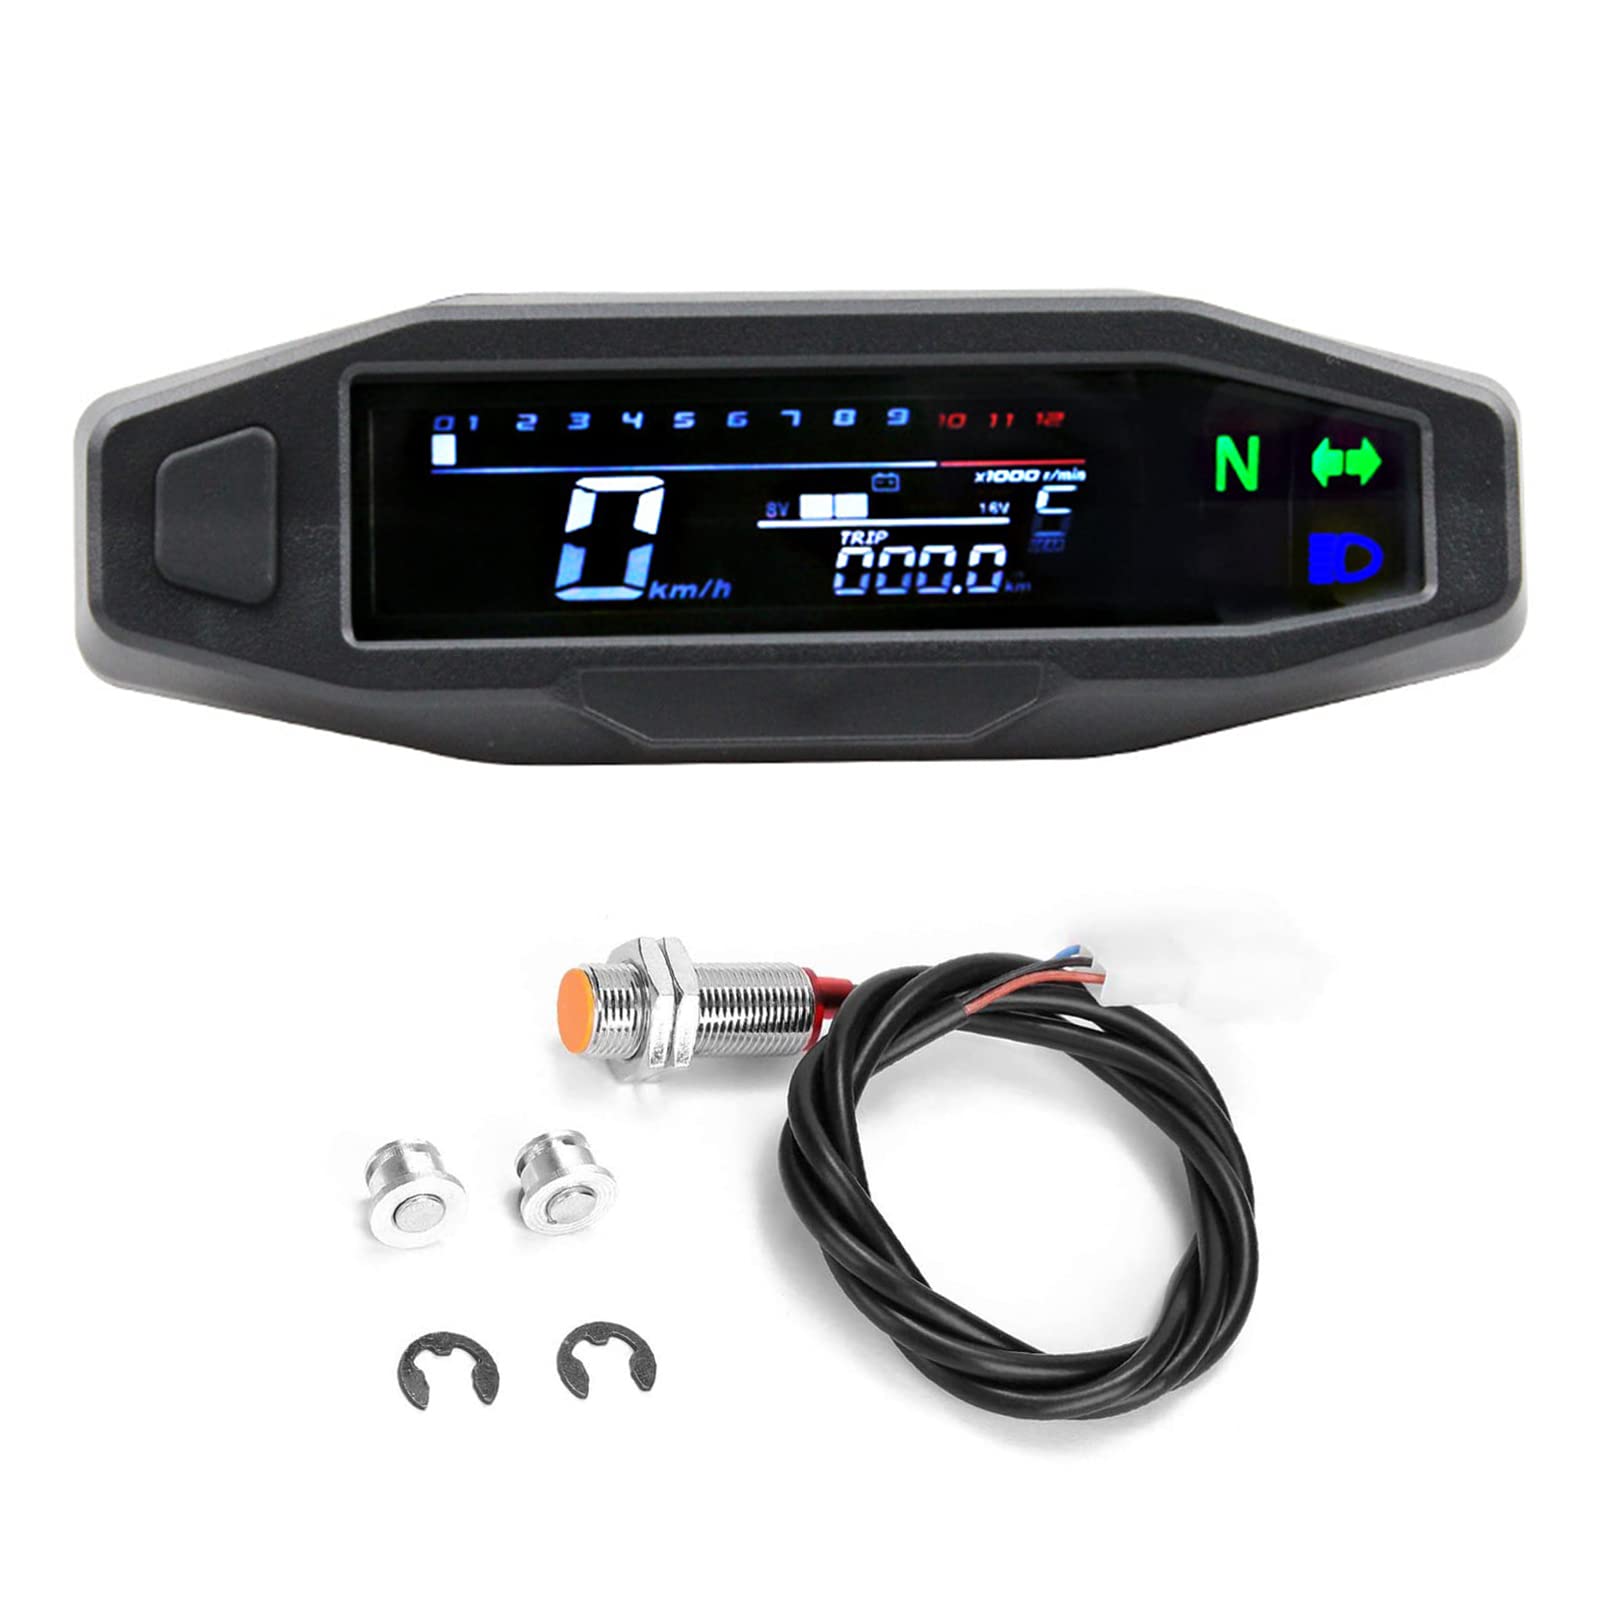
Figure 1: Front view of the Ailgely Motorcycle LED Digital Gauge, displaying speed, RPM, trip, and fuel level.
2. Setup and Installation
This section provides general guidelines for installing the Ailgely Motorcycle LED Digital Gauge. Professional installation is recommended for optimal performance and safety.
2.1 Unpacking and Inspection
Carefully unpack all components and inspect for any damage. Ensure all parts listed in the packaging contents are present.
2.2 Wiring Connections
The gauge features a 9-pole main wiring harness and a 250-type female coupler. Refer to the wiring diagram provided with your product for specific connections. Common connections include:
- Power Supply: Connect to the motorcycle's 12V DC power source.
- RPM Signal: Connect the RPM signal wire to the positive (+) side of the ignition coil.
- Speed Sensor: The speed sensor typically reads magnets attached to the rotor or axle. Ensure proper alignment for accurate readings.
- Fuel Gauge: Connect to the motorcycle's fuel level sensor. If not connected, the gauge will display battery voltage.
- Indicator Lights: The winker indicators are a single output. If using LED turn signals, a diode may be required to prevent reverse current. Bundle left and right turn signal wires after the diode and connect to the meter's left indicator wire. Ground the meter's right indicator wire.
- Neutral (N) and High Beam (Hi) Indicators: Connect corresponding wires from the motorcycle harness.

Figure 2: Angled view of the gauge showing the integrated wiring harness for connection.
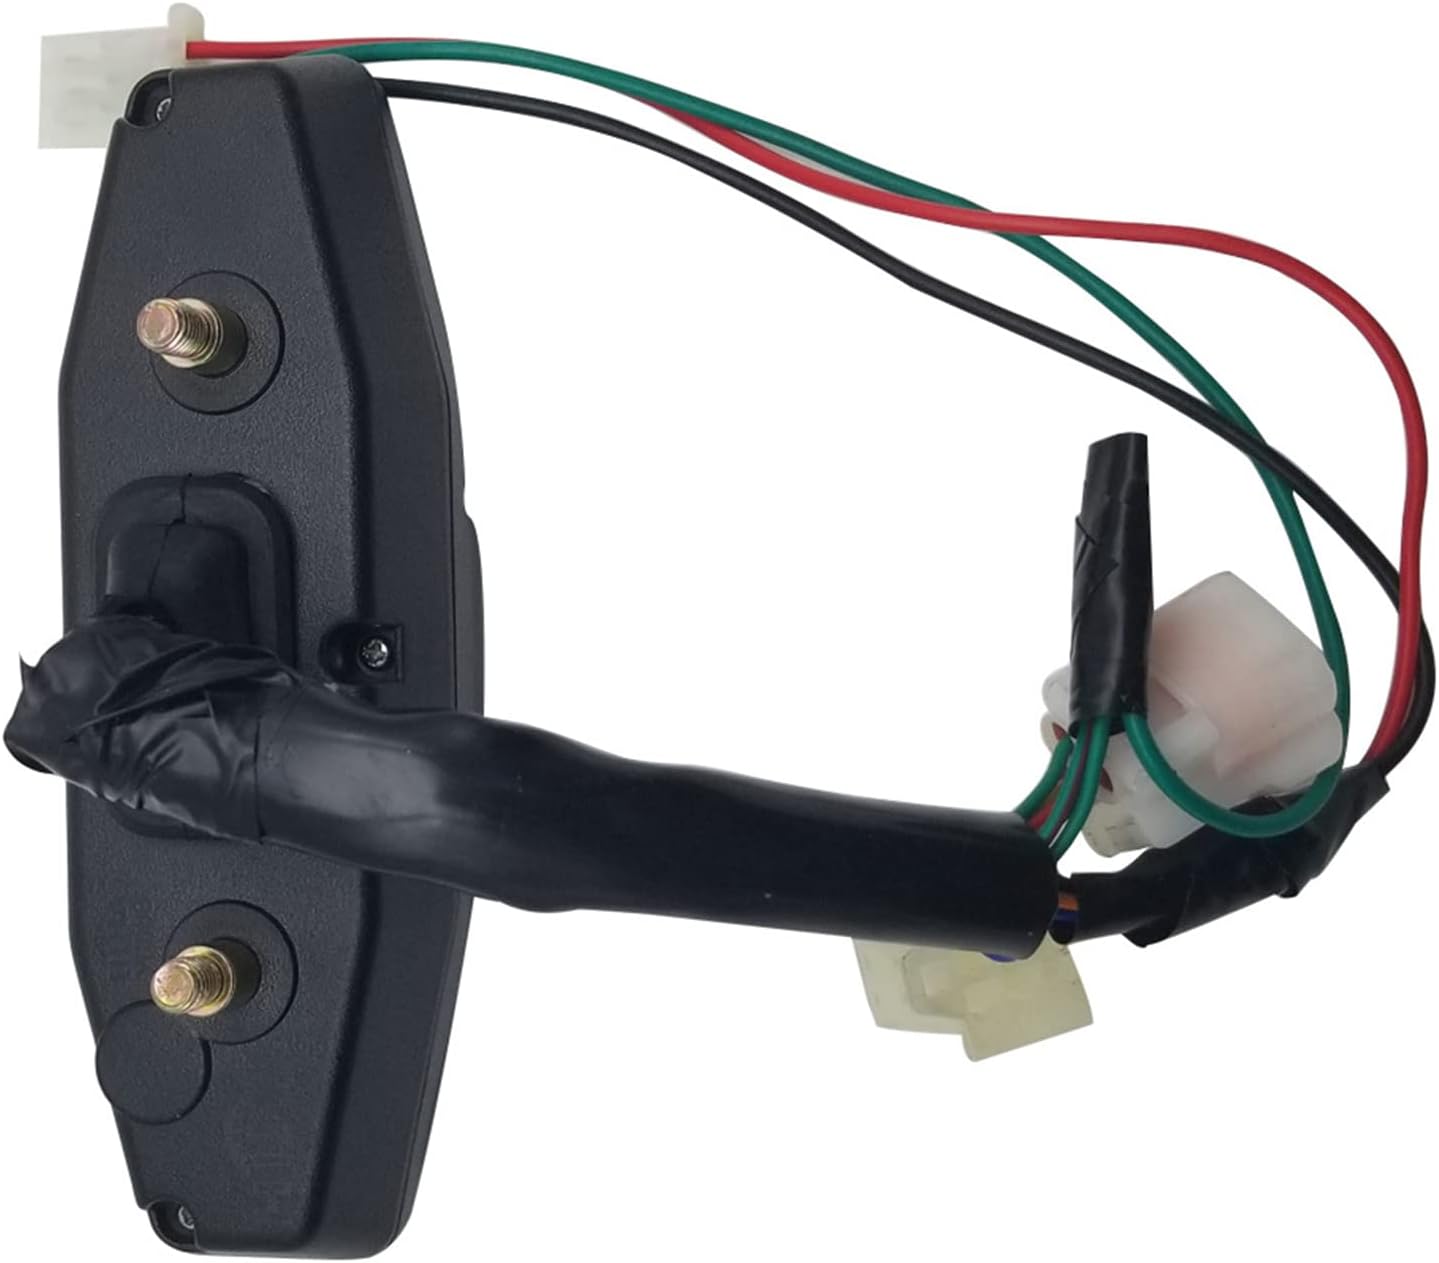
Figure 3: Rear view of the gauge, highlighting the mounting bolts and the exit point for the wiring harness.
2.3 Mounting
Securely mount the gauge to your motorcycle's dashboard or handlebar using appropriate brackets and hardware. Ensure the display is clearly visible to the rider and does not obstruct any controls.

Figure 4: The digital gauge mounted on a motorcycle, showing its integration into the cockpit.
3. Operating Instructions
Once installed and powered on, the gauge will display various parameters. Use the button(s) on the unit to navigate and adjust settings.
3.1 Initial Power-On
Upon turning on the motorcycle's ignition, the gauge will perform a self-check and then display the current speed, RPM, and other default information.
3.2 Setting Adjustments
To enter the setting mode, typically press and hold the button while turning on the ignition, or follow the specific sequence outlined in the included English manual. Common adjustable settings include:
- Tire Circumference: Essential for accurate speed and odometer readings. This setting is usually entered in millimeters (mm).
- Cylinder Count: For accurate RPM readings, set according to your engine's cylinder configuration.
- Fuel Sensor Type: If applicable, select the correct fuel sensor resistance type.
Refer to the detailed English instruction sheet for precise button sequences and parameter values. Online translation tools can assist with interpreting the manual if needed.
3.3 Display Modes
The gauge typically cycles through different display modes (e.g., total odometer, trip meter) by short-pressing the button. The fuel gauge provides a visual representation of the fuel level in 5 segments.
4. Maintenance
Proper maintenance ensures the longevity and reliable operation of your digital gauge.
- Cleaning: Use a soft, damp cloth to clean the display and casing. Avoid abrasive cleaners or solvents that may damage the plastic or screen.
- Water Resistance: While designed for outdoor use, avoid direct high-pressure water jets on the unit. Ensure all connections are sealed to prevent water ingress.
- Wiring Inspection: Periodically check wiring connections for looseness or corrosion.
- Environmental Conditions: Avoid exposing the unit to extreme temperatures or prolonged direct sunlight when parked, as this may affect display longevity.
5. Troubleshooting
This section addresses common issues you might encounter with your digital gauge.
| Problem | Possible Cause | Solution |
|---|---|---|
| Gauge does not power on. | No power supply, blown fuse, loose connection. | Check power connections, inspect motorcycle fuses, ensure wiring is secure. |
| Speedometer/Odometer inaccurate. | Incorrect tire circumference setting, speed sensor malfunction, improper sensor alignment. | Verify and adjust tire circumference setting. Check speed sensor for damage and proper alignment with magnets. |
| Tachometer not working. | Incorrect cylinder count setting, RPM signal wire not connected or faulty. | Confirm cylinder count setting. Ensure RPM signal wire is securely connected to the ignition coil's positive terminal. |
| Fuel gauge displays voltage or is inaccurate. | Fuel sensor not connected, incorrect fuel sensor type setting, faulty fuel sensor. | Connect the fuel sensor wire. Adjust fuel sensor type setting if applicable. Test or replace the motorcycle's fuel sensor. |
| Indicators (e.g., turn signals) not working correctly. | Incorrect wiring, missing diode for LED signals. | Review indicator wiring. Install a diode if using LED turn signals to prevent reverse current. |
6. Specifications
- Brand: Ailgely
- Model Number: Aiafz5gcgpun-1
- Product Type: Motorcycle Monitor Accessory
- Origin: China
- Functions: Speedometer, Odometer, Tachometer, Fuel Gauge
- Display: LED with white backlight, large LCD
- Fuel Gauge: 5-segment display
- Material: Black Plastic + Metal
7. Warranty and Support
This product comes with a 1-year warranty from the date of purchase. The warranty covers manufacturing defects and material faults under normal use. It does not cover damage caused by improper installation, misuse, accidents, or unauthorized modifications.
For technical support or warranty claims, please contact your retailer or the manufacturer directly with your purchase details and model number.