Introduzione
This manual provides detailed instructions for the safe and efficient operation, maintenance, and troubleshooting of your Hamilton Beach FlexBrew and 2-Way Programmable Coffee Makers. Please read all instructions carefully before using your appliance.
Informazioni importanti sulla sicurezza
- Leggi tutte le istruzioni.
- Non toccare le superfici calde. Utilizzare maniglie o manopole.
- Per proteggersi dalle scosse elettriche, non immergere il cavo, la spina o la macchina per il caffè in acqua o altri liquidi.
- È necessaria un'attenta supervisione quando un elettrodomestico viene utilizzato da bambini o nelle loro vicinanze.
- Scollegare dalla presa quando non in uso e prima di pulire. Lasciare raffreddare prima di mettere o togliere parti e prima di pulire l'apparecchio.
- Non utilizzare alcun apparecchio con un cavo o una spina danneggiati oppure dopo che l'apparecchio stesso non funziona correttamente o è stato danneggiato in qualsiasi modo.
- L'uso di accessori non consigliati dal produttore dell'apparecchio può causare lesioni.
- Non utilizzare all'aperto.
- Non lasciare che il cavo penda dal bordo del tavolo o del bancone o che tocchi superfici calde.
- Non posizionare sopra o vicino a un fornello a gas o elettrico caldo, oppure in un forno caldo.
- Per scollegarlo, posizionare un qualsiasi comando su "off", quindi rimuovere la spina dalla presa a muro.
- Non utilizzare l'apparecchio per scopi diversi da quelli previsti.
Identificazione delle parti
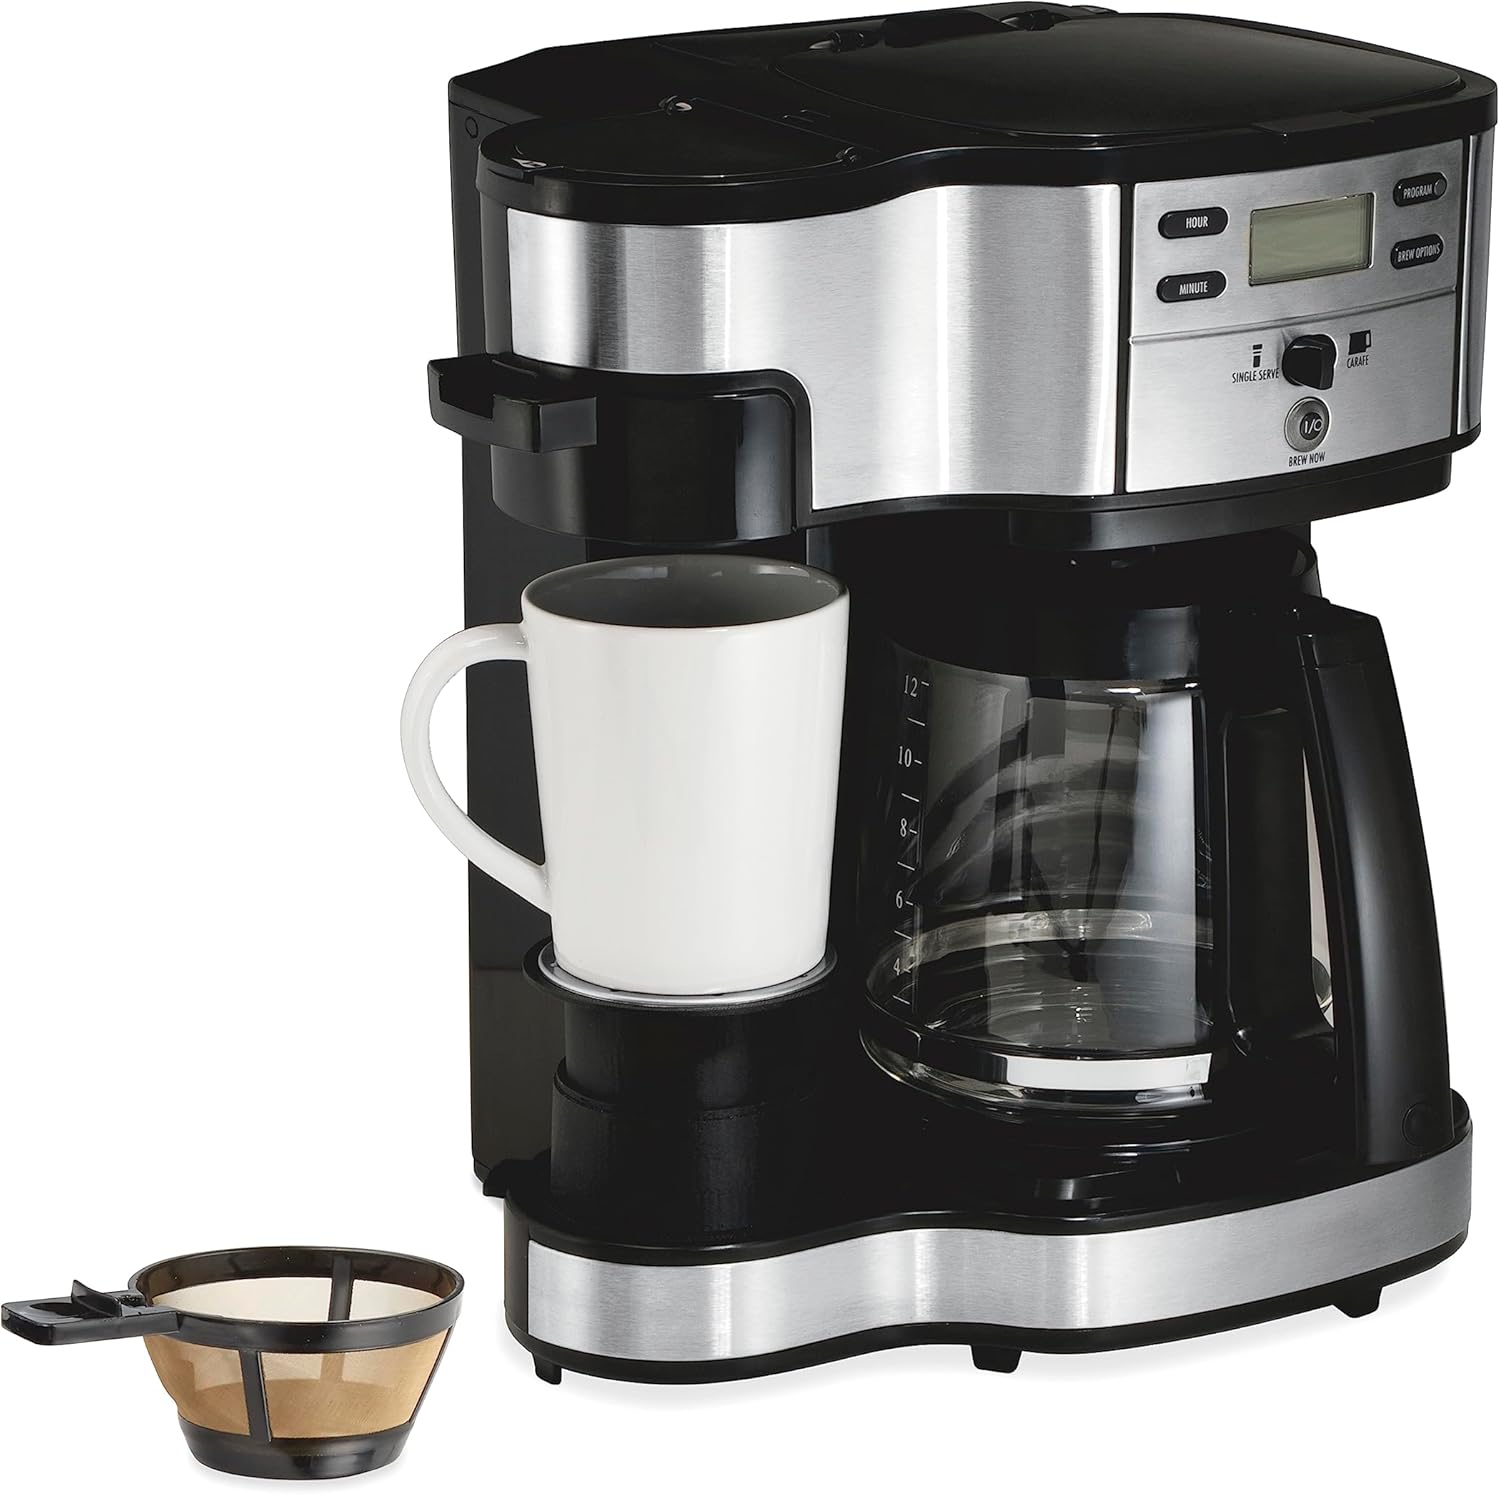
Familiarize yourself with the components of your coffee makers:


FlexBrew Coffee Maker Components:
- Riserva d'acqua: Contiene l'acqua per la preparazione della birra.
- Single-Serve Brew Head: For K-Cup pods or ground coffee.
- Carafe Brew Basket: For 12-cup brewing with ground coffee.
- Pannello di controllo: Buttons for time, delay brew, cup size, brew strength, and power.
- Caraffa di vetro: 12-cup capacity.
- Porta cialde K-Cup: For single-serve pods.
- Ground Coffee Filter Basket: For single-serve ground coffee.
2-Way Programmable Coffee Maker Components:
- Riserva d'acqua: Shared for both single-serve and carafe.
- Contorno monodose: For ground coffee with mesh scoop.
- 12-Cup Carafe Side: Per caffè macinato.
- Pannello di controllo: Buttons for programming and brew selection.
- Caraffa di vetro: 12-cup capacity.
- Mesh Scoop Filter: For single-serve ground coffee.
Impostare
- Disimballare: Rimuovere con cautela tutti i materiali di imballaggio e gli accessori.
- Pulito: Wash the carafe, brew baskets, K-Cup pod holder, and reusable ground coffee filter in warm, soapy water. Rinse thoroughly.
- Ciclo di primo utilizzo: Before brewing coffee for the first time, run two or three brewing cycles with water only to clean the internal components. Fill the water reservoir to the MAX line, place an empty carafe or mug, and run a brew cycle. Discard the water.
- Posizionamento: Posizionare la macchina per il caffè su una superficie piana e stabile, lontano dal bordo del bancone. Garantire un'adeguata ventilazione.
Istruzioni per l'uso
A. FlexBrew Single-Serve Brewing (Models 49902, 49980R)
The FlexBrew allows brewing a single cup using either a K-Cup pod or ground coffee.


1. Using K-Cup Pods:
- Lift the single-serve brew head lid.
- Insert a K-Cup pod into the K-Cup pod holder. Close the lid firmly.
- Fill the water reservoir with the desired amount of water for your cup size. Do not exceed the MAX fill line.
- Posiziona la tazza sul vassoio raccogli-gocce.
- Press the 'SINGLE' button. The coffee maker will begin brewing.
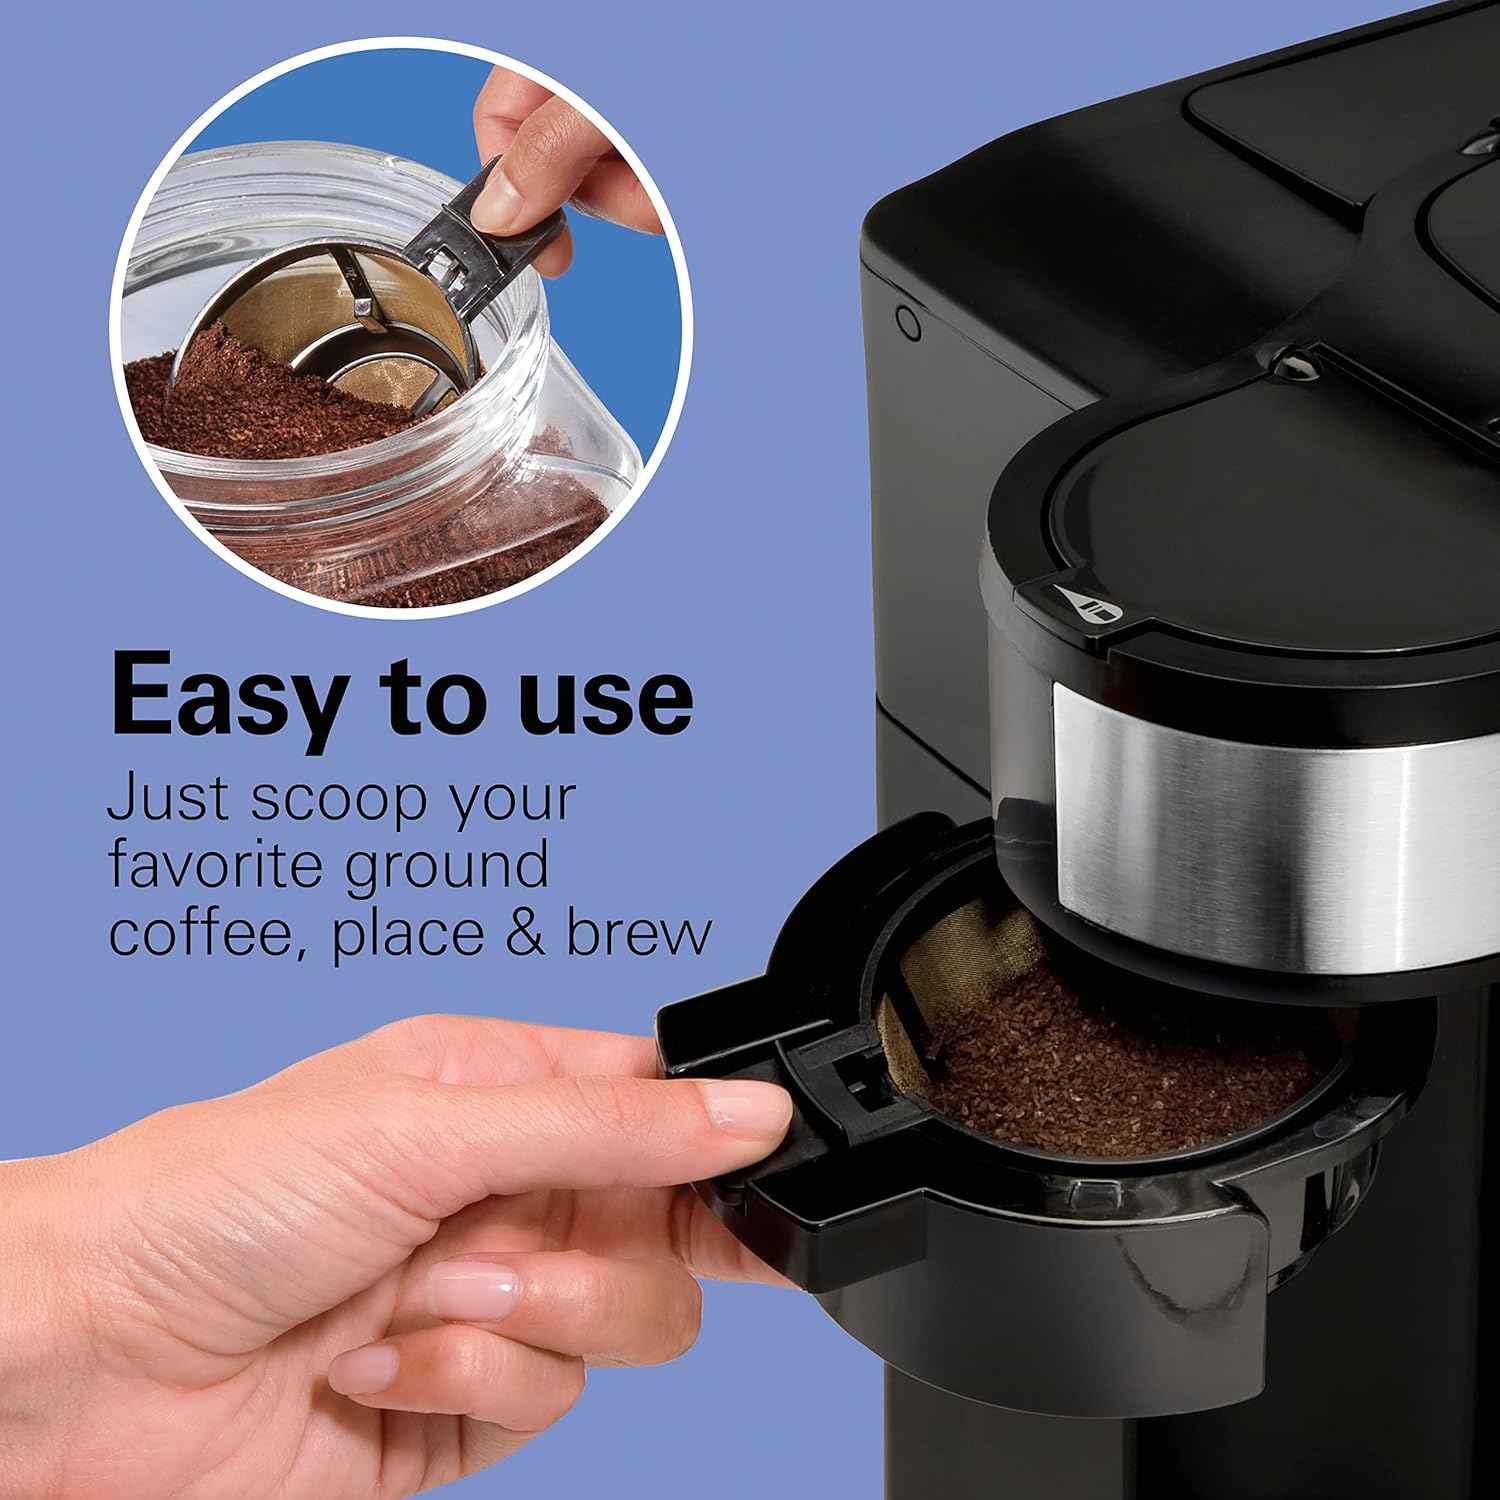
2. Using Ground Coffee (Single-Serve):
- Lift the single-serve brew head lid.
- Place the reusable ground coffee filter basket into the K-Cup pod holder.
- Add 1 to 3 tablespoons of ground coffee to the filter basket. Do not overfill. Close the lid firmly.
- Fill the water reservoir with the desired amount of water for your cup size.
- Posiziona la tazza sul vassoio raccogli-gocce.
- Press the 'SINGLE' button.
3. Setting Brew Strength (FlexBrew):
- After selecting 'SINGLE' or 'CARAFE', press the 'BREW STRENGTH' button to cycle through Regular or Bold options. The selected strength will display on the screen.
4. Setting Cup Size (FlexBrew Single-Serve):
- After selecting 'SINGLE', press the 'CUP SIZE' button to choose from 6, 8, 10, 12, or 14 ounces.
5. Programmable Brewing (FlexBrew):

- Set the current time using the 'SET TIME' button.
- Prepare your coffee (pod or grounds) and fill the water reservoir.
- Press the 'DELAY BREW' button. The display will flash 'START TIME'.
- Use the 'HOUR' and 'MINUTE' buttons to set your desired brew time.
- Press 'DELAY BREW' again to confirm. The indicator light will illuminate, and the coffee maker will brew at the set time.
B. 12-Cup Carafe Brewing (Both Models)
Both coffee makers offer a 12-cup carafe brewing option.

1. Using Ground Coffee (Carafe):
- Open the carafe brew basket.
- Place a paper filter (basket style) or the permanent filter (if included) into the brew basket.
- Add the desired amount of ground coffee (approximately 1 tablespoon per cup).
- Fill the water reservoir with cold water to the desired cup marking.
- Metti la caraffa di vetro sulla piastra riscaldante.
- Press the 'CARAFE' or 'BREW NOW I/O' button to start brewing.
2. Programmable Brewing (12-Cup Carafe):
- Prepare the coffee maker with ground coffee and water as described above.
- Set the current time (if not already set).
- Press the 'DELAY BREW' button (FlexBrew) or 'PROGRAM' button (2-Way).
- Set your desired brew time using the 'HOUR' and 'MINUTE' buttons.
- Confirm the setting. The indicator light will show that the delay brew is active.
3. Automatic Shutoff:
- The 2-Way Programmable Coffee Maker features an automatic 2-hour shutoff for safety and energy saving.
Manutenzione e pulizia
A. General Cleaning
- Prima di pulire la macchina per il caffè, staccare sempre la spina e lasciarla raffreddare completamente.
- Wash the carafe, brew baskets, K-Cup pod holder, and reusable ground coffee filter in warm, soapy water. These parts are generally top-rack dishwasher safe.
- Pulisci l'esterno della caffettiera con un panno damp stoffa. Non utilizzare detergenti abrasivi o spugnette abrasive.
- Pulisci la piastra riscaldante con un pannoamp stoffa. Non utilizzare materiali abrasivi.
B. Descaling
Nel tempo, i depositi minerali (calcio) possono accumularsi nella macchina del caffè, compromettendone le prestazioni. Decalcificare la macchina del caffè ogni 1-3 mesi, a seconda della durezza dell'acqua.
- Pour 1 cup of white vinegar and 2 cups of cold water into the water reservoir.
- Posizionare la caraffa vuota sulla piastra riscaldante.
- Run a brew cycle. After about 30 seconds, turn the coffee maker off and let it soak for 30 minutes.
- Turn the coffee maker back on and let the brew cycle complete.
- Gettare la soluzione di aceto.
- Run 2-3 cycles with clean, cold water to rinse out any remaining vinegar.
Risoluzione dei problemi
| Problema | Possibile causa | Soluzione |
|---|---|---|
| Il caffè non si prepara. | No water in reservoir; coffee maker not plugged in; brew cycle not initiated. | Fill reservoir; ensure plug is secure; press appropriate brew button. |
| Il caffè ha un sapore debole. | Not enough coffee grounds; coarse grind; brew strength set to regular. | Add more coffee; use finer grind; select 'Bold' brew strength. |
| Il caffè trabocca dal filtro. | Troppi fondi di caffè; filtro non inserito correttamente; cestello di infusione intasato. | Reduce coffee amount; ensure filter is properly placed; clean brew basket. |
| Perdite d'acqua dall'unità. | Water reservoir not properly seated; overfilled reservoir. | Ensure reservoir is securely in place; do not exceed MAX fill line. |
| Programmable brew does not start. | Delay brew not activated; incorrect time set. | Ensure 'DELAY BREW' indicator is lit; verify programmed time. |
Specifiche
| Caratteristica | Dettaglio |
|---|---|
| Marca | Hamilton Beach |
| Modelli | 49902, 49980R |
| Capacity (FlexBrew) | Single-serve (6-14 oz), 12-cup carafe |
| Capacity (2-Way) | Single-serve, 12-cup carafe |
| Tipo di ingresso caffè | Capsule K-Cup, caffè macinato |
| Caratteristiche speciali | Programmable, Auto Shutoff (2-Way), Brew Strength Selector (FlexBrew), Cup Size Selector (FlexBrew) |
| Materiale | Metallo, Plastica |
| Colore | Nero |
| Componenti inclusi | Cleaning Brush, Mesh Scoop |
Garanzia e supporto
Per informazioni sulla garanzia o assistenza sul prodotto, fare riferimento alla scheda di garanzia inclusa con l'acquisto o visitare il sito ufficiale Hamilton Beach website. You may also contact customer service directly for assistance.
- Websito: www.hamltonbeach.com
- Assistenza clienti: Refer to your product registration or included documentation for specific contact numbers and hours of operation.