1. Introduzione
This manual provides essential information for the safe and effective operation, maintenance, and troubleshooting of your Total TWS10501 1050W Drywall Sander with LED Lights. Please read these instructions carefully before using the tool to ensure proper function and to prevent injury or damage. Keep this manual for future reference.
2. Prodotto finitoview
The Total TWS10501 is a powerful and efficient drywall sander designed for professional and DIY use. It features a 1050W motor, a 9-inch (225mm) sanding pad, and integrated LED lights for improved visibility. The built-in dust collection system helps maintain a clean work environment.
Caratteristiche principali:
- Motore potente: 1050W for efficient material removal.
- Large Sanding Pad: 225mm diameter for covering large surfaces quickly.
- Luci a LED integrate: Illuminates the work area for precision and balanced finish.
- Sistema di raccolta della polvere: Minimizes airborne dust for a cleaner and safer workspace.
- Design ergonomico: Soft grip and lightweight for reduced fatigue during extended use.
- Velocità regolabile: Variable no-load speed from 600-2300 RPM.
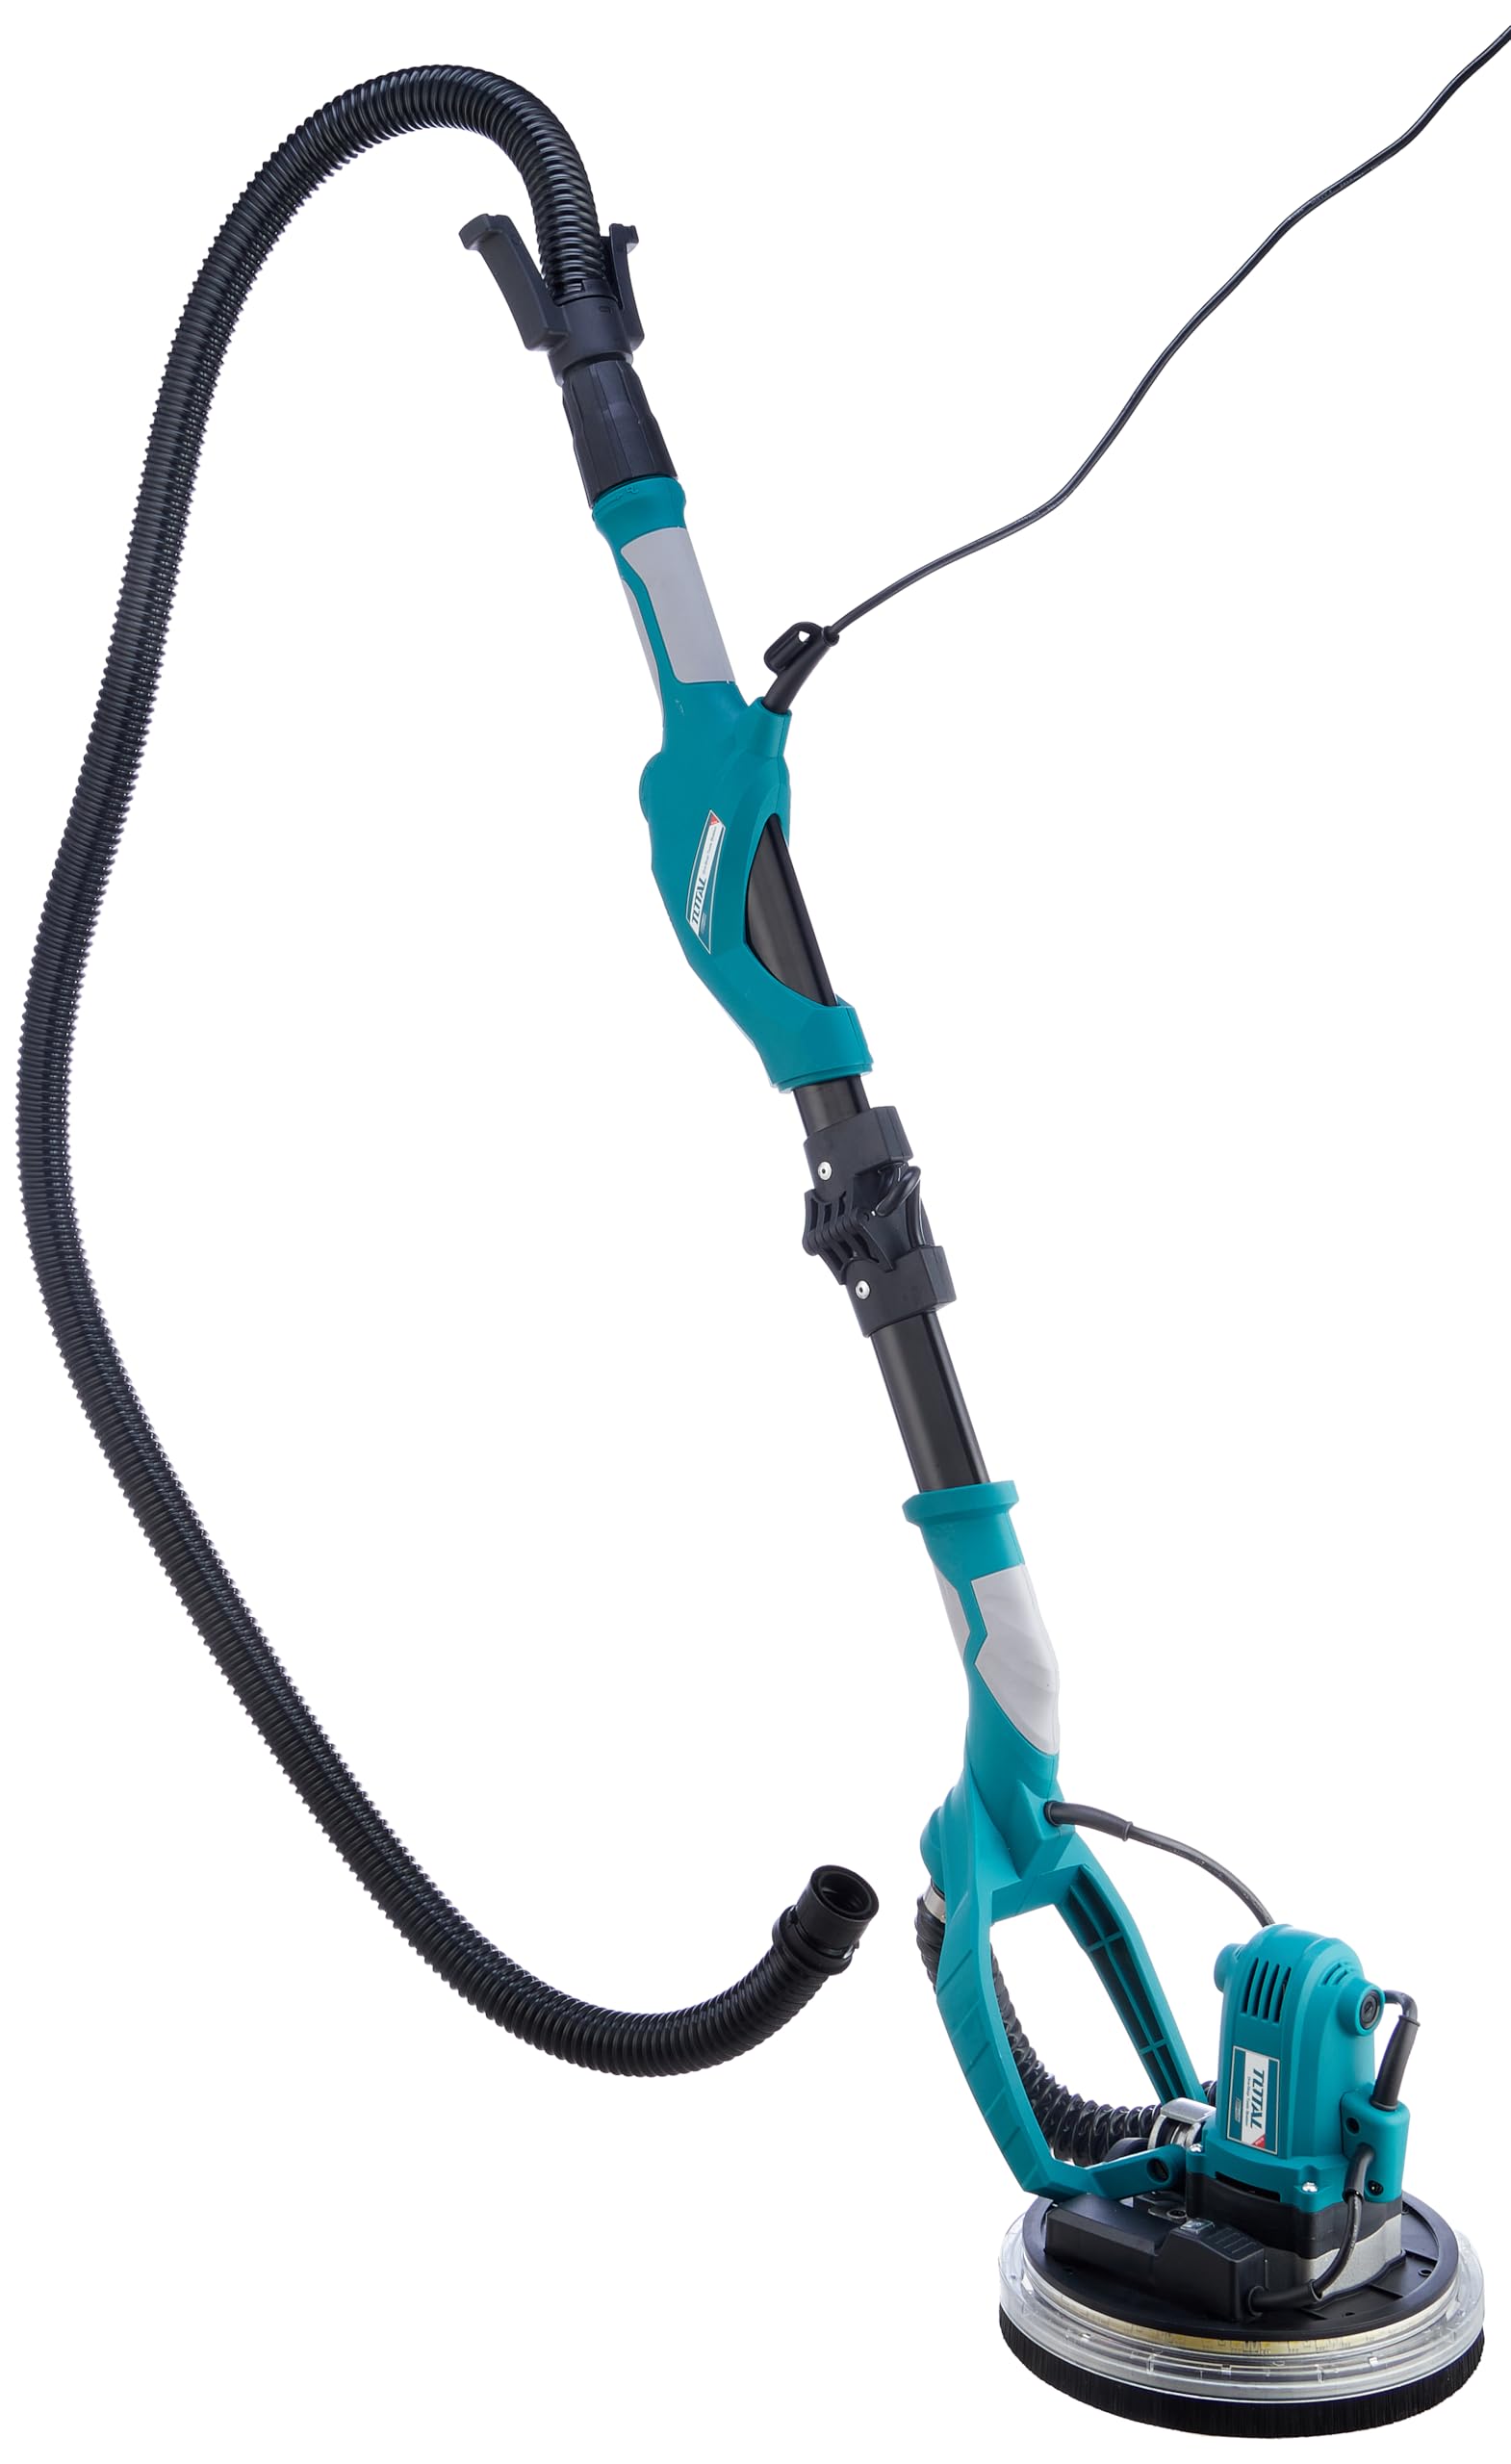
Figure 2.1: Total TWS10501 Drywall Sander with its flexible dust hose and extension bar.

Figure 2.2: Detail of the adjustable handle and locking mechanism on the Total TWS10501.

Figure 2.3: The sanding head of the TWS10501, showing the integrated LED work lights and brush skirt.
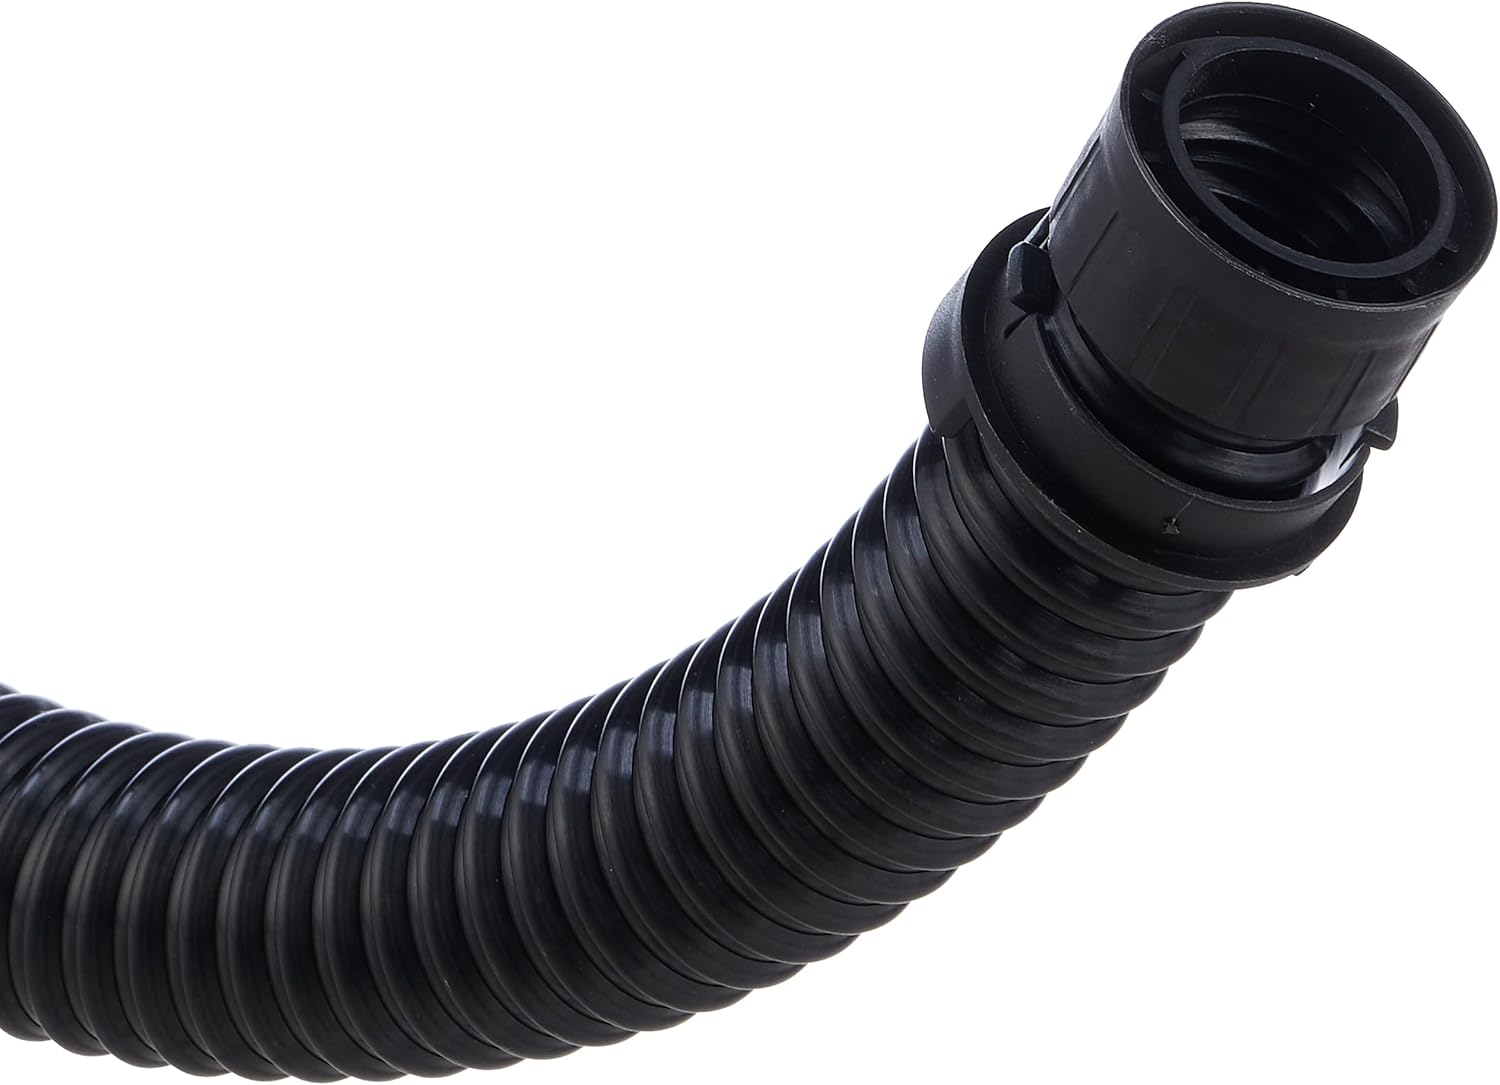
Figure 2.4: Connection point for the flexible dust hose on the Total TWS10501.
3. Istruzioni di sicurezza
Quando si utilizzano utensili elettrici, seguire sempre le precauzioni di sicurezza di base per ridurre il rischio di incendi, scosse elettriche e lesioni personali.
Sicurezza generale:
- Area di lavoro: Mantieni la tua area di lavoro pulita e ben illuminata. Le aree disordinate o scure provocano incidenti.
- Sicurezza elettrica: Do not expose power tools to rain or wet conditions. Ensure the power cord is undamaged.
- Sicurezza personale: Always wear eye protection, a dust mask, and hearing protection. Dress properly; avoid loose clothing or jewelry.
- Uso e cura dello strumento: Non forzare l'utensile. Utilizzare l'utensile corretto per l'applicazione. Scollegare la spina dalla fonte di alimentazione prima di effettuare qualsiasi regolazione, sostituire accessori o riporre gli utensili elettrici.
Specific Drywall Sander Safety:
- Dust Hazard: Drywall dust can be harmful if inhaled. Always use the dust collection system and wear a suitable dust mask. Ensure adequate ventilation in the work area.
- Pezzo sicuro: Ensure the surface being sanded is stable and secure.
- Evita di esagerare: Mantieni sempre una posizione e un equilibrio adeguati.
- Inspect Sanding Pad: Before each use, check the sanding pad for wear or damage. Replace if necessary.
4. Impostazione
Follow these steps to prepare your drywall sander for use.
- Disimballaggio: Carefully remove all components from the packaging. Verify that all included items are present: drywall sander, 6 pieces of sandpapers, two connection adapters, 4m flexible tube, one extension bar, one dust bag, and one set of extra carbon brushes.
- Assemble Extension Bar (if needed): If working on high walls or ceilings, attach the extension bar to the main body of the sander. Ensure it clicks securely into place.
- Attach Dust Hose: Connect one end of the 4m flexible tube to the dust port on the sander. Use the appropriate connection adapter if connecting to an external vacuum cleaner. Connect the other end of the flexible tube to the provided dust bag or an external dust extractor. Ensure all connections are tight to prevent dust leakage.
- Install Sandpaper: The sanding pad uses hook-and-loop (Velcro) fastening. Align the holes on the sandpaper with the holes on the sanding pad for optimal dust extraction. Press the sandpaper firmly onto the pad to secure it.
- Collegamento elettrico: Ensure the power switch is in the 'OFF' position. Plug the power cord into a suitable 220-240V 50/60Hz power outlet.
5. Istruzioni per l'uso
Proper operation ensures efficient sanding and extends the life of your tool.
- Accensione/spegnimento: To start the sander, press the ON/OFF switch. To stop, press the switch again.
- Regola la velocità: Use the variable speed dial to select the desired sanding speed (600-2300 RPM). Start with a lower speed for delicate work or initial passes, and increase as needed for faster material removal.
- Attiva le luci LED: The integrated LED work light can be switched on or off independently to illuminate the work surface, helping to identify imperfections and ensure an even finish.
- Tecnica di levigatura:
- Tenere saldamente la levigatrice con entrambe le mani.
- Posizionare il tampone abrasivo in piano sulla superficie da levigare.
- Apply light, even pressure. Let the tool do the work.
- Move the sander in smooth, overlapping circular or sweeping motions. Avoid holding the sander in one spot for too long to prevent gouging the surface.
- Regularly check the surface for desired smoothness.
- Raccolta della polvere: Ensure the dust collection system (dust bag or external extractor) is properly connected and functioning throughout operation. Empty the dust bag regularly to maintain optimal suction.
- Finitura: Once sanding is complete, switch off the tool and unplug it from the power source.
6. Manutenzione
Regular maintenance ensures optimal performance and extends the lifespan of your drywall sander.
- Pulizia: Dopo ogni utilizzo, pulire l'utensile con un panno pulito e asciutto.amp cloth. Do not use harsh chemicals or solvents. Clear any dust buildup from ventilation openings.
- Sostituzione della carta vetrata: Replace worn or clogged sandpaper promptly. Worn sandpaper reduces efficiency and can damage the sanding pad.
- Dust Bag/Filter: Empty the dust bag frequently. If using an external dust extractor, clean or replace its filter as recommended by the manufacturer.
- Spazzole di carbone: The sander comes with a set of extra carbon brushes. Periodically inspect the carbon brushes for wear. When they are worn down to approximately 1/4 inch (6mm), they should be replaced. Refer to a qualified service technician for carbon brush replacement if you are unsure.
- Ispezione del cavo: Ispezionare regolarmente il cavo di alimentazione per verificare la presenza di eventuali danni, tagli o sfilacciamenti. Se danneggiato, farlo sostituire da un tecnico qualificato.
- Magazzinaggio: Conservare la levigatrice in un luogo pulito e asciutto, fuori dalla portata dei bambini.
7. Risoluzione Dei Problemi
This section addresses common issues you might encounter with your drywall sander.
| Problema | Possibile causa | Soluzione |
|---|---|---|
| Sander non si avvia | Nessuna alimentazione; Cavo di alimentazione danneggiato; Interruttore difettoso; Spazzole di carbone usurate. | Check power outlet and connection; Inspect power cord for damage; Contact service for switch or carbon brush replacement. |
| Scarsa prestazione di levigatura | Worn or incorrect sandpaper; Insufficient pressure; Low speed setting. | Replace sandpaper; Apply light, even pressure; Increase speed setting. |
| Polvere eccessiva | Dust hose not connected properly; Dust bag full; Sandpaper holes not aligned; Damaged dust skirt. | Ensure dust hose is securely attached; Empty dust bag; Align sandpaper holes; Inspect and replace dust skirt if damaged. |
| La levigatrice vibra eccessivamente | Damaged sanding pad; Unbalanced sandpaper; Loose components. | Replace sanding pad; Ensure sandpaper is centered and flat; Check for loose screws or parts. |
If you encounter problems not listed here or if solutions do not resolve the issue, please contact Total customer support or a qualified service center.
8. Specifiche
| Specificazione | Valore |
|---|---|
| Produttore | Totale |
| Numero modello articolo | TWS10501 |
| Numero di parte | 202211006847 |
| Voltage | 220-240 V |
| Frequenza | Frequenza 50/60 Hz |
| Cosatage (Potenza in ingresso) | 1050W |
| Velocità a vuoto | 600-2300 giri/min |
| Grinding Pad Diameter | 215 millimetri |
| Diametro della carta vetrata | 225 millimetri |
| Diametro del tubo | 32 millimetri |
| Dust Hose Diameter | 38 millimetri |
| Peso dell'articolo | 7.3 chilogrammi |
| Dimensioni del prodotto | Dimensioni: 68.59 x 31.2 x 30 cm |
| Tipo di fonte di alimentazione | AC/DC (elettrico con cavo) |
| Componenti inclusi | 1 x Drywall Sander TWS10501, 6 x Sandpapers, 2 x Connection Adapters, 1 x 4m Flexible Tube, 1 x Extension Bar, 1 x Dust Bag, 1 x Set of Extra Carbon Brushes |
| Sono necessarie batterie? | NO |
| Colore | Multicolore |
9. Garanzia e supporto
For warranty information, please refer to the warranty card included with your product or contact Total customer service. Keep your purchase receipt as proof of purchase.
Assistenza clienti:
If you have any questions, require technical assistance, or need to order replacement parts, please contact Total customer support through their official websito o i recapiti forniti sulla confezione del prodotto.