1. Introduzione
This manual provides comprehensive instructions for the setup, operation, and maintenance of your TouchWo 75-inch 4K Interactive Smart Board (Model: JPRZB75WA). This device is designed to enhance interactive presentations, collaborative work, and digital display applications in various environments, including offices and classrooms. Please read this manual thoroughly before using the product to ensure proper functionality and safety.

The TouchWo 75-inch Interactive Smart Board, shown here mounted on its portable stand, features a 4K display and a user-friendly interface for quick access to functions.
2. Caratteristiche principali
- 20-Point Touch Screen: Supports multi-finger gestures for zooming, drawing, and annotation. Includes a stylus for precise input. Operates with gloves and offers a response time within 5ms.
- Dual Operating System: Equipped with both Android 13 (RAM 4GB + ROM 32GB) and Windows 10 (Core i5, RAM 4GB + SSD 256GB) for versatile application use. Systems can be switched as needed.
- 4K Display & Multi-Interface: Features a 4K screen and integrates multiple connectivity options including HDMI, USB, VGA, RJ45, Wi-Fi, and Bluetooth 5.0. Built-in speakers are included. HDMI IN and USB OTG ports enable screen casting from external devices with touch functionality.
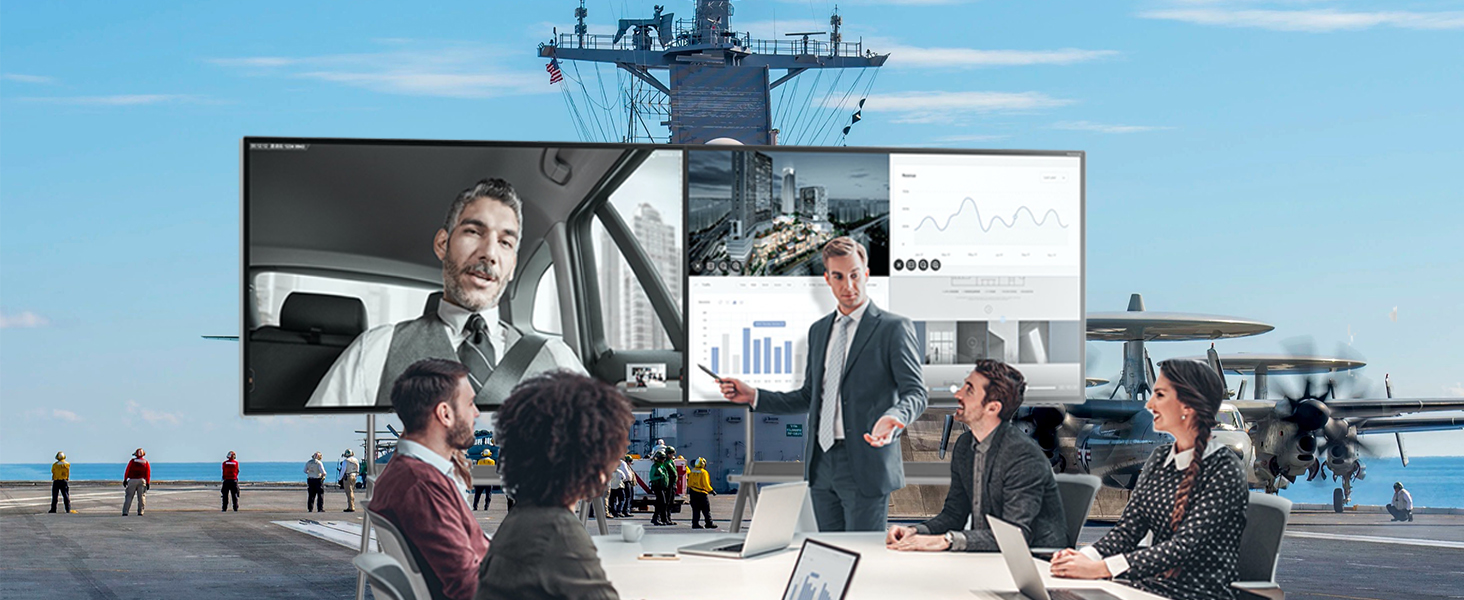
- Screen Mirroring & Digital Signage: Supports wireless screen mirroring from smartphones, laptops, and tablets. Teachers can annotate on an infinite canvas. The display supports horizontal and vertical placement for smart TV playback and digital signage. Connect an external camera and microphone for video conferencing.

This image demonstrates the 20-point touch capability of the smart board, allowing for precise and multi-user interaction through various finger gestures.
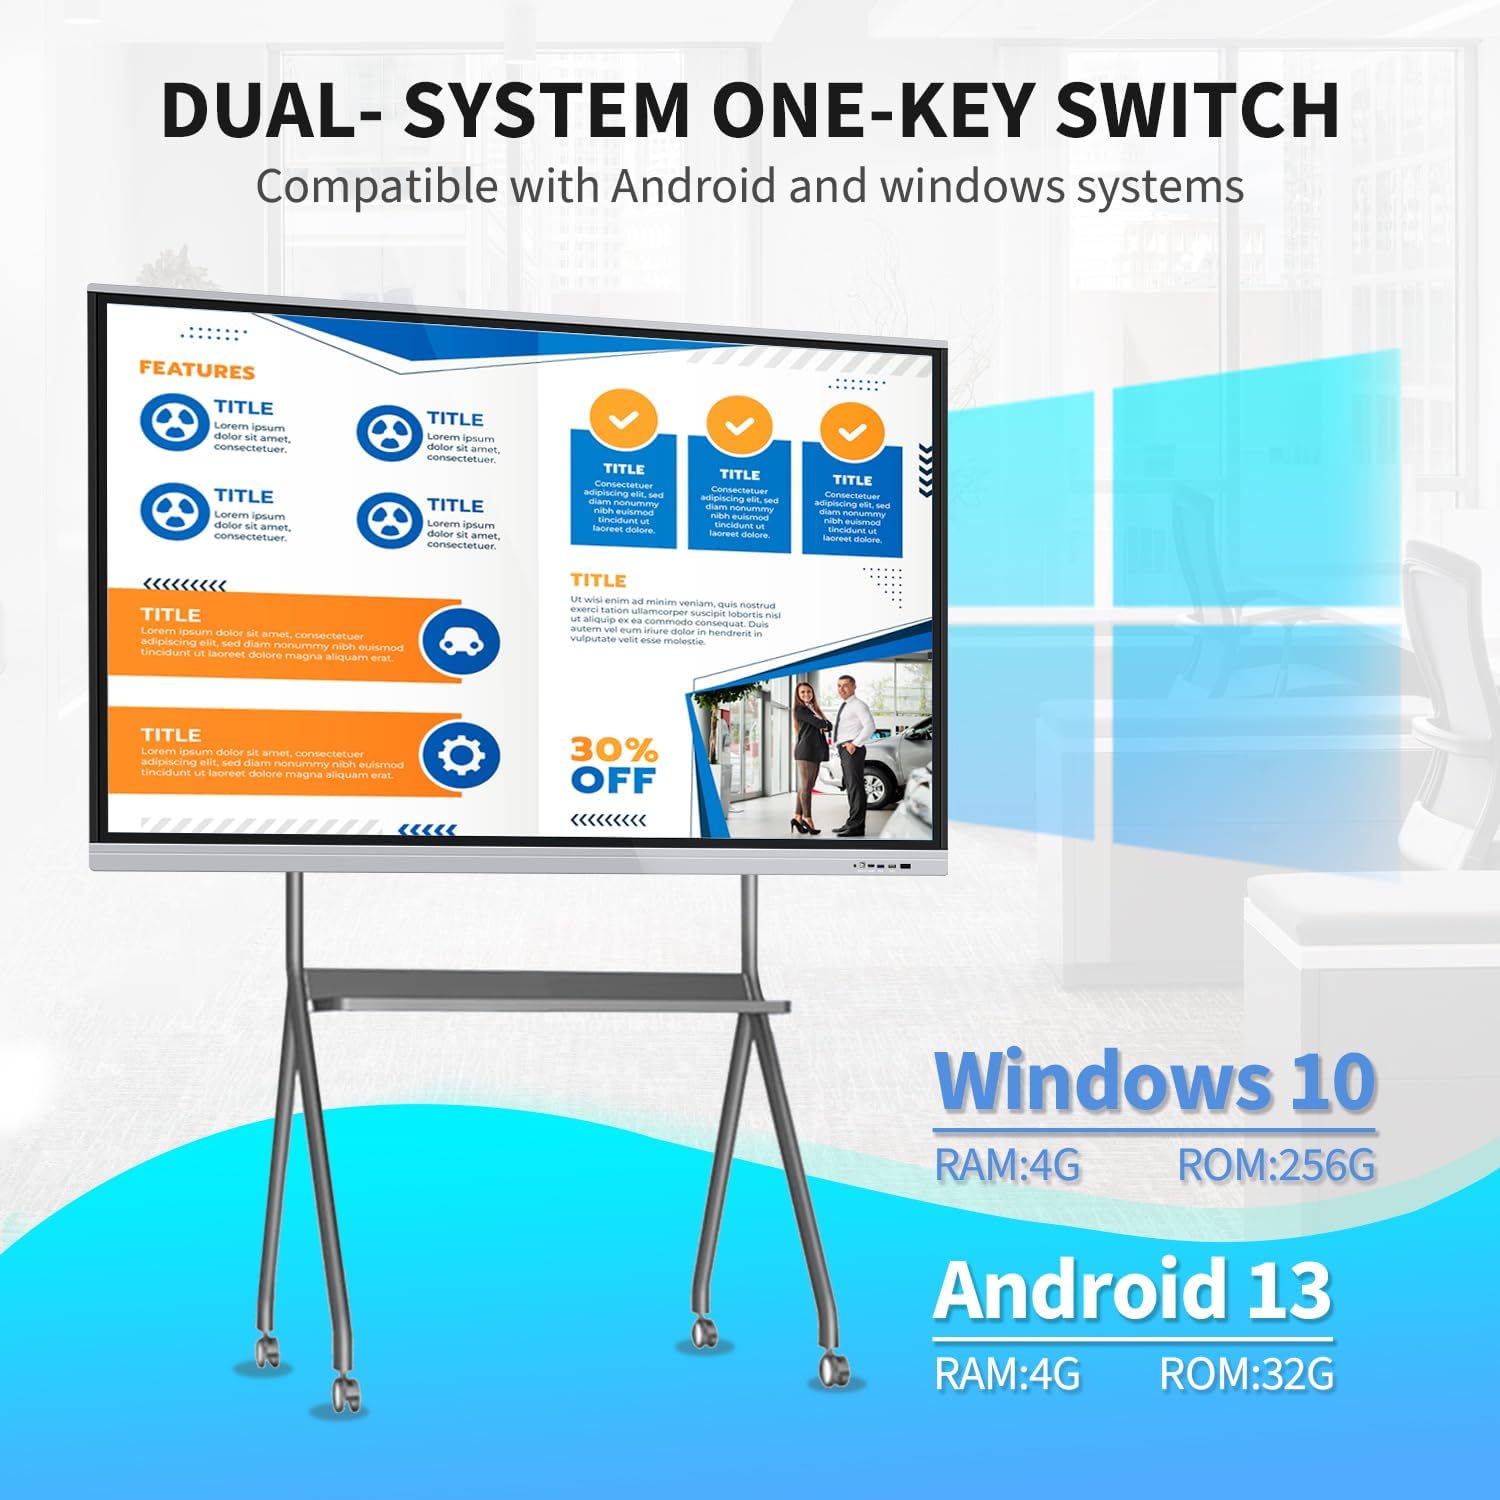
The smart board supports a dual operating system setup, allowing users to switch between Windows 10 (Core i5, 4GB RAM, 256GB SSD) and Android 13 (4GB RAM, 32GB ROM) as needed for different applications.
3. Contenuto della confezione
Verifica che tutti gli articoli elencati di seguito siano inclusi nel tuo pacchetto:
- 1 x Smart Whiteboard
- 1 x linea elettrica
- 1 x Presenter Pen
- 1 x supporto portatile
- 1 x Antenna WiFi
- 1 x Capacitive Stylus (as per feature bullets)
- 1 x Screen Mirroring Device (as per feature bullets)

The smart board offers flexible installation with both a mobile stand for portability and a wall mount bracket for fixed setups. Essential accessories such as a power line, WiFi antenna, capacitive stylus, presenter pen, and screen mirroring device are included.
4. Guida all'installazione
4.1. Opzioni di montaggio
The TouchWo Smart Board can be installed using two methods:
- Mobile Stand Installation: Assemble the portable stand according to its separate instructions. Securely attach the smart board to the stand. This option provides flexibility for moving the board between locations.
- Installazione a parete: Use the provided wall mount bracket to fix the smart board to a sturdy wall. Ensure the wall can support the weight of the unit (approximately 94.6 pounds or 43 kg). Professional installation is recommended for wall mounting.
4.2. Connessione iniziale
- Collegamento elettrico: Connect the power line to the smart board and then to a standard 110V AC power outlet.
- Antenna Wi-Fi: Attach the WiFi antenna to the designated port on the smart board to enable wireless network connectivity.
- Periferiche: Connect any desired external devices such as a keyboard, mouse, or external storage via the available USB ports.
- Accensione: Press the power button located on the smart board. The system will boot up, typically starting with the Android operating system.
5. Istruzioni per l'uso
5.1. System Switching (Android/Windows)
The smart board features a dual operating system. To switch between Android and Windows 10:
- Locate the system switch option on the main interface or through the quick settings menu.
- Select the desired operating system (Android or Windows) to initiate the switch. The board will restart into the selected OS.
5.2. Funzionalità touchscreen
The 20-point touch screen allows for intuitive interaction:
- Gesti di base: Use single tap for selection, double tap for opening, and press and hold for context menus.
- Multi touch: Utilize two fingers for zooming in/out of images or documents, and for other multi-touch commands.
- Utilizzo dello stilo: The included capacitive stylus can be used for precise writing, drawing, and annotation directly on the screen. No driver installation is required.
5.3. Mirroring dello schermo
To mirror content from your devices:
- Ensure your smartphone, laptop, or tablet is connected to the same Wi-Fi network as the smart board.
- Use the included screen mirroring device or the built-in screen mirroring application on the smart board to connect your device.
- Follow the on-screen prompts to establish the connection and display your device's content on the smart board.
5.4. Digital Signage Mode
The smart board can function as a digital signage display:
- Content can be displayed in both horizontal and vertical orientations.
- Utilize the Android system to run digital signage applications or display media files.
5.5. Utilizzo degli accessori
- Presenter Pen: Use the presenter pen for navigating presentations (e.g., PowerPoint) wirelessly. Refer to the presenter pen's specific instructions for pairing and function.
- Stilo: The capacitive stylus is for direct interaction with the touchscreen, ideal for writing and drawing.
5.6. Connettività
The smart board offers various ports for external connections:
- INGRESSO HDMI: Connect external video sources (e.g., laptops, media players) to display content on the smart board. Touch functionality can be enabled for connected devices via USB OTG.
- Porte USB: For connecting USB drives, keyboards, mice, and other peripherals.
- VGA: Collegare vecchie sorgenti video.
- RJ45: Per la connessione di rete cablata.
- Wi-Fi e Bluetooth: For wireless network access and connecting Bluetooth devices.
6. Manutenzione
- Pulizia dello schermo: Utilizzare un panno morbido e privo di lanugine, specificamente progettato per schermi elettronici. DampInumidire leggermente il panno con acqua o una soluzione detergente per schermi. Evitare prodotti chimici aggressivi o materiali abrasivi.
- Pulizia generale: Wipe the exterior surfaces with a dry, soft cloth. Ensure all vents are clear of dust and debris to prevent overheating.
- Magazzinaggio: If storing the smart board for an extended period, ensure it is powered off and disconnected from the power source. Store in a cool, dry place.
- Aggiornamenti software: Periodically check for and install system updates for both Android and Windows to ensure optimal performance and security.
7. Risoluzione Dei Problemi
| Problema | Possibile causa | Soluzione |
|---|---|---|
| Nessun potere | Cavo di alimentazione scollegato; guasto alla presa di corrente | Controllare il collegamento del cavo di alimentazione; provare una presa diversa; assicurarsi che il pulsante di accensione sia premuto. |
| Il touchscreen non risponde | Problema software; problema di calibrazione | Restart the device; check for system updates; recalibrate the touchscreen if an option is available in settings. |
| No display from external device | Incorrect input source selected; cable issue | Ensure the correct HDMI/VGA input is selected on the smart board; check the connection cable. |
| Problemi di connessione Wi-Fi | Antenna not connected; incorrect password; router issue | Ensure WiFi antenna is securely attached; verify Wi-Fi password; restart router and smart board. |
| Cannot switch OS | Errore di sistema | Restart the smart board and try again. If the issue persists, contact support. |
8. Specifiche tecniche

This diagram provides key technical specifications for the 75-inch smart board, including its physical dimensions (170.7 cm width, 101.3 cm height, 8.3 cm depth), 4K (3840x2160) resolution, 350 cd/m2 brightness, 16:9 aspect ratio, and 43 kg weight.
| Caratteristica | Specificazione |
|---|---|
| Marca | ToccaWo |
| Numero di modello | JPRZB75WA |
| Dimensioni dello schermo | 75 pollici |
| Risoluzione | 4K UHD (3840 x 2160 pixel) |
| Luminosità dell'immagine | 350 lm (cd/m2) |
| Proporzioni | 16:9 |
| Rapporto di contrasto | 5000:1 |
| Frequenza di aggiornamento | Frequenza 60 Hz |
| Viewangolo di ing | 178° |
| Sistema operativo | Android 13 & Windows 10 (Core i5, RAM 4GB, SSD 256GB) |
| Punti di contatto | 20 Punti |
| Altoparlante incorporato | SÌ |
| Connettività | HDMI, USB (6 total), VGA, RJ45, Wi-Fi, BT5.0 |
| Dimensioni del prodotto | 3.2 x 67.2 x 40 pollici (8.3 x 170.7 x 101.3 cm) |
| Peso dell'articolo | 94.6 libbre (43 kg) |
| Voltage | 110 Volt |
9. Supporto e garanzia
For technical assistance, warranty inquiries, or any other support needs, please contact TouchWo customer service:
- Email ufficiale: touchwoamz@outlook.com
- Pagina del venditore: Visitare il TouchWo seller page on Amazon per ulteriori informazioni.
The manufacturer aims to respond to inquiries within 24 hours. Please retain your proof of purchase for warranty claims.
For any assistance, users can contact support via the official email address provided or scan the QR code for more information. The manufacturer aims to respond within 24 hours.