SONY VJPK11
Manuale utente del portatile SONY VAIO Pro PK VJPK11
Model: VJPK11
1. Introduzione
This manual provides essential instructions for the safe and efficient use of your SONY VAIO Pro PK VJPK11 laptop. Please read this manual thoroughly before operating your device and retain it for future reference. It covers setup, operation, maintenance, and troubleshooting to ensure optimal performance and longevity of your laptop.
2. Prodotto finitoview
The SONY VAIO Pro PK VJPK11 is a portable computing device designed for productivity and multimedia. Familiarize yourself with its components and features.

Figura 2.1: Davanti view of the SONY VAIO Pro PK VJPK11 laptop. This image displays the laptop open, revealing the screen, keyboard, and touchpad. The VAIO logo is visible on the screen, and an Intel Core i5 sticker is on the palm rest.
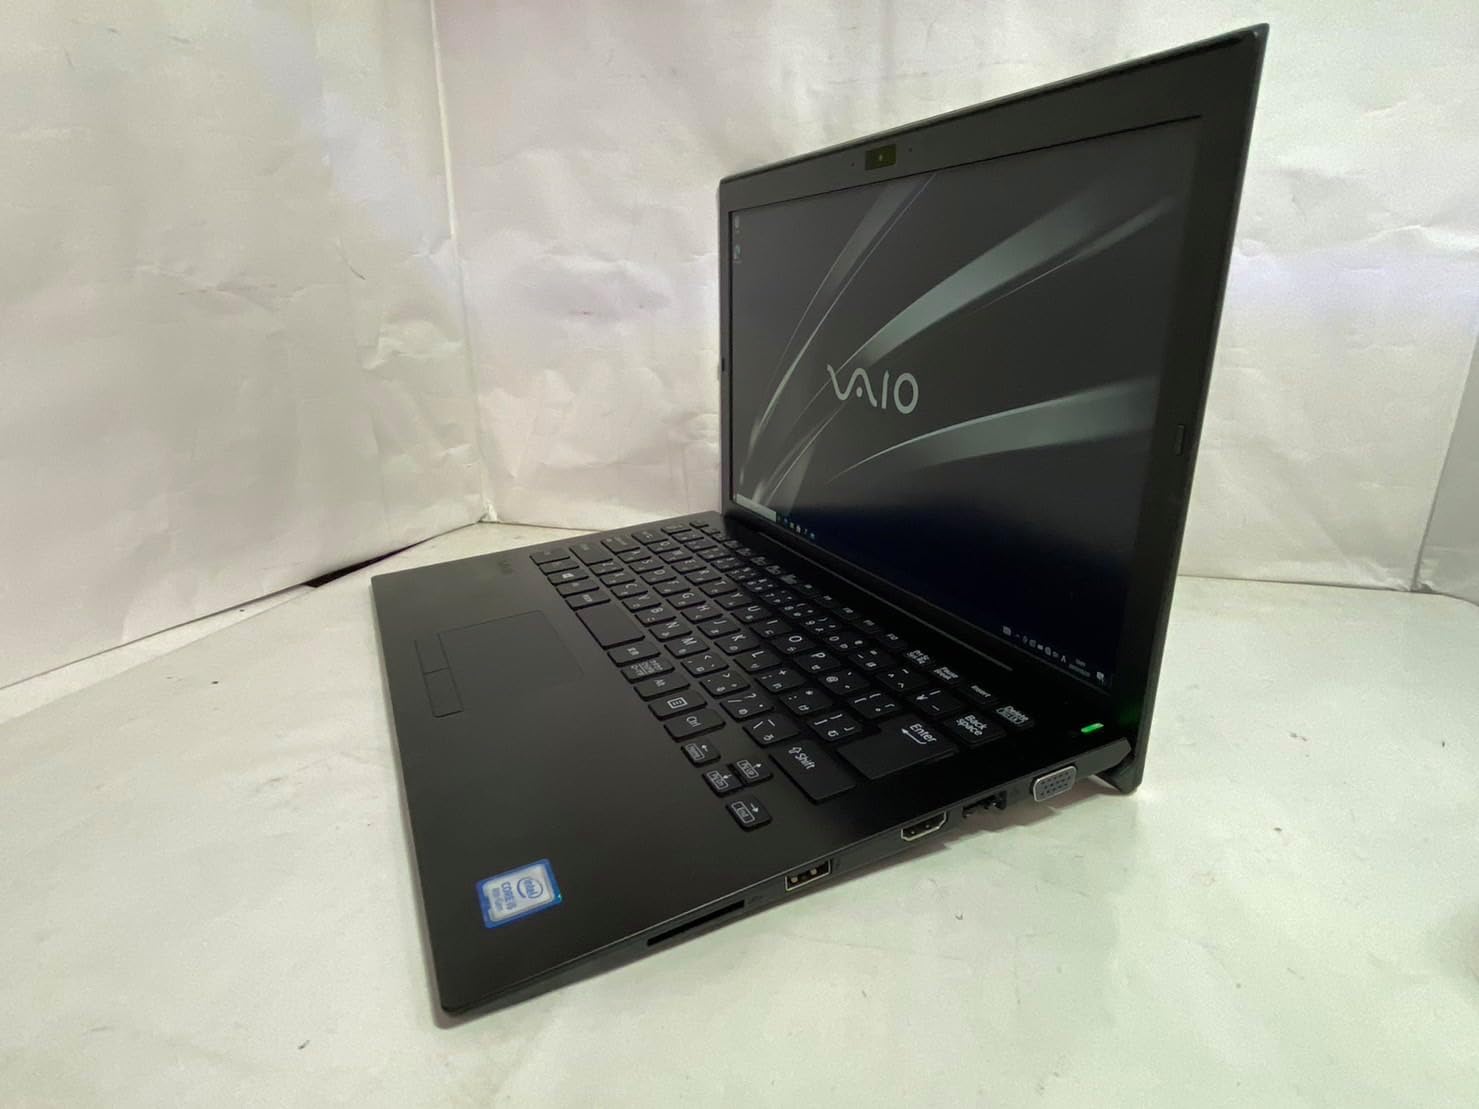
Figura 2.2: Lato sinistro view of the SONY VAIO Pro PK VJPK11 laptop. This image shows the left side of the laptop, highlighting various ports such as USB, HDMI, and a VGA port, along with a ventilation grille.

Figura 2.3: Superiore view of the SONY VAIO Pro PK VJPK11 laptop with the lid closed. This image displays the sleek black finish of the laptop's lid, featuring the prominent silver VAIO logo in the center.
3. Impostazione
3.1 Disimballaggio
Carefully remove the laptop and all accessories from the packaging. Ensure all components are present:
- SONY VAIO Pro PK VJPK11 Laptop
- Adattatore CA e cavo di alimentazione
- Documentazione (questo manuale, informazioni sulla garanzia)
3.2 Collegamento all'alimentazione
- Collegare l'adattatore CA alla porta di ingresso dell'alimentazione del laptop.
- Collegare il cavo di alimentazione all'adattatore CA.
- Inserire il cavo di alimentazione in una presa elettrica dotata di messa a terra.
- Allow the battery to charge fully before initial use, or use the laptop while connected to power.
3.3 Initial Boot-Up and Windows Setup
Press the power button to turn on the laptop. Follow the on-screen instructions to complete the Windows 10 Pro setup process. This typically involves selecting your region, language, accepting license agreements, and creating a user account.
4. Istruzioni per l'uso
4.1 Accensione/spegnimento
- Per accendere: Premere il pulsante di accensione situato sul portatile.
- Spegnere: Fare clic sul pulsante Start, quindi su Arresta e selezionare "Arresta il sistema".
- Ricominciare: Fare clic sul pulsante Start, quindi su Accensione e selezionare "Riavvia".
- Per dormire: Click the Start button, then Power, and select 'Sleep', or close the laptop lid.
4.2 Tastiera e touchpad
The laptop features a standard QWERTY keyboard and a multi-touch touchpad. Use the touchpad for cursor control and gestures. Refer to Windows settings for customizing touchpad sensitivity and gestures.
4.3 Collegamento delle periferiche
- Dispositivi USB: Connect USB devices (e.g., mouse, external drive) to the available USB 3.0 ports.
- Display esterno: Use the HDMI or VGA port to connect an external monitor or projector. Press Tasto Windows + P to manage display modes.
- Rete cablata (LAN): Per una connessione Internet cablata, collegare un cavo Ethernet alla porta LAN.
- Scheda SD: Insert an SD card into the dedicated SD card slot for data transfer.
4.4 Utilizzo Webcam and Bluetooth
- WebCamera: L'integrato webcam can be used for video calls and conferencing. Access it through applications like Camera or communication software.
- Bluetooth: Enable Bluetooth in Windows settings to connect wireless devices such as headphones, speakers, or mice.
5. Manutenzione
5.1 Pulizia del portatile
Utilizzare un panno morbido e privo di lanugine leggermente dampened with water or a screen cleaner to clean the display and exterior surfaces. Avoid harsh chemicals or abrasive materials. Ensure the laptop is powered off and unplugged before cleaning.
5.2 Cura della batteria
To prolong battery life, avoid extreme temperatures. If storing the laptop for an extended period, ensure the battery is charged to approximately 50%.
5.3 Aggiornamenti software
Regularly check for and install Windows updates and driver updates from the SONY support websito per garantire la stabilità e la sicurezza del sistema.
5.4 Backup dei dati
Esegui periodicamente il backup dei dati importanti su un'unità esterna o su un archivio cloud per evitare la perdita di dati.
6. Risoluzione Dei Problemi
This section addresses common issues you might encounter with your SONY VAIO Pro PK VJPK11.
6.1 Nessun potere
- Ensure the AC adapter is securely connected to the laptop and a working power outlet.
- Verificare che la presa di corrente funzioni collegandovi un altro dispositivo.
- Se la batteria è completamente scarica, lasciarla caricare per qualche minuto prima di provare ad accenderla.
6.2 Problemi di visualizzazione
- Se lo schermo è vuoto, prova a regolare la luminosità del display utilizzando i tasti funzione.
- If an external monitor is connected, ensure the correct display output mode is selected (Windows key + P).
- Riavviare il portatile.
6.3 Problemi di connettività Wi-Fi
- Assicurati che il Wi-Fi sia abilitato nelle impostazioni di Windows.
- Riavvia il router e il modem.
- Controlla se altri dispositivi riescono a connettersi alla stessa rete Wi-Fi.
- Aggiorna i driver della tua rete wireless.
6.4 Il laptop è lento
- Chiudere le applicazioni non necessarie in esecuzione in background.
- Controllare Task Manager per individuare processi che consumano molta CPU o RAM.
- Eseguire una pulizia e una deframmentazione del disco (per HDD, non è necessario per SSD).
- Assicurarsi che Windows e i driver siano aggiornati.
7. Specifiche
Key technical specifications for the SONY VAIO Pro PK VJPK11 laptop:
| Caratteristica | Specificazione |
|---|---|
| Modello | SONY VAIO Pro PK VJPK11 (VJPK11C11N) |
| Processore | Intel Core i5-8250U (1.60 GHz) |
| Memoria RAM | 8.00 GB di DDR3 SDRAM |
| Magazzinaggio | 256GB SSD (SATA) |
| Display | 14.0-inch Wide (1920x1080 pixels) |
| Grafica | Grafica integrata Intel |
| Sistema operativo | Windows 10 Pro 64bit |
| Porti | VGA, HDMI, USB 3.0, LAN, SD Card Slot |
| Connettività | Rete locale, Bluetooth |
| Webcamma | Integrato Webcamma |
8. Garanzia e supporto
For information regarding your product's warranty, please refer to the warranty card included with your purchase or visit the official SONY support website. For technical assistance, contact SONY customer support or your authorized dealer.
Supporto online: https://www.sony.com/electronics/support
Ask a question about this manual
Ask about setup, troubleshooting, compatibility, parts, safety, or missing instructions. Manuals+ will review the question and use this page’s manual context to help answer it.