1. Introduzione
The OAE AP-80A MPPT Solar Charge Controller is an advanced maximum power point tracking (MPPT) device designed to optimize the power output from your solar panels to efficiently charge various battery types. It supports 12V, 24V, 36V, and 48V automatic battery voltage detection and is compatible with sealed, gel, flooded, and lithium batteries. With a maximum PV input voltage of 150V and an efficiency of up to 99%, this controller ensures reliable and effective solar energy management for your off-grid systems.
Key features include multiple protection mechanisms against overcharge, over-discharge, overheat, reverse polarity, overload, and short-circuits, ensuring the safety and longevity of your system. It also offers RS485 communication for optional Wi-Fi remote monitoring, allowing real-time data access and settings adjustment via a mobile application.

Figura 1: Fronte view of the OAE AP-80A MPPT Solar Charge Controller, showing the LCD display and control buttons.

Figura 2: Oltreview of the AP-Series MPPT Solar Charge Controller highlighting key features such as >99% MPPT Tracing Efficiency, 150 VDC Max PV Input Voltage, and APP monitoring capability.
2. Configurazione e installazione
2.1 Controlli pre-installazione
- Assicurarsi che tutti i componenti siano presenti e non danneggiati.
- Verificare il vol della batteriatage matches the controller's auto-detection range (12V/24V/36V/48V).
- Select a suitable mounting location that is well-ventilated, away from direct sunlight, and protected from moisture.
- Ensure adequate clearance around the controller for proper heat dissipation, especially around the cooling fan.
2.2 Identificazione dei componenti

Figure 3: Diagram illustrating the main components and interfaces of the MPPT Solar Charge Controller. Key components include (1) Cooling Fan, (2) Hang Bracket, (3) LCD Display, (4) Menu Button, (5) Down Button, (6) Up Button, (7) Enter Button, (8) Temperature Interface, (9) Solar Panel Terminals, (10) Battery Terminals, (11) DC Load Terminals, and (12) RS485 Port.
2.3 Collegamenti di cablaggio
Follow the connection diagram carefully. Incorrect wiring can damage the controller or other components. Always connect the battery first, then the solar panels, and finally the DC load.
- Collegamento della batteria: Connect the battery cables to the "BATTERY" terminals (10) on the controller. Ensure correct polarity (+ to + and - to -). The controller will automatically detect the battery voltage.
- Connessione al pannello solare: Connect the solar panel cables to the "SOLAR PANEL" terminals (9). Ensure correct polarity. The maximum PV input voltage è 150V.
- Collegamento del carico CC: Connect your DC loads to the "DC LOAD" terminals (11). Ensure correct polarity.
- Collegamento del sensore di temperatura: Connect the external temperature sensor to the "Temp Sensor" interface (8). This is crucial for accurate battery charging temperature compensation.
- Comunicazione RS485: For remote monitoring via Wi-Fi (requires additional purchase of a Wi-Fi module), connect the module to the "RS485" port (12).

Figure 4: Detailed connection diagram showing solar panels, battery, DC load, and optional Wi-Fi module connected to the MPPT Solar Charge Controller.
2.4 Accensione iniziale
After all connections are secure, the controller will power on. The LCD display will show system information. Verify that the battery voltage is correctly detected and that the solar panel input is recognized.
3. Istruzioni per l'uso
3.1 Display LCD e funzioni dei pulsanti
The controller features an LCD display and four buttons for navigation and settings adjustment:
- Pulsante MENU: Enters the main menu or returns to the previous screen.
- Pulsante GI: Consente di scorrere le opzioni del menu verso il basso o di diminuire i valori.
- Pulsante SU: Consente di scorrere le opzioni del menu verso l'alto o di aumentare i valori.
- Pulsante INVIO: Conferma la selezione o accede a un sottomenu.
Video 1: Dimostrazione del Ampinvt solar charge controller's operation, including navigating the display and adjusting settings.
3.2 Selezione del tipo di batteria
Il controller supporta diversi tipi di batteria. È fondamentale selezionare il tipo di batteria corretto per una ricarica ottimale e una maggiore durata della batteria.

Figure 5: Visual representation of battery types compatible with the controller, including Lifepo4, AGM, Lithium, GEL, Flooded, and USER defined settings.
- Navigate to the "Battery Type Setting" menu.
- Use the UP/DOWN buttons to select your battery type (Sealed, Gel, Flooded, Lithium, or User-defined).
- Premere INVIO per confermare la selezione.
- For "User" type, you can manually adjust charging parameters such as float charge voltage, sovrascarica voltage, ecc.
3.3 Impostazioni dei parametri
Advanced users can customize charging and load parameters. Accessing these settings typically requires a password (refer to the manual for default password if not provided on screen).
- Adjust charge current limits.
- Set float charge voltage, over-discharge return voltage, and over-discharge voltage.
- Configure load control modes (e.g., 24-hour, dusk-to-dawn, timed).
Video 2: Oltreview of Ampinvt solar charge controllers (40A, 60A, 80A models), showcasing their features and general appearance.
4. Manutenzione
Regular maintenance ensures the longevity and optimal performance of your MPPT solar charge controller.
- Ispezione periodica: Regularly check all wiring connections for tightness and corrosion. Ensure the controller is securely mounted.
- Pulizia: Keep the controller clean and free from dust and debris. Pay particular attention to the cooling fan and ventilation openings to prevent overheating. Use a soft, dry cloth for cleaning. Do not use liquid cleaners.
- Aggiornamenti del firmware: Controllare il produttore website or app for any available firmware updates. Follow the provided instructions carefully for any update procedures.
- Stato della batteria: Monitor your battery's health and ensure it is within its recommended operating parameters. The controller's display provides real-time battery voltage e lo stato di carica.
5. Risoluzione Dei Problemi
Questa sezione fornisce soluzioni ai problemi più comuni che potresti riscontrare con il tuo regolatore di carica solare.
| Problema | Possibile causa | Soluzione |
|---|---|---|
| Il controller non si accende. | Nessuna batteria collegata o batteria scaricatage troppo basso. | Ensure battery is connected with correct polarity and has sufficient charge. |
| No solar charging. | Solar panels not connected, insufficient sunlight, or PV input voltage troppo basso/alto. | Controllare i collegamenti e la polarità del pannello solare. Assicurarsi che la luce solare sia adeguata. Verificare la tensione fotovoltaica.tage rientra nel raggio d'azione del controller. |
| DC Load not working. | Load disconnected, overload, or short-circuit. | Check load connections. Reduce load if overloaded. Check for short-circuits. |
| Protezione da surriscaldamento attivata. | Scarsa ventilazione o temperatura ambiente elevata. | Improve ventilation around the controller. Ensure cooling fan is operational. |
6. Specifiche
Below are the technical specifications for the OAE AP-80A MPPT Solar Charge Controller.
| Caratteristica | Dettaglio |
|---|---|
| Modello | Modello AP-80A |
| Corrente nominale | 80 Amp |
| Volume batteriatage | 12V/24V/36V/48V automatico |
| Max ingresso PV Voltage | 150V |
| Massima efficienza | Fino al 99% |
| Tipi di batterie compatibili | Sigillato, Gel, Allagato, Litio |
| Tipo di visualizzazione | GUIDATO |
| Dimensioni del prodotto | 7.9 x 3.5 x 12.4 pollici |
| Peso dell'articolo | 9.13 libbre |
| Materiale | Metallo |
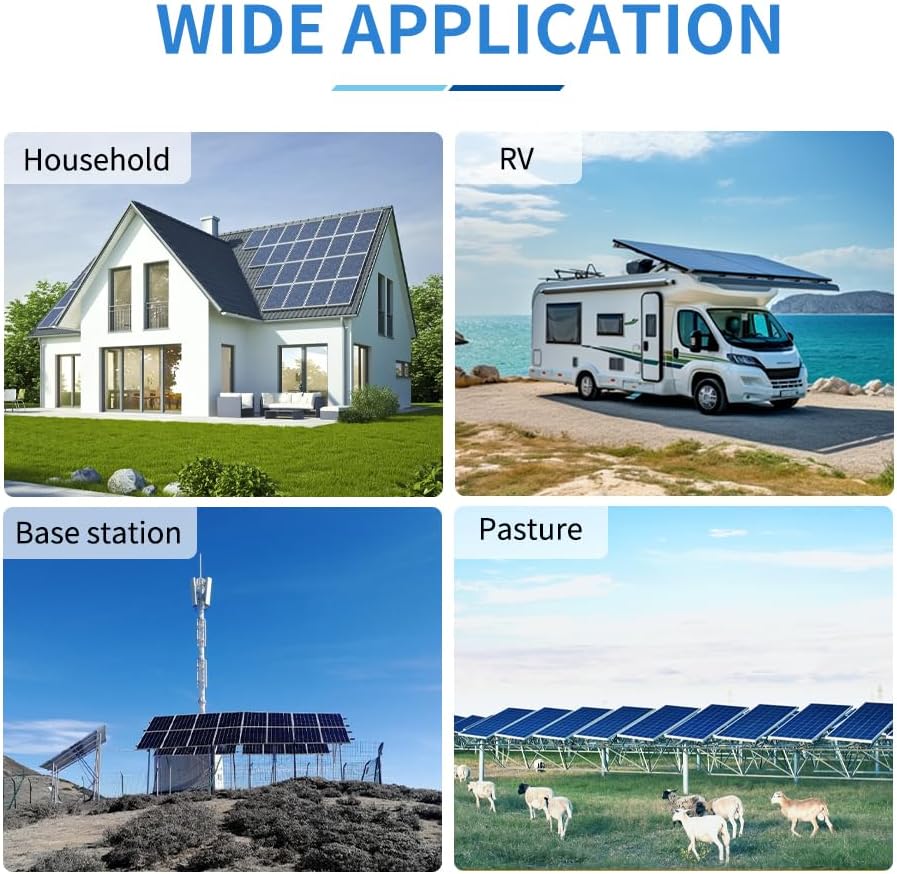
Figure 6: Product dimensions of the MPPT Solar Charge Controller, showing height, width, and depth measurements.
7. Garanzia e supporto
For warranty information and technical support, please refer to the official OAE website or contact their customer service directly. Ensure you have your product model (AP-80A) and purchase details available when seeking support.
The controller supports RS485 communication for Wi-Fi remote monitoring. An additional Wi-Fi module purchase is required to utilize this feature, enabling real-time wireless monitoring and settings adjustment via a dedicated mobile application for Android and iOS systems.