Introduzione
This manual provides detailed instructions for the safe and efficient operation of your SINGER M1005 Electric Sewing Machine. The M1005 is designed for various sewing projects, offering 4 built-in stitches with 11 options, adjustable thread tension, and a reverse lever for securing seams. Please read this manual thoroughly before using the machine to ensure proper setup and function.
Importanti istruzioni di sicurezza
Quando si utilizza un elettrodomestico, è necessario seguire sempre le precauzioni di sicurezza di base, tra cui le seguenti:
- Leggere tutte le istruzioni prima di utilizzare questa macchina da cucire.
- Keep these instructions in a convenient place near your machine.
- Scollegare sempre la macchina dalla presa elettrica subito dopo l'uso e prima di pulirla, rimuovere le coperture, lubrificarla o effettuare qualsiasi altra regolazione di manutenzione da parte dell'utente menzionata nel manuale di istruzioni.
- Non permettere di essere usato come un giocattolo. È necessaria molta attenzione quando questo apparecchio è utilizzato da o vicino a bambini.
- Utilizzare il prodotto solo per l'uso previsto, come descritto nel presente manuale.
- Non utilizzare mai questa macchina da cucire se il cavo o la spina sono danneggiati, se non funziona correttamente o se è caduta o è danneggiata.
- Tenere le dita lontane da tutte le parti in movimento. È necessaria una cura speciale intorno all'ago della macchina per cucire.
- Utilizzare sempre la piastra ago corretta. Una piastra sbagliata può causare la rottura dell'ago.
- Non tirare o spingere il tessuto durante la cucitura. Ciò potrebbe deviare l'ago e causarne la rottura.
- Spegnere la macchina da cucire quando si effettuano regolazioni nella zona dell'ago, come l'infilatura dell'ago, la sostituzione dell'ago, l'infilatura della bobina o la sostituzione del piedino premistoffa.
Prodotto finitoview
The SINGER M1005 is a compact and user-friendly electric sewing machine designed for ease of use and portability.
Caratteristiche principali:
- 4 Stitches in 11 Options: Select from various straight stitches, zigzag stitches, blind hem stitch, and multi-stitch zigzag using the Stitch Selector Dial.
- Tensione del filo regolabile: Allows for fine-tuning stitch quality for different fabrics and threads.
- Bobina a inserimento superiore: Features a transparent bobbin cover for easy monitoring of thread supply and simple bobbin insertion.
- Free-Arm Design: Facilitates sewing of cylindrical items like trouser hems and sleeve cuffs.
- Leva di retromarcia: Conveniently located for securing the beginning and end of seams with reverse stitches.
- Extra High-Presser Foot Lifter: Provides additional clearance for sewing multiple layers or thicker fabrics.
- Design portatile: Lightweight for easy transport and storage.
Componenti inclusi:
Your SINGER M1005 sewing machine package includes the following items:
- 1 Macchina da cucire
- All-purpose Foot
- Extra Needle
- Finger Guard (pre-installed, removable)
- Bobbins: Class 15 (Transparent)
- Infila ago manuale
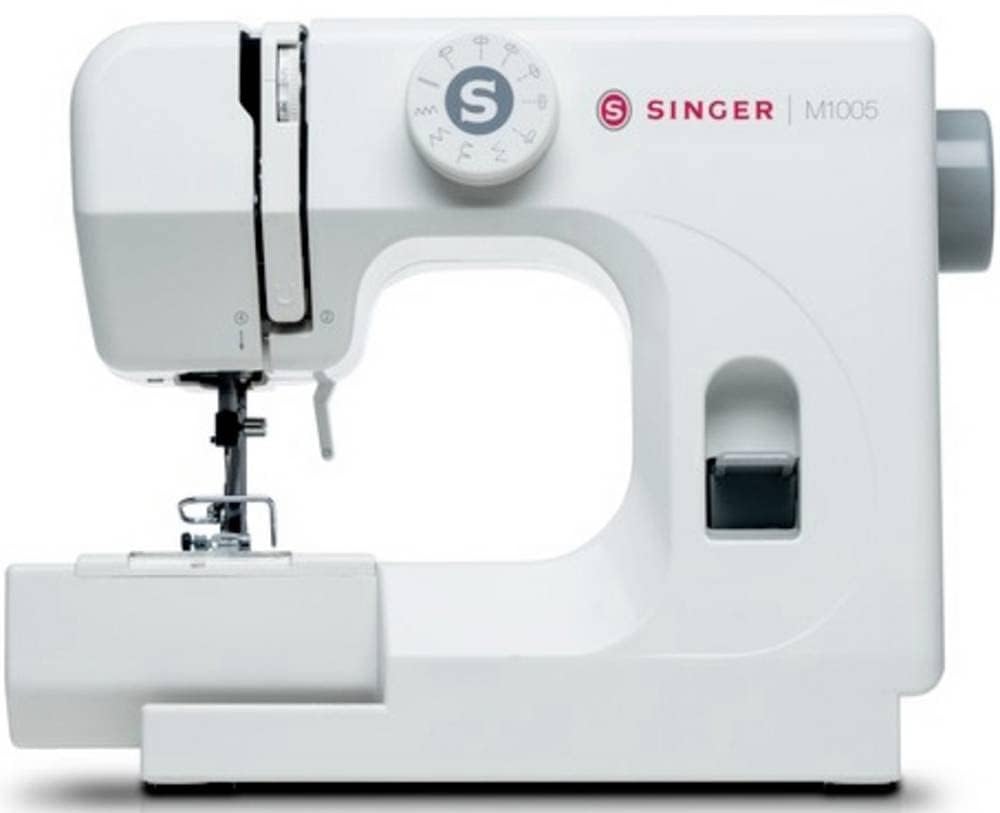
Figura 1: The SINGER M1005 Electric Sewing Machine, showcasing its compact design and ready-to-use setup.
Impostare
1. Collegamento elettrico
- Posizionare la macchina su una superficie stabile e piana.
- Assicurarsi che l'interruttore di alimentazione sia in posizione "OFF".
- Collegare il cavo di alimentazione all'ingresso di alimentazione della macchina e quindi a una presa elettrica idonea.
2. Avvolgimento della bobina
Proper bobbin winding ensures smooth stitching.
- Posizionare un rocchetto di filo sul portarocchetto.
- Far passare il filo attraverso la guida del filo superiore e attorno al disco di tensione dell'avvolgimento della bobina.
- Insert the thread through the small hole in the bobbin from the inside out.
- Posizionare la bobina sul perno dell'avvolgitore.
- Spingere l'alberino avvolgitore della bobina verso destra.
- Turn on the machine and gently press the foot controller (if applicable) or press the start button to begin winding.
- Once the bobbin is full, push the spindle back to the left and cut the thread.
3. Inserting the Top Drop-in Bobbin
The transparent bobbin cover allows for easy monitoring.
- Assicurarsi che l'ago sia nella posizione più alta.
- Open the transparent bobbin cover plate.
- Place the wound bobbin into the bobbin case with the thread unwinding counter-clockwise.
- Guide the thread into the tension spring and then into the thread guide slot.
- Pull out approximately 10-15 cm (4-6 inches) of thread.
- Sostituire la piastra di copertura della bobina.
4. Infilatura del filo superiore
Correct upper threading is crucial for proper stitch formation.
- Sollevare l'alzapiedino.
- Posizionare un rocchetto di filo sul portarocchetto.
- Far passare il filo attraverso il guidafilo superiore.
- Follow the numbered threading path down the right channel, up the left channel, and through the take-up lever from right to left.
- Continuare a guidare il filo verso il basso fino alla guida del filo della barra dell'ago.
- Infilare l'ago da davanti a dietro.
- Pull approximately 15-20 cm (6-8 inches) of thread through the needle eye.
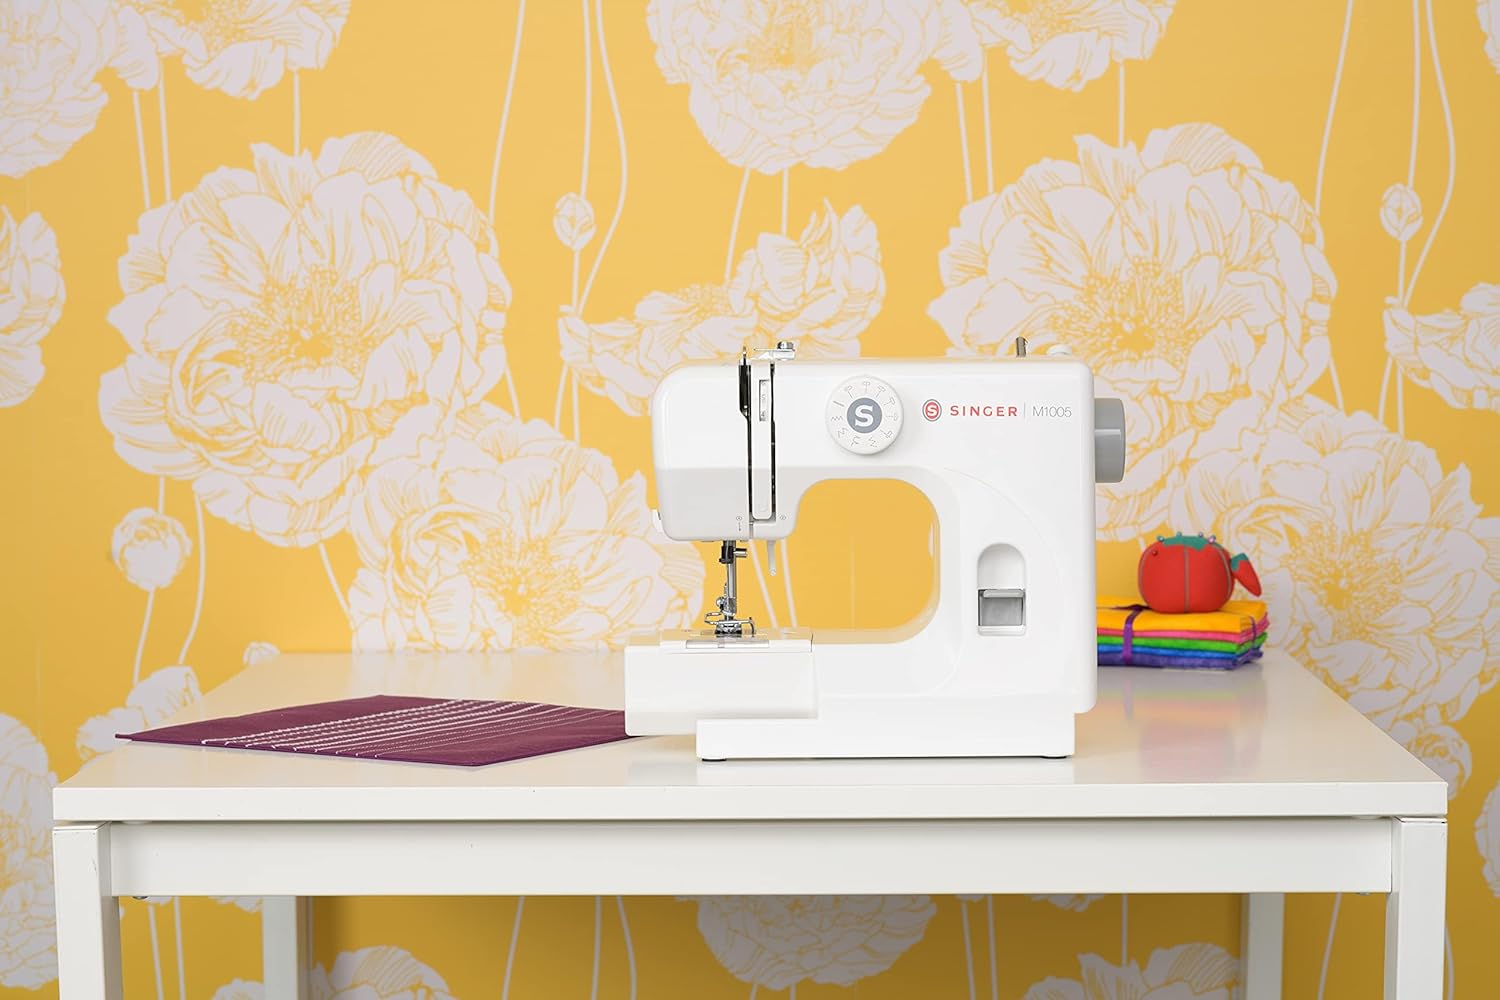
Figura 2: Davanti view of the SINGER M1005, highlighting the stitch selector dial and general threading area.
Istruzioni per l'uso
1. Selecting a Stitch
The SINGER M1005 offers 4 core stitch types with 11 different options.
- Girare il Selettore del punto to choose your desired stitch pattern.
- Available stitches include various straight stitches (different lengths/positions), three types of zigzag stitches (different lengths/widths), one blind hem stitch, and one multi-stitch zigzag.
- The optimum stitch width for this machine is 4 mm.
2. Regolazione della tensione del filo
Adjust the needle thread tension to achieve balanced stitches.
- The tension dial is usually located on the front of the machine.
- Turn the dial to a higher number for tighter tension, and a lower number for looser tension.
- Test on a scrap piece of fabric to find the ideal setting for your fabric and thread combination.
3. Using the Reverse Lever
The reverse lever is used to secure the beginning and end of seams.
- To sew in reverse, press and hold the Leva di retromarcia located on the front of the machine.
- Release the lever to resume forward stitching.
4. Free-Arm Sewing
To utilize the free-arm feature for sewing cuffs, pant hems, or other small circular items:
- Remove the accessory storage compartment (if present) by sliding it off to the left.
- The narrow free arm is now exposed, allowing you to slide fabric around it.
5. Extra High-Presser Foot Lifter
For thicker fabrics or multiple layers, the presser foot can be raised higher than its standard position.
- Lift the presser foot lifter to its highest position.
- For extra clearance, push the lifter up further to engage the extra high position.
Manutenzione
Una manutenzione regolare garantisce la longevità e le prestazioni ottimali della macchina per cucire. Scollegare sempre la macchina dalla presa di corrente prima di eseguire qualsiasi intervento di manutenzione.
1. Pulizia della macchina
- Rimozione dei pelucchi: Use a small brush to remove lint and dust from the bobbin area and feed dogs.
- Pulizia esterna: Pulire le superfici esterne con un panno morbido, damp stoffa. Non utilizzare prodotti chimici aggressivi.
2. Sostituzione dell'ago
Replace the needle regularly (after 8-10 hours of sewing) or if it becomes bent, dull, or broken.
- Spegnere la macchina e staccare la spina.
- Allentare l'ago clamp vite.
- Rimuovere il vecchio ago.
- Inserire un nuovo ago con il lato piatto rivolto verso il retro della macchina, spingendolo verso l'alto il più possibile.
- Stringere l'ago clamp avvitare saldamente.
Risoluzione dei problemi
Consulta questa sezione per trovare soluzioni ai problemi più comuni che potresti riscontrare.
| Problema | Possibile causa | Soluzione |
|---|---|---|
| Punti saltati | Ago sbagliato, ago piegato, infilatura non corretta. | Sostituire l'ago con uno del tipo/dimensione corretti e infilare nuovamente la macchina correttamente. |
| Rottura del filo | Incorrect threading, tension too tight, damaged needle, poor quality thread. | Re-thread machine, adjust tension, replace needle, use good quality thread. |
| Arricciatura del tessuto | Tensione troppo forte, lunghezza del punto errata, ago sbagliato per il tessuto. | Loosen tension, adjust stitch length, use appropriate needle. |
| Inceppamento della macchina | Filo aggrovigliato nella zona della bobina, accumulo di lanugine, inserimento errato della bobina. | Remove bobbin and clean bobbin case, re-insert bobbin correctly. |
| Punti irregolari | Tensione del filo errata, infilatura non corretta, ago usurato. | Adjust tension, re-thread machine, replace needle. |
Specifiche
Technical specifications for the SINGER M1005 Electric Sewing Machine.
- Marca: SINGER
- Numero modello: M1005 (Part Number: 230246102)
- Colore: Bianco
- Materiale: Plastica
- Peso dell'articolo: 3 chilogrammi
- Fonte di energia: Elettrico con cavo
- Stitch Options: 4 built-in stitches with 11 options
- Larghezza massima del punto: 4 millimetri
- Tipo di bobina: Class 15 (Transparent, Top Drop-in)
- Caratteristiche speciali: Adjustable Thread Tension, Free-Arm Design, Reverse Lever, Extra High-Presser Foot Lifter
Garanzia e supporto
For warranty information, service, or technical support, please refer to the warranty card included with your product or contact SINGER customer service directly. Keep your purchase receipt as proof of purchase.
You can typically find contact information for SINGER support on their official websito o all'interno della confezione del prodotto.