1. Introduzione
This manual provides comprehensive instructions for the safe and efficient operation of your Caso Design Hot Brew 10-Cup Coffee Maker, Model 11858. Please read all instructions carefully before first use and retain this manual for future reference.
The Caso Design Hot Brew coffee maker is designed to brew up to 10 cups of hot coffee. Key features include a programmable timer for scheduled brewing, a permanent removable filter for convenience, and a warming plate to keep coffee warm for up to 35 minutes. The filter lid features 17 holes for even water distribution, optimizing coffee extraction.
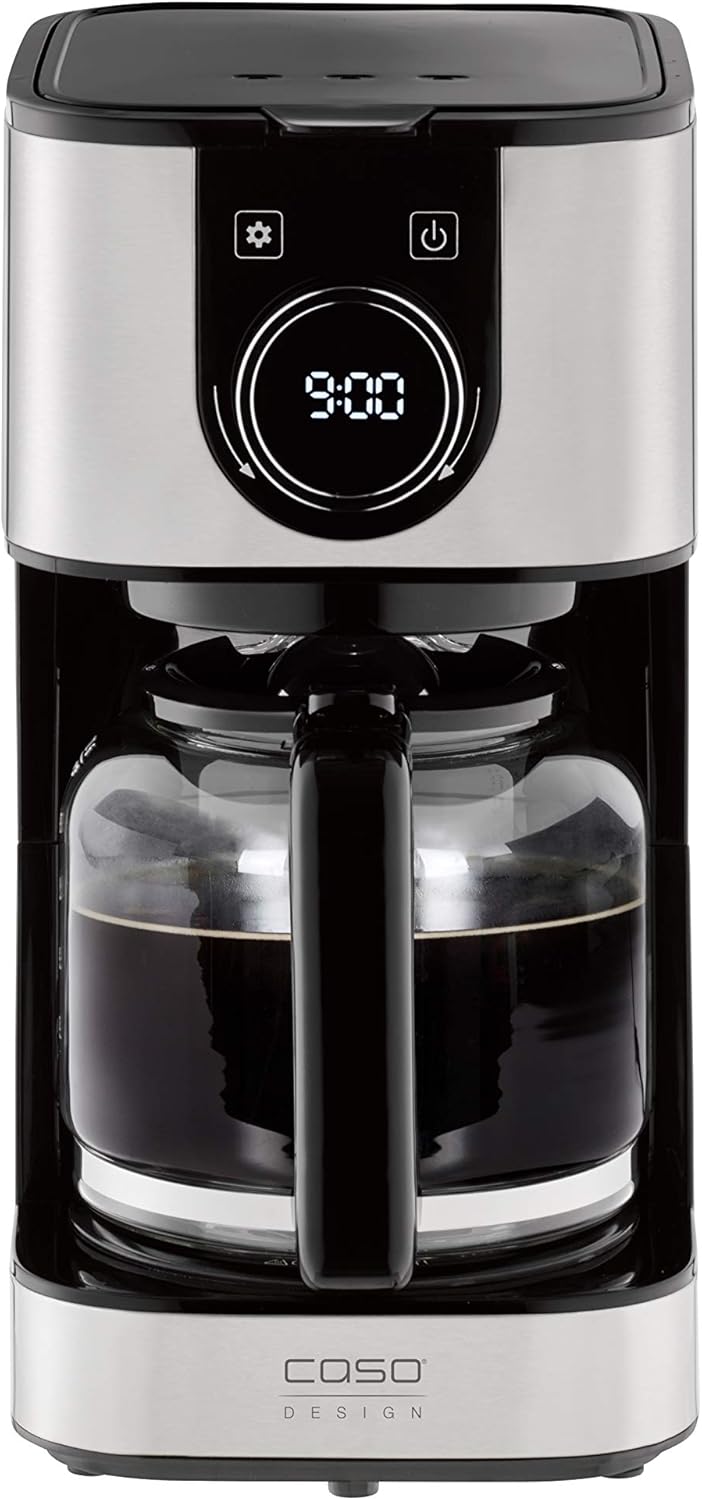
Immagine 1.1: anteriore view of the Caso Design Hot Brew 10-Cup Coffee Maker.
2. Istruzioni di sicurezza
To prevent personal injury or damage to your appliance, always follow these basic safety precautions:
- Leggere tutte le istruzioni prima di utilizzare la macchina per il caffè.
- Non toccare le superfici calde. Utilizzare maniglie o manopole.
- Per proteggersi da incendi, scosse elettriche e lesioni personali, non immergere il cavo, le spine o l'apparecchio in acqua o altri liquidi.
- È necessaria un'attenta supervisione quando un elettrodomestico viene utilizzato da bambini o nelle loro vicinanze.
- Scollegare dalla presa quando non in uso e prima di pulire. Lasciare raffreddare prima di mettere o togliere parti e prima di pulire l'apparecchio.
- Non utilizzare alcun apparecchio con un cavo o una spina danneggiati oppure dopo che l'apparecchio stesso non funziona correttamente o è stato danneggiato in qualsiasi modo.
- L'uso di accessori non consigliati dal produttore dell'apparecchio può causare incendi, scosse elettriche o lesioni alle persone.
- Non utilizzare all'aperto.
- Non lasciare che il cavo penda dal bordo del tavolo o del bancone o che tocchi superfici calde.
- Non posizionare sopra o vicino a un fornello a gas o elettrico caldo, oppure in un forno caldo.
- Collegare sempre prima la spina all'apparecchio, quindi collegare il cavo alla presa a muro. Per scollegare, portare qualsiasi controllo su "off", quindi rimuovere la spina dalla presa a muro.
- Non utilizzare l'apparecchio per scopi diversi da quelli previsti.
3. Componenti del prodotto
Familiarize yourself with the parts of your Caso Design Hot Brew Coffee Maker:
- Main Coffeemaker Unit
- Caraffa di vetro
- Permanent Removable Filter
- Paletta per caffè
- Serbatoio dell'acqua con indicatore di livello
- Control Panel with Display and Rotary Knob
- Piastra riscaldante

Immagine 3.1: Passoview of coffee maker features, including water tank, timer, and permanent filter.
4. Impostazione
- Disimballaggio: Rimuovere con cautela tutto il materiale di imballaggio e ispezionare la macchina per il caffè per verificare che non vi siano danni.
- Pulizia iniziale: Before first use, wash the glass carafe and permanent filter in warm, soapy water. Rinse thoroughly and dry. Wipe the exterior of the coffee maker with a damp stoffa.
- Posizionamento: Posizionare la macchina per il caffè su una superficie piana, stabile e resistente al calore, lontano dal bordo del bancone. Assicurarsi che vi sia un'adeguata ventilazione attorno all'apparecchio.
- Primo ciclo di infusione (pulizia): Fill the water reservoir to the MAX (10-cup) level with cold water. Do not add coffee grounds. Run a full brew cycle to clean the internal components. Discard the water from the carafe. Repeat this process once more.

Image 4.1: Water level indicator showing up to 10 cups capacity.
5. Istruzioni per l'uso
5.1. Preparazione del caffè
- Riempire il serbatoio dell'acqua: Open the top lid and fill the water reservoir with cold, fresh water up to the desired number of cups, indicated by the water level markings. The maximum capacity is 10 cups.
- Aggiungi fondi di caffè: Place the permanent filter into the filter basket. Add the desired amount of ground coffee using the provided scoop. A general guideline is one scoop per cup, but adjust to your taste. Close the top lid securely.
- Posizionare la caraffa: Assicurarsi che la caraffa di vetro sia posizionata correttamente sulla piastra riscaldante.
- Inizia a preparare la birra: Premere il pulsante di accensione (U) on the control panel. The coffee maker will begin brewing. The brewing temperature is approximately 200°F.
- Funzione antigoccia: The drip stop feature allows you to temporarily remove the carafe during brewing to pour a cup of coffee. Replace the carafe within 20 seconds to prevent overflow.
- Funzione di mantenimento del calore: After brewing, the warming plate will automatically activate and keep the coffee warm for 35 minutes. The display will show the remaining time in keep warm mode. After 35 minutes, the coffee maker will automatically shut off.

Image 5.1: Adding coffee grounds to the permanent filter.

Image 5.2: Display indicating the 'Keep Warm' function is active.
5.2. Impostazione del timer programmabile
Il timer programmabile consente di impostare un orario specifico in cui la macchina per il caffè inizierà a preparare automaticamente il caffè.
- Imposta ora corrente: Premere il pulsante delle impostazioni (⚙️). The clock icon will appear. Rotate the knob to set the current hour and press the knob to confirm. Rotate the knob again to set the minutes and press to confirm.
- Imposta l'ora programmata: Premere il pulsante delle impostazioni (⚙️) again until the timer icon appears. Rotate the knob to set the desired brewing start time (hour) and press to confirm. Rotate the knob again to set the minutes and press to confirm.
- Attiva timer: After setting the programmed time, ensure the coffee maker is prepared with water and coffee grounds. Press the power button (U) once. The display will show the current time, and a small timer icon will illuminate, indicating the timer is active. The coffee maker will start brewing at the set time.

Image 5.3: Setting the programmable timer for automatic brewing.
5.3. Aroma Plus Function
The Aroma Plus function allows you to adjust the coffee intensity. Refer to the display and rotary knob for selecting your preferred intensity level. This function ensures optimal taste by adjusting the brewing process.
6. Manutenzione e pulizia
Una pulizia regolare garantisce prestazioni ottimali e prolunga la durata della macchina per il caffè.
- Scollega sempre: Before cleaning, always unplug the coffee maker from the power outlet and allow it to cool completely.
- Caraffa e filtro: The glass carafe and permanent filter can be washed in warm, soapy water. Rinse thoroughly and dry. These parts are also dishwasher safe (top rack recommended).
- Esterno: Pulire le superfici esterne della macchina per il caffè con un panno morbido e asciutto.amp stoffa. Non utilizzare detergenti abrasivi o spugnette abrasive.
- Piastra riscaldante: Pulisci la piastra riscaldante con un panno pulito e asciutto.amp panno. Non utilizzare materiali abrasivi che potrebbero graffiare la superficie.
- Decalcificazione: Over time, mineral deposits (limescale) can build up in your coffee maker, affecting performance. Descale your coffee maker regularly (e.g., every 2-3 months, or more often in hard water areas) using a commercial descaling solution or a mixture of white vinegar and water (1:2 ratio). Follow the descaling product's instructions or run a brew cycle with the vinegar solution, then two cycles with fresh water to rinse.
7. Risoluzione Dei Problemi
Se riscontri problemi con la tua macchina per il caffè, fai riferimento ai seguenti problemi comuni e alle relative soluzioni:
| Problema | Possibile causa | Soluzione |
|---|---|---|
| La caffettiera non si accende. | Non collegato; alimentazione spentatage; presa difettosa. | Assicurarsi che il cavo di alimentazione sia collegato saldamente a una presa funzionante. Controllare l'interruttore automatico. |
| Il caffè non si prepara. | Timer not set correctly; insufficient water; filter basket not properly seated. | Check if the programmable timer is active. Ensure enough water is in the reservoir. Verify the filter basket is correctly in place. |
| Il caffè è troppo leggero o troppo forte. | Incorrect coffee-to-water ratio; Aroma Plus setting. | Adjust the amount of coffee grounds. Experiment with the Aroma Plus function for desired strength. |
| L'acqua trabocca dal cestello del filtro. | Troppi fondi di caffè; filtro intasato; caraffa non posizionata correttamente. | Reduce coffee grounds. Clean the permanent filter. Ensure carafe is centered on the warming plate. |
| Il caffè non è abbastanza caldo. | Mineral buildup; warming plate issue. | Perform a descaling cycle. Ensure the warming plate is clean and functioning. |
8. Specifiche
| Caratteristica | Dettaglio |
|---|---|
| Marca | Caso Design |
| Nome del modello | Hot Brew 10 cup Coffee Maker |
| Numero modello articolo | 11858 |
| Colore | Inossidabile |
| Capacità | 10 tazze |
| Dimensioni del prodotto | 12.95"P x 9.65"L x 6.61"A |
| Peso dell'articolo | 4.43 libbre |
| Tipo di caffettiera | Macchina per caffè americano |
| Modalità di funzionamento | Completamente automatico |
| Caratteristica speciale | Programmable Timer, Permanent Filter, Warming Plate, Drip Stop |
| Componenti inclusi | Coffeemaker, Carafe, Manual, Warranty |

Image 8.1: Product dimensions for the Caso Design Hot Brew Coffee Maker.
9. Video sulle caratteristiche del prodotto
Video 9.1: Official product features video demonstrating the Caso Design Hot Brew 10-cup Coffee Maker.
10. Garanzia e supporto
Your Caso Design Hot Brew 10-Cup Coffee Maker comes with a manufacturer's warranty. Please refer to the warranty card included in your product packaging for specific terms and conditions. For technical support, service, or warranty claims, please contact Caso Design customer service through their official websito o le informazioni di contatto fornite nella documentazione del prodotto.