Introduzione
The Sailnovo 56 Egg Incubator is designed for hatching various types of poultry eggs, including chicken, duck, goose, and quail. It features automatic egg turning, temperature control, and humidity management to support a successful incubation process. This manual provides essential information for the proper setup, operation, and maintenance of your incubator.
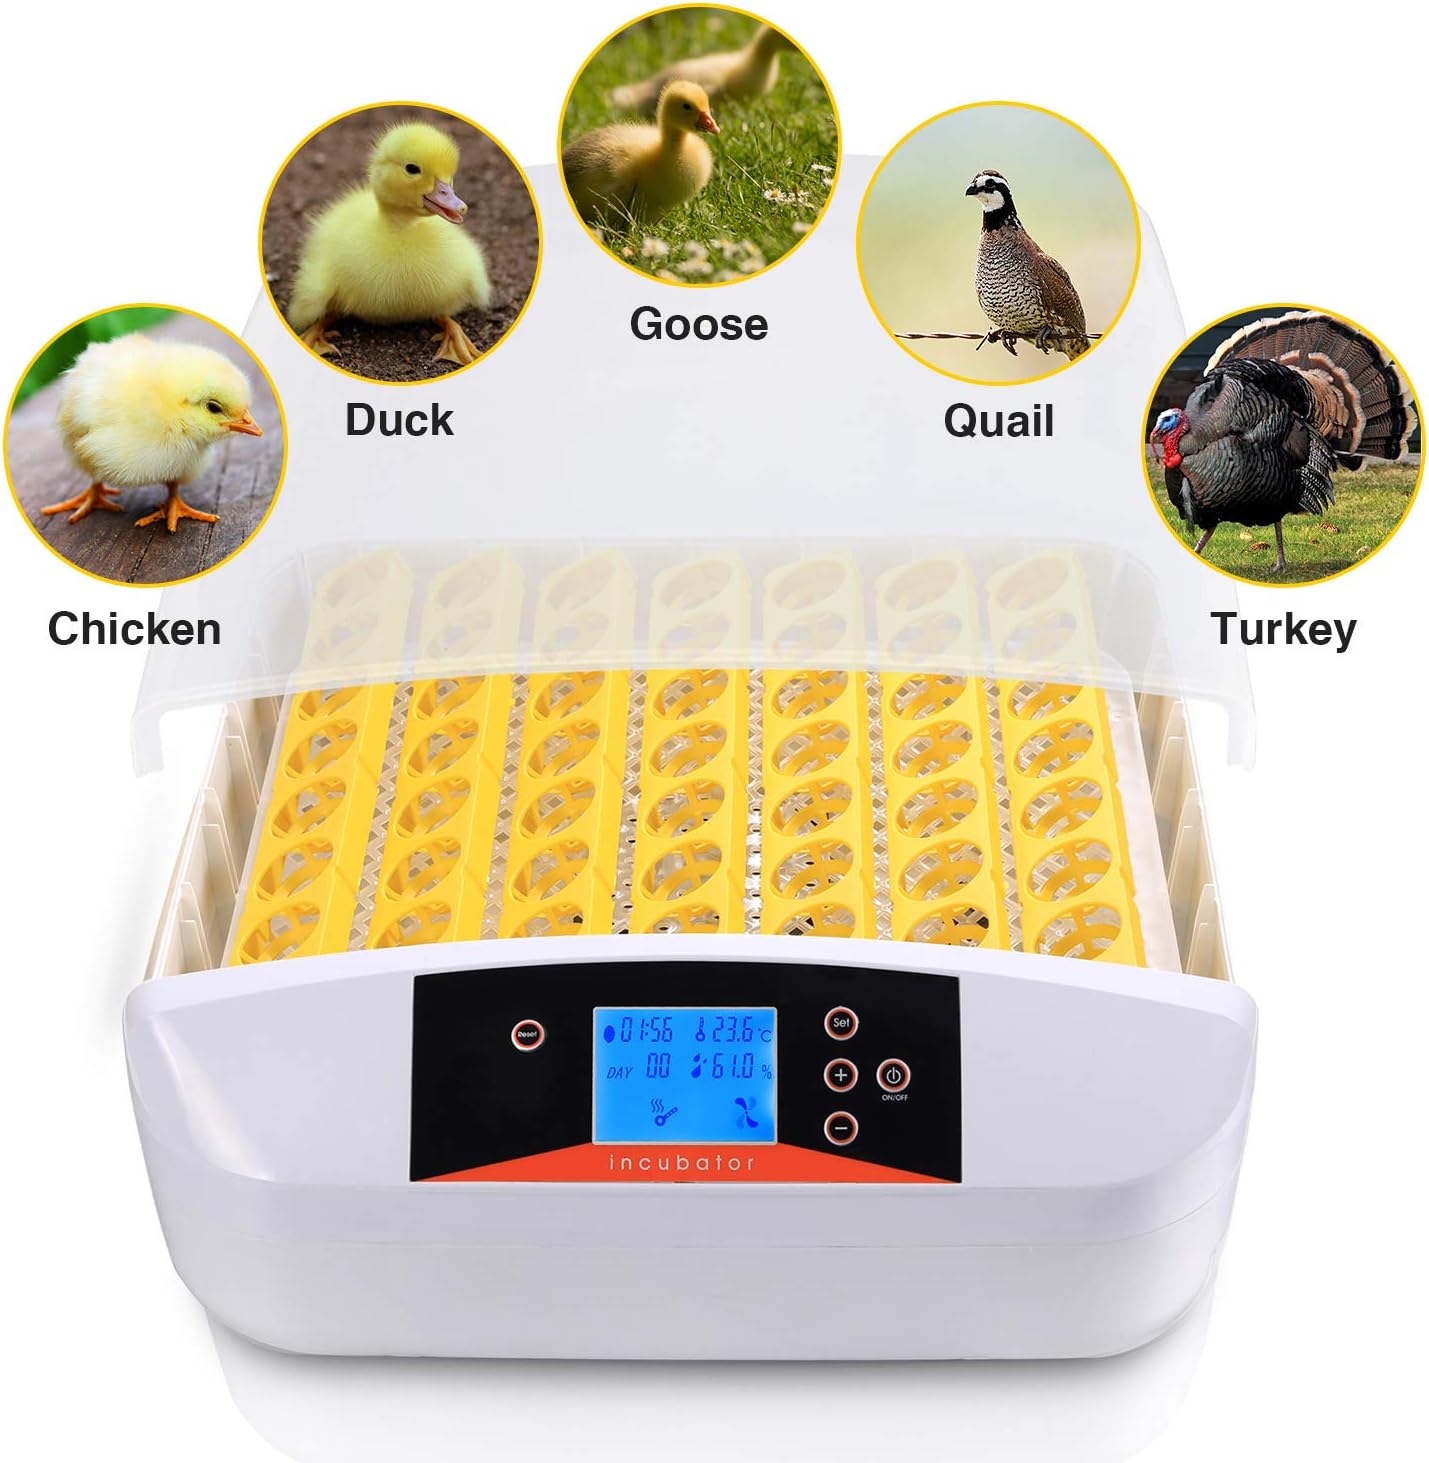
Image: The Sailnovo 56 Egg Incubator, suitable for various poultry eggs.
Caratteristiche del prodotto
- Costruzione in ABS resistente: Made from robust and environmentally friendly ABS material for long-term use.
- Fan-Assisted Air Circulation: Enhances the incubation system by ensuring even air distribution.
- 56 Egg Capacity: Accommodates up to 56 normal-sized eggs for various poultry.
- Intelligent Temperature and Humidity Alarm: Alerts users to temperature or humidity deviations.
- Controllo digitale della temperatura: Allows for easy regulation of internal temperature, with a factory preset of 99.5°F (37.5°C).
- Display a LED: Shows current humidity, temperature, and egg turning countdown.
- Transparent Outer Shell: Provides visibility to monitor the incubation process.
- Girauova automatico: Rotates eggs every 120 minutes to promote even development and reduce manual intervention.
- Built-in Water Channel: Facilitates easy water addition for humidity control without opening the incubator.
Istruzioni di installazione
- Preparare la base: Ensure the incubator is placed on a stable, level surface.
- Aggiungere acqua: Carefully add water to the designated channels at the bottom of the incubator. Do not add water directly onto the white grid place, as this may damage the machine.
- Install Egg Tray: Place the yellow egg turning tray into the incubator base.
- Connect Egg Turner Motor: Connect the small wire from the egg turning motor to the corresponding port on the incubator.
- Posizionare le uova: Arrange fresh, fertilized eggs on the tray. For optimal hatching, place eggs with the big end up and the small end down.
- Chiudi coperchio: Securely place the transparent top lid onto the incubator.
- Connetti alimentazione: Plug the incubator into a suitable power outlet.

Image: Dimensions of the egg turning tray, showing 39cm/15.2inch length and 37.5cm/14.6inch width, with 4cm/1.6inch spacing between egg slots.
Video: This video demonstrates the installation process of the Sailnovo egg incubator, including adding water, placing the egg tray, connecting the motor, and positioning eggs.
Istruzioni per l'uso
Controllo della temperatura e dell'umidità
The incubator features a digital display showing the egg turning countdown, current temperature, incubation days, and humidity. The factory temperature setting is approximately 38°C (100.4°F), which is recommended for chicken eggs. For other egg types, adjust the temperature as needed.
- Impostazione della temperatura: Press the 'Set' button to enter temperature setting mode. Use the '+' or '-' buttons to adjust the temperature to your desired value.
- Gestione dell'umidità: There is no direct humidity setting. Humidity is manually adjusted by adding or removing water from the built-in water channels. Monitor humidity levels using the display and add water as needed to maintain the recommended range for your specific egg type.
- Iniezione d'acqua: During incubation, water can be added through the water injection hole on the side of the incubator. This avoids the need to open the lid, which helps prevent bacterial infection and maintains stable internal conditions.

Image: Close-up of the water injection nozzle, allowing water to be added without opening the incubator.
Girauova automatico
The incubator automatically rotates eggs every 120 minutes. This feature ensures even heating and development of the embryo, reducing the need for manual intervention and minimizing the risk of contamination.

Immagine: un primo piano view of eggs positioned within the automatic turning tray.
Incubation Parameters for Various Poultry
The following table provides recommended incubation and hatching parameters for different types of poultry eggs:

Image: A table detailing recommended incubation period, temperature, humidity, hatching period, and egg weight for chicken, peafowl, turkey, duck, goose, pigeon, and pheasant eggs.

Image: Illustration showing the suitability of the incubator for various poultry types, including chicken, duck, bird, and goose eggs.
Manutenzione
Regular cleaning is important for hygiene and optimal performance. After each hatch, ensure the incubator is thoroughly cleaned. While the design aims for durability, some users have noted that cleaning certain areas, especially around the fan, can be challenging due to the fixed grid. Use a damp cloth and mild disinfectant, ensuring all components are dry before storage or next use.

Image: The internal fan of the incubator, responsible for air circulation.
Risoluzione dei problemi
Problemi comuni e soluzioni
- Is this a forced-air or still-air incubator?
This is a forced-air incubator, equipped with a fan to circulate air. - How to know if the automatic turner is working?
Mark an egg with a pencil and periodically check if the marked side has moved. The turning process is slow and gradual. - Can the automatic turner be turned off?
The automatic turner cannot be turned off. However, you can position the tray to prevent eggs from turning if necessary, though eggs typically require turning until close to hatching. - Does it show humidity reading? How to keep humidity?
The incubator displays humidity. There is no direct humidity setting; it must be manually adjusted by adding or removing water. Consider using an external hygrometer for precise monitoring. Aim for approximately 55% humidity, adjusting based on your environment and egg type. - How to adjust the offset temperature?
Refer to the user booklet for detailed instructions. Generally, hold the 'Set' button until flashing capital letters appear, then navigate to 'CA' using the '+' button. Adjust the calibration using '+' or '-' buttons. - The incubator is not holding a consistent temperature.
- The factory temperature setting is approximately 38°C (100.4°F) for chicken eggs. Adjust for other egg types.
- Sensor accuracy can vary over time. It is recommended to use more than one thermometer/humidity sensor for verification if precise readings are critical.
- If the ambient temperature is below 25°C (77°F), take measures for heat preservation, such as enclosing the device with insulating materials. This helps maintain temperature uniformity and reduces heat dissipation.
- Avoid using the incubator in environments where the ambient temperature reaches 37°C (98.6°F) or higher, as this can cause the incubator's internal temperature to exceed optimal ranges (e.g., 41-43°C / 105.8-109.4°F). Use in a cool location.
Specifiche
- Materiale: Acrilonitrile Butadiene Stirene (ABS)
- Dimensioni del prodotto: 19.1 cm L x 17.9 cm P x 6.6 cm A
- Peso dell'articolo: 16 once
- Energia: 90W
- Capacità: 56 uova (dimensioni standard delle uova di gallina)
- È elettrico: SÌ
Garanzia e supporto
If you encounter any issues with your Sailnovo 56 Egg Incubator, please contact customer support. We aim to respond and resolve concerns within 24 hours. Your satisfaction is our top priority.