1. Introduzione
This manual provides essential information for the safe and efficient operation, installation, and maintenance of your Eberspacher Espar Airtronic S2 D2L 12V 2.2kW Diesel Air Heater. Please read this manual thoroughly before installation and use to ensure proper function and longevity of the unit.

Figure 1: Eberspacher Espar Airtronic S2 D2L diesel air heater with EasyStart PRO controller.
2. Informazioni sulla sicurezza
- Assicurare una ventilazione adeguata durante il funzionamento per evitare l'accumulo di monossido di carbonio.
- Do not operate the heater in enclosed spaces without adequate exhaust routing.
- Always use the specified diesel fuel type.
- Tenere i materiali infiammabili lontano dal riscaldatore e dai componenti di scarico.
- Scollegare l'alimentazione prima di eseguire qualsiasi procedura di manutenzione o installazione.
- Installation should be performed by qualified personnel or follow detailed instructions carefully.
3. Componenti finitiview
The Eberspacher Espar Airtronic S2 D2L kit typically includes the following components:
- Airtronic S2 D2L Heater Unit
- EasyStart PRO 7-Day Timer and Diagnostic Controller
- Fuel Metering Pump
- Exhaust Pipe and Muffler
- Air Intake and Hot Air Ducting
- Cablaggi e connettori
- Piastra di montaggio e hardware

Figura 2: Oltreview of the complete Eberspacher Espar Airtronic S2 D2L installation kit.
4. Configurazione e installazione
4.1. Exhaust Pipe and Muffler Assembly
Proper assembly of the exhaust system is crucial for safe operation. The exhaust pipe connects to the heater, followed by the muffler, and then the exhaust outlet. Ensure all connections are secure using the provided clamps.
Video 1: Demonstration on how to set up the exhaust pipe and muffler. This video illustrates the connection process for the exhaust components, ensuring a secure and proper fit.
When connecting the muffler to the exhaust pipe, ensure the angle between the silencer and the ground is approximately 30 degrees to allow for proper drainage of condensed water. Use the provided screws to tighten all connections.

Figure 3: Fuel metering pump installation, showing the recommended angle for exhaust components.
4.2. Collegamenti elettrici
Connect the main wiring harness to the heater unit. The EasyStart PRO controller connects via its dedicated cable. Ensure all connections are firm and correctly polarized (red for positive, black for negative).

Figure 4: Wiring diagram illustrating connections for the EasyStart PRO timer and optional temperature sensor.

Figure 5: Close-up of the wiring harness connections.
Video 2: LF Bros N2 Diesel Heater Installation (Wire Part). This video provides a detailed guide on connecting the electrical wiring for the heater.
4.3. Condotti dell'aria
Attach the hot air ducting to the heater's air outlet. Secure the ducting with clamps. Route the ducting to the desired heating area, ensuring it is not kinked or obstructed. The air intake should also be connected and routed to a clean air source.
Video 3: How to Assemble the N2-T Diesel Heater. This video demonstrates the general assembly process, including air ducting, for a similar diesel heater model.
5. Funzionamento
5.1. EasyStart PRO Controller
The EasyStart PRO controller allows you to set desired temperatures, program operating times, and access diagnostic information. Refer to the controller's specific manual for detailed programming instructions.
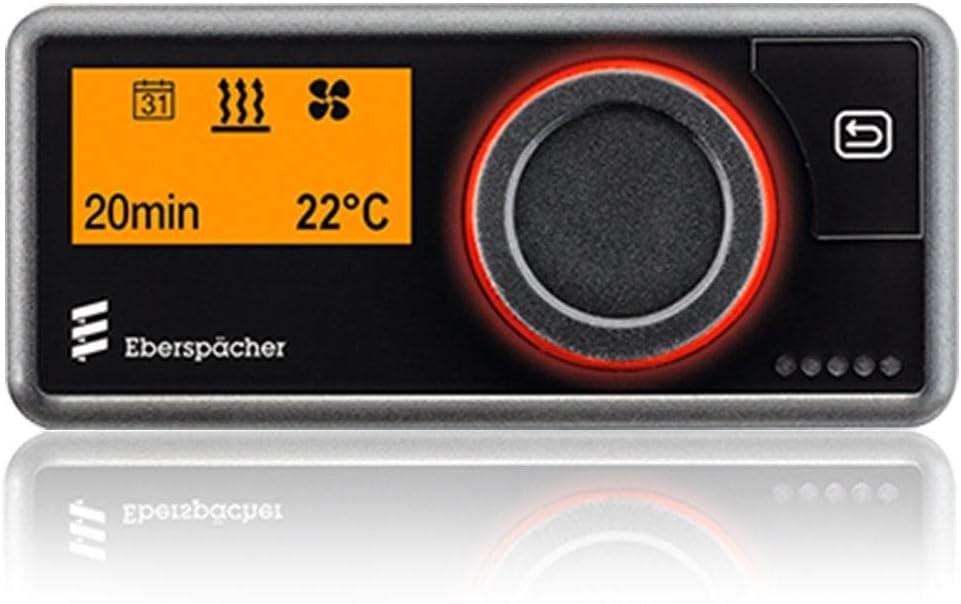
Figure 6: EasyStart PRO 7-day timer and diagnostic controller interface.
5.2. Modalità di riscaldamento
The heater offers various heating modes, including continuous heating and timed operation. Adjust the heat output as needed for optimal comfort. The stepless motor and silent fuel pump ensure quiet operation.
5.3. Automatic Altitude Adjustment
The Airtronic S2 D2L features automatic altitude adjustment, allowing it to operate efficiently at altitudes up to 3000m (approximately 9842 feet) above sea level without requiring additional kits or manual adjustments.
6. Manutenzione
- Pulizia regolare: Periodically inspect and clean the air intake and exhaust outlets to ensure they are free from obstructions.
- Controllo del sistema di alimentazione: Check fuel lines and connections for leaks or damage. Ensure the fuel filter (if external) is clean.
- Ispezione generale: Inspect all electrical connections and mounting hardware for tightness and wear.
7. Risoluzione Dei Problemi
If the heater malfunctions, the EasyStart PRO controller can display diagnostic fault codes. Consult the controller's manual for a list of codes and their corresponding troubleshooting steps. Common issues include:
- No Start: Check fuel supply, battery voltage, and electrical connections.
- Riduzione della potenza termica: Inspect air ducts for obstructions or leaks.
- Fumo eccessivo: May indicate a fuel supply issue or a need for servicing.
Per problemi persistenti, contattare un tecnico qualificato.
8. Specifiche
Refer to the table below for detailed technical specifications of the Eberspacher Airtronic S2 D2L heater.

Figure 7: Technical specifications for the Airtronic S2 D2L heater.
| Caratteristica | Valore |
|---|---|
| Tipo di riscaldamento | Airtronic S2 |
| Media di riscaldamento | Aria |
| Carburante | Diesel - standard commercially available (EN 590) |
| Heat Flow (max) | 2200W (7500BTU) |
| Fuel Consumption (max) | 0.28 litri/ora |
| Average Electrical Power Consumption (during operation) | 31W |
| Volume nominaletage | 12 volt |
| Campo di funzionamento | approx. 10.5 volt or approx. 21 volt |
| Ambient Temperature (during operation) | da -40°C a +70°C |
| Peso | circa 2.7 kg |
9. Garanzia e supporto
For warranty information and technical support, please refer to the documentation provided with your product or contact Eberspacher customer service. Keep your purchase receipt for warranty claims.