
Introduzione
This manual provides essential information for the proper setup, operation, and maintenance of your Philips 346B1C Curved Monitor. This 34-inch WQHD (3440 x 1440) display features a 100 Hz refresh rate, 5ms response time, and a curved VA panel for an immersive viewing experience. Key features include USB-C docking, MultiView functionality, FreeSync technology, LowBlue Mode, and FlickerFree technology for enhanced user comfort and productivity.

Immagine: Frontale view of the Philips 346B1C curved monitor, showcasing its ultrawide display and key features like WQHD, USB-C Docking, and MultiView.
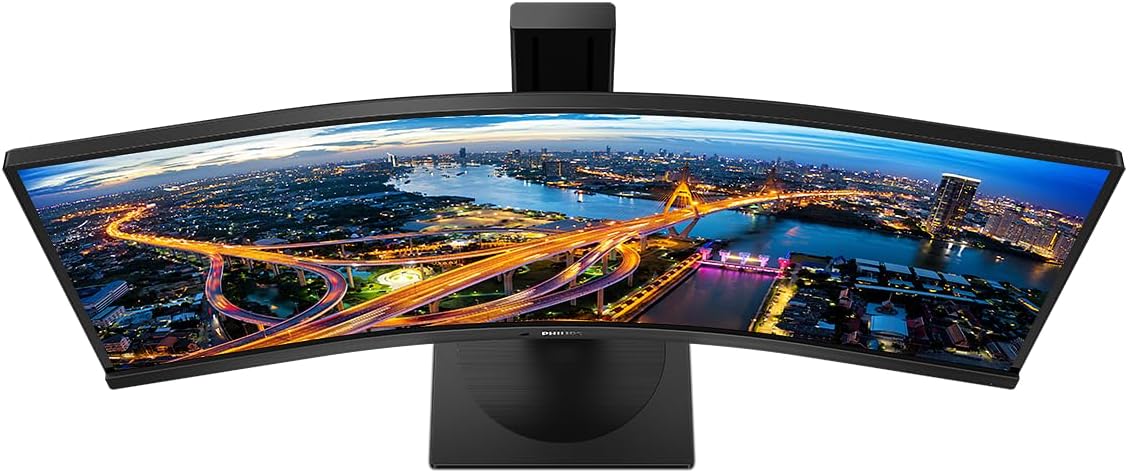
Immagine: dall'alto verso il basso view of the Philips 346B1C curved monitor, emphasizing the curvature of the screen.
Cosa c'è nella scatola
Verificare che tutti i componenti siano presenti prima di procedere con la configurazione.
- Philips 346B1C Curved Monitor
- Supporto per monitor (base e collo)
- Cavo di alimentazione
- Cavo HDMI
- Cavo DisplayPort
- Cavo da USB-C a USB-C
- USB-A to USB-B Cable (Upstream)
- Documentation (Quick Start Guide, User Manual CD)
Istruzioni di installazione
1. Assemblaggio del supporto
- Posizionare il monitor a faccia in giù su una superficie morbida e pulita per evitare graffi.
- Fissare il collo del supporto al pannello del monitor. Assicurarsi che scatti saldamente in posizione o che sia fissato con le viti, se fornite.
- Fissare la base del supporto al collo del supporto. Serrare la vite o le viti a testa zigrinata dalla parte inferiore della base.

Immagine: Posteriore view of the Philips 346B1C monitor, showing the stand attachment point and VESA mounting holes.
2. Connessione al computer
Collegare il monitor al computer utilizzando uno dei seguenti metodi:
- Connessione HDMI: Collegare un'estremità del cavo HDMI alla porta HDMI del monitor e l'altra estremità all'uscita HDMI del computer.
- Connessione DisplayPort: Connect one end of the DisplayPort cable to the monitor's DisplayPort and the other end to your computer's DisplayPort output.
- Connessione USB-C: Connect one end of the USB-C cable to the monitor's USB-C port and the other end to your computer's USB-C port. This connection supports video, data, and power delivery (up to 90W) to your laptop.
For USB hub functionality, connect the USB-A to USB-B upstream cable from your computer to the monitor's USB-B upstream port.
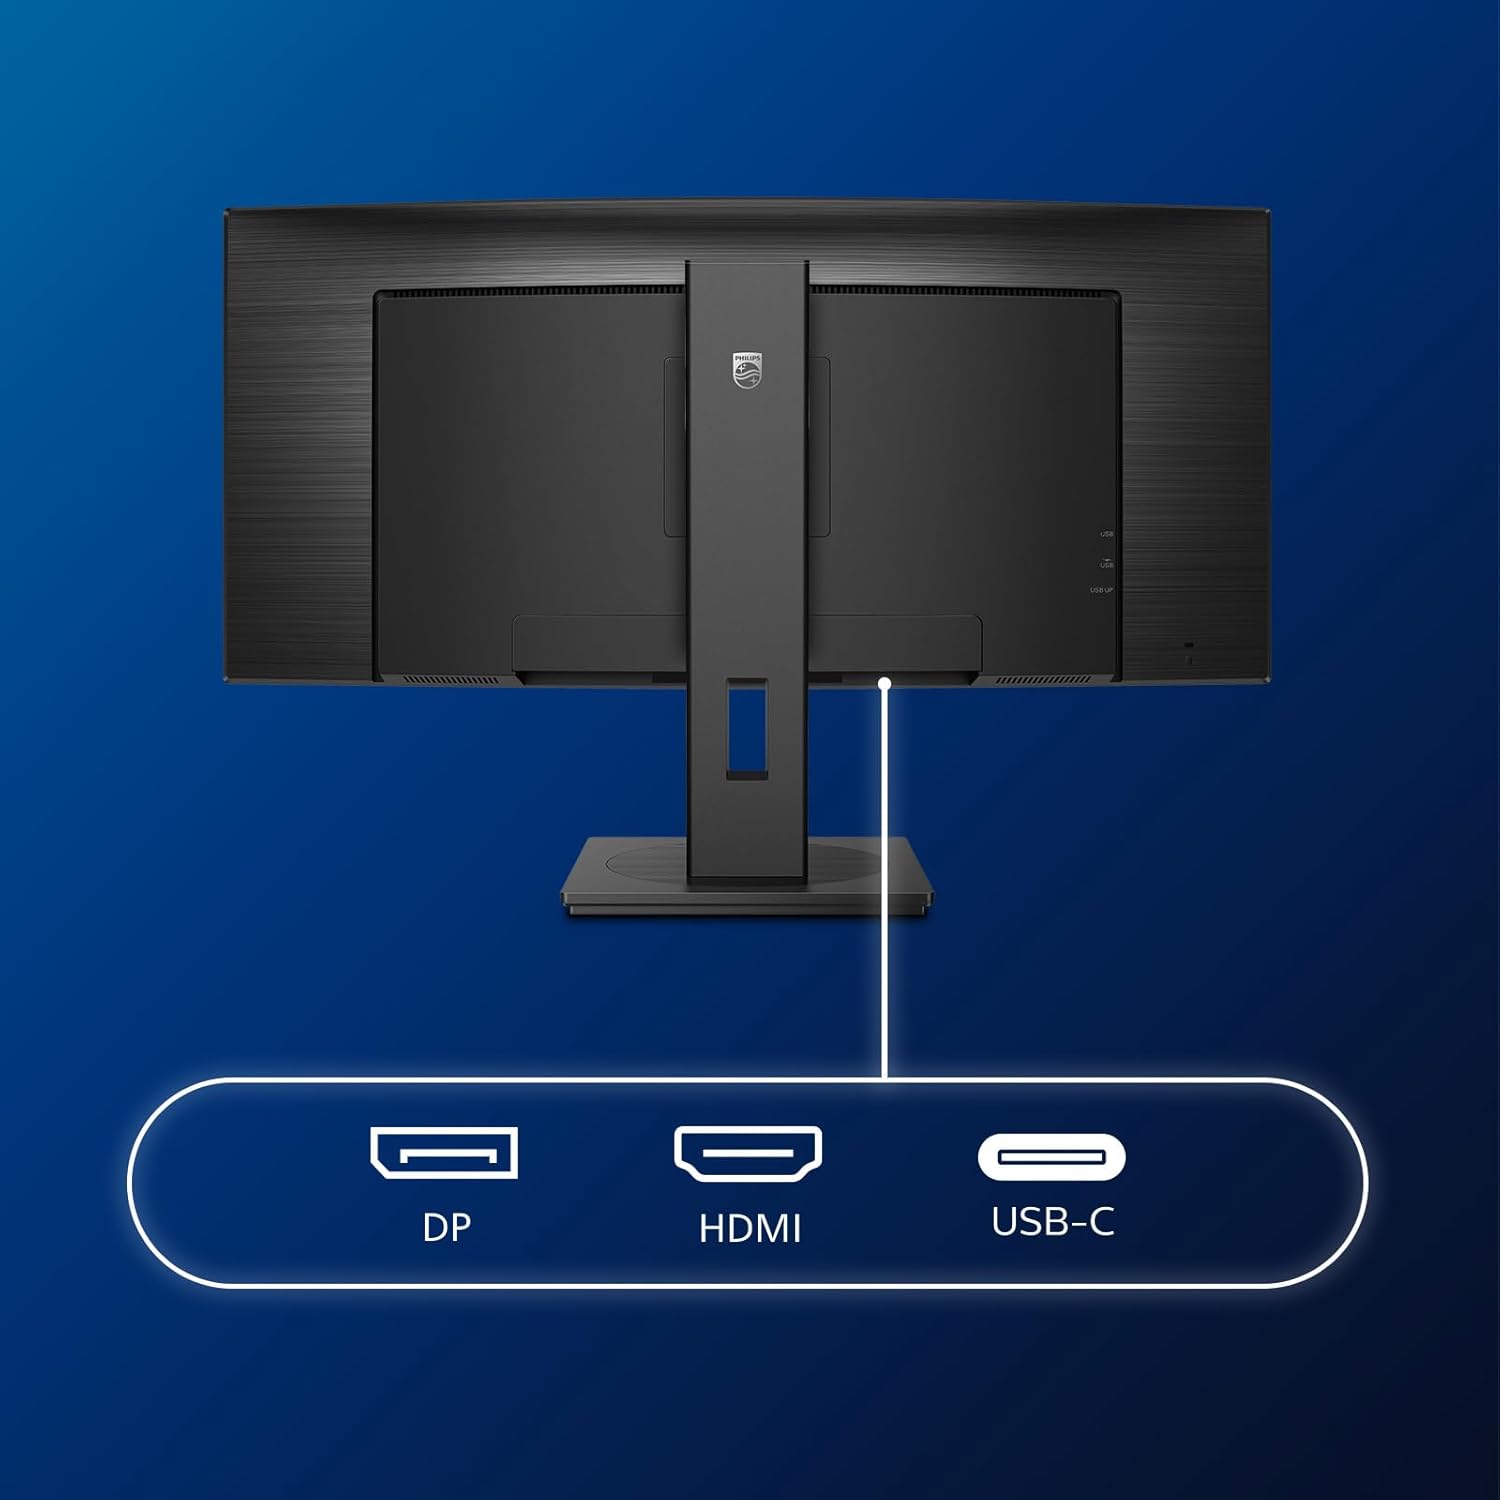
Immagine: dettagliata view of the monitor's input ports, including DisplayPort (DP), HDMI, and USB-C, for connecting to various devices.
3. Collegamento elettrico
Collegare il cavo di alimentazione all'ingresso di alimentazione del monitor e quindi a una presa elettrica dotata di messa a terra.
4. Accensione iniziale
Press the power button located on the monitor to turn it on. The monitor should automatically detect the input signal. If not, use the On-Screen Display (OSD) menu to select the correct input source.
Istruzioni per l'uso
Menu OSD (On-Screen Display)
The OSD menu allows you to adjust various monitor settings. Use the joystick control located on the back or bottom of the monitor to navigate the menu.
- Luminosità/Contrasto: Regola la luminosità e il contrasto complessivi del display.
- Impostazioni colore: Regolare con precisione la temperatura del colore, la gamma e lo spazio colore.
- Selezione input: Passa manualmente tra gli ingressi HDMI, DisplayPort e USB-C.
- Audio: Adjust volume or mute the built-in speakers.
- Modalità Immagine: Select from preset picture modes (e.g., Standard, Gaming, Text).
MultiView Funzionalità
Il MultiView feature allows you to connect and view content from two different sources simultaneously on the screen. Access this feature through the OSD menu to select Picture-by-Picture (PbP) or Picture-in-Picture (PiP) modes and configure input sources.
Docking USB-C
When connected via USB-C, the monitor acts as a docking station, providing video, data transfer through its integrated USB hub, and power delivery to charge your connected laptop (up to 90W).
SmartErgoBase and Adjustability
The monitor's SmartErgoBase allows for ergonomic adjustments including height, swivel, and tilt to optimize your viewcomfort.

Image: Illustrations demonstrating the monitor's adjustable features, including height adjustment, tilt, and swivel capabilities for ergonomic positioning.
Funzionalità di comfort per gli occhi
- Modalità LowBlue: Reduces harmful shortwave blue light emissions to prevent eye strain. Activate this mode via the OSD menu.
- FlickerFree Technology: Regulates brightness and reduces flicker for more comfortable viewing. This feature is always active.
- PowerSensor & LightSensor: These sensors automatically adjust monitor brightness based on ambient light conditions and user presence, saving energy and reducing eye strain.
Manutenzione
Pulizia del monitor
- Scollegare sempre il monitor prima di pulirlo.
- Utilizzare leggermente un panno morbido e privo di lanugine dampcon acqua o con un detergente per schermi delicato e non abrasivo.
- Non utilizzare alcol, solventi o detergenti a base di ammoniaca, poiché potrebbero danneggiare la superficie dello schermo.
- Pulisci delicatamente lo schermo per rimuovere polvere e macchie.
- Pulisci il monitor casing con un panno morbido e asciutto.
Assistenza generale
- Evitare di posizionare oggetti pesanti sul monitor o sui suoi cavi.
- Non esporre il monitor alla luce solare diretta, a calore eccessivo o a freddo estremo.
- Garantire una ventilazione adeguata attorno al monitor.
Risoluzione dei problemi
Se riscontri problemi con il monitor, fai riferimento ai seguenti passaggi comuni per la risoluzione dei problemi:
| Problema | Possibile causa | Soluzione |
|---|---|---|
| Nessuna immagine sullo schermo | Cavo di alimentazione scollegato; Cavo video scollegato; Sorgente di ingresso selezionata non corretta. | Ensure power cable is securely connected; Check video cable connections (HDMI, DP, USB-C); Select correct input source via OSD menu. |
| L'immagine è sfocata o distorta | Risoluzione errata; problema con il driver grafico. | Set display resolution to 3440 x 1440; Update graphics card drivers. |
| Nessun suono dagli altoparlanti | Volume muted or too low; Incorrect audio output selected on computer. | Adjust monitor volume via OSD; Check computer's audio output settings. |
| Le porte USB non funzionano | Cavo USB upstream non collegato. | Ensure the USB-A to USB-B upstream cable is connected from the monitor to your computer. |
For further assistance, please refer to the support section or contact Philips customer service.
Specifiche
| Caratteristica | Dettaglio |
|---|---|
| Marca | Philips |
| Numero di modello | 346B1C |
| Dimensioni dello schermo | 34 pollici (86 cm) |
| Risoluzione | 3440x1440 (WQHD) |
| Proporzioni | 21:9 |
| Superficie dello schermo | Pannello VA curvo |
| Frequenza di aggiornamento | Frequenza 100 Hz |
| Tempo di risposta | 5 Milliseconds (GtG) |
| Rapporto di contrasto | 3000:1 (Tipico) |
| Luminosità | 300 cd/m² |
| Viewangolo di ing | 178° (O) / 178° (Verso) |
| Connettività | 1x HDMI 2.0, 1x DisplayPort 1.2, 1x USB-C 3.2 Gen 1 (upstream, power up to 90W), 1x USB-B (upstream), 4x USB 3.2 (downstream), RJ45 (Ethernet) |
| Sincronizzazione adattiva | Sincronizzazione gratuita |
| Altoparlanti incorporati | 2x 5W |
| Consumo energetico | 5 Watts (Eco mode) |
| Peso | 7.8 chilogrammi (con supporto) |
Garanzia e supporto
Informazioni sulla garanzia
This Philips monitor comes with a Garanzia del produttore di 2 anni. The specific terms and conditions of the warranty can be found in the detailed documentation provided with your product or on the official Philips support website. Your statutory rights as a consumer are not affected by this warranty.
Assistenza clienti
For technical assistance, product inquiries, or warranty claims, please visit the official Philips support website or contact their customer service department. You may need your monitor's model number (346B1C) and serial number (found on the back of the monitor) when contacting support.
Supporto Philips Websito: www.philips.com/support