AODELAN ML-L7A
AODELAN Wireless Remote Control Camera Shutter Release ML-L7A
Manuale di istruzioni per l'utente
Prodotto finitoview
The AODELAN ML-L7A is a wireless remote control designed for select Nikon cameras, offering convenient control over various camera functions from a distance. This compact and lightweight device enhances your photography experience by minimizing camera shake and providing flexibility in shooting.
It serves as a direct replacement for the Nikon ML-L7 remote, providing similar functionality and compatibility.

Figure 1: AODELAN ML-L7A Wireless Remote Control
Compatibilità
This wireless shutter release is compatible with the following Nikon camera models:
- Nikon COOLPIX B600
- Fotocamera Nikon COOLPIX P1000
- Fotocamera Nikon COOLPIX A1000
- Fotocamera Nikon COOLPIX P950
- La Nikon Z50
- La Nikon Z30
- Fotocamera Nikon Z fc
- Nikon Z6 II (Requires camera system software update to version 1.40 or later)
- Nikon Z7 II (Requires camera system software update to version 1.40 or later)
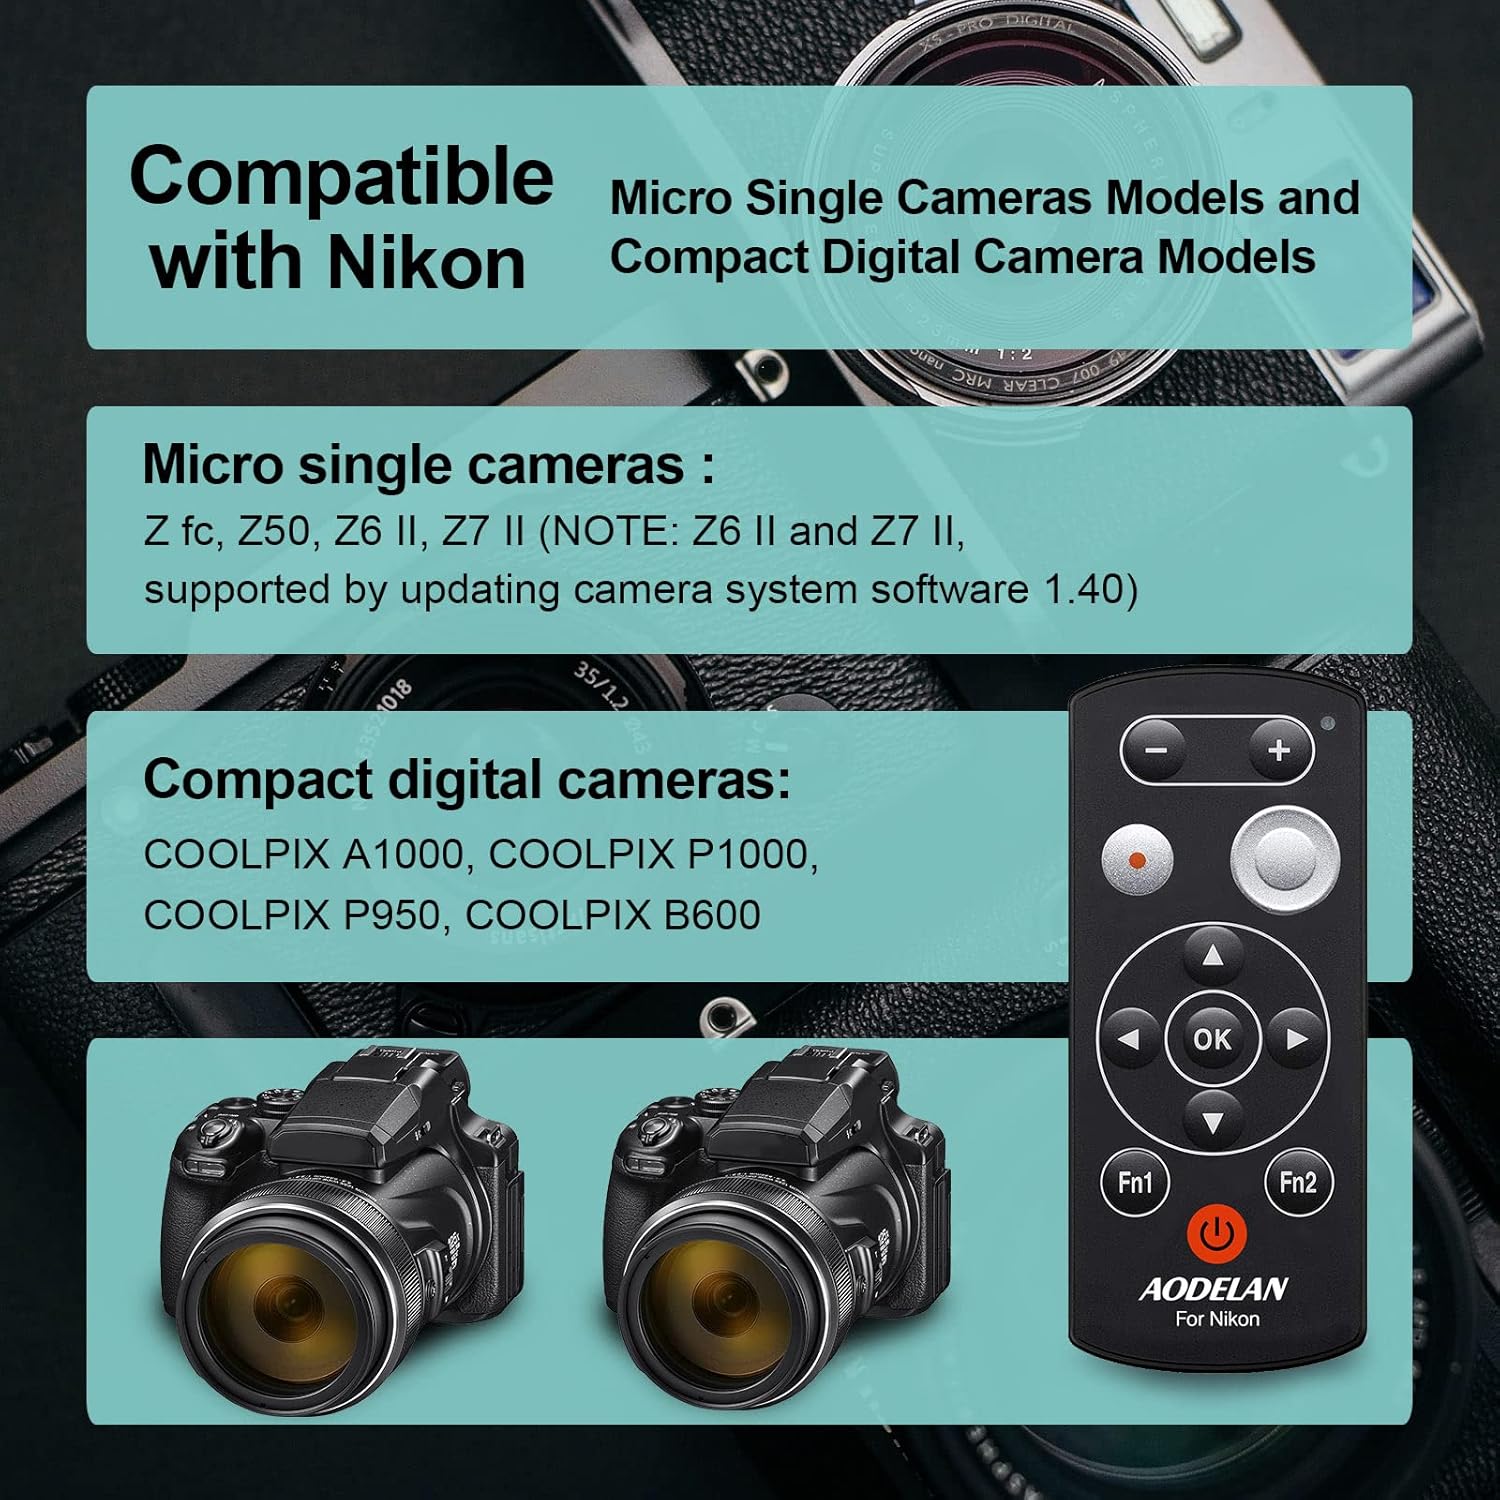
Figure 2: Compatible Nikon Camera Models
Configurazione e abbinamento
1. Installazione della batteria
The ML-L7A remote control requires one CR2 battery (included). To install the battery:
- Individuare il vano batterie sul retro del telecomando.
- Aprire il coperchio della batteria.
- Inserire la batteria CR2, assicurandosi della corretta polarità (+/-) come indicato all'interno del vano.
- Chiudere bene il coperchio della batteria.
2. Abbinamento con la fotocamera
To establish a wireless connection between the ML-L7A and your Nikon camera, follow these steps:
- Preparare la fotocamera: On your Nikon camera, navigate to the setup menu and enable the remote control function or Bluetooth pairing mode. Refer to your camera's specific instruction manual for detailed steps on enabling remote control pairing.
- Attiva il telecomando: Premere brevemente il pulsante di accensione (⑂) on the ML-L7A remote once. Do not hold the button, as this may activate Bluetooth sync mode. A status lamp (usually green) on the remote will illuminate to indicate it is powered on.
- Avvia associazione: While the camera is in pairing mode, press and hold the power button on the ML-L7A remote for a few seconds until the status lamp blinks rapidly, indicating it is searching for a connection.
- Conferma connessione: Once the remote and camera successfully pair, the status lamp on the remote will typically stop blinking and remain solid, and your camera may display a confirmation message.
Nota: For optimal performance and to prevent frequent re-pairing, it is recommended to adjust your camera's power-saving settings to prevent it from entering sleep mode too quickly when using the remote.
Istruzioni per l'uso
The ML-L7A remote control provides comprehensive functionality for various camera operations. The operating range is up to 30 meters (98 feet).

Figure 3: ML-L7A Remote Control Button Layout
- Rilascio dell'otturatore:
Press the large circular shutter-release button (labeled '4' in Figure 3) to take a photo. This minimizes camera shake, especially useful for long exposures or macro photography.
- Pulsante di registrazione del filmato:
Press the red circular movie record button (labeled '3' in Figure 3) to start video recording. Press it again to stop recording.

Figure 4: Shutter Release and Movie Recording
- Controllo dello zoom:
Use the '+' and '-' buttons (labeled '1' in Figure 3) at the top of the remote to zoom in and out. Long press the '+' button to zoom in and long press the '-' button to zoom out.

Figure 5: One-Button Zoom Functionality
- Ripresa ritardata:
The remote supports delayed shooting (e.g., 3-second or 10-second delay). This function is typically set via your camera's menu, and the remote then triggers the countdown.
- Compensazione dell'esposizione:
Adjust exposure brightness using the remote. This function is usually controlled via the multi-selector (labeled '5' in Figure 3) in conjunction with camera settings.
- Multi-selector and OK Button:
The directional buttons (up, down, left, right) and the 'OK' button (labeled '5' and '6' in Figure 3) on the remote function similarly to the corresponding buttons on your camera, allowing navigation through menus and selection of options.
- Pulsanti Fn1 e Fn2:
These customizable function buttons (labeled 'Fn1' and 'Fn2' in Figure 3) can be assigned specific camera functions through your camera's settings, providing quick access to frequently used features.
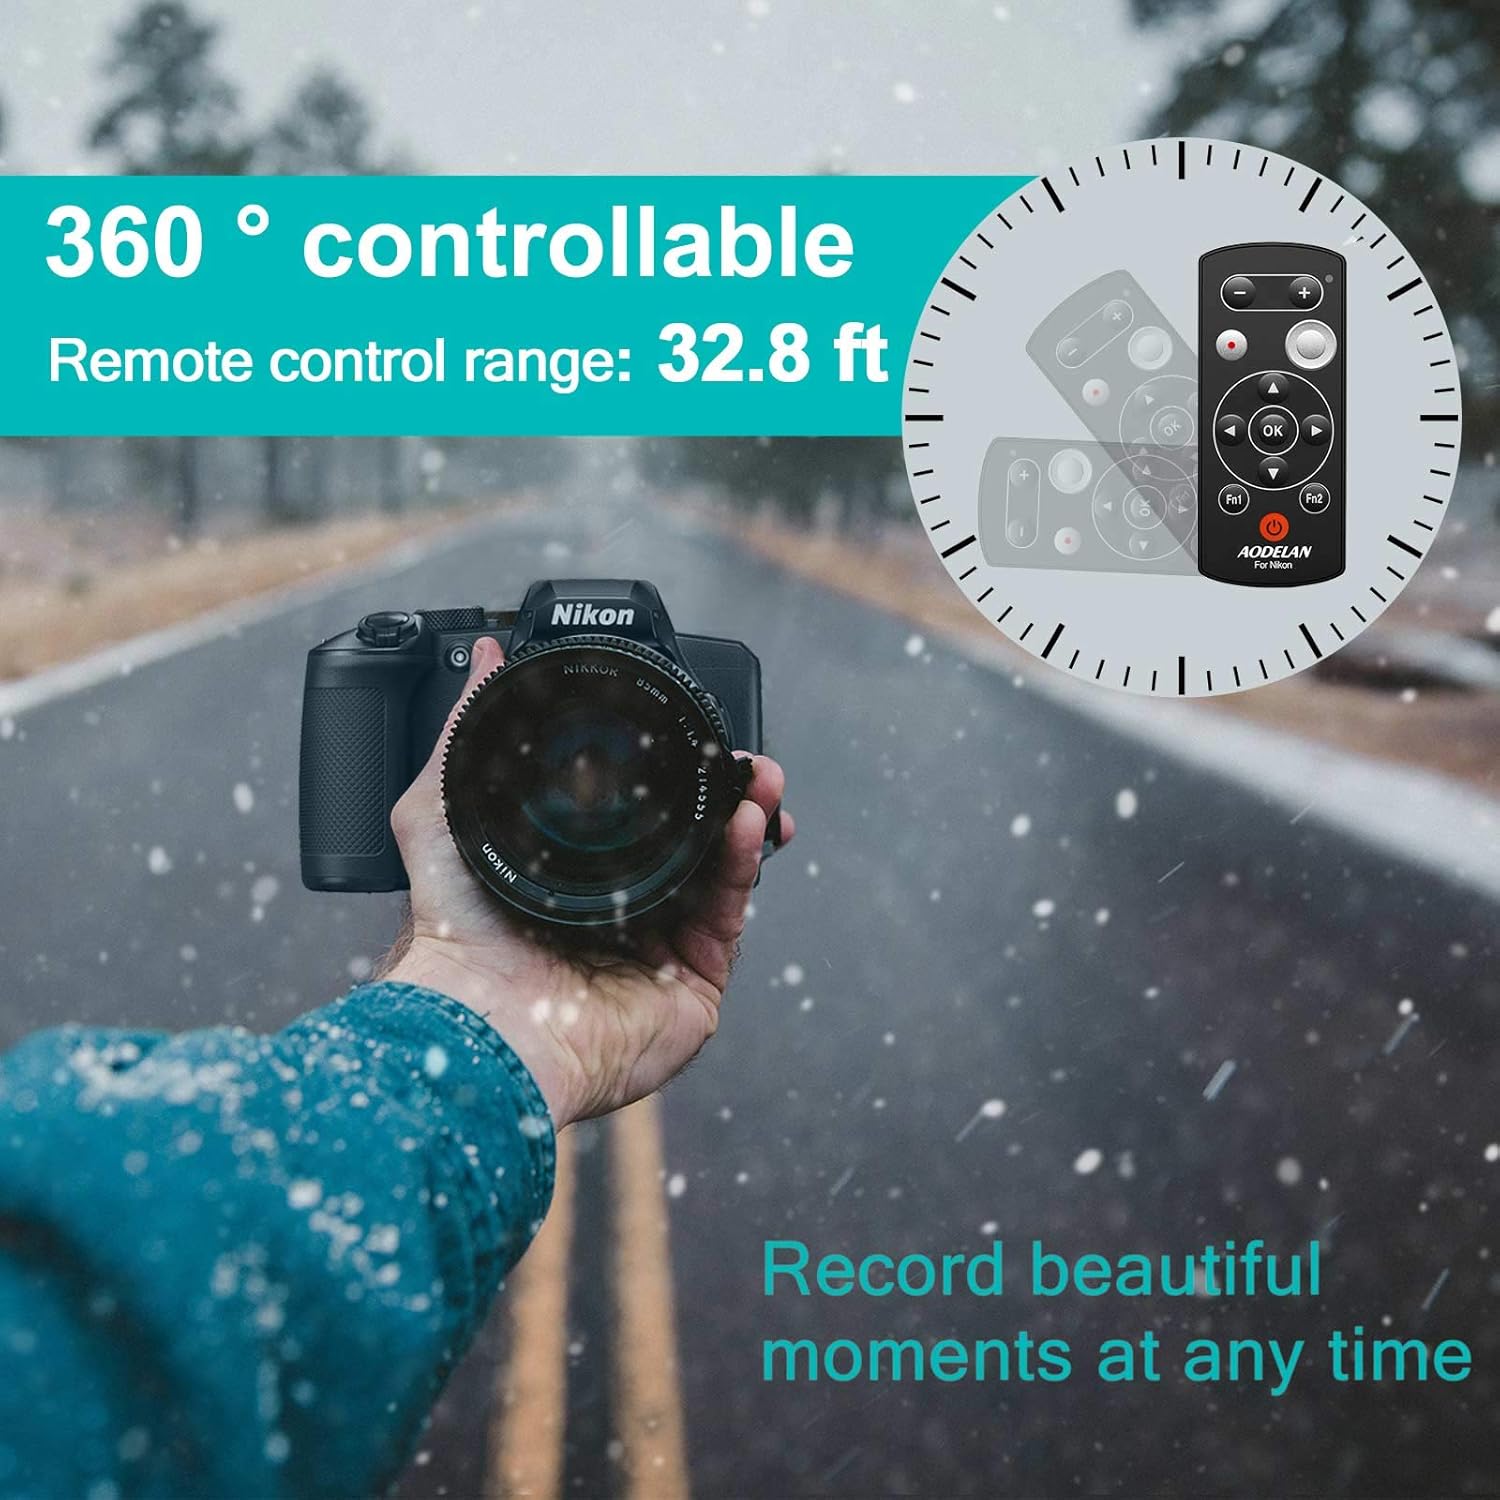
Figure 6: Remote Control Range and Versatility
The remote control is designed to be practical for various shooting scenarios, including zoom control, still shooting, movie recording, flash mode selection, self-timer setting, and adjusting tones, saturation, brightness, and dynamic D-Lighting.

Figure 7: Practical Functions of the ML-L7A Remote
Manutenzione
- Pulizia: Per pulire il telecomando, utilizzare un panno morbido e asciutto. Non utilizzare detergenti liquidi o solventi.
- Magazzinaggio: Conservare il telecomando in un luogo fresco e asciutto, lontano dalla luce solare diretta e da temperature estreme.
- Sostituzione della batteria: If the remote's performance degrades or the status lamp does not illuminate, replace the CR2 battery. Dispose of used batteries responsibly.
- Gestione: Evitare di far cadere il telecomando o di sottoporlo a forti urti.
Risoluzione dei problemi
| Problema | Possibile causa | Soluzione |
|---|---|---|
| Il telecomando non si accende. | Batteria scarica o installata in modo errato. | Sostituire la batteria CR2, assicurandosi della corretta polarità. |
| Remote does not connect to camera. |
|
|
| Il telecomando perde spesso la connessione. | Camera's sleep mode or power-saving settings. | Adjust camera settings to extend the time before it enters sleep mode or turns off. You may need to re-pair if the camera goes to sleep. |
| Zoom or other functions not working. |
|
|
Specifiche
| Caratteristica | Dettaglio |
|---|---|
| Modello | ML-L7A |
| Dimensioni | 1 x 0.5 x 3.1 pollici (2.54 x 1.27 x 7.87 cm) |
| Peso | 1.06 once (30 grammi) |
| Tecnologia senza fili | Bluetooth |
| Campo di funzionamento | Fino a 30 metri (98 piedi) |
| Tipo di batteria | 1 x CR2 (incluso) |
| Dispositivi compatibili | Nikon COOLPIX B600, P1000, A1000, Z50, Z30, P950, Z fc, Z6 II, Z7 II |
| Produttore | AODELANO |
| Paese di origine | Cina |

Figura 8: Design compatto e leggero

Figure 9: What's Included in the Package
Garanzia e supporto
AODELAN products are manufactured with quality and reliability in mind. For any product-related inquiries, technical assistance, or support, please contact AODELAN customer service. The manufacturer is committed to providing customer satisfaction.
For specific warranty details and to reach support, please refer to the contact information provided on the official AODELAN websito o la documentazione inclusa nel prodotto.
Produttore: AODELANO
Ask a question about this manual
Ask about setup, troubleshooting, compatibility, parts, safety, or missing instructions. Manuals+ will review the question and use this page’s manual context to help answer it.