1. Introduzione
Thank you for choosing the EXCELVAN WH1281 Wireless Digital Weather Station. This device provides accurate indoor and outdoor temperature and humidity readings, along with a weather forecast display. Please read this manual carefully before use to ensure proper operation and to maximize the lifespan of your product.
2. Componenti del prodotto
The EXCELVAN WH1281 Weather Station consists of two main parts:
- Unità di visualizzazione principale: Displays indoor/outdoor temperature, humidity, time, and weather forecast.
- Sensore esterno senza fili: Measures outdoor temperature and transmits data to the main unit. This sensor is waterproof.
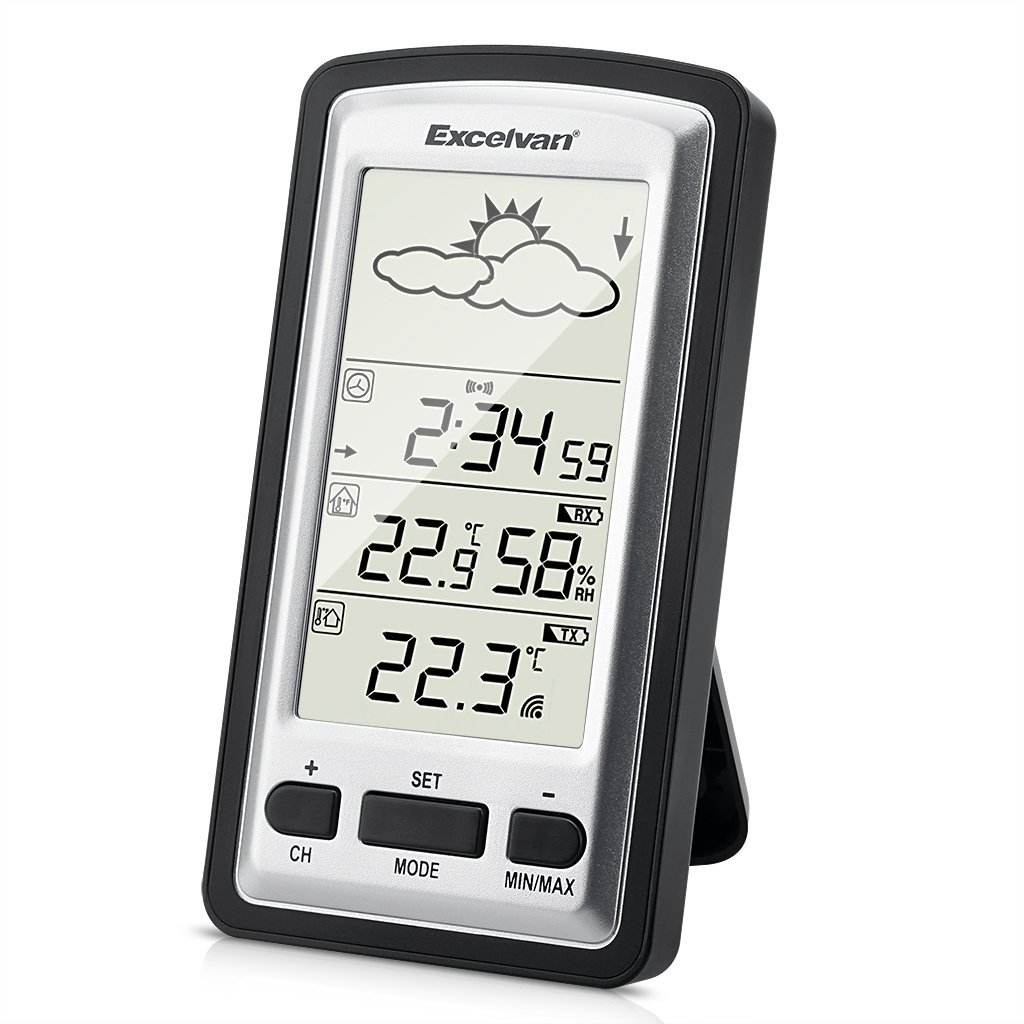
Image 1: Main Display Unit and Wireless Outdoor Sensor. The effective transmission distance between the sensor and the main unit is up to 100 meters in open areas.

Image 2: Separate view of the main display unit and the wireless outdoor temperature sensor.
3. Guida all'installazione
3.1 Installazione della batteria
Batteries are not included and must be purchased separately. Both the main unit and the outdoor sensor require batteries for operation.
- Sensore esterno:
- Aprire il coperchio del vano batterie sul retro del sensore esterno.
- Inserire 2 batterie AAA da 1.5 V, assicurandosi della corretta polarità (+/-).
- Chiudere saldamente il coperchio del vano batterie.
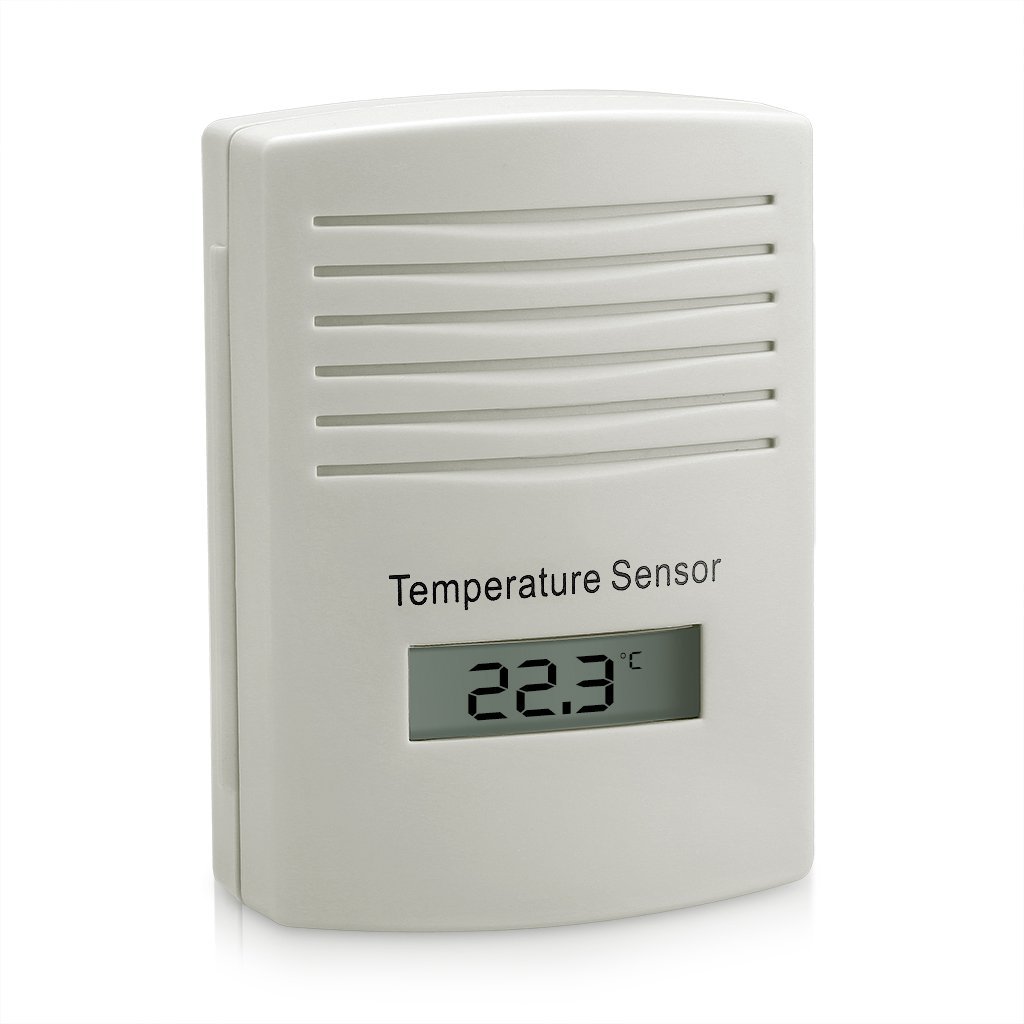
Immagine 3: posteriore view of the outdoor sensor, indicating the battery compartment and power requirements (2x1.5V AAA batteries).
- Unità di visualizzazione principale:
- Aprire il coperchio del vano batterie sul retro dell'unità principale.
- Insert batteries (typically AAA or AA, refer to the unit's markings for exact type and quantity), ensuring correct polarity (+/-).
- Chiudere saldamente il coperchio del vano batterie.
3.2 Sensor Pairing and Initial Synchronization
For optimal performance, always insert batteries into the outdoor sensor first, then into the main display unit. This ensures proper synchronization.
- After inserting batteries into both units, the main display unit will automatically search for the outdoor sensor. This process may take a few minutes.
- Once connected, the outdoor temperature and humidity will appear on the main display. If the connection is not established, try pressing the "CH" button on the main unit to manually search for the sensor, or remove and reinsert batteries in both units.
3.3 Placement of the Outdoor Sensor
To ensure accurate readings and prolong the sensor's life:
- Posizionare il sensore in una zona ombreggiata, lontano dalla luce solare diretta, che potrebbe causare letture di temperatura artificialmente elevate.
- Protect the sensor from direct rain and snow, even though it is designed to be waterproof. An overhang or protective cover is recommended.
- Ensure the sensor is within the effective transmission range (up to 100 meters in open air) of the main unit. Walls and other obstructions can reduce this range.
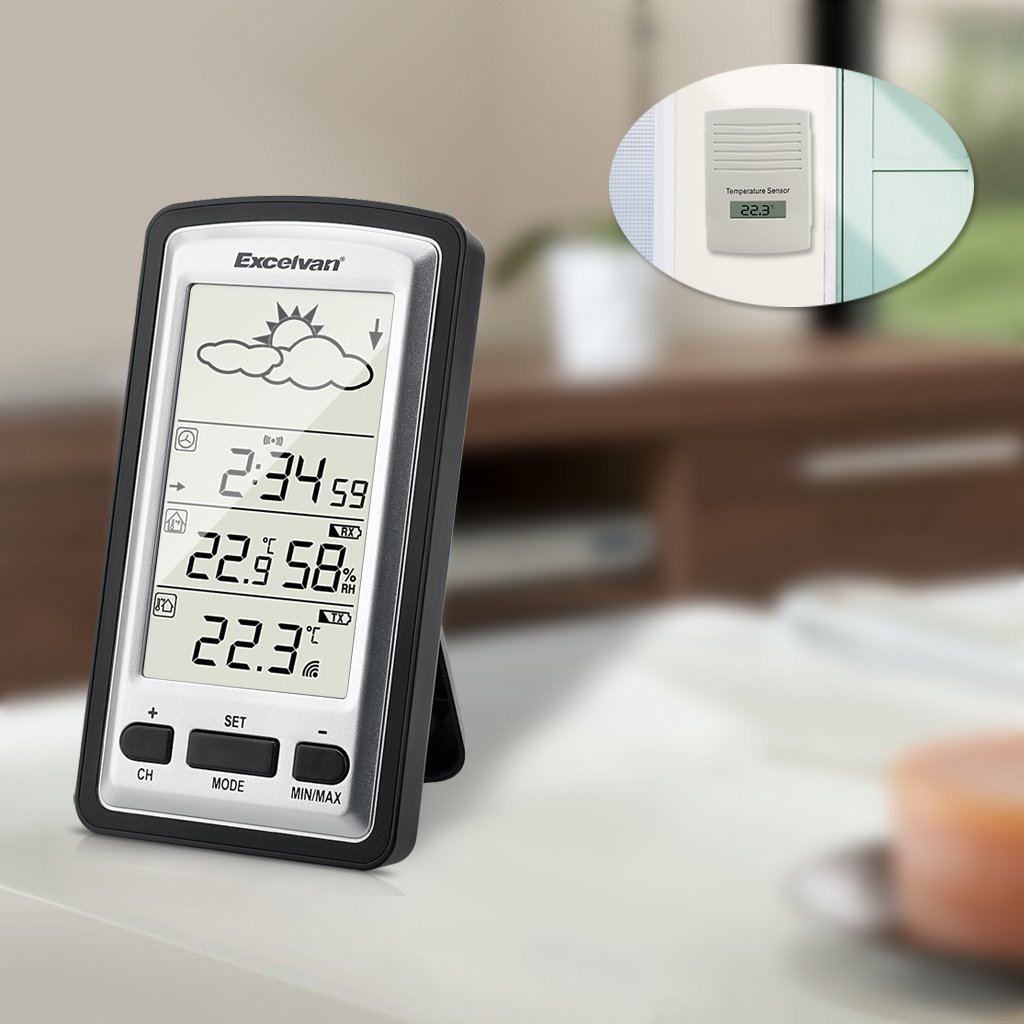
Immagine 4: Es.ample placement of the outdoor sensor, visible through a window, while the main unit is indoors.
4. Istruzioni per l'uso
4.1 Schermo principaleview
The main display unit features a clear LED screen showing various environmental data and time information.

Image 5: Main display unit with active green backlight, showing current time, indoor temperature and humidity, outdoor temperature, and weather forecast icons.
Gli elementi chiave del display includono:
- Icone delle previsioni meteorologiche: Sun, clouds, rain, etc., indicating predicted weather trends.
- Visualizzazione dell'ora: Current time in HH:MM format.
- Temperatura e umidità interna: Current indoor conditions.
- Temperatura esterna: Temperatura attuale rilevata dal sensore wireless.
- Indicatore di segnale: Shows connection status with the outdoor sensor.
4.2 Funzioni dei pulsanti
The main unit has several buttons for configuration and data viewin:
- CH (Canale): Used to switch between multiple outdoor sensors (if supported and additional sensors are purchased) or to manually search for the sensor.
- IMPOSTATO: Enters settings mode for time, date, and other parameters. Also confirms settings.
- DIREZIONI: Switches between different display modes (e.g., time, alarm).
- MINIMO MASSIMO: Displays the minimum and maximum recorded indoor/outdoor temperatures and humidity since the last reset. Press again to cycle through values. Long press to reset MIN/MAX records.
- + / -: Used to adjust values during settings mode or to switch between Celsius (°C) and Fahrenheit (°F) temperature units (often by pressing one of these buttons outside of settings mode).
4.3 Impostazione di data e ora
- Premere e tenere premuto il pulsante "SET" finché il display dell'ora non inizia a lampeggiare.
- Utilizzare i pulsanti "+" o "-" per regolare l'ora.
- Press "SET" to confirm the hour and move to the minute setting.
- Ripetere il procedimento per minuti, anno, mese e giorno.
- Press "SET" again to exit the settings mode.
4.4 Selezione dell'unità di temperatura (°C/°F)
Outside of settings mode, press the "+" or "-" button (depending on model, usually "+") to toggle between Celsius (°C) and Fahrenheit (°F) temperature display.
5. Manutenzione
- Sostituzione della batteria: Replace batteries in both the main unit and the outdoor sensor when the low battery indicator appears on the display. It is recommended to replace all batteries at the same time. For the outdoor sensor, users have reported batteries lasting approximately one year.
- Pulizia: Pulire le unità con un panno morbido eamp panno. Non usare detergenti abrasivi o solventi.
- Protezione del sensore: While the outdoor sensor is waterproof, placing it under an eave or protective cover can extend its lifespan and prevent direct exposure to extreme weather conditions.
6. Risoluzione Dei Problemi
| Problema | Possibile causa | Soluzione |
|---|---|---|
| Nessun display sull'unità principale. | Batterie scariche o installate in modo errato. | Controllare la polarità delle batterie e sostituirle con batterie nuove. |
| La temperatura esterna non viene visualizzata o lampeggia. | No connection to outdoor sensor; sensor batteries low/dead; sensor out of range. |
|
| Letture della temperatura imprecise. | Outdoor sensor exposed to direct sunlight or heat sources; units not stabilized. |
|
| L'orologio perde tempo. | Non-radio controlled clock mechanism. | The WH1281 model is not radio-controlled. Manual time adjustment may be required periodically (e.g., monthly). |
7. Specifiche
| Caratteristica | Dettaglio |
|---|---|
| Modello | WH1281 |
| Marca | EXCELVAN |
| Dimensioni (unità principale) | Approximately 143 x 81 x 27 mm (L x H x W) |
| Peso | Circa 199.58 grammi |
| Fonte di alimentazione (unità principale) | Battery powered (type not specified, typically AAA or AA) |
| Fonte di alimentazione (sensore esterno) | 2 batterie AAA da 1.5 V |
| Tipo di visualizzazione | GUIDATO |
| Caratteristica speciale | Sensore esterno impermeabile |
| Frequenza senza fili | 433.9 MHz |
| Portata effettiva | Fino a 100 metri (all'aria aperta) |
| Codice UPC | 708624290486 |
8. Garanzia e supporto
For warranty information, please refer to the documentation provided with your purchase or contact the retailer. For technical support or further inquiries, please reach out to EXCELVAN customer service or your point of purchase.