
1. Introduzione
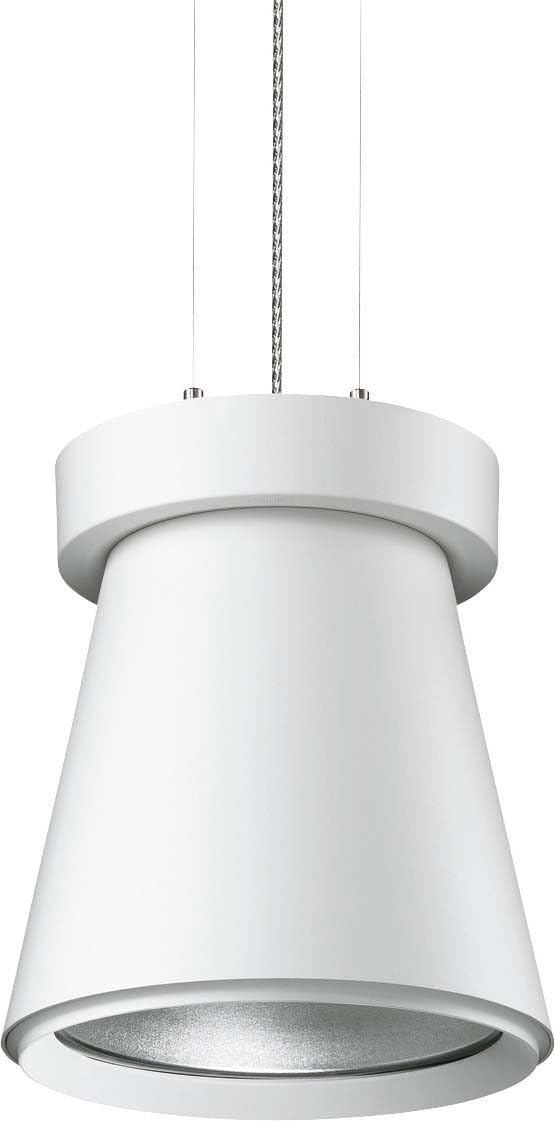
This manual provides essential instructions for the safe installation, operation, and maintenance of your Philips Uni Cone Compact Pendant Lamp, model MPK561 #68009600. Please read this manual thoroughly before installation and keep it for future reference.
2. Informazioni sulla sicurezza
AVVERTIMENTO: Electrical installation should only be performed by a qualified electrician. Disconnect power before installation or servicing.
- Ensure the main power supply is switched off before commencing any work.
- Verificare che il volume di fornituratage corrisponde al volumetage specified on the luminaire label.
- Do not install the luminaire on a damp o superficie conduttiva.
- Utilizzare solo l specificatoamp tipi e wattages. This luminaire uses a G12 base metal halide lamp Potenza nominale: 70 W.
- Tenere i materiali infiammabili lontano dall'apparecchio.
- Non toccare lamp or luminaire housing immediately after use, as they may be hot.
3. Contenuto della confezione
Prima dell'installazione, verificare che tutti i componenti siano presenti e integri.
- Philips Uni Cone Compact Pendant Lamp fixture (1 unit)
- Hardware di montaggio (viti, tasselli)
- Istruzioni di installazione (questo manuale)
- Nota: Lamp bulb (G12, 70W metal halide) may be included or sold separately depending on the specific product package. Refer to your purchase details.
4. Istruzioni per l'installazione
Per una corretta installazione, seguire questi passaggi. Si consiglia l'installazione da parte di un professionista.
- Preparare l'area di installazione: Ensure the power supply to the installation area is switched off at the circuit breaker. Mark the desired mounting location on the ceiling.
- Montare la piastra del soffitto: Secure the provided ceiling plate to the ceiling using appropriate screws and anchors. Ensure it is firmly attached to a structural element.
- Collegare il cablaggio: Connect the electrical wires from the ceiling to the luminaire's terminal block. Ensure correct polarity (Live, Neutral, Earth). All connections must be secure.
- Fissare la lampada: Carefully attach the pendant lamp fixture to the ceiling plate, ensuring all connections are properly seated and secured. Adjust the suspension cables to the desired height.
- Installare la Lamp Lampadina: If not already installed, insert the G12 metal halide lamp nella lamp holder. Ensure it is seated correctly and securely. Do not overtighten.
- Controllo finale: Double-check all connections and ensure the luminaire is securely mounted. Restore power at the circuit breaker.
5. Istruzioni per l'uso
The Philips Uni Cone Compact Pendant Lamp is designed for straightforward operation.
- Accensione/spegnimento: Una volta installato e cablato correttamente, il lamp is operated via a standard wall switch connected to its power supply.
- Tempo di riscaldamento: Alogenuri metallici lamps require a short warm-up period to reach full brightness and color stability. This typically takes a few minutes.
- Tempo di riaccensione: Se lamp is switched off, it may require a cool-down period before it can be reignited. Attempting to switch it on immediately after turning it off may result in a delay before it lights up again.
6. Manutenzione
Una manutenzione regolare garantisce prestazioni ottimali e longevità del vostro apparecchio di illuminazione.
- Pulizia: Disconnect power before cleaning. Use a soft, dry cloth to wipe the exterior of the luminaire. Do not use abrasive cleaners or solvents.
- Lamp Sostituzione: Disconnect power and allow the lamp to cool completely before attempting replacement. Carefully remove the old G12 lamp and insert a new one of the same type and wattage (70W metal halide). Ensure proper seating.
- Ispezione: Periodically inspect the suspension cables and electrical connections for any signs of wear or damage. If any damage is found, consult a qualified electrician.
7. Risoluzione Dei Problemi
| Problema | Possibile causa | Soluzione |
|---|---|---|
| Lamp non si accende. | Nessuna alimentazione elettrica. Difettoso lamp lampadina. Cablaggio errato. | Controllare l'interruttore automatico e l'interruttore a parete. Sostituisci lamp lampadina. Verificare i collegamenti elettrici (consultare un elettricista). |
| Lamp lampeggia o si attenua. | Lamp avvicinarsi alla fine della vita. Collegamento allentato. Errato lamp tipo. | Sostituisci lamp lampadina. Controllare i collegamenti elettrici. Ensure correct G12 70W metal halide lamp viene utilizzato. |
| Lamp takes a long time to warm up. | Normal operation for metal halide lamps. Lamp avvicinarsi alla fine della vita. | Allow sufficient warm-up time. Considera la possibilità di sostituire la lamp bulb if warm-up time becomes excessively long. |
8. Specifiche
- Marca: Philips
- Numero modello: MPK561 #68009600
- Lamp Tipo: Alogenuri metallici Lamp
- Lamp Base: G12
- Lamp Cosatage: 70 L
- Numero di lampadine: 1
- Dispositivo operativo: Standard EVG (Electronic Ballast)
- Materiale: Alluminio
- Fonte di energia: Elettrico con cavo
- Tipo di montaggio: Monopunto
9. Garanzia e supporto
Per informazioni sulla garanzia e supporto tecnico, fare riferimento alla documentazione fornita con l'acquisto o visitare il sito ufficiale Philips websito. Conservare la prova d'acquisto per eventuali reclami in garanzia.
Philips Ufficiale Websito: www.philips.com