1. Introduzione
This manual provides essential information for the safe and effective operation, maintenance, and troubleshooting of your RYOBI 2300W Metal Chop Saw, model ECO2335HG. Please read these instructions carefully before using the tool and keep them for future reference. This powerful tool is designed for precise and rapid cutting of various metal materials, including tubes, profiles, and flat metals, making it suitable for both construction sites and workshops.
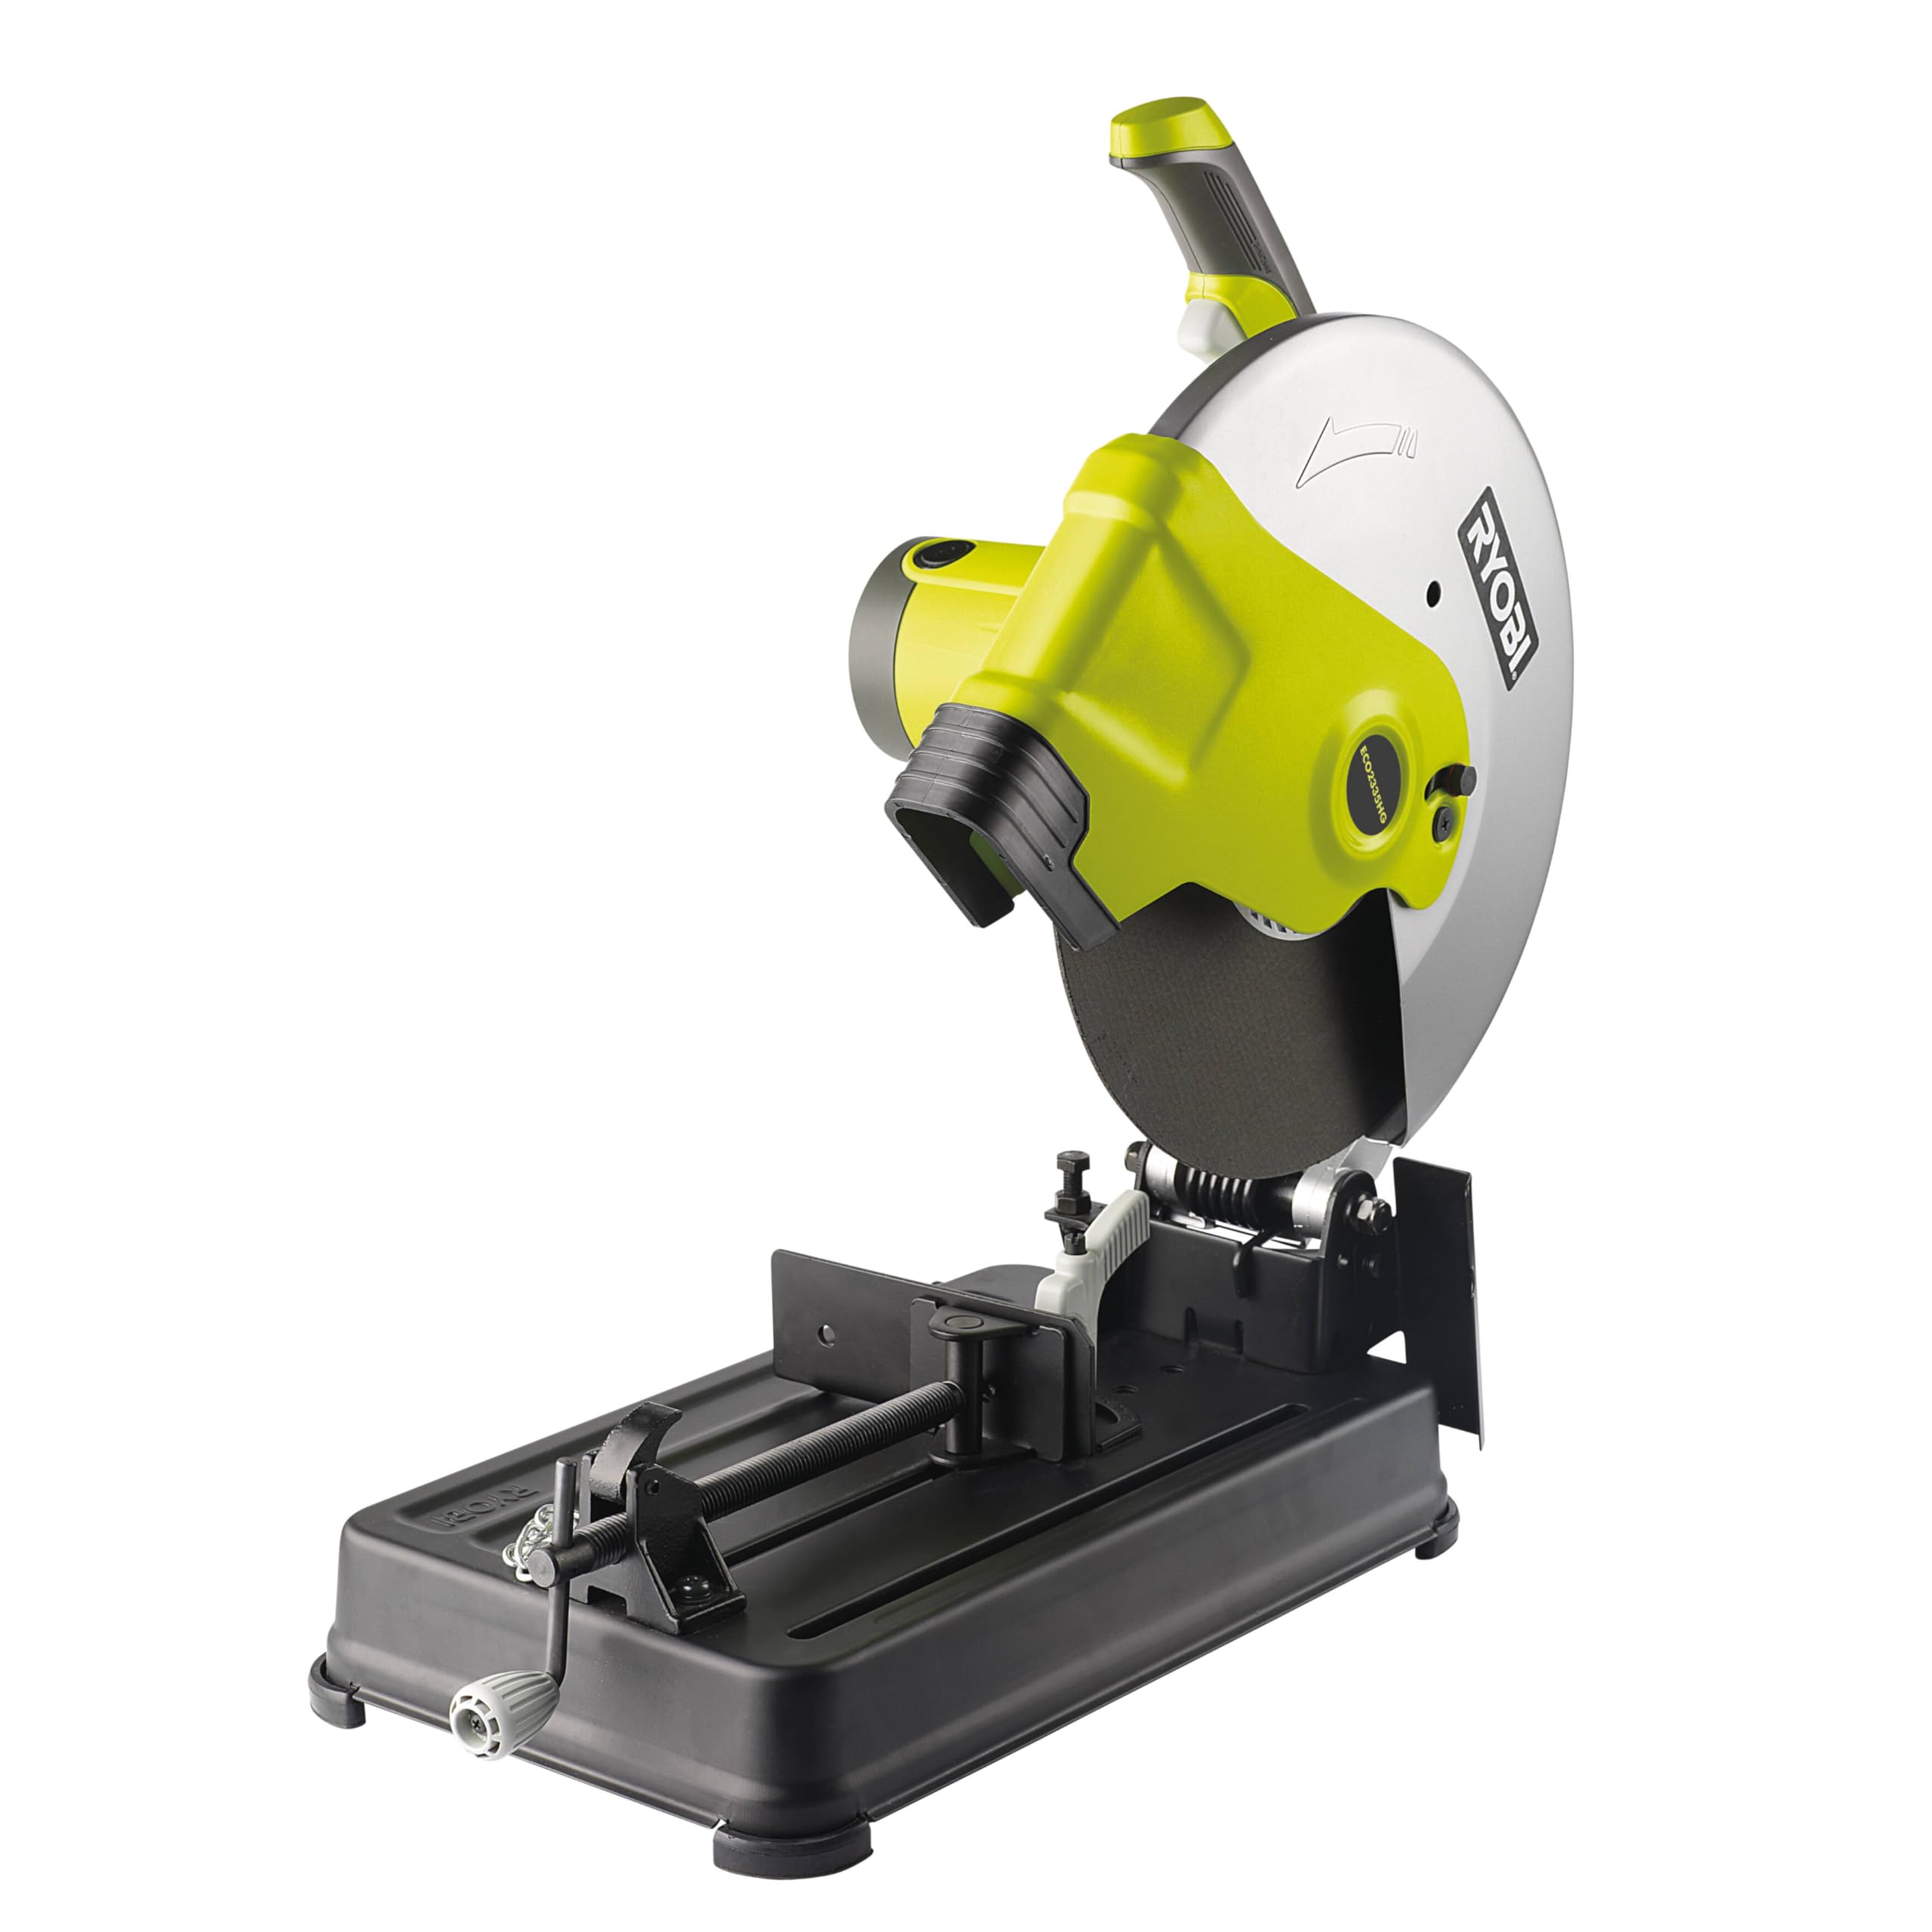
Figure 1: RYOBI ECO2335HG Metal Chop Saw. This image shows the overall view of the chop saw, highlighting its robust construction and design.
2. Informazioni generali sulla sicurezza
Seguire sempre le precauzioni di sicurezza di base per ridurre il rischio di incendi, scosse elettriche e lesioni personali. Tenere questo manuale a portata di mano per una rapida consultazione.
2.1. Sicurezza dell'area di lavoro
- Mantenere l'area di lavoro pulita e ben illuminata. Le aree disordinate o buie favoriscono gli incidenti.
- Non utilizzare utensili elettrici in atmosfere esplosive, come in presenza di liquidi, gas o polvere infiammabili. Gli utensili elettrici creano scintille che possono incendiare la polvere o i fumi.
- Tenere lontani bambini e astanti mentre si utilizza un elettroutensile. Le distrazioni possono causare la perdita del controllo.
2.2. Sicurezza elettrica
- Le spine degli utensili elettrici devono essere adatte alla presa. Non modificare mai la spina in alcun modo.
- Evitare il contatto del corpo con superfici messe a terra o collegate a massa, come tubi, radiatori, fornelli e frigoriferi. C'è un rischio maggiore di scosse elettriche se il corpo è collegato a massa o collegato a massa.
- Non esporre gli utensili elettrici alla pioggia o a condizioni di bagnato. L'ingresso di acqua in un utensile elettrico aumenta il rischio di scosse elettriche.
- Non abusare del cavo. Non usare mai il cavo per trasportare, tirare o scollegare l'elettroutensile. Tenere il cavo lontano da calore, olio, bordi taglienti o parti in movimento.
- The Livetool Indicator™ light will illuminate when the tool is connected to power, indicating it is live. This helps prevent accidental startup.
2.3. Sicurezza personale
- Indossare sempre protezioni per gli occhi. Utilizzare occhiali di sicurezza con protezioni laterali o occhiali a mascherina.
- Indossare protezioni acustiche quando si utilizza l'utensile per periodi prolungati.
- Vestiti in modo appropriato. Non indossare abiti larghi o gioielli. Tieni i capelli, gli abiti e i guanti lontani dalle parti in movimento.
- Siate vigili, fate attenzione a ciò che fate e usate il buon senso quando utilizzate un elettroutensile.
- Use safety equipment such as dust masks, non-skid safety shoes, hard hats, or hearing protection for appropriate conditions.
- Ensure the large blade guard is always in place and functioning correctly to protect against debris.
3. Prodotto finitoview e componenti
Familiarize yourself with the main parts of your RYOBI ECO2335HG Metal Chop Saw before operation.
- Cutting Wheel (Blade): 355 mm abrasive wheel for metal cutting.
- Blade Guard: Large protective cover for user safety.
- Alloggiamento motore: Contains the powerful 2300W motor.
- GripZone™ Handle: Bi-material handle for ergonomic and comfortable grip.
- Quick-Release Vise: Secures workpieces for cutting.
- Adjustable Miter Fence: Allows for straight and angle cuts up to 45°.
- Non-Slip Work Table: Provides stability for workpieces.
- Sistema di bloccaggio del mandrino: For quick and secure blade changes.
- Livetool Indicator™: Power-on indicator light.
- Power Cord Locking Clip: Secures the power cord.
- Accessible Safety Brushes: For easy maintenance.
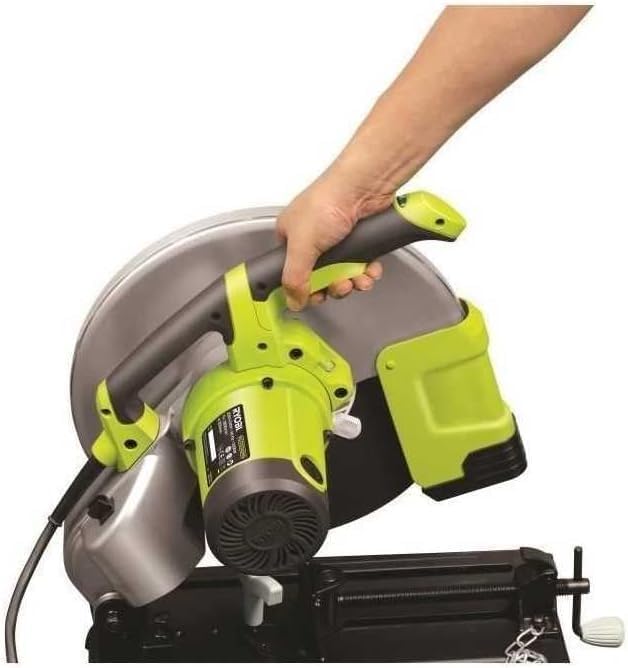
Figura 2: lato view of the chop saw, showing the GripZone™ handle for comfortable operation.

Figure 3: Close-up of the quick-release vise and non-slip work table, essential for securing materials during cutting.
4. Installazione e assemblaggio
Before initial use, ensure the chop saw is properly assembled and secured.
4.1. Disimballaggio
- Rimuovere con attenzione tutti i componenti dalla confezione.
- Verify that all included items are present: chop saw unit, 355 mm cutting wheel, and service wrench.
- Ispezionare l'utensile per verificare eventuali danni che potrebbero essersi verificati durante il trasporto. Non utilizzarlo se danneggiato.
4.2. Mounting the Chop Saw
For optimal stability and safety, it is recommended to mount the chop saw to a sturdy workbench using appropriate fasteners (not included).
4.3. Installing/Changing the Cutting Wheel
- Scollegare l'alimentazione: Always unplug the tool from the power source before performing any adjustments or maintenance.
- Access the Spindle: Loosen the screws and open the blade guard to access the cutting wheel.
- Attivare il blocco del mandrino: Premere e tenere premuto il pulsante di blocco del mandrino per impedire la rotazione del mandrino.
- Rimuovere la vecchia ruota: Use the provided service wrench to loosen the arbor nut. Remove the outer flange and the old cutting wheel.
- Installare la nuova ruota: Place the new 355 mm cutting wheel onto the spindle, ensuring it is correctly seated. The arrow on the wheel should match the rotation direction indicated on the tool.
- Ruota sicura: Replace the outer flange and tighten the arbor nut firmly with the service wrench while holding the spindle lock. Do not overtighten.
- Guardia stretta: Chiudere e fissare la protezione della lama.

Figura 4: Posteriore view of the chop saw, showing the motor housing and power cord connection point.

Figure 5: Close-up showing the accessible safety brushes, which are important for motor maintenance.
5. Istruzioni per l'uso
Follow these steps for safe and effective operation of your metal chop saw.
5.1. Preparazione del pezzo in lavorazione
- Assicurarsi che il pezzo in lavorazione sia pulito e libero da ostruzioni.
- Mark the cutting line clearly on the material.
- Place the workpiece firmly against the miter fence and secure it with the quick-release vise. Ensure the material is stable and will not shift during cutting.
5.2. Adjusting for Angle Cuts
The miter fence can be adjusted up to 45° for angle cuts.
- Allentare il meccanismo di bloccaggio della guida obliqua.
- Pivot the fence to the desired angle (up to 45°).
- Tighten the locking mechanism securely to fix the fence in position.
- Eseguire sempre un taglio di prova su materiale di scarto per verificare l'angolazione prima di tagliare il pezzo finale.
5.3. Effettuare un taglio
- Connetti alimentazione: Plug the tool into a suitable power outlet. The Livetool Indicator™ will light up.
- Posizionati: Stand to the side of the cutting line, away from the path of the blade and any potential sparks or debris.
- Avvia lo strumento: Press the trigger switch to start the motor. Allow the cutting wheel to reach full speed before beginning the cut.
- Lower the Blade: Slowly and steadily lower the cutting wheel into the workpiece. Apply even pressure. Do not force the cut.
- Completa il taglio: Continuare ad abbassare fino al completamento del taglio.
- Rilascio Trigger: Release the trigger switch and allow the blade to stop completely before raising it from the workpiece.
- Rimuovere il pezzo in lavorazione: Once the blade has stopped and is raised, carefully unclamp and remove the cut workpiece.
WARNING: Sparks and hot debris will be generated during cutting. Ensure proper ventilation and keep flammable materials away from the work area.
6. Manutenzione
Regular maintenance ensures the longevity and safe operation of your RYOBI ECO2335HG Metal Chop Saw.
6.1. Pulizia
- Scollegare l'alimentazione: Scollegare sempre lo strumento prima della pulizia.
- Pulisci regolarmente l'utensile con un panno morbido eamp stoffa. Non utilizzare prodotti chimici aggressivi o detergenti abrasivi.
- Remove any metal dust or debris from the motor vents and around the blade guard using compressed air or a brush.
- Keep the non-slip work table clean to ensure proper workpiece stability.
6.2. Sostituzione delle spazzole di carbone
The motor's carbon brushes are wear items and will need replacement over time. The ECO2335HG features accessible safety brushes for easy replacement.
- Scollegare l'alimentazione: Scollega lo strumento.
- Individuare i cappucci delle spazzole: Identify the brush caps on the motor housing (refer to Figure 5).
- Rimuovere i tappi: Use a screwdriver to unscrew the brush caps.
- Replace Brushes: Remove the old carbon brushes and insert new, genuine RYOBI replacement brushes.
- Tappi di sicurezza: Riposizionare e serrare i cappucci delle spazzole.
- After replacing brushes, run the tool at no-load for a few minutes to allow the new brushes to seat properly.
6.3. Ispezione e sostituzione della lama
- Regularly inspect the cutting wheel for wear, cracks, or damage. A worn or damaged wheel can be dangerous and reduce cutting efficiency.
- Replace the cutting wheel as described in Section 4.3 when it becomes dull or damaged.
- Only use 355 mm abrasive cutting wheels designed for metal.
7. Risoluzione Dei Problemi
This section addresses common issues you might encounter with your chop saw.
| Problema | Possibile causa | Soluzione |
|---|---|---|
| Lo strumento non si avvia. | Nessuna alimentazione elettrica. Cavo/spina di alimentazione difettosi. Spazzole di carbone usurate. Interruttore difettoso. |
Controllare il collegamento e la presa di alimentazione. Inspect cord/plug for damage. Replace if necessary. Replace carbon brushes (Section 6.2). Rivolgersi al personale di assistenza qualificato. |
| Eccessiva produzione di scintille dal motore. | Spazzole di carbone usurate. Sovraccarico del motore. |
Replace carbon brushes (Section 6.2). Reduce cutting pressure. Allow motor to cool. |
| Poor cutting performance / Slow cutting. | Dull or worn cutting wheel. Incorrect cutting technique. Sovraccarico del motore. |
Replace cutting wheel (Section 4.3). Apply steady, even pressure. Do not force. Reduce cutting pressure. Ensure proper material clamping. |
| Tagli angolari imprecisi. | Miter fence not securely locked. Workpiece not properly clamped. |
Ensure miter fence is tightly secured after adjustment. Verify workpiece is firmly held by the vise. |
If you encounter problems not listed here or if solutions do not resolve the issue, contact RYOBI customer service or a qualified service center.
8. Specifiche tecniche
| Caratteristica | Specificazione |
|---|---|
| Numero di modello | ECO2335HG (5133000704) |
| Potenza in ingresso | 2300W (Note: Some specifications may list 1800W, but the product is marketed as 2300W) |
| Velocità a vuoto | 3800 giri al minuto |
| Diametro della ruota di taglio | 355 millimetri |
| Diametro pergolato | 25.4 millimetri |
| Max. Cutting Capacity (Tube 90°) | 115 millimetri |
| Max. Cutting Capacity (Tube 45°) | 115 millimetri |
| Max. Cutting Capacity (L-Profile (90°) | 137 millimetri |
| Max. Cutting Capacity (L-Profile (45°) | 100 millimetri |
| Angolo di taglio regolabile | Fino a 45 gradi |
| Peso dell'articolo | 16 chilogrammi |
| Dimensioni del prodotto (L x P x A) | Dimensioni: 200 x 120 x 91.4 cm |
| Fonte di alimentazione | Elettrico con cavo |
| Materiale della lama | Metal (Abrasive) |
| Materiale della maniglia | Plastic, Rubber (GripZone™) |
9. Garanzia e supporto
9.1. Garanzia limitata
This RYOBI product is covered by a limited warranty. Please refer to the warranty card included with your product or visit the official RYOBI website for full terms and conditions. Keep your proof of purchase for warranty claims.
9.2. Disponibilità dei pezzi di ricambio
Spare parts for the ECO2335HG model are generally available for up to 5 years from the date of purchase. Contact your local RYOBI service center for spare parts inquiries.
9.3. Assistenza clienti
For technical assistance, service, or questions regarding your RYOBI Metal Chop Saw, please contact RYOBI customer support through their official websito o le informazioni di contatto fornite nella documentazione del prodotto.