Introduzione
The KitchenAid SSA Sausage Stuffer Kit Attachment is designed to work exclusively with your KitchenAid Food Grinder Attachment (Model FGA, sold separately). This kit allows you to prepare homemade sausages, such as breakfast sausage, brats, boudin blanc, Italian sausage, and more, using fresh ground meats. It includes two lightweight plastic tubes for different sausage sizes, providing versatility for your culinary creations.
This instruction manual provides detailed guidance on the setup, operation, maintenance, and troubleshooting of your Sausage Stuffer Kit.
Impostare
Before using the Sausage Stuffer Kit, ensure you have the KitchenAid Food Grinder Attachment (Model FGA) installed on your KitchenAid Stand Mixer. The Sausage Stuffer Kit attaches directly to the Food Grinder Attachment.
Componenti finitiview
- Sausage Stuffer Housing: The main body that connects to the Food Grinder.
- Large Stuffing Tube: Approximately 5/8 inch diameter, suitable for larger sausages like bratwurst, Italian, or Polish sausage.
- Small Stuffing Tube: For smaller varieties such as breakfast sausage.
- Anello di tenuta: Secures the stuffing tube to the housing.
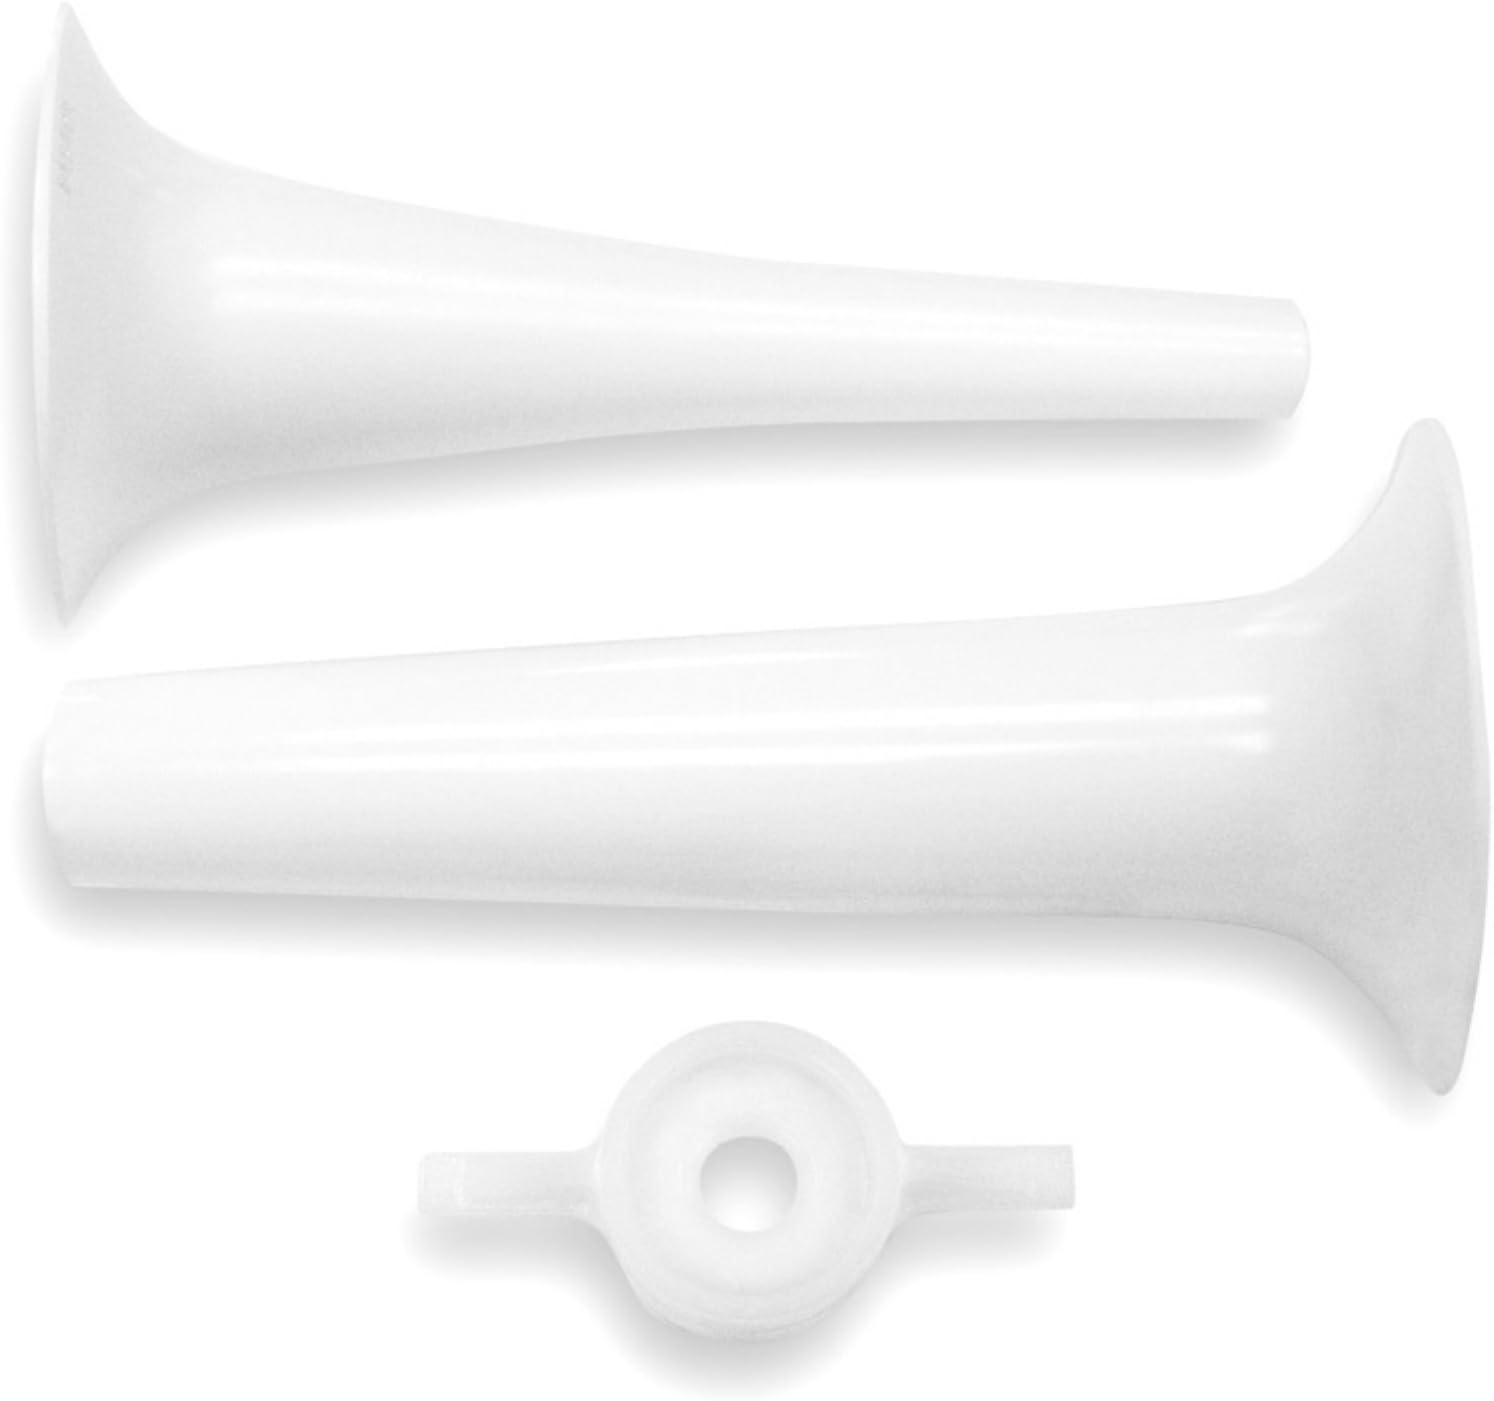
Image: The two plastic stuffing tubes and the retaining ring included in the kit.
Fasi di assemblaggio
- Assicurati che il tuo robot da cucina KitchenAid sia scollegato.
- Attach the Food Grinder Attachment (FGA) to the power hub of your stand mixer according to its specific instructions.
- Remove the grinding plate and blade from the Food Grinder Attachment.
- Insert the desired stuffing tube (large or small) into the Sausage Stuffer Housing.
- Secure the stuffing tube by screwing on the retaining ring until it is finger-tight.
- Attach the assembled Sausage Stuffer Kit to the front of the Food Grinder Attachment, ensuring it is properly seated and secured.
Video: Official KitchenAid video demonstrating the assembly and use of the Sausage Stuffer Kit with the Food Grinder Attachment.
Istruzioni per l'uso
Once the Sausage Stuffer Kit is assembled and attached to your KitchenAid Food Grinder and Stand Mixer, you are ready to begin stuffing sausages.
Preparazione
- Preparazione della carne: Ensure your meat is properly ground and seasoned according to your recipe. For best results, keep the meat very cold, ideally partially frozen, to prevent smearing and ensure proper texture.
- Casing Preparation: Se si utilizza il c naturaleasings, rinse them thoroughly and soak them in warm water for at least 30 minutes to make them pliable. If using collagen casings, follow the manufacturer's instructions.
- Lubricate the Tube: For easier casing loading, apply a small amount of cooking oil or Crisco to the outside of the stuffing tube.
- Carico Casines: Carefully gather the casing onto the stuffing tube, pushing it all the way to the base. Leave a small amount of casing hanging off the end of the tube to tie off later.

Image: The KitchenAid Food Grinder with the Sausage Stuffer Attachment, showing meat in the feed tray.
Stuffing Process
- Place a bowl or tray beneath the stuffing tube to catch the finished sausage.
- Turn the KitchenAid Stand Mixer to a low speed (typically Speed 4 is recommended for stuffing).
- Feed the prepared meat mixture into the Food Grinder's feed tube. The grinder will push the meat through the stuffer and into the casing.
- Come il casing fills, gently guide it off the stuffing tube. Use your hands to support the sausage and ensure it fills evenly without air pockets. Avoid overfilling, which can cause casings per scoppiare.
- Once the desired length of sausage is stuffed, turn off the mixer.
- Twist the sausage into links of your preferred size. You can twist in alternating directions to create distinct links.
- Tie off the ends of the sausage.
For optimal results, consider working with a partner: one person feeds the meat into the grinder, and the other guides and links the sausage.
Manutenzione e pulizia
Proper cleaning and maintenance will ensure the longevity and hygienic operation of your Sausage Stuffer Kit.
Istruzioni per la pulizia
- Always unplug your KitchenAid Stand Mixer before disassembling or cleaning attachments.
- Disassemble the Sausage Stuffer Kit by unscrewing the retaining ring and removing the stuffing tube.
- The plastic stuffing tubes and retaining ring are lavabile in lavastoviglie. You may also wash them by hand in warm, soapy water.
- Clean the Sausage Stuffer Housing and any other parts of the Food Grinder Attachment according to their specific cleaning instructions.
- Sciacquare accuratamente tutte le parti per rimuovere eventuali residui di sapone.
- Dry all components completely before storing to prevent water spots or residue buildup.
Store the components in a clean, dry place.
Risoluzione dei problemi
If you encounter issues while using your Sausage Stuffer Kit, refer to the following common solutions:
- Casing difficult to load onto tube: Ensure the stuffing tube is lubricated with cooking oil or Crisco. If using natural casings, ensure they have been soaked sufficiently to make them pliable.
- Air pockets in sausage: This can occur if the casing is not guided smoothly or if the meat is fed too quickly. Try reducing the mixer speed and gently compressing the sausage as it exits the tube to remove air.
- Casings bursting: Riempimento eccessivo del casing is the most common cause. Reduce the amount of meat being fed or slow down the mixer speed. Ensure casings are properly prepared and not dried out.
- Meat not feeding properly: Ensure the meat is very cold and cut into appropriate sizes for the Food Grinder. Verify that the Food Grinder's screw cap is tight and that the grinding blade (if used for initial grinding) is correctly installed. For stuffing, the grinding plate and blade should be removed from the Food Grinder.
- Slow stuffing speed: The KitchenAid Stand Mixer operates at a controlled speed. For optimal stuffing, use a consistent low speed (e.g., Speed 4). Keeping the meat very cold can also affect flow; ensure it's cold but not frozen solid.
Specifiche
| Modello | SSA |
| Marca | Aiuto in cucina |
| Materiale | Plastica |
| Colore | Bianco |
| Peso dell'articolo | 0.02 chilogrammi |
| Componenti inclusi | Sausage Stuffer Housing, Large Stuffing Tube, Small Stuffing Tube, Retaining Ring |
| Compatibilità | Requires KitchenAid Food Grinder Attachment (Model FGA) and KitchenAid Stand Mixer |

Image: Dimensions of a stuffing tube.
Garanzia e supporto
Garanzia del produttore
This KitchenAid SSA Sausage Stuffer Kit Attachment comes with a Garanzia del produttore di 1 anno. Please retain your proof of purchase for warranty claims. For specific terms and conditions, refer to the warranty documentation included with your product or visit the official KitchenAid websito.
Assistenza clienti
Per ulteriore assistenza, registrazione del prodotto o per view additional accessories, please visit the official KitchenAid weboppure contattare il servizio clienti KitchenAid. Le informazioni di contatto sono in genere reperibili sul sito KitchenAid websito o nei materiali di imballaggio.