1. Pendahuluan
The GEEKVAPE SOUL 2 Pod Kit is an advanced vaping device designed for both Mouth-to-Lung (MTL) and Restricted Direct-Lung (RDL) vaping styles. It features a powerful built-in battery, adjustable output, and an innovative airflow system for a customizable experience. This manual provides detailed instructions for safe and effective use of your device.
Penting: This product is a VAPE starter set. E-liquid is not included and must be purchased separately. This device is nicotine-free.
2. Isi Paket
Silakan periksa paket untuk item berikut:
- GEEKVAPE SOUL 2 Pod Kit Main Unit x1
- GEEKVAPE SOUL Pod (0.6Ω) x1
- GEEKVAPE SOUL Pod (1.0Ω) x1
- Kabel USB Tipe-C x1
- Panduan Pengguna x1
- Warning Card x1
- FlavorKitchen Original Mini Pouch x1

Image: GEEKVAPE SOUL 2 Pod Kit in black, shown with a FlavorKitchen pouch and other color variants of the device.
3. Produk Lebihview dan Spesifikasi
3.1 Fitur Utama
- Baterai Kapasitas Besar: Baterai terintegrasi 2100mAh untuk penggunaan yang lebih lama.
- Output yang Dapat Disesuaikan: Max output of 35W, allowing for power customization.
- Layar 0.99 inci: Clear display for essential vaping information.
- Slider Airflow Adjustment: Precise control over airflow for tailored draw.
- New BOOST PODs: Enhanced flavor and vapor production with improved durability.
- Kompatibilitas Kartrid: Backward compatible with previous GEEKVAPE Soul cartridges.
- Pengisian Cepat: Approximately 40 minutes for a full charge via USB Type-C.
- Aktivasi Ganda: Supports both auto-draw and button-activated vaping.

Image: GEEKVAPE SOUL 2 device highlighting its 2100mAh battery, long-life cartridge, and cartridge compatibility.

Image: GEEKVAPE SOUL 2 device showcasing its tobacco capsule compatibility, 2100mAh battery, 35W output, and second-generation Boost Pod.
3.2 Spesifikasi Teknis
| Parameter | Nilai |
|---|---|
| Nama Produk | GEEKVAPE SOUL 2 |
| Ukuran | Ukuran 108.49mm x 33.67mm x 23.50mm |
| Kapasitas Baterai | 2100mAh (Terintegrasi) |
| Output Maksimum | 35W |
| Tampilan Layar | 0.99 inci |
| Kontrol Aliran Udara | Stepless Slider Adjustment |
| Compatible Resistance | 0.4Ω (Sold Separately) / 0.6Ω / 1.0Ω |
| Port Pengisian Daya | USB Tipe-C (5V/2A) |
| Waktu Pengisian Daya | Sekitar 40 menit |
| Metode Aktivasi | Auto-draw & Button-draw |
| Compatible Styles | MTL / RDL |
4. Memulai
4.1 Pengisian Awal
Before first use, fully charge your GEEKVAPE SOUL 2 device. Connect the provided USB Type-C cable to the charging port on the device and plug the other end into a suitable USB power source (e.g., wall adapter, computer USB port). The display will indicate charging status. A full charge takes approximately 40 minutes.

Image: Illustration showing the internal 2100mAh battery of the GEEKVAPE SOUL 2 device, emphasizing its large capacity and fast charging capability.
4.2 Mengisi Pod
- Lepaskan pod dari perangkat.
- Temukan penutup silikon di sisi pod.
- Buka penutupnya dengan hati-hati dan masukkan nosel botol e-liquid Anda ke dalam lubang pengisian.
- Fill the pod with your desired e-liquid, ensuring not to overfill.
- Tutup sumbat silikon dengan rapat.
- Penting: If it's a new pod, let it stand for 5-10 minutes after filling to allow the coil to saturate with e-liquid. This prevents dry hits and extends coil life.
4.3 Installing the Pod
Align the filled pod with the pod slot on the device and push it firmly until it clicks into place. The magnetic connection will secure the pod.
5. Operasi
5.1 Daya Hidup/Mati
Untuk menghidupkan perangkat ON or MATI, rapidly press the fire button 5 times within 2 seconds.
5.2 Merokok
The GEEKVAPE SOUL 2 supports two vaping methods:
- Gambar Otomatis: Cukup hirup dari corong untuk mengaktifkan perangkat dan menghasilkan uap.
- Diaktifkan dengan Tombol: Tekan dan tahan tombol tembak sambil menghisap dari corong.

Image: A hand holding the GEEKVAPE SOUL 2 device, showing its display screen with wattage and resistance information.
5.3 Menyesuaikan Airtage Keluaran
The device allows for wattage adjustment up to 35W. Use the adjustment buttons (usually located near the display) to increase or decrease the wattage to your preferred level. Refer to the recommended wattage range for your installed pod (e.g., 0.6Ω pod, 1.0Ω pod) for optimal performance and coil longevity.
Catatan: To set output above 31W, a separately sold 0.4Ω pod is required.

Image: GEEKVAPE SOUL 2 device illustrating its maximum 35W output adjustment capability.
5.4 Mengatur Aliran Udara
The GEEKVAPE SOUL 2 features a slider-type airflow adjustment. Locate the airflow slider on the device and move it to increase or decrease the airflow. Adjusting the airflow will change the tightness of your draw and the amount of vapor produced, allowing you to fine-tune your vaping experience from a tight MTL draw to a looser RDL draw.

Image: Diagrams showing the patented leak-proof design and the adjustable airflow control of the GEEKVAPE SOUL 2 pod.
6. Pemeliharaan
6.1 Penggantian Pod
The pods are consumable parts and need to be replaced periodically. You will notice a decrease in flavor, vapor production, or a burnt taste when the coil needs replacement. To replace a pod:
- Lepaskan pod lama dari perangkat.
- Buang pod lama secara bertanggung jawab.
- Fill a new GEEKVAPE SOUL Pod (0.6Ω or 1.0Ω) with e-liquid as described in Section 4.2.
- Install the new pod into the device.
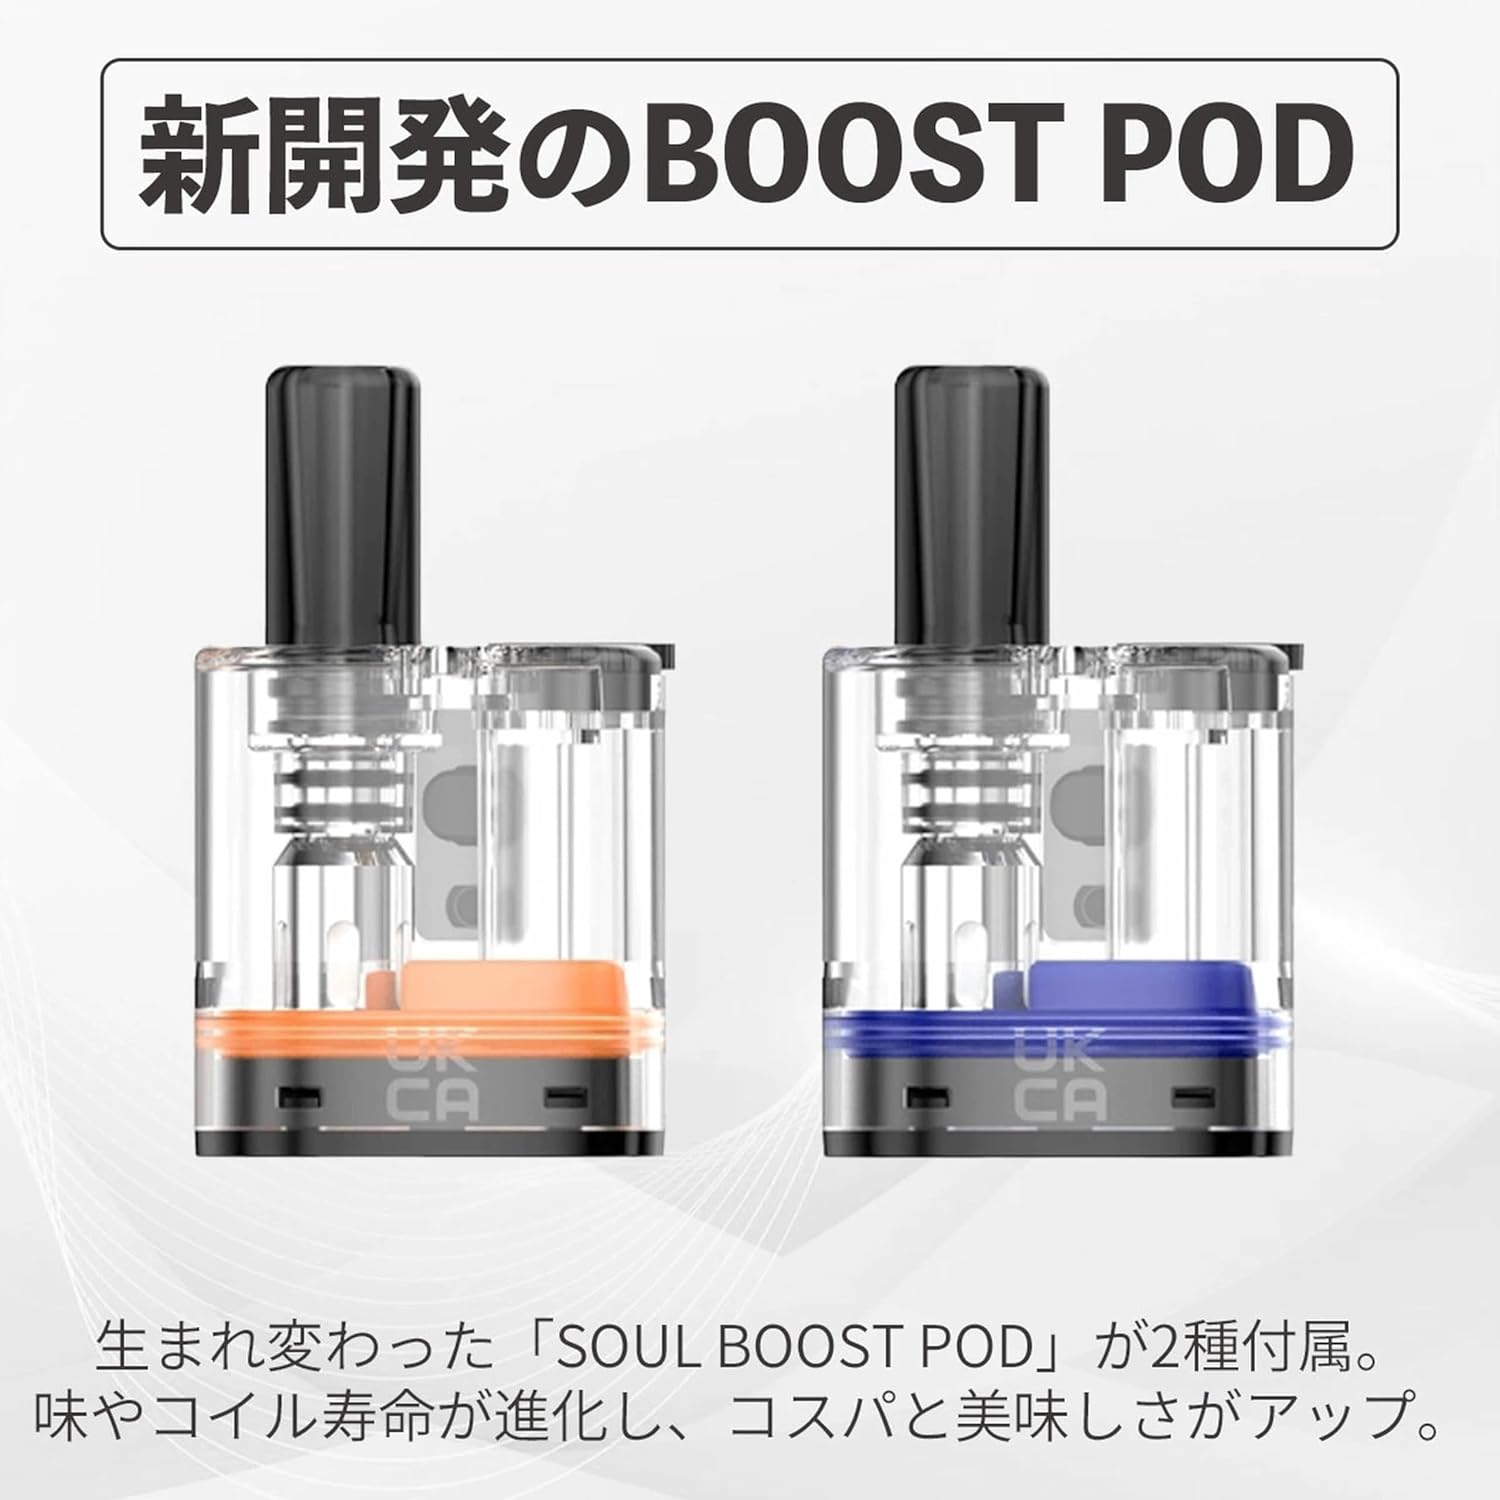
Image: Two newly developed GEEKVAPE SOUL BOOST PODs, highlighting their improved design for flavor and coil life.
6.2 Membersihkan Perangkat
Regularly clean the device, especially the pod connection area, to ensure optimal performance and prevent e-liquid residue buildup. Use a dry cloth or cotton swab to gently wipe away any condensation or e-liquid spills.
7. Penyelesaian masalah
| Masalah | Kemungkinan Penyebab | Larutan |
|---|---|---|
| Tidak ada produksi uap | Battery low; Pod not properly installed; No e-liquid; Device off. | Charge device; Reinstall pod; Refill pod; Turn device on (5 clicks). |
| Rasa terbakar | Coil dry/burnt; E-liquid level too low; High wattagpengaturan. | Replace pod; Refill pod; Lower wattage. |
| Bocor | Overfilled pod; Worn-out pod; Condensation. | Do not overfill; Replace pod; Clean condensation regularly. |
| Perangkat tidak mengisi daya | Faulty cable/charger; Dirty charging port. | Try different cable/charger; Clean charging port. |
8. Tindakan pencegahan keselamatan
- Jauhkan perangkat dari jangkauan anak-anak dan hewan peliharaan.
- Jangan biarkan perangkat terkena suhu ekstrem, sinar matahari langsung, atau air.
- Gunakan hanya kabel USB Tipe-C yang disediakan untuk pengisian daya.
- Jangan gunakan baterai atau pengisi daya yang rusak.
- Hindari menjatuhkan atau mem subjecting perangkat pada benturan keras.
- If the device malfunctions or emits unusual odors, discontinue use immediately.
- Buang limbah elektronik secara bertanggung jawab sesuai dengan peraturan setempat.
9. Video Produk Resmi
Video: An official promotional video for the GEEKVAPE SOUL 2, showcasing its design, features, and user experience in various settings.
10. Garansi dan Dukungan
For warranty information and customer support, please refer to the warranty card included in your package or contact GEEKVAPE customer service directly through their official websitus. Simpan bukti pembelian Anda untuk klaim garansi.