1. Proizvod je gotovview
The Tribesigns 9-Tier Shoe Storage Cabinet is designed to organize and display your footwear collection. Featuring nine spacious tiers and integrated LED lighting with multiple color options, this freestanding cabinet offers both functionality and aesthetic appeal. It is constructed from engineered wood with solid wooden legs, ensuring stability and durability. The design includes adjustable shelves to accommodate various shoe heights and an anti-tipping mechanism for safety.
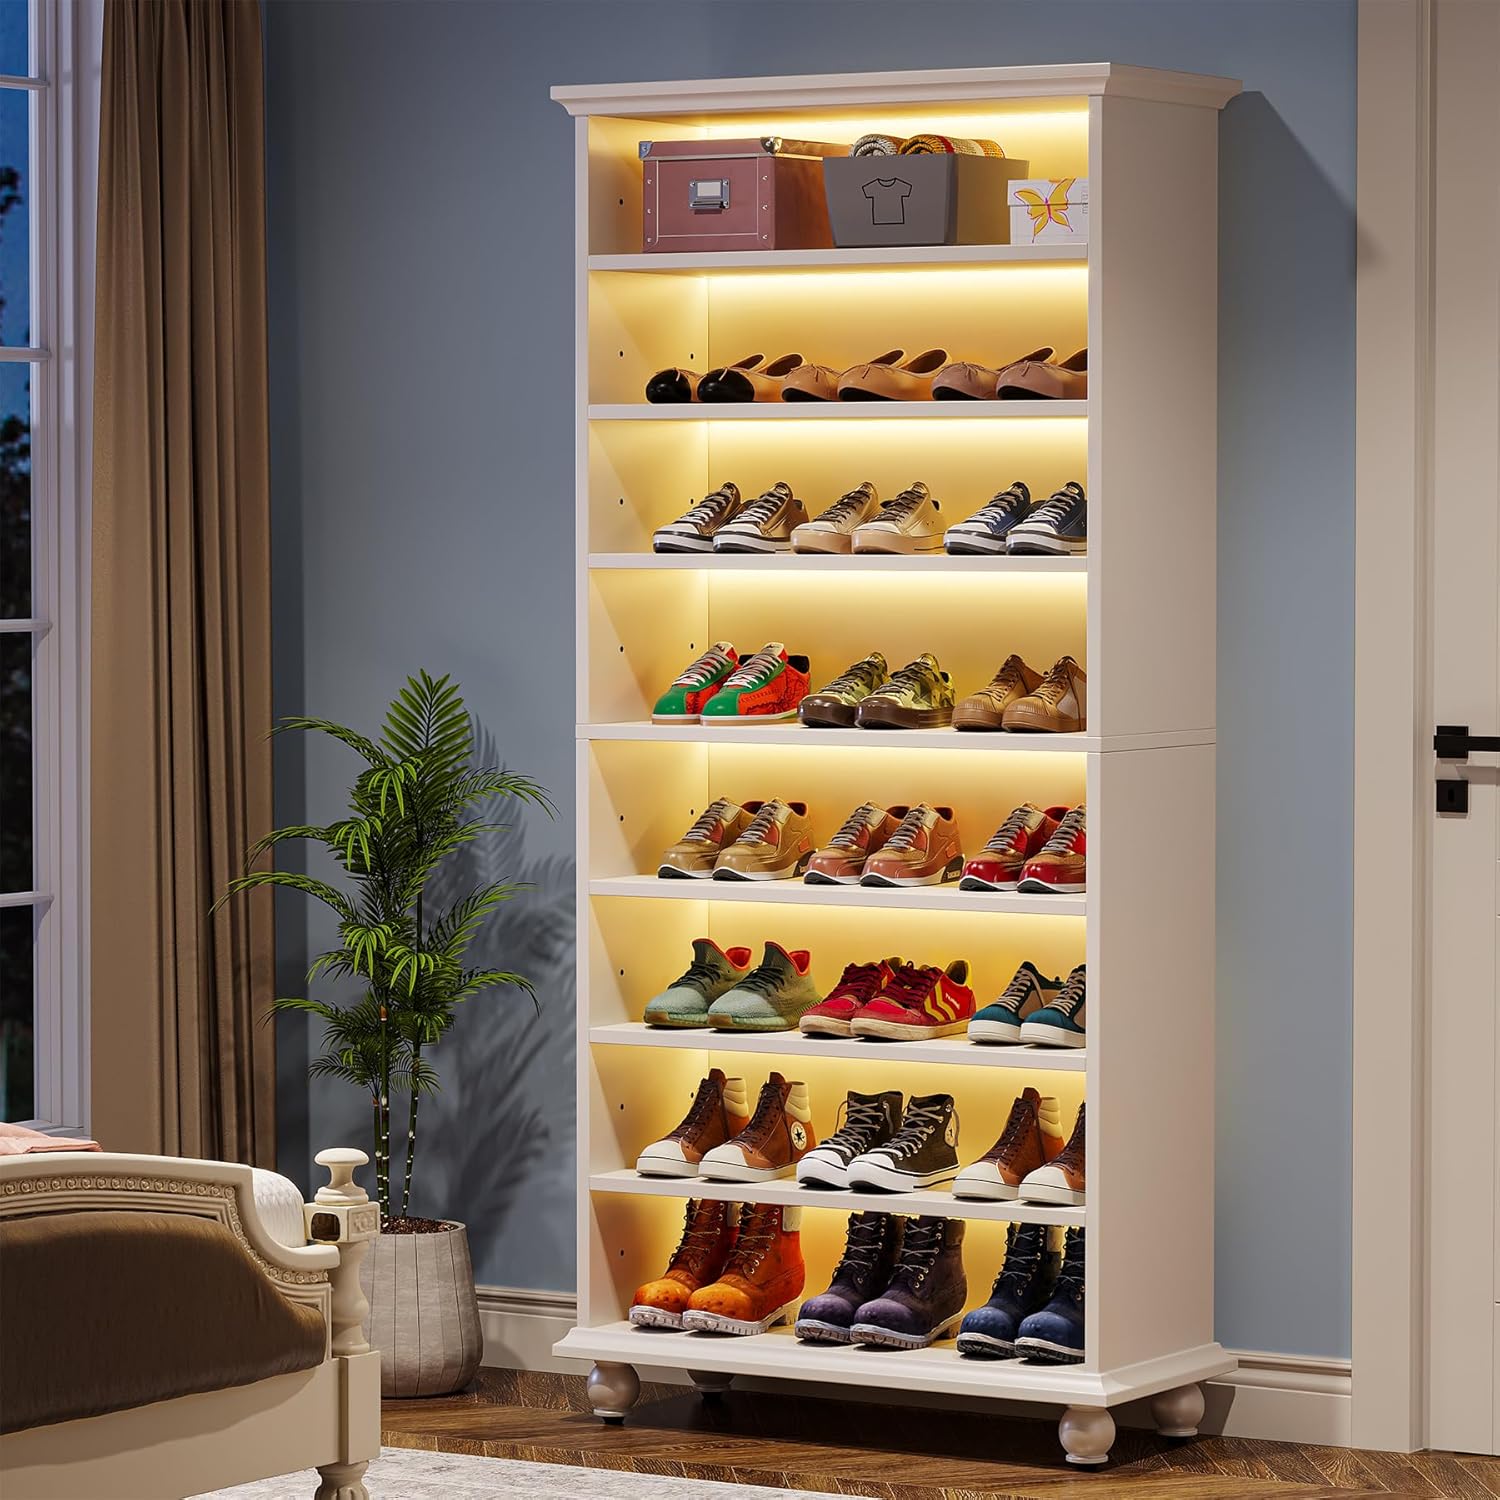
Figure 1: Assembled Tribesigns 9-Tier Shoe Storage Cabinet
2. Sigurnosne informacije
Molimo pročitajte i razumite sve sigurnosne upute prije sastavljanja i upotrebe. Nepoštivanje ovih uputa može dovesti do ozljeda ili oštećenja proizvoda.
- Uređaj protiv prevrtanja: Always install the included anti-tipping hardware to secure the cabinet to a wall. This prevents accidental tipping, especially in households with children or pets.
- Ograničenje težine: Do not exceed the maximum weight limit of 300 pounds for the entire cabinet. Distribute weight evenly across shelves.
- Skupština: Assemble the unit on a soft, clean surface to prevent scratches. It is recommended that two adults assemble this product.
- Plasman: Place the cabinet on a level surface to ensure stability. Adjust the leveling feet as needed.
- Električna sigurnost: Ensure the LED lighting system is connected to a suitable power source. Do not expose electrical components to water or excessive moisture.

Figure 2: Anti-Tipping Hardware Installation
3. Sadržaj paketa
Prije početka sastavljanja provjerite jesu li sve komponente prisutne. Ako neki dijelovi nedostaju ili su oštećeni, obratite se korisničkoj podršci.
- Cabinet Panels (Top, Bottom, Side, Back, Shelves)
- Čvrste drvene noge
- Pribor za montažu (vijci, tiple, brave itd.)
- LED svjetlosne trake
- LED daljinski upravljač
- Komplet protiv prevrtanja
- Vodič za montažu (ovaj dokument)
4. Upute za sastavljanje
Assembly typically requires two adults and basic tools (screwdriver, hammer). Follow the steps carefully.
4.1. Prepare for Assembly
- Clear a spacious area and lay out all components on a soft, protective surface.
- Identificirajte sve dijelove koristeći priloženi popis dijelova.
4.2. Assemble the Main Frame
- Attach the side panels to the bottom panel using the specified hardware.
- Insert the fixed middle shelf into the designated slots.
- Secure the top panel to the side panels.
4.3. Instalirajte police
- Insert shelf pins into the desired holes on the side panels for the adjustable shelves.
- Place the adjustable shelves onto the pins. Note that one middle shelf is fixed for structural integrity.

Slika 3: Mehanizam za podesivu policu
4.4. Attach Back Panel and Legs
- Carefully attach the back panel to the assembled frame using small nails or screws.
- Attach the solid wooden legs to the bottom of the cabinet.
- Adjust the leveling feet on the bottom of the legs to ensure the cabinet is stable and level on your floor.

Figure 4: Adjustable Leveling Feet
4.5. Ugradite LED rasvjetu
- Carefully adhere the LED light strips to the underside of each shelf, following the guide in your package.
- Connect the LED strips to the power adapter and controller.
- Utaknite strujni adapter u odgovarajuću električnu utičnicu.
4.6. Secure with Anti-Tipping Kit
- Position the cabinet in its final location.
- Attach the anti-tipping hardware to the top rear of the cabinet and securely fasten it to a wall stud or using appropriate wall anchors.
5. Upute za rad
5.1. Rad LED rasvjete
The LED lights are controlled by the included remote control.
- Uključivanje/isključivanje: Pritisnite gumb za napajanje na daljinskom upravljaču da biste uključili ili isključili svjetla.
- Odabir boja: Use the color buttons to select from 64 different colors.
- Podešavanje svjetline: Za podešavanje intenziteta svjetla koristite tipke za povećanje/smanjivanje svjetline.
- Odabir načina rada: Cycle through various dynamic lighting modes (e.g., flash, strobe, fade, smooth) using the mode buttons.

Figure 5: LED Remote Control

Slika 6: Ormarić s plavom LED rasvjetom
5.2. Prilagodljive police
The shelves (excluding the fixed middle shelf) can be adjusted to different heights to accommodate various shoe types, such as boots, heels, or sneakers.
- Za podešavanje police, pažljivo uklonite sve predmete s police.
- Lift the shelf to remove it from the pins.
- Relocate the shelf pins to the desired height holes on the side panels.
- Vratite policu na klinove, pazeći da bude ravna i sigurno pričvršćena.
6. Održavanje i njega
- Čišćenje: Obrišite površine ormarića mekom,amp krpom. Izbjegavajte jake kemikalije ili abrazivna sredstva za čišćenje koja mogu oštetiti završnu obradu.
- brisanje prašine: Regularly dust the shelves and cabinet to maintain its appearance.
- Provjera stabilnosti: Povremeno provjeravajte sve vijke i spojeve kako biste bili sigurni da su čvrsto zategnuti. Po potrebi ih ponovno zategnite.
- Njega LED dioda: If LED strips become dirty, gently wipe them with a dry cloth. Do not attempt to disassemble the LED components.
7. Rješavanje problema
| Problem | Mogući uzrok | Otopina |
|---|---|---|
| LED svjetla se ne pale. | Adapter za napajanje isključen; baterija daljinskog upravljača prazna; labav spoj. | Ensure power adapter is securely plugged in. Check remote battery and replace if needed. Verify all LED strip connections are firm. |
| Ormar je klimav. | Neravan pod; labavi montažni elementi. | Adjust the leveling feet at the base of the cabinet. Tighten all assembly screws. Ensure anti-tipping device is properly installed. |
| Police nisu ravne. | Shelf pins not inserted correctly. | Remove the shelf and re-insert the shelf pins, ensuring they are fully seated in corresponding holes on both sides. |
8. Specifikacije

Slika 7: Dimenzije proizvoda
- Marka: Plemenski dizajni
- Naziv modela: Tall Shoe Cabinet
- Broj modela: AMZJ0216
- Boja: Bijela
- Dimenzije proizvoda: 11.81"D x 28.35"Š x 68.9"V
- Number of Tiers/Shelves: 9
- Materijal: Engineered Wood (Top, Back), Solid Wood (Legs)
- Vrsta montaže: Podna montaža (samostojeća)
- Posebna značajka: Scratch Resistant, LED Lighting
- Ograničenje težine: 300 funti
- Potrebna montaža: Da
9. Jamstvo i podrška
For warranty information, missing parts, or technical support, please refer to the contact information provided with your purchase or visit the official Tribesigns webmjesto. Čuvajte račun za jamstvene zahtjeve.