
1. Gabatarwa
This manual provides detailed instructions for the installation, operation, and maintenance of your new ATA 43 Inch Full HD LED Smart TV, Model 43S1. Please read this manual thoroughly before using the television to ensure proper functionality and to maximize your viewgwaninta. Ajiye wannan littafin don tunani na gaba.
2. Muhimman Bayanan Tsaro
- Tushen wutar lantarki: Tabbatar cewa an haɗa TV ɗin zuwa wutar lantarki a cikin ƙayyadadden voltage kewayon.
- Samun iska: Kar a toshe buɗewar samun iska. Bada isasshen sarari a kusa da TV don iskar da ta dace.
- Ruwa da Danshi: Kada a fallasa talabijin ga ruwan sama ko danshi. A guji sanya abubuwan da ke cike da ruwa, kamar furanni, a kan talabijin.
- Tsaftacewa: Cire TV ɗin kafin tsaftacewa. Yi amfani da laushi, bushe bushe. Kada a yi amfani da masu tsabtace ruwa ko masu tsabtace iska.
- Wuri: Sanya TV ɗin akan barga mai daidaitacce. Ka guji sanya shi a cikin hasken rana kai tsaye ko kusa da wuraren zafi.
- Hidima: Kada kayi yunƙurin yiwa wannan samfur sabis da kanka. Koma duk sabis ɗin zuwa ƙwararrun ma'aikatan sabis.
3. Abubuwan Kunshin
Da fatan za a duba akwatin don abubuwa masu zuwa:
- ATA 43 Inch Full HD LED Smart TV (Model 43S1)
- Ikon nesa
- TV Stand (2 guda)
- Igiyar Wutar Lantarki
- Jagorar mai amfani (wannan takaddar)
- Sukullu don Tsayin TV
4. Samfurin Ya Ƙareview
4.1. Gaba View
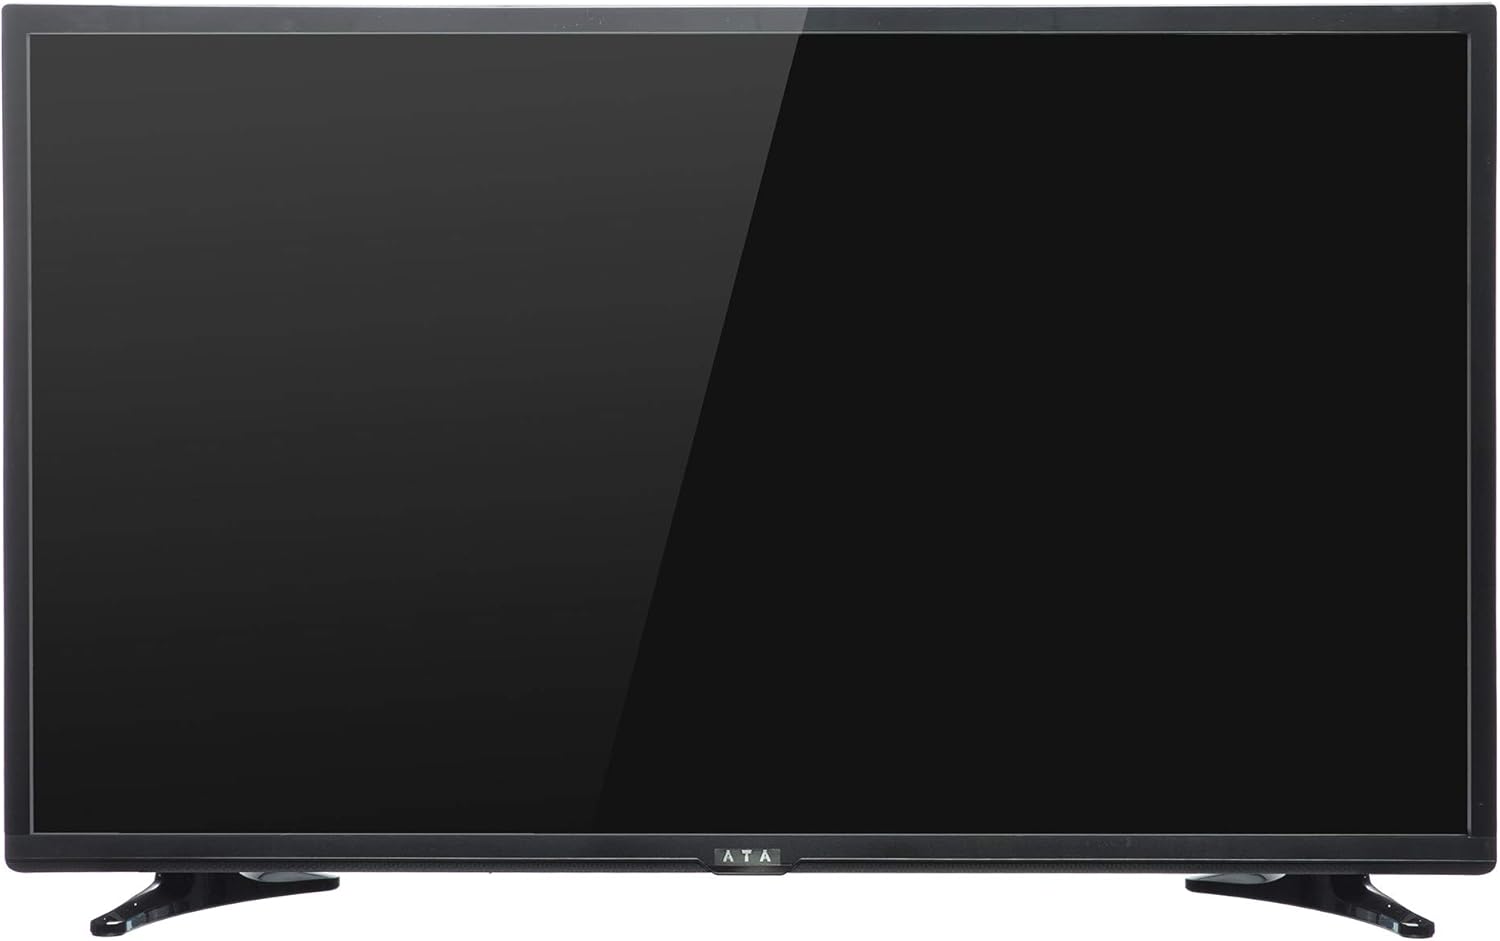
Hoto 1: Gaba view of the ATA 43 Inch Smart TV. The screen is black, indicating it is powered off or in standby mode. The ATA logo is visible at the bottom center.
The front of the ATA 43S1 TV features a sleek design with a narrow bezel, maximizing the screen area. The ATA brand logo is centrally located at the bottom of the frame. An indicator light (not visible in image) and IR receiver for the remote control are typically located near the logo.
4.2. Gaba View

Hoto 2: Na baya view of the ATA 43 Inch Smart TV. This image displays the back panel, including VESA mounting holes for wall installation and designated areas for input/output ports.
The rear panel of the TV includes VESA mounting points for wall installation (wall mount bracket sold separately). Various input and output ports are located on the side and bottom sections of the back panel for easy access.
4.3. Mashigai na shigarwa/fitarwa
Your ATA Smart TV is equipped with a variety of ports to connect external devices.

Image 3: Close-up of the side-facing ports, showing three HDMI ports (HDMI1, HDMI2, HDMI3) and two USB ports (USB2.0, USB2.0).
- Tashar jiragen ruwa na HDMI (x3): For connecting high-definition devices such as Blu-ray players, gaming consoles, and set-top boxes.
- Tashoshin USB (x2): Don haɗa na'urorin ajiya na USB don kunna mai jarida files ko don sabunta software.

Image 4: Close-up of the bottom-facing ports, including Earphone, RJ45 (Ethernet), PC Audio, PC(VGA), Mini YPbPr, Video, L/R Audio (AV In), and Coaxial.
- RJ45 (Ethernet) Port: Don haɗin Intanet mai waya.
- PC(VGA) Port: Don haɗa kwamfuta.
- PC Audio A: Shigar da sauti don haɗin VGA.
- AV In (Video, L/R Audio): Don haɗa tsofaffin na'urori tare da haɗaɗɗun bidiyo da abubuwan sauti na sitiriyo.
- Mini YPbPr: Bangaren bidiyo na ɓangaren.
- Coaxial: Don haɗa eriya ko TV na USB.
- Jackphone na kunne: Don haɗa belun kunne.
4.4. Ikon nesa

Image 5: The remote control for the ATA Smart TV. It features standard TV controls, navigation buttons, and dedicated function keys.
The remote control allows you to operate all functions of your TV. It includes buttons for power, input source selection, volume control, channel navigation, menu access, smart TV functions, and media playback controls.
- STANDBY (Red Button): Kunnawa / Kashewa.
- MAJIYA: Select input source (HDMI, AV, TV, etc.).
- Maɓallan Lamba (0-9): Zaɓin tashar kai tsaye.
- VOL +/-: Daidaita ƙara.
- CH +/-: Canja tashoshi.
- MUTA: Yi shiru/cire sautin murya.
- Jerin: Samun dama ga babban menu.
- Shiga: Tabbatar da zaɓi.
- Maɓallan kewayawa (Na sama/Ƙasa/Hagu/Dama): Kewaya ta menu.
- FITA: Exit current menu or function.
- HADA: Access the Smart TV home screen.
- P.MODE / S.MODE: Picture Mode / Sound Mode.
- SUBTITLE / AUDIO / REFRESH: Specific function buttons.
- PLAY/PAUSE, STOP, FF, FB, PREV, NEXT: Sarrafa sake kunnawa ta hanyar kafofin watsa labarai.
5. Saita
5.1. Haɗa Tsayin TV
- A hankali sanya fuskar TV ɗin ƙasa akan ƙasa mai laushi, mai tsabta don hana lalacewar allo.
- Daidaita guntun tsayuwa tare da madaidaitan ramummuka a ƙasan TV.
- A haɗa sassan wurin tsayawar ta amfani da sukurori da aka bayar. A tabbatar an matse su sosai.
- A hankali ɗaga TV ɗin kuma sanya shi a kan barga mai daidaitacce.
Alternatively, you can use a VESA-compatible wall mount (not included) to mount the TV on a wall. Refer to the wall mount's instructions for installation.
5.2. Haɗin Wuta
Connect the power cord to the TV's power input and then plug the other end into a wall outlet. The TV will enter standby mode.
5.3. Mayen Saita Na Farko
The first time you power on the TV, an initial setup wizard will guide you through basic settings.
- Danna maɓallin TSAYA TUKUNA button a kan ramut don kunna TV.
- Follow the on-screen prompts to select your preferred language, country/region, and time zone.
- Haɗin Yanar Gizo:
- Wi-Fi: Zaɓi hanyar sadarwar Wi-Fi ɗin ku daga lissafin kuma shigar da kalmar wucewa.
- Ethernet: If you connected an Ethernet cable to the RJ45 port, the TV should automatically detect the wired connection.
- Complete any remaining steps in the setup wizard, such as channel scanning (if connecting an antenna/cable).
6. Umarnin Aiki
6.1. Kunnawa / Kashewa
- To turn on the TV from standby, press the TSAYA TUKUNA button a kan remote.
- Don sanya TV cikin yanayin jiran aiki, danna maɓallin TSAYA TUKUNA button sake.
6.2. Zaɓin Tushen shigarwa
To switch between connected devices (e.g., HDMI, AV, TV tuner):
- Danna maɓallin MAJIYA maballin a kan ramut.
- Use the Navigation buttons (Sama/Ƙasa) to highlight the desired input source.
- Latsa SHIGA don tabbatar da zaɓinku.
6.3. Volume da Channel Control
- Latsa VOL+ to increase volume, VOL - don rage girma.
- Latsa CH + to go to the next channel, CH - don zuwa tashar da ta gabata.
- Use the Number buttons to directly enter a channel number.
- Latsa MUTU to temporarily turn off the sound. Press again to restore.
6.4. Smart TV Features (Android 4.4.2)
Your TV runs on Android 4.4.2, providing access to various smart features and applications.
- Danna maɓallin GIDA button on the remote to access the Smart TV home screen.
- From the home screen, you can navigate to pre-installed applications or access settings.
- Ensure your TV is connected to the internet via Wi-Fi or Ethernet to utilize online features.
- Use the Navigation buttons and SHIGA to select and launch applications.
7. Kulawa
- Share Allon: A hankali shafa allon tare da laushi, yadi mara laushi. Don alamun taurin kai, ɗan dampa cikin zane da ruwa ko na'urar tsabtace allo na musamman (kada a fesa kai tsaye akan allon).
- Tsaftace Majalisar: Yi amfani da busasshiyar kyalle mai laushi don shafe majalisar TV. Kada a yi amfani da masu tsabtace abrasive ko kaushi.
- Ƙura: A riƙa kura ramukan da ke bayan talabijin a kai a kai domin hana zafi sosai.
- Igiyar Wuta: Periodically check the power cord for any damage. If damaged, contact service personnel for replacement.
8. Shirya matsala
| Matsala | Dalili mai yiwuwa | Magani |
|---|---|---|
| Babu iko | Ba a haɗa igiyar wuta ba; Wutar lantarki baya aiki. | Tabbatar cewa an haɗa igiyar wutar lantarki da kyau. Gwada hanyar fita da wata na'ura. |
| Babu hoto, amma sauti yana nan | Incorrect input source selected; Backlight issue. | Danna maɓallin MAJIYA button to select the correct input. Check picture settings. |
| Babu sauti, amma hoto yana nan | Volume is muted or too low; Audio cables not connected properly. | Latsa MUTU or increase volume. Check audio cable connections. |
| Ikon nesa baya aiki | Batura sun mutu ko ba daidai ba; Toshewa tsakanin nesa da TV. | Replace batteries. Ensure line of sight to the TV's IR receiver. |
| Ba za a iya haɗi zuwa Wi-Fi ba | Kalmar sirri mara kyau; Matsalar na'ura mai ba da hanya tsakanin hanyoyin sadarwa; Talabijin ya yi nisa da na'urar sadarwa. | Verify Wi-Fi password. Restart router. Move TV closer or use Ethernet. |
9. Ƙayyadaddun bayanai
| Siffar | Daki-daki |
|---|---|
| Alamar | ATA |
| Lambar Samfura | 43S1 (ATA43FOS) |
| Girman allo | Inci 43 |
| Nau'in Nuni | LED FHD |
| Ƙaddamarwa | 1920 x 1080 (Cikakken HD) |
| Matsakaicin Sassauta | 60 Hz |
| Tsarin Aiki | Android 4.4.2 |
| Fasahar Haɗuwa | HDMI (x3), USB (x2), VGA, Ethernet (RJ45) |
| Siffofin Musamman | Smart TV functionality, Flat Screen |
| Girman samfur (D x W x H) | 9 x 96.5 x 56 cm |
| Nauyin Abu | 6.01 kg |
| Abubuwan da aka haɗa | TV, Tsaya |
10. Garanti da Tallafawa
For warranty information, please refer to the warranty card included with your product or contact your local ATA authorized dealer or service center. Keep your purchase receipt as proof of purchase for warranty claims.
For technical support or service inquiries, please contact ATA customer service through their official webshafin ko bayanin tuntuɓar da aka bayar a cikin takaddun samfuran ku.