geekbuying MKJS01 3D Printing Humidifier Model Kit
Installation Instruction
Welcome to use Makcosmos products, and hope that this product can “Print Happiness” with you;
The following are the installation instructions for the humidifier kit:
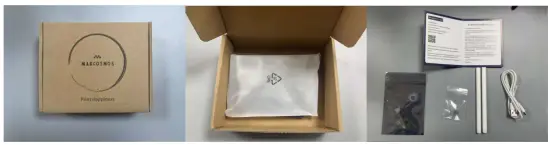
- After unpacking, check whether there are any missing parts (if so, please contact sales assoon as possible)
- Visit the bellowing address to download and print the model. After printing, remove the supports carefully and check whether the prints are missing:
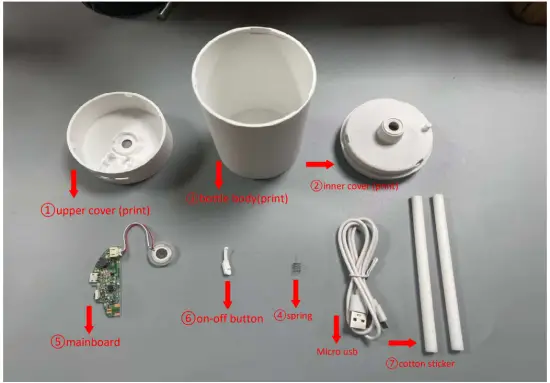
https://www.makcosmos.com/products/humidifier-model-kit - Place the prints on the desktop and prepare the required accessories (as shown below)
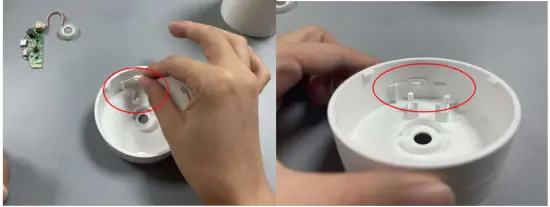
- Place the ⑥ on-off button into the ① upper cover, making sure to place it behind the positioning pillar (as shown below)
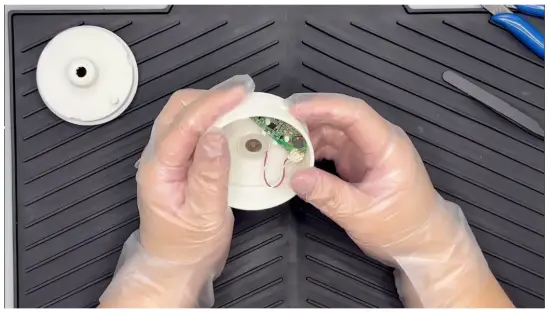
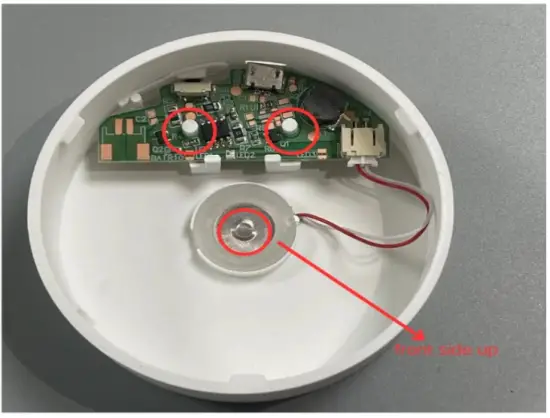
- Place the ⑤ main board into the ① upper cover, align it with the positioning pillar, press it firmly, and place the atomizer with the front side facing up (as shown below)
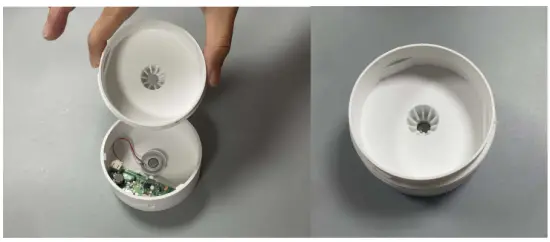
- Press ② inner cover firmly (as shown below)
- Insert the ④ spring into the ⑦ cotton sticker (as shown below)

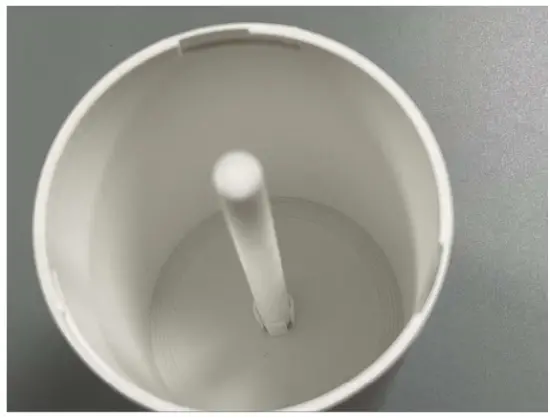
- Insert the cotton sticker with the spring installed into the bottle (as shown below)
- Rotate the upper cover and complete the installation
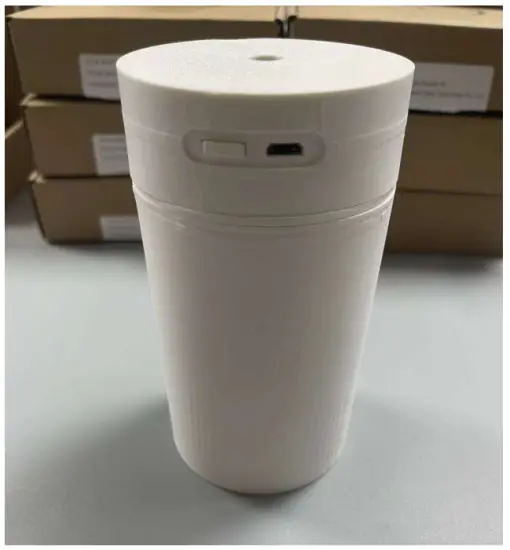
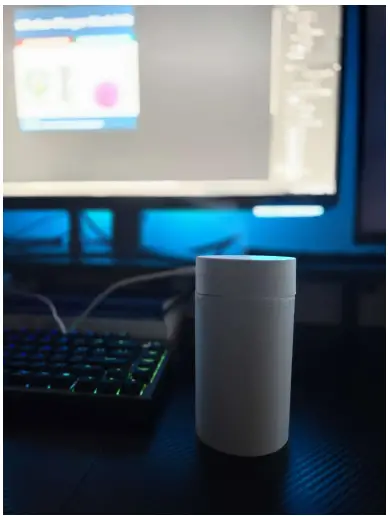
Product Showcase

Documents / Resources
 | geekbuying MKJS01 3D Printing Humidifier Model Kit [pdf] User Manual MKJS01, MKJS01 3D Printing Humidifier Model Kit, MKJS01, 3D Printing Humidifier Model Kit, Printing Humidifier Model Kit, Humidifier Model Kit, Model Kit, Kit |


