Consignes de sécurité importantes
Veuillez lire et comprendre toutes les consignes de sécurité avant d'utiliser ce produit. Le non-respect de ces consignes peut entraîner un choc électrique, un incendie ou des blessures graves.
- Tenir les enfants à l’écart : Ce produit n'est pas un jouet. Tenir hors de portée des enfants.
- Risque de choc électrique : To reduce the risk of electric shock, do not plug this power strip into another relocatable power tap or an extension cord.
- Usage en milieu sec uniquement : Use this device only in dry indoor locations. Do not expose to water or moisture.
- Mise à la terre appropriée : Assurez-vous que la prise murale est correctement mise à la terre avant de brancher le protecteur de surtension.
- Évitez la surcharge : Do not exceed the maximum power rating of 1250W/10A. Overloading can cause overheating and fire.
- Ne pas démonter : Do not attempt to open, modify, or repair the device. This will void the warranty and may cause safety hazards.
- Inspectez régulièrement : Periodically inspect the power strip and cord for any damage. Discontinue use if any damage is found.
Produit terminéview
The ORICO Surge Protector Power Strip (Model OG-6A2U2C-US) is designed to provide versatile power distribution and surge protection for your electronic devices. It features a compact design with multiple outlets and USB charging ports, making it ideal for various environments such as dorms, offices, and homes.
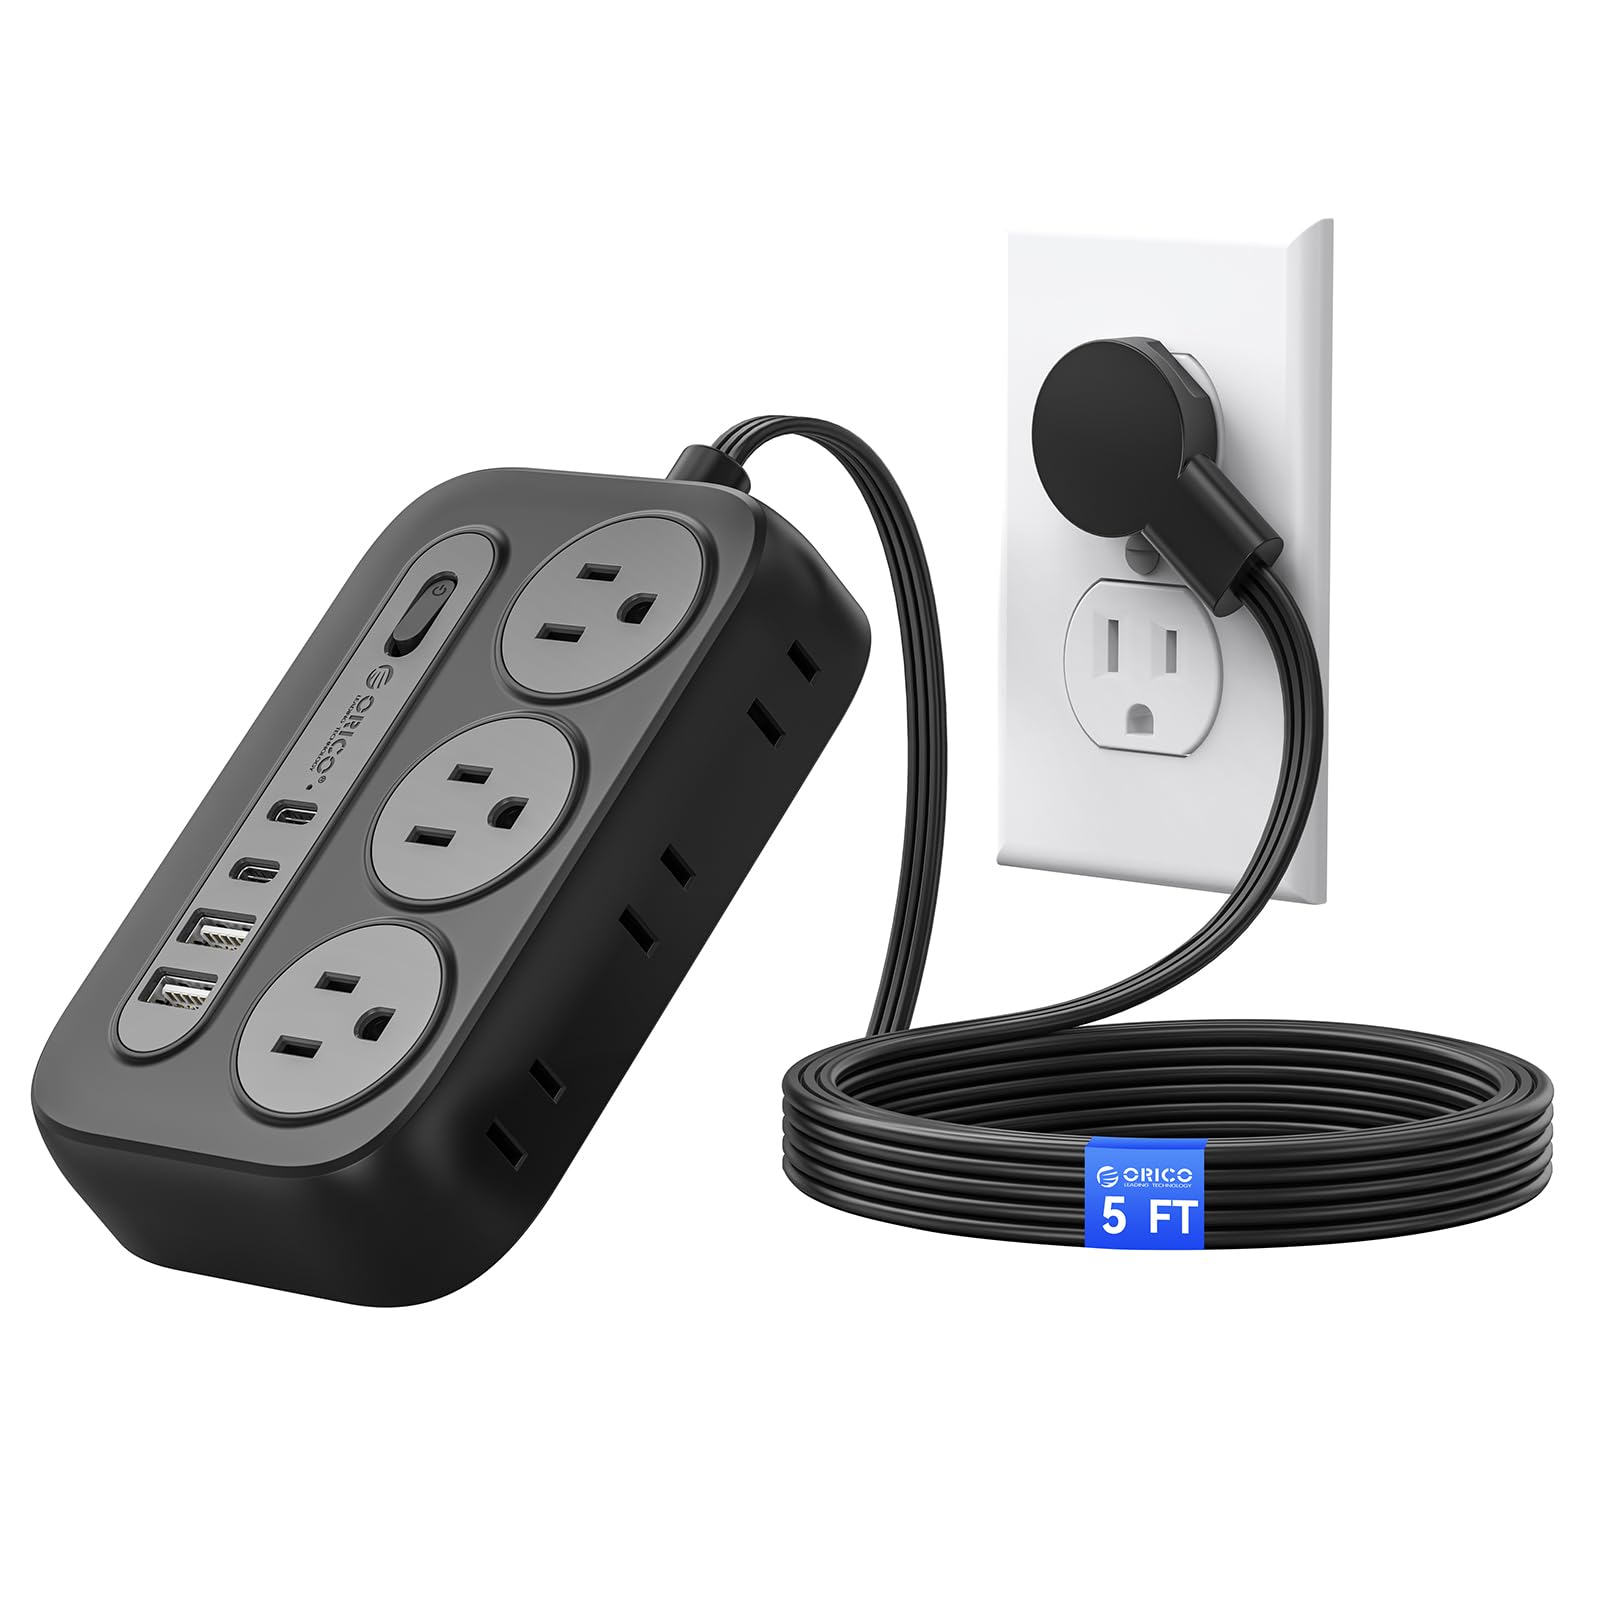
Figure 1: ORICO Surge Protector Power Strip (Black, 5ft)
Caractéristiques principales :
- Solution d'alimentation 10 en 1 : Equipped with 6 AC outlets (3 grounded, 3 ungrounded), 2 USB-A ports, and 2 USB-C ports to power and charge up to 10 devices simultaneously.
- Protection avancée contre les surtensions : Certified by FCC and UL Test Report, offering comprehensive protection against short circuits, overheating, over-current, and over-voltage. Constructed with fire-resistant PC shell for enhanced safety.
- Space-Saving Flat Plug: Features an ultra-thin (0.35 inches) 45° angled flat plug that fits easily behind furniture and prevents blocking adjacent wall outlets.
- Conception murale : Includes 2 keyhole slots for easy wall mounting on workbenches, walls, or under counters, along with 4 rubber feet for secure placement on flat surfaces.
- 5 ft Extension Cord: Fournit ampla portée pour un placement flexible.

Figure 2: Layout of AC Outlets and USB Ports

Figure 3: USB Intelligent Charging Capability
Configuration et installation
Using the Flat Plug:
The ultra-thin, 45-degree angled flat plug is designed to maximize space and allow furniture to sit closer to the wall. Simply plug the power strip into a standard wall outlet. The angled design ensures it does not obstruct the second wall outlet.

Figure 4: Flat Plug Design for Space Saving

Figure 5: Flat Plug vs. Standard Plug Comparison
Montage mural :
The power strip can be securely mounted to a wall or other surfaces using the integrated keyhole slots on the back. Adhesive pads are also provided for alternative mounting without screws.
- Utilisation de vis :
- Identify the desired mounting location.
- Use the provided wall mount screw position maker (template) to mark the screw locations on the wall.
- Drill pilot holes and insert the screws, leaving a small portion of the screw head exposed.
- Align the keyhole slots on the back of the power strip with the screw heads and slide the power strip down to secure it.
- Utilisation de pastilles adhésives :
- Nettoyez soigneusement la surface de montage pour vous assurer qu'elle est exempte de poussière et de graisse.
- Peel off the backing from the adhesive pads and apply them to the designated areas on the back of the power strip.
- Press the power strip firmly onto the desired surface for several seconds to ensure a strong bond.

Figure 6: Wall Mount Keyhole Slots and Rubber Feet
Démonstrations vidéo :
Video 1: Official ORICO demonstration of the Flat Plug Power Strip with 4 USB Ports (2 USB-C), showcasing its features and compact design. (Source: ORICO SmartChip Direct Store)
Vidéo 2 : Utilisateur review demonstrating the ORICO Surge Protector Power Strip, including unboxing, features, and the wall mounting template. (Source: Distractor_Beam)
Vidéo 3 : Utilisateur review highlighting the wall-mountable feature and overall performance of the ORICO Power Strip. (Source: Michael Noble)
Mode d'emploi
Mise sous/hors tension :
The power strip features an integrated On/Off switch. Press the switch to turn the power strip on or off. An indicator light will illuminate when the power is on.
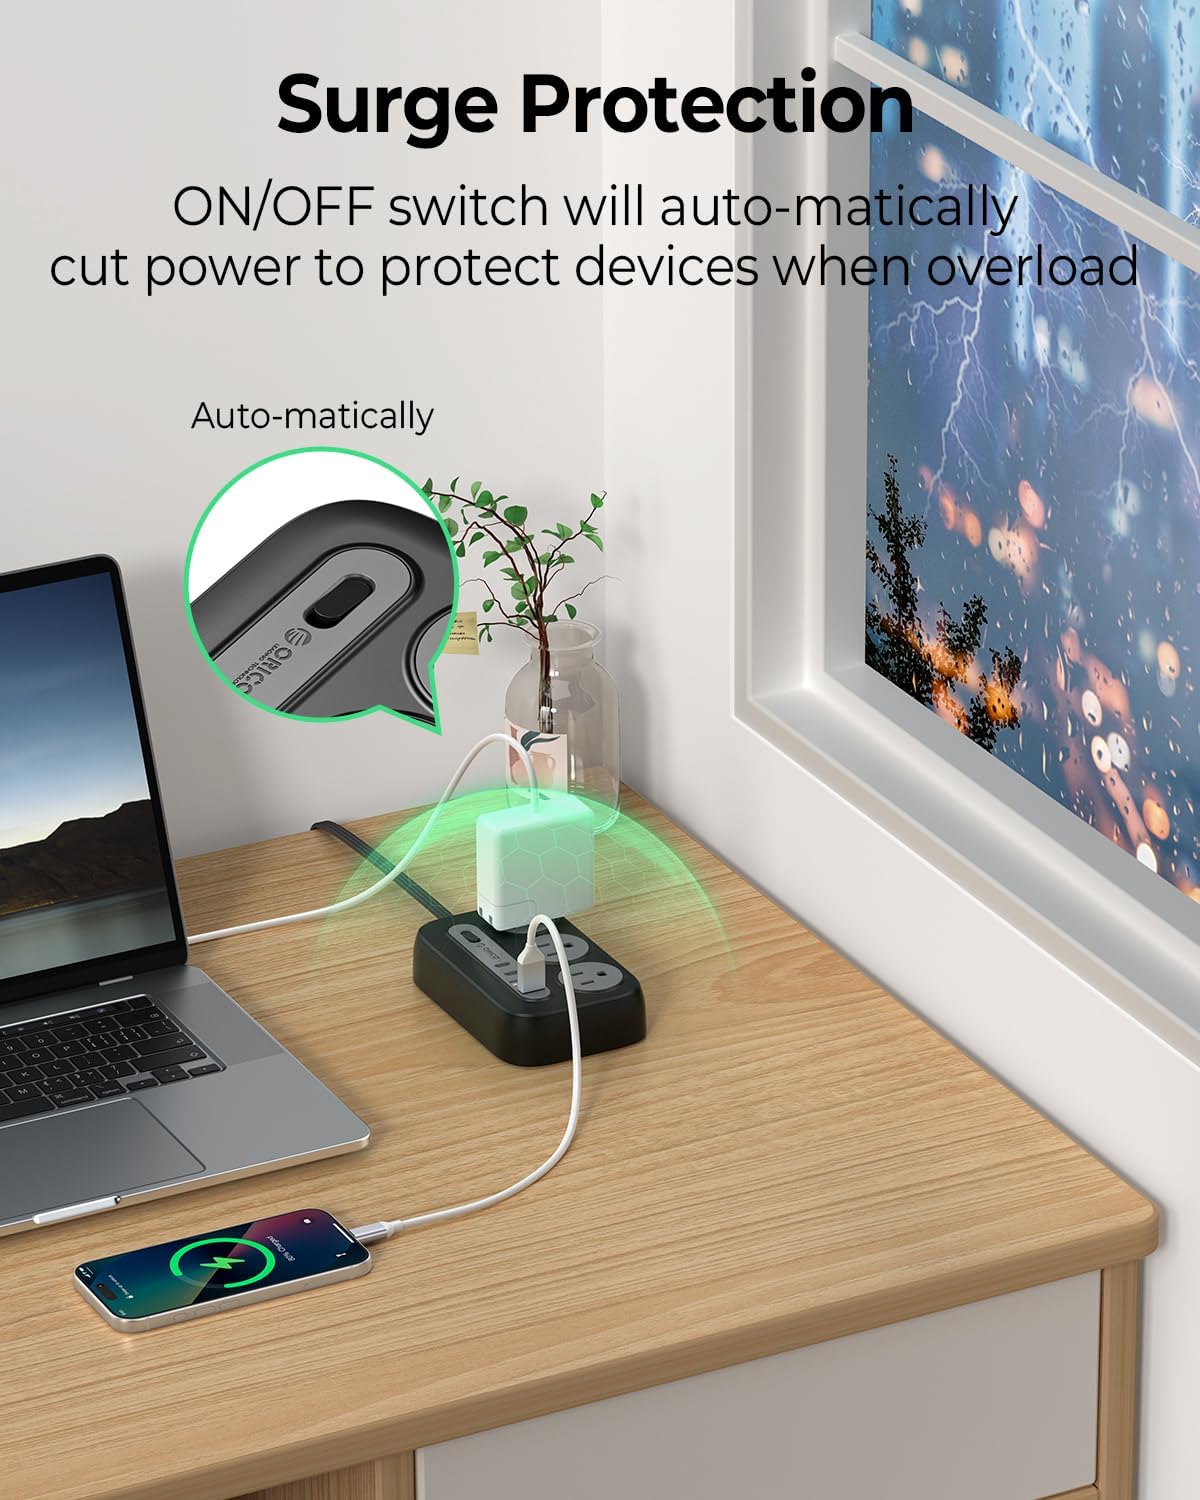
Figure 7: On/Off Switch and Overload Protection
Utilisation des prises de courant alternatif :
Plug your devices into any of the 6 AC outlets. The outlets are widely spaced (1.7 inches apart) to accommodate larger power adapters without blocking adjacent ports.
Utilisation des ports de chargement USB :
Connect your USB-powered devices to the 2 USB-A ports or 2 USB-C ports. The USB ports provide intelligent charging with a total output of 5V=3.1A (15.5W).
Entretien
- Keep the power strip clean and free from dust and debris. Use a dry cloth for cleaning.
- Ensure the power strip is not exposed to liquids or excessive humidity.
- Avoid placing heavy objects on the power cord or the power strip itself.
- Do not attempt to open or modify the power strip. Refer to qualified personnel for any repairs.
Dépannage
- Pas d'alimentation sur les appareils :
- Check if the power strip's On/Off switch is in the 'On' position and its indicator light is illuminated.
- Ensure the power strip's flat plug is securely inserted into a functioning wall outlet.
- Vérifiez que la prise murale est bien alimentée en la testant avec un autre appareil.
- Protection contre les surcharges activée :
- Si la multiprise s'éteint automatiquement, cela peut être dû à une surcharge. Débranchez certains appareils pour réduire la consommation électrique totale.
- Press the On/Off switch to reset the power strip after reducing the load.
- Chargement USB lent :
- Ensure your device and charging cable support fast charging if you expect higher speeds.
- The total USB output is shared. If multiple devices are connected, charging speeds may be reduced.
Caractéristiques
| Fonctionnalité | Spécification |
|---|---|
| Modèle | OG-6A2U2C-US |
| Prises de courant | 6 AC Outlets (3-prong, 2-prong) |
| Module chargeur USB | 2 ports USB-A, 2 ports USB-C |
| Puissance nominale | 1250W / 125V / 10A |
| Voltage Compatibilité | 100-240 V~, 50/60 Hz |
| Output Per USB-A Port | 5V=2.4A |
| Sortie USB totale | 5V=3.1A (15.5W) |
| Caractéristiques spéciales | Lightweight, Mountable, On/Off Switch, Surge Protection, USB Slots |
| Matériau de l'enceinte | Fire-resistant PC Shell |
| Longueur du cordon | 5 pieds |
| Certifications | FCC, UL Test Report |
Garantie et assistance
This ORICO Surge Protector Power Strip comes with a Garantie de 12 mois À compter de la date d'achat, cette garantie couvre les défauts de fabrication et de main-d'œuvre dans des conditions normales d'utilisation.
For warranty claims, technical support, or any product-related inquiries, please contact ORICO customer service through the retailer where the product was purchased or visit the official ORICO website pour obtenir les coordonnées de l'assistance.
Veuillez conserver votre preuve d'achat pour la validation de la garantie.