1. Configuration et assemblage
This section guides you through the initial setup and assembly of your Gyrocopters Zapphire Electric Bike. Please follow the steps carefully to ensure safe and correct operation.
1.1 Unpacking the Bike
Carefully remove the electric bike and all components from the packaging. Inspect for any damage during transit. Keep all packaging materials until assembly is complete and you have confirmed all parts are present.
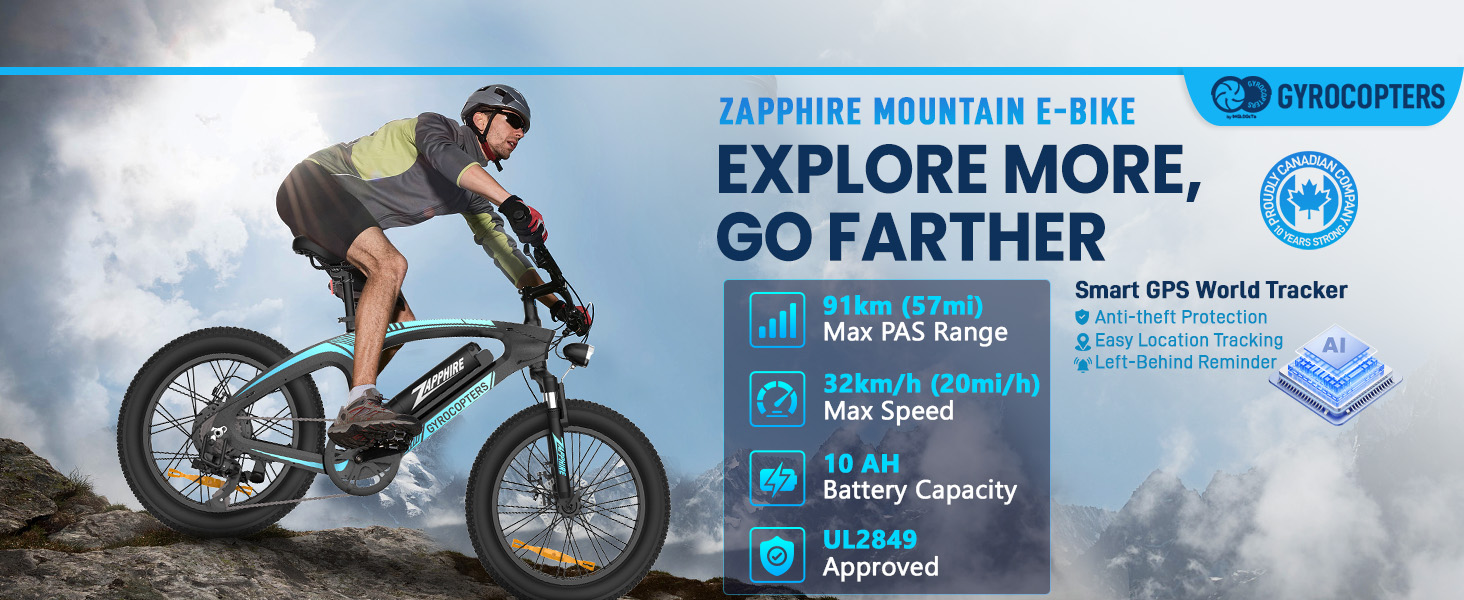
Image: Gyrocopters Zapphire Electric Bike in its original packaging.
1.2 Identification des composants
Before assembly, identify all included components. Refer to the assembly video for a visual guide to each part.
Video: Detailed assembly instructions for the Gyrocopters Zapphire Electric Bike, showing each component and step-by-step installation.
1.3 Installation de la béquille
Attach the kickstand to the designated mounting points on the bike frame using the provided wrench and screws. Ensure it is securely fastened and allows the bike to stand stably.
1.4 Installation du guidon
Insert the handlebar stem into the fork tube and tighten the bolts to secure it. Adjust the handlebar to a comfortable riding position, ensuring the brake levers and shifter are easily accessible.
1.5 Installation de la roue avant
Carefully align the front wheel with the fork dropouts, ensuring the brake rotor slides correctly into the caliper. Insert the quick-release skewer or axle and tighten it firmly. Double-check that the wheel spins freely without rubbing against the brake pads.
1.6 Installation des pédales
Identify the left (L) and right (R) pedals. Apply a small amount of grease to the pedal threads. Screw the pedals into the crank arms by hand, then use a wrench to tighten them securely. Remember that the left pedal tightens counter-clockwise.
1.7 Seat and Tail Light Installation
Insert the seat post into the frame's seat tube. Adjust the seat height to a comfortable level, ensuring your feet can touch the ground when stopped. Secure the seat post with the quick-release lever or bolt. Attach the tail light to the seat post, ensuring it is visible from the rear.
1.8 Installation de la batterie
Insert the removable 42V 10Ah lithium-ion battery into its compartment on the bike frame. Use the provided key to lock the battery securely in place. Ensure the battery is fully charged before your first ride.
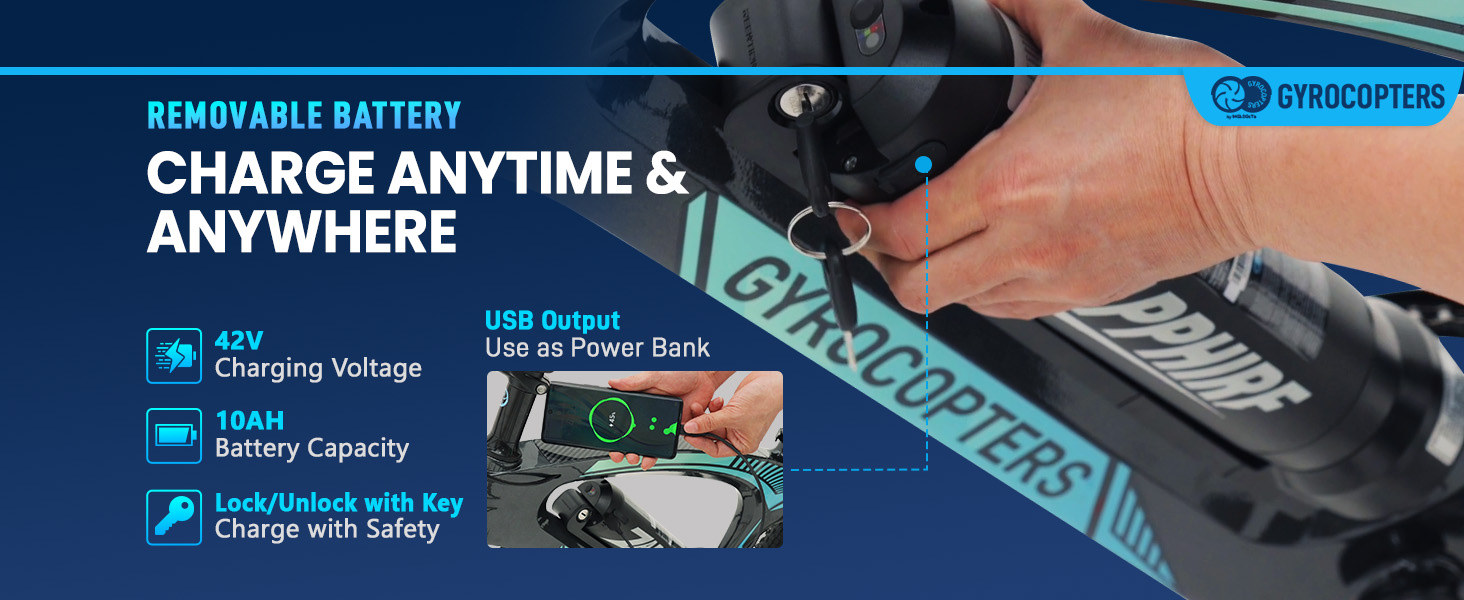
Image: Removable battery being inserted into the Gyrocopters Zapphire Electric Bike frame.
2. Mode d'emploi
Understand how to operate your Gyrocopters Zapphire Electric Bike safely and efficiently.
2.1 Power On/Off and LED Display
To power on the bike, press and hold the power button on the LED display for 3 seconds. The LED display will illuminate, showing speed, battery level, and current ride mode. To power off, press and hold the power button again for 3 seconds. The display also controls the headlight (press once to switch mode, press and hold for 3 seconds to turn on/off headlight).

Image: Close-up of the LED display and handlebar controls.
2.2 Modes de conduite
The Gyrocopters Zapphire offers three versatile riding modes:
- Mode d'assistance à la pédale : Provides motor assistance as you pedal, extending your range up to 91 km and reducing fatigue.
- Mode accélérateur : Allows for effortless cruising without pedaling, reaching speeds up to 32 Km/h.
- Mode manuel : For a traditional biking experience without any motor assistance.

Image: Illustration of the three riding modes available on the electric bike.
2.3 Changement de vitesse
The bike is equipped with a reliable SHIMANO 7-speed gear set. Use the thumb shifter on the handlebar to change gears, adapting your riding style to different terrains and inclines.
2.4 Système de freinage
The Gyrocopters Zapphire features front and rear mechanical disc brakes. Squeeze the brake levers on the handlebar to engage the brakes. Always apply both brakes simultaneously for balanced and effective stopping power.
Image : Gros plan view of the mechanical dual disc brakes.
2.5 Integrated GPS Tracker
The integrated GPS tracker allows you to monitor your e-bike's location remotely via a compatible app, providing an additional layer of security against theft.
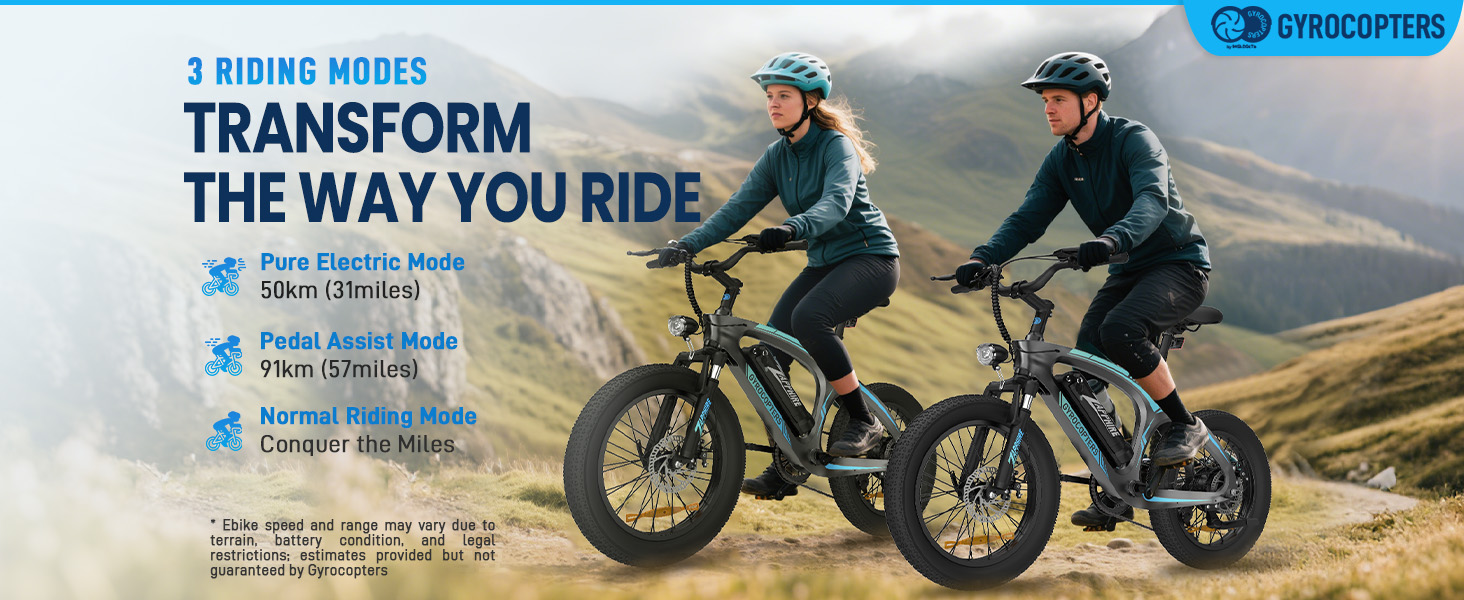
Image: Smartphone screen showing the real-time location tracking feature of the integrated GPS tracker.
3. Entretien
Un entretien régulier garantit la longévité et les performances optimales de votre vélo électrique.
3.1 Entretien et charge de la batterie
The 42V 10Ah lithium-ion battery is removable for convenient charging. Connect the charger to the battery's charging port and then to a power outlet. The integrated Battery Management System (BMS) protects against overcharging, overheating, and short circuits. The battery also features a built-in USB port for charging external devices.
Image: Diagram illustrating the protective features of the Battery Management System (BMS).
3.2 Pression des pneus
Maintain proper tire pressure for the 20x3 inch fat tires. Refer to the tire sidewall for recommended pressure ranges. Correct tire pressure improves ride comfort, efficiency, and tire lifespan.
3.3 Nettoyage et stockage généraux
The bike has an IP54 weather-resistant design, protecting it from dust and splashes. Clean the bike regularly with a damp cloth and mild detergent. Avoid high-pressure washing directly on electrical components. Store the bike in a dry, cool place when not in use.
3.4 Inspection des freins
Regularly inspect the mechanical disc brakes for wear on the pads and rotors. Ensure the brake levers have proper tension and the cables are not frayed. Adjust or replace components as needed by a qualified technician.
4. Dépannage
This section provides solutions to common issues you might encounter with your electric bike.
4.1 Le vélo ne s'allume pas
- Vérifier la batterie : Ensure the battery is fully charged and properly seated in its compartment. Verify the battery is locked with the key.
- Bouton d'alimentation : Confirm you are pressing and holding the power button on the LED display for the required 3 seconds.
- Relations: Vérifiez que toutes les connexions électriques visibles ne sont pas desserrées ou endommagées.
4.2 Motor Not Providing Assistance
- Niveau de batterie : Assurez-vous que la batterie est suffisamment chargée.
- Mode de conduite : Verify that the bike is in Pedal Assist or Throttle Mode, not Manual Mode.
- Vérification du capteur : Ensure the pedal-assist sensor (if applicable) is clean and unobstructed.
4.3 Brakes Not Responding Effectively
- Plaquettes de frein : Vérifiez l'usure des plaquettes de frein et remplacez-les si nécessaire.
- Leviers de frein: Ensure brake levers are not loose and have proper tension. Adjust cable tension if needed.
- État du rotor : Inspect brake rotors for damage or excessive wear.
4.4 Bruits inhabituels pendant le fonctionnement
- Composants en vrac : Check for any loose bolts, nuts, or components on the frame, wheels, or handlebars.
- Chaîne: Vérifiez que la chaîne est correctement lubrifiée et tendue.
- Freins: Ensure brake pads are not rubbing against the rotors when not engaged.
5. Spécifications
Detailed technical specifications for the Gyrocopters Zapphire Electric Bike.
| Fonctionnalité | Spécification |
|---|---|
| Nom du modèle | Zapphire |
| Puissance du moteur | 500 W |
| Batterie | Batterie lithium-ion 42 V 10 Ah (amovible) |
| Max Pedal-Assist Range | Jusqu'à 91 km (57 milles) |
| Vitesse maximale | Up to 32 Km/h (20 mi/h) |
| Pneus | Pneus larges 20x3 pouces |
| Freins | Front and Rear Mechanical Dual Disc Brakes |
| Matériau du cadre | Lightweight Magnesium Alloy |
| Type de suspension | Double |
| Capacité de charge maximale | 120.2 kg (265 lb) |
| Certification UL | Certifié UL 2849 |
| GPS | Integrated Anti-Theft GPS Tracker |
| Afficher | LED Display with Smart Controls |
| Résistance aux intempéries | Conforme à la norme IP54 |
6. Garantie et assistance
Information regarding product warranty and how to contact customer support.
6.1 Garantie du produit
The Gyrocopters Zapphire Electric Bike comes with a Garantie limitée de 90 jours. This warranty covers manufacturing defects under normal use conditions. Please retain your proof of purchase for warranty claims. The warranty does not cover damage resulting from misuse, accidents, unauthorized modifications, or normal wear and tear.
6.2 Assistance clientèle
For any questions, technical assistance, or warranty claims, please contact Gyrocopters customer support:
- Téléphone: +1 647-797-3804
- E-mail: customercare@imgadgets.com
Notre équipe d'assistance est disponible pour vous aider en cas de problème.