GenMachine Ren4000
GenMachine Mini PC AMD Ryzen 3 4300U (Ren4000) Instruction Manual
Model: Ren4000
1. Introduction
Thank you for choosing the GenMachine Mini PC AMD Ryzen 3 4300U. This compact and high-performance mini computer is designed for both home and office use, offering efficient multitasking, 4K visuals, and advanced connectivity. This manual provides essential information for setting up, operating, and maintaining your device.
2. Contenu de la boîte
Vérifiez que tous les éléments sont présents dans votre colis :
- GenMachine Mini PC (R3 4300U 8G 256G)
- Manuel d'utilisation
- Adaptateur secteur
- Câble HDMI
- Mounting Bracket (for VESA mounting)

3. Produit terminéview (Hardware)
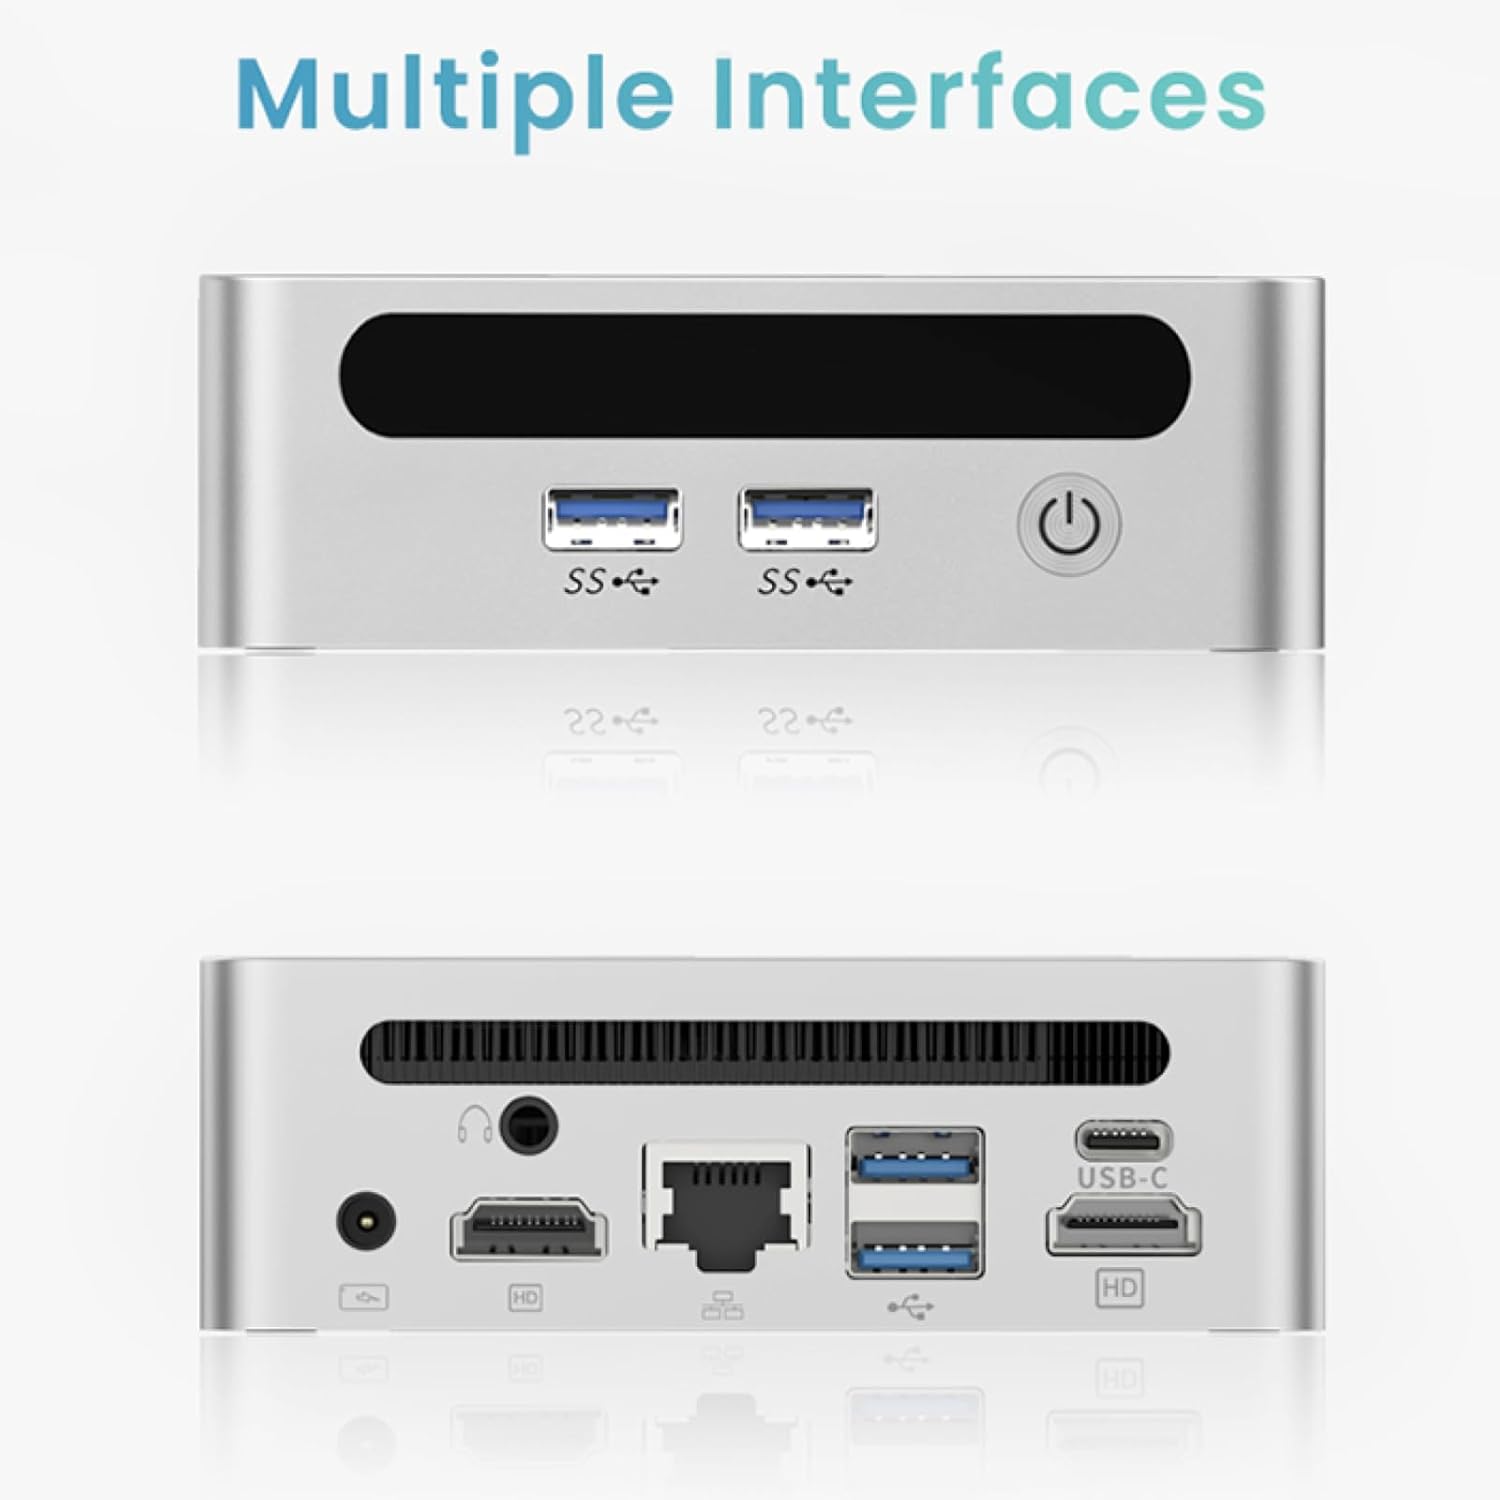
The GenMachine Mini PC features a compact design with various ports for connectivity and expansion.
Panneau avant
- Bouton d'alimentation : Pour allumer/éteindre l'appareil.
- Ports USB 3.0 (x2) : For high-speed data transfer and peripheral connections.
- Port USB 2.0 (x1) : Pour les connexions périphériques standard.
Panneau arrière
- Entrée d'alimentation CC : Branchez ici l'adaptateur secteur fourni.
- Port USB 2.0 (x1) : Pour les connexions périphériques standard.
- Ports HDMI (x2) : Pour la connexion d'écrans, prenant en charge une résolution jusqu'à 4K.
- Port Ethernet (LAN) : Pour connexion réseau filaire.
- Prise audio 3.5 mm : Pour écouteurs ou haut-parleurs.
- Fente pour verrou Kensington : Pour sécuriser l'appareil.
4. Guide de configuration
Connexion initiale
- Éteignez le mini PC et débranchez tous les câbles.
- Connect your monitor(s) to the HDMI port(s) on the rear panel.
- Connectez votre clavier et votre souris aux ports USB disponibles.
- (Optional) For a wired network connection, plug an Ethernet cable into the LAN port.
- Branchez l'adaptateur secteur au port d'entrée CC, puis à une prise de courant.
- Appuyez sur le bouton d'alimentation situé sur le panneau avant pour allumer le mini PC.
Operating System Setup (Windows 11)
Your GenMachine Mini PC comes with Windows 11 pre-installed. Upon first boot, you will be guided through the initial Windows setup process, including:
- Sélection de la région et de la disposition du clavier.
- Connexion réseau (Wi-Fi 6 ou Ethernet).
- Connexion à un compte Microsoft ou création d'un compte local.
- Privacy settings configuration.
Suivez les instructions à l’écran pour terminer la configuration.
5. Performance and Usage
The AMD Ryzen 3 4300U processor, combined with 8GB DDR4 RAM and a 256GB SSD, provides robust performance for various tasks.
Caractéristiques principales :
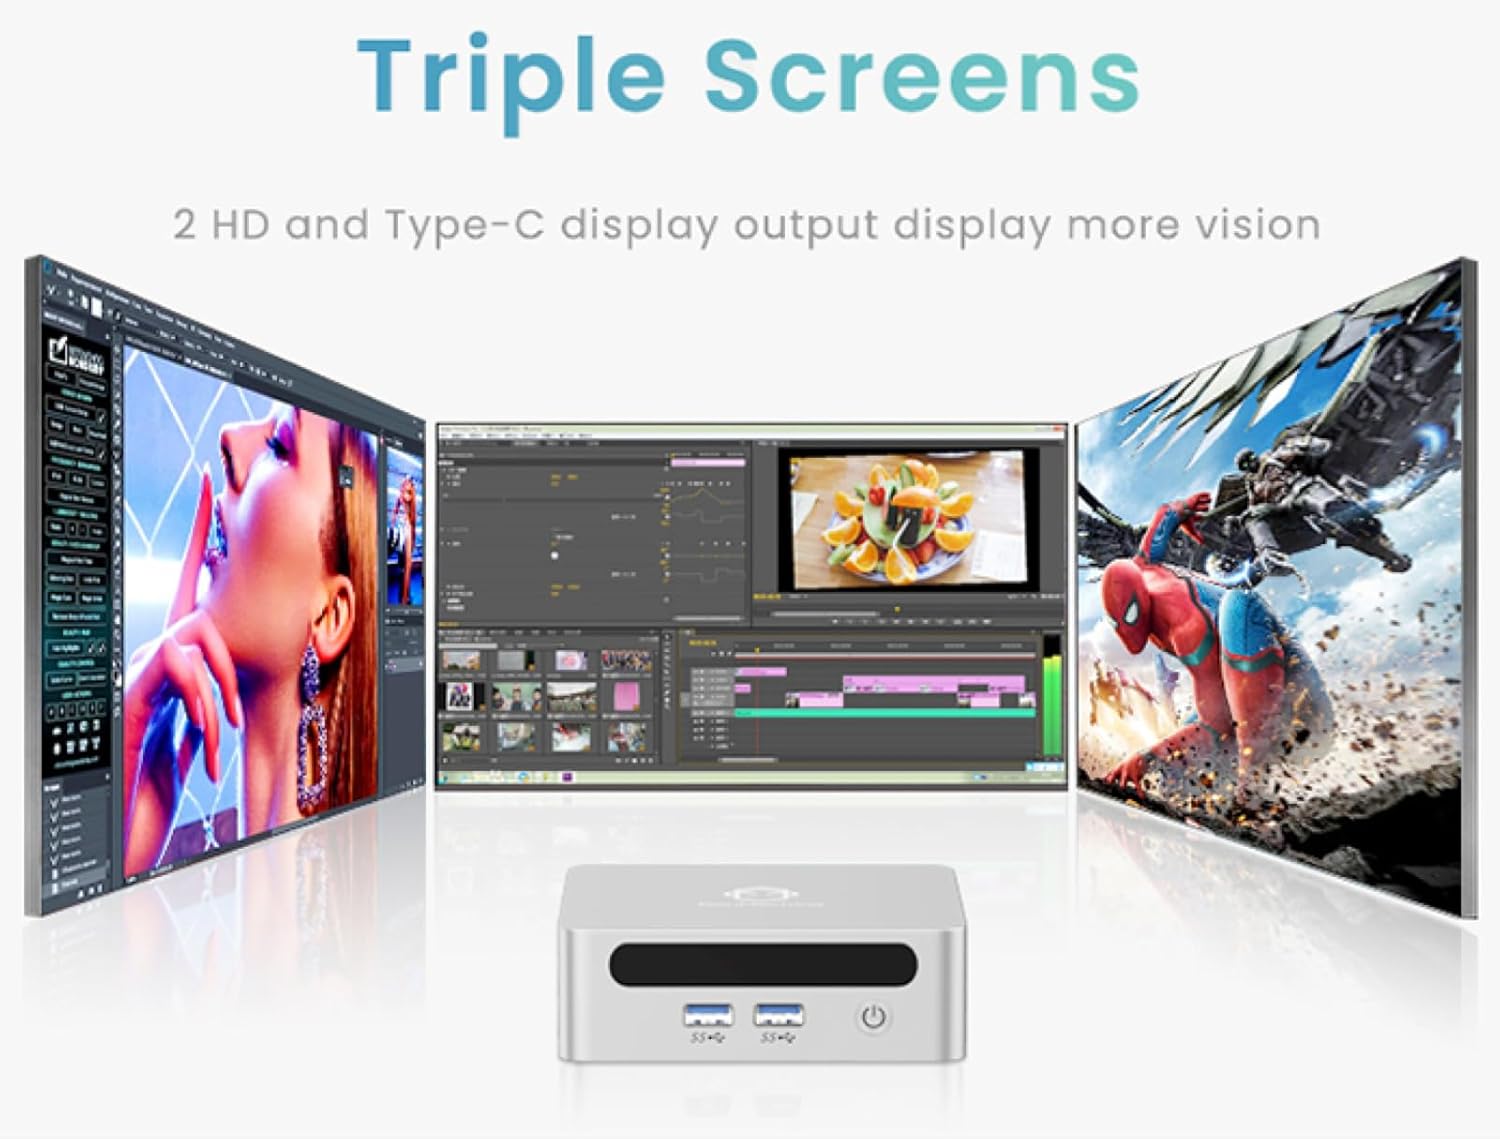
- 4K Ultra HD Visuals & Dual Display Support: Connect up to two 4K monitors for enhanced productivity or immersive entertainment.
- Wi-Fi 6 et Bluetooth 5.2 : Enjoy faster and more stable wireless internet and seamless connectivity with Bluetooth peripherals.
- Compact and Quiet Design: Its small footprint and ultra-quiet cooling system make it suitable for any workspace without distraction.

6. Upgrading Components (Maintenance)
The GenMachine Mini PC allows for easy upgrades of its RAM and SSD to further enhance performance or storage capacity.
Outils requis :
- Petit tournevis cruciforme
- Plastic pry tool (optional, for opening the case)
- New SSD (M.2 2280 NVMe or 2.5-inch SATA SSD)
- New RAM (DDR4 SODIMM)
Procédure:
- Éteignez le mini PC et débranchez tous les câbles.
- Carefully remove the four rubber foot pads on the bottom of the Mini PC to reveal the hidden screws.
- Dévissez les quatre vis.
- Gently pry open the bottom plate along the edges. Be careful with the internal clips.
- Locate the existing SSD and RAM modules.
- To remove the SSD: If fixed by screws, unscrew them. If by clips, open the clips and pull out the original SSD.
- To remove RAM: Open the clips at both ends of the memory slot and pull out the original memory vertically.
- Insert the new SSD/RAM into the respective slots, ensuring they are properly seated and secured.
- Replace the bottom plate, aligning it with the clips and screw holes.
- Screw on the previously removed screws and reattach the foot pads.
7. Options de montage
The GenMachine Mini PC can be mounted behind a VESA-compatible monitor using the included mounting bracket, saving desk space and creating a clean setup.

8. Spécifications
| Fonctionnalité | Détail |
|---|---|
| Processeur | AMD Ryzen 3 4300U (2.7 GHz) |
| BÉLIER | Mémoire SDRAM DDR8 de 4 Go |
| Stockage | 256GB 2280 SSD (PCIE x 16 interface) |
| Graphique | Carte graphique AMD Radeon intégrée |
| Système opérateur | OS (Windows 11 pre-installed) |
| Connectivité | Wi-Fi 6, Bluetooth 5.2, Ethernet |
| Sortie vidéo | 2x HDMI (4K @ 60Hz), USB-C (DisplayPort Alt Mode) |
| Ports USB | 2 ports USB 3.0, 2 port USB 2.0, 1 port USB-C |
| Dimensions | 6.26 x 6.26 x 3.6 pouces |
| Poids | 2 livres |
9. Dépannage
- Pas d'alimentation : Assurez-vous que l'adaptateur secteur est correctement connecté à la fois au mini PC et à une prise de courant fonctionnelle.
- Pas d'affichage : Verify that the HDMI cable(s) are correctly connected to the monitor(s) and the Mini PC. Check monitor input source settings.
- No Internet (Wi-Fi): Ensure Wi-Fi is enabled in Windows settings and you are connected to the correct network.
- Pas d'Internet (câblé) : Check the Ethernet cable connection and ensure your router is functioning correctly.
- Performances lentes : Close unnecessary applications. Check for background updates. Consider upgrading RAM or SSD if issues persist.
10. Garantie et assistance
For warranty information, technical support, or service inquiries, please refer to the contact details provided in your product packaging or visit the official GenMachine website. Conservez votre reçu d’achat pour les réclamations au titre de la garantie.
Ask a question about this manual
Ask about setup, troubleshooting, compatibility, parts, safety, or missing instructions. Manuals+ will review the question and use this page’s manual context to help answer it.