Introduction
This manual provides comprehensive instructions for the installation, operation, and maintenance of your Abysm Gaming Oceanic 360 White ARGB Liquid Cooling System. This advanced cooling solution features a customizable 2.8-inch LCD display for real-time monitoring of critical system parameters such as CPU temperature, fan speed, and more. Please read this manual thoroughly before installation and use to ensure optimal performance and longevity of your product.
Guide d'installation
1. Contenu du colis
Avant de commencer l'installation, vérifiez que tous les composants sont présents dans l'emballage :
- Oceanic 360 Liquid Cooler (Radiator, Pump with LCD Display, and Fans pre-attached or separate)
- Mounting hardware for compatible CPU sockets (AMD AM5, AM4; Intel LGA 2066 / 2011 / 1156 / 1155 / 1151 / 1150 / 1200 / 1700 / 1851)
- Manuel de l'utilisateur (ce document)

Figure 1: Abysm Gaming Oceanic 360 White ARGB Liquid Cooling System. This image shows the complete liquid cooling unit, including the radiator, three ARGB fans, and the pump block with its integrated LCD display.
2. Étapes d'installation (Généralités)
Les étapes suivantes fournissent un aperçu généralview of the installation process. Refer to the detailed diagrams and instructions included with your physical product for specific mounting procedures for your CPU socket type.
- Préparer le socket du processeur : Install the appropriate backplate and standoffs for your motherboard's CPU socket (AMD or Intel).
- Appliquer de la pâte thermique : Appliquez une fine couche uniforme de pâte thermique au centre du dissipateur thermique intégré (IHS) de votre processeur.
- Mount the Pump Block: Carefully place the pump block onto the CPU, aligning it with the standoffs. Secure it with the provided thumb screws or mounting brackets.
- Installer le radiateur : Mount the radiator to an available fan mounting location in your PC case (e.g., top, front, or rear). Ensure adequate airflow.
- Installez les ventilateurs : Attach the 120mm ARGB PWM fans to the radiator. The fans feature a click system for efficient cable management.
- Connecter les câbles :
- Connect the pump's 3-pin connector to the CPU_FAN or AIO_PUMP header on your motherboard.
- Connect the fans' 4-pin PWM connectors to available fan headers on your motherboard or a fan controller.
- Connect the ARGB lighting cables to a compatible 5V ARGB header on your motherboard or an ARGB controller.
- Gestion des câbles: Disposez soigneusement tous les câbles afin d'assurer une bonne circulation de l'air à l'intérieur du boîtier.

Figure 2: Radiator Fins. This image provides a detailed view of the radiator's aluminum fins, designed for efficient heat dissipation.
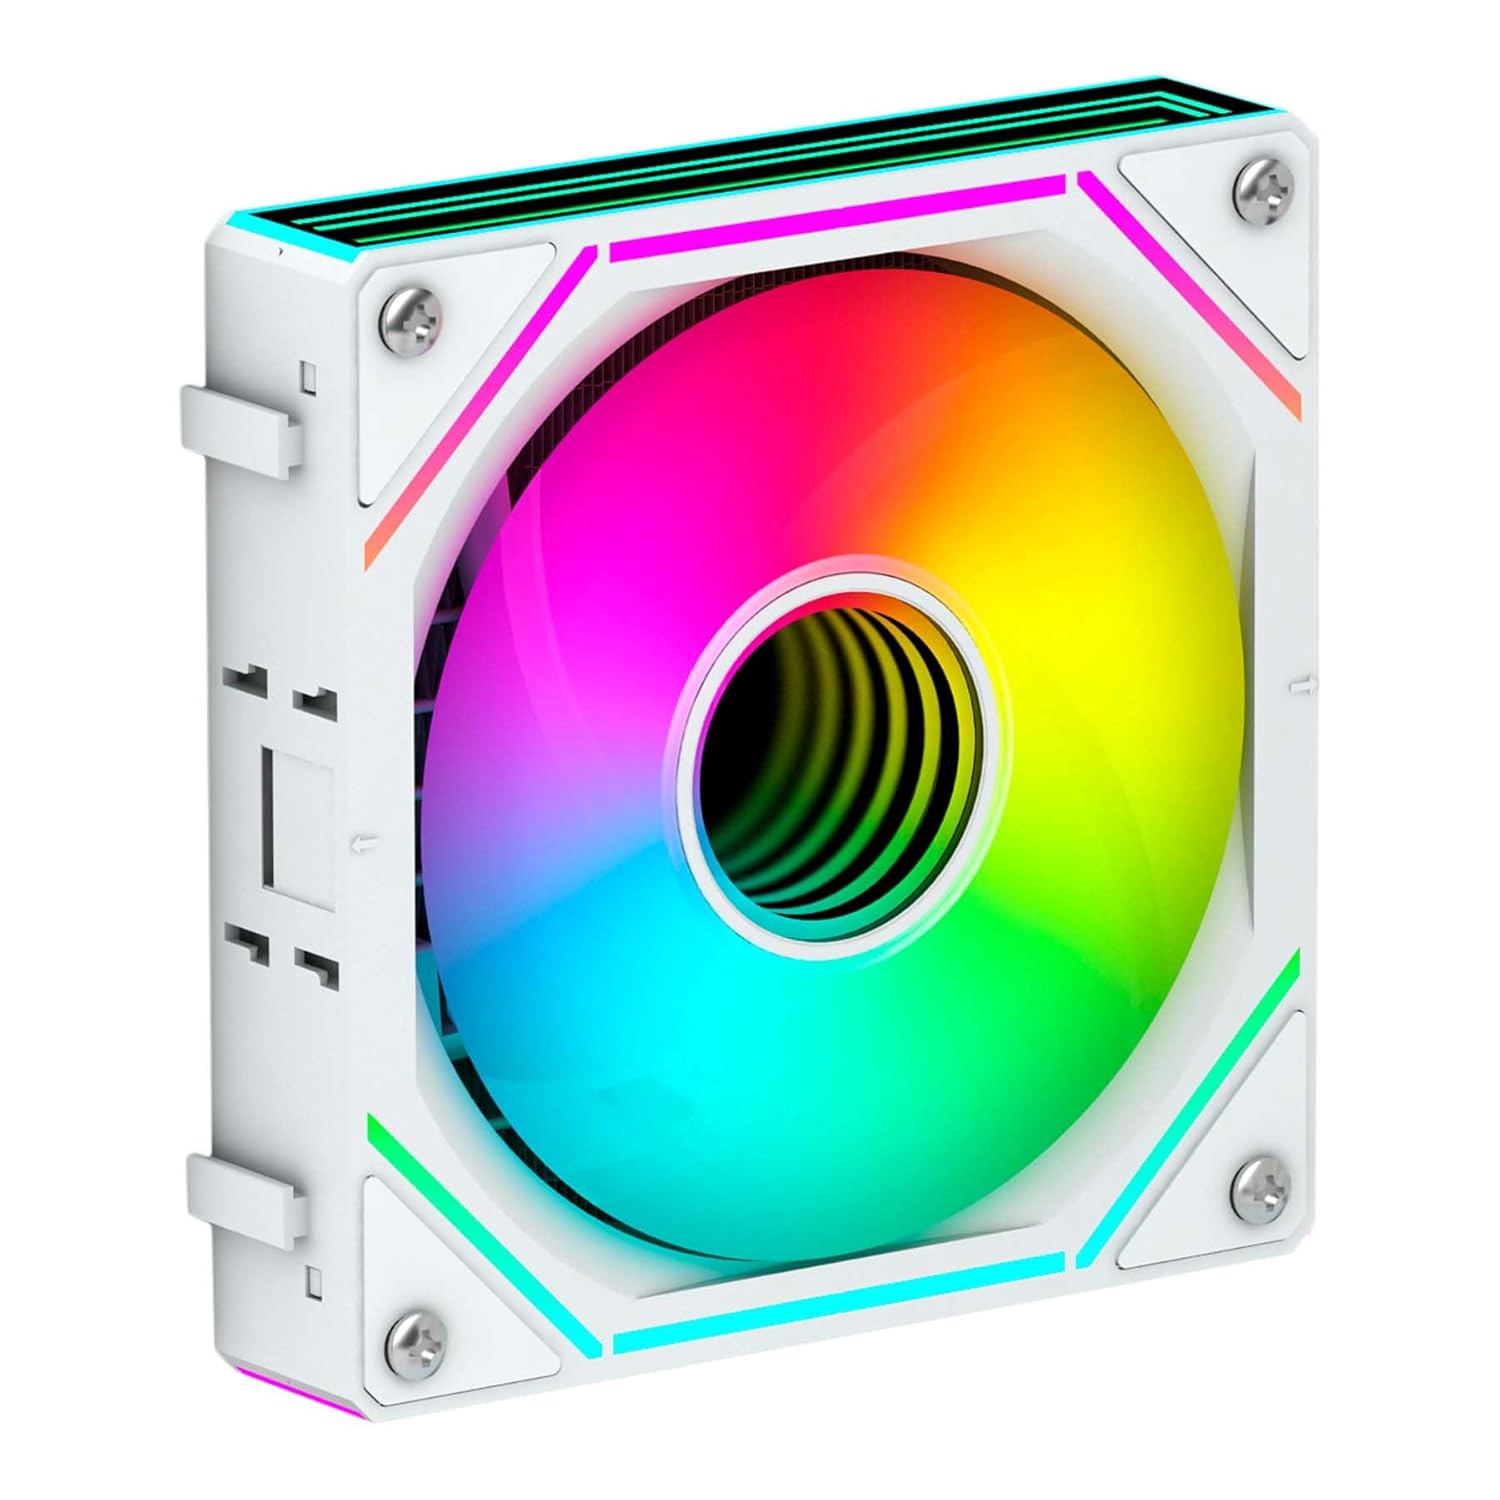
Figure 3: ARGB Fan. This image shows a single 120mm ARGB fan, highlighting its design and lighting capabilities.
Mode d'emploi
1. Mise sous tension initiale
Upon initial power-on, the LCD display on the pump block will activate. It will typically show default system information such as CPU temperature and fan speed. Ensure all fans are spinning and the pump is operating silently.
2. Customizable LCD Display
The 2.8-inch IPS LCD display is a key feature, allowing for real-time monitoring and personalization.
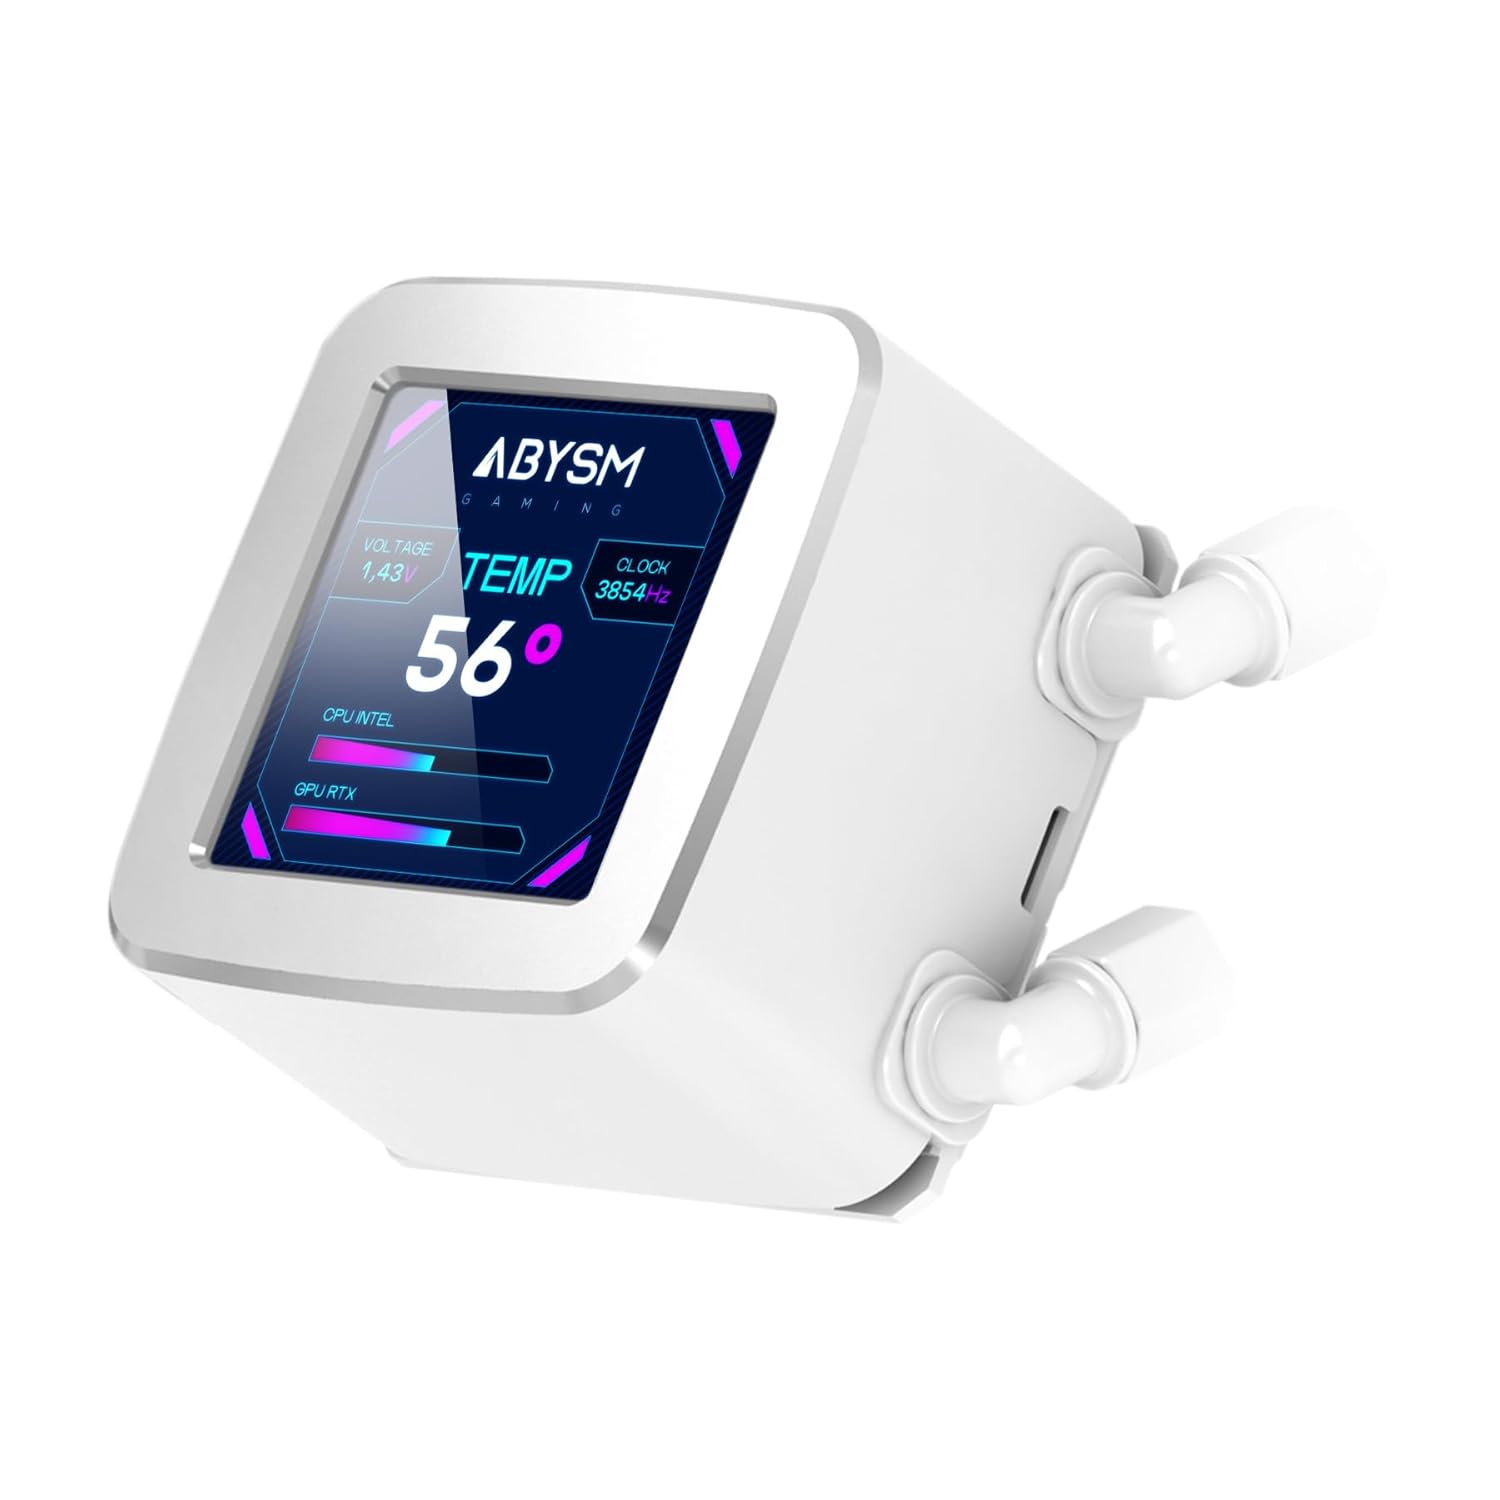
Figure 4: LCD Display. This image highlights the customizable 2.8-inch LCD screen on the pump, displaying real-time system information like CPU temperature, voltage, and clock speed.
- Paramètres de surveillance : The display can show various PC hardware parameters, including:
- Température du processeur
- GPU Load
- Charge du processeur
- Vitesse du ventilateur
- Vitesse du réseau
- Voltage
- Vitesse d'horloge
- Personnalisation : The screen supports displaying custom content such as:
- Images
- GIF animés
- Logos
- MP4 videos
To customize the display, you will need to download and install the dedicated software from the Abysm Gaming official website. Follow the software's instructions for uploading and managing custom content and selecting monitoring layouts.
3. Contrôle de l'éclairage ARGB
The ARGB fans can be controlled via your motherboard's ARGB software (if connected to a compatible header) or a dedicated ARGB controller. This allows for synchronization with other ARGB components in your system.
Entretien
Un entretien régulier garantit des performances optimales et prolonge la durée de vie de votre système de refroidissement liquide.
- Nettoyage de la poussière : Nettoyez régulièrement les ailettes du radiateur et les pales du ventilateur pour éviter l'accumulation de poussière, qui peut entraver la circulation de l'air et l'efficacité du refroidissement. Utilisez de l'air comprimé ou une brosse douce.
- Inspection des ventilateurs : Check fan blades for any obstructions or signs of wear. The FDB (Fluid Dynamic Bearing) fans are designed for durability and quiet operation.
- Inspection des tubes : Inspect the Teflon-coated tubes for any kinks, leaks, or damage. While designed for durability, regular checks are recommended.
- Fonctionnement de la pompe: Listen for any unusual noises from the pump, which could indicate an issue. The pump is designed for quiet operation.
- Pâte thermique : Reapplying thermal paste every few years, or if the cooler is re-seated, can help maintain optimal thermal transfer.
Dépannage
If you encounter issues with your Abysm Gaming Oceanic 360 liquid cooler, refer to the following common problems and solutions:
- Températures élevées du processeur :
- Ensure the pump is running and connected correctly to the motherboard's CPU_FAN or AIO_PUMP header.
- Verify that fans are spinning and oriented correctly for airflow (pushing air through the radiator).
- Check if the pump block is securely seated on the CPU with adequate thermal paste.
- Clean any dust buildup on the radiator and fans.
- Ventilateurs non fonctionnels ou éclairage ARGB non fonctionnel :
- Check all fan and ARGB cable connections to the motherboard or controller.
- Ensure the motherboard's ARGB header is enabled in the BIOS/UEFI.
- Verify that the ARGB software is installed and configured correctly.
- LCD Display Not Working or Showing Incorrect Information:
- Ensure the display's power and data cables are securely connected.
- Install or update the Abysm Gaming display software.
- Check for any software conflicts with other monitoring utilities.
- Bruit inhabituel de la pompe :
- Ensure the pump is receiving stable power.
- Check for air bubbles in the loop (often resolves itself after some operation).
- If noise persists and performance is affected, contact customer support.
Caractéristiques
| Numéro de modèle | AB336012 |
| Marque | Abysm Gaming |
| Dimensions du produit | 15.63"L x 2.05"l x 4.72"H |
| Poids de l'article | 4.84 livres |
| Méthode de refroidissement | Liquide |
| Appareils compatibles | Processeur |
| Matériel | Aluminium (Radiateur) |
| Vitesse de rotation maximale | 1800 tr/min (Ventilateurs) |
| Niveau de bruit | 19 décibels |
| Type de connecteur d'alimentation | 3 broches (pompe), 4 broches PWM (ventilateurs) |
| Voltage | 12 volts |
| Quoitage | 3 watts (Pompe) |
| Écran LCD | 2.8-inch IPS, Customizable |
| Matériau du tube | Teflon-coated |
Garantie et assistance
For warranty information, please refer to the documentation included with your product or visit the official Abysm Gaming website. The manufacturer, Abysm Gaming, provides support for this product.
If you require technical assistance or have questions not covered in this manual, please contact Abysm Gaming customer support through their official channels.