
1. Informations importantes sur la sécurité
Veuillez lire attentivement ces instructions avant l'installation et l'utilisation. Conservez ce manuel pour toute consultation ultérieure.
- Sécurité électrique : Always disconnect power at the main circuit breaker before installation, maintenance, or bulb replacement. Consult a qualified electrician if you are unsure about electrical wiring.
- Voltage: Assurer l'alimentation voltage correspond aux exigences du luminaire (240 volts).
- Type d'ampoule : Use only G9 bulbs, maximum 28 Watts. Do not exceed the recommended wattage. Bulbs are not included.
- Installation: This fixture is designed for ceiling mounting. Ensure the mounting surface can support the weight of the chandelier (5.84 kg).
- Environnement: For indoor use only (IP20 rating). Do not expose to moisture or extreme temperatures.
- Nettoyage: Utilisez un chiffon doux et sec pour le nettoyage. N'utilisez pas de nettoyants abrasifs ni de solvants.
2. Produit terminéview
The MAYTONI Dallas Chandelier (MOD545PL-25B) is a modern decorative lighting fixture designed to enhance various indoor spaces such as living rooms, dining rooms, bedrooms, offices, kitchens, and cafes. Its unique design features a black metal frame with 25 smoked glass spheres, resembling a molecular structure.
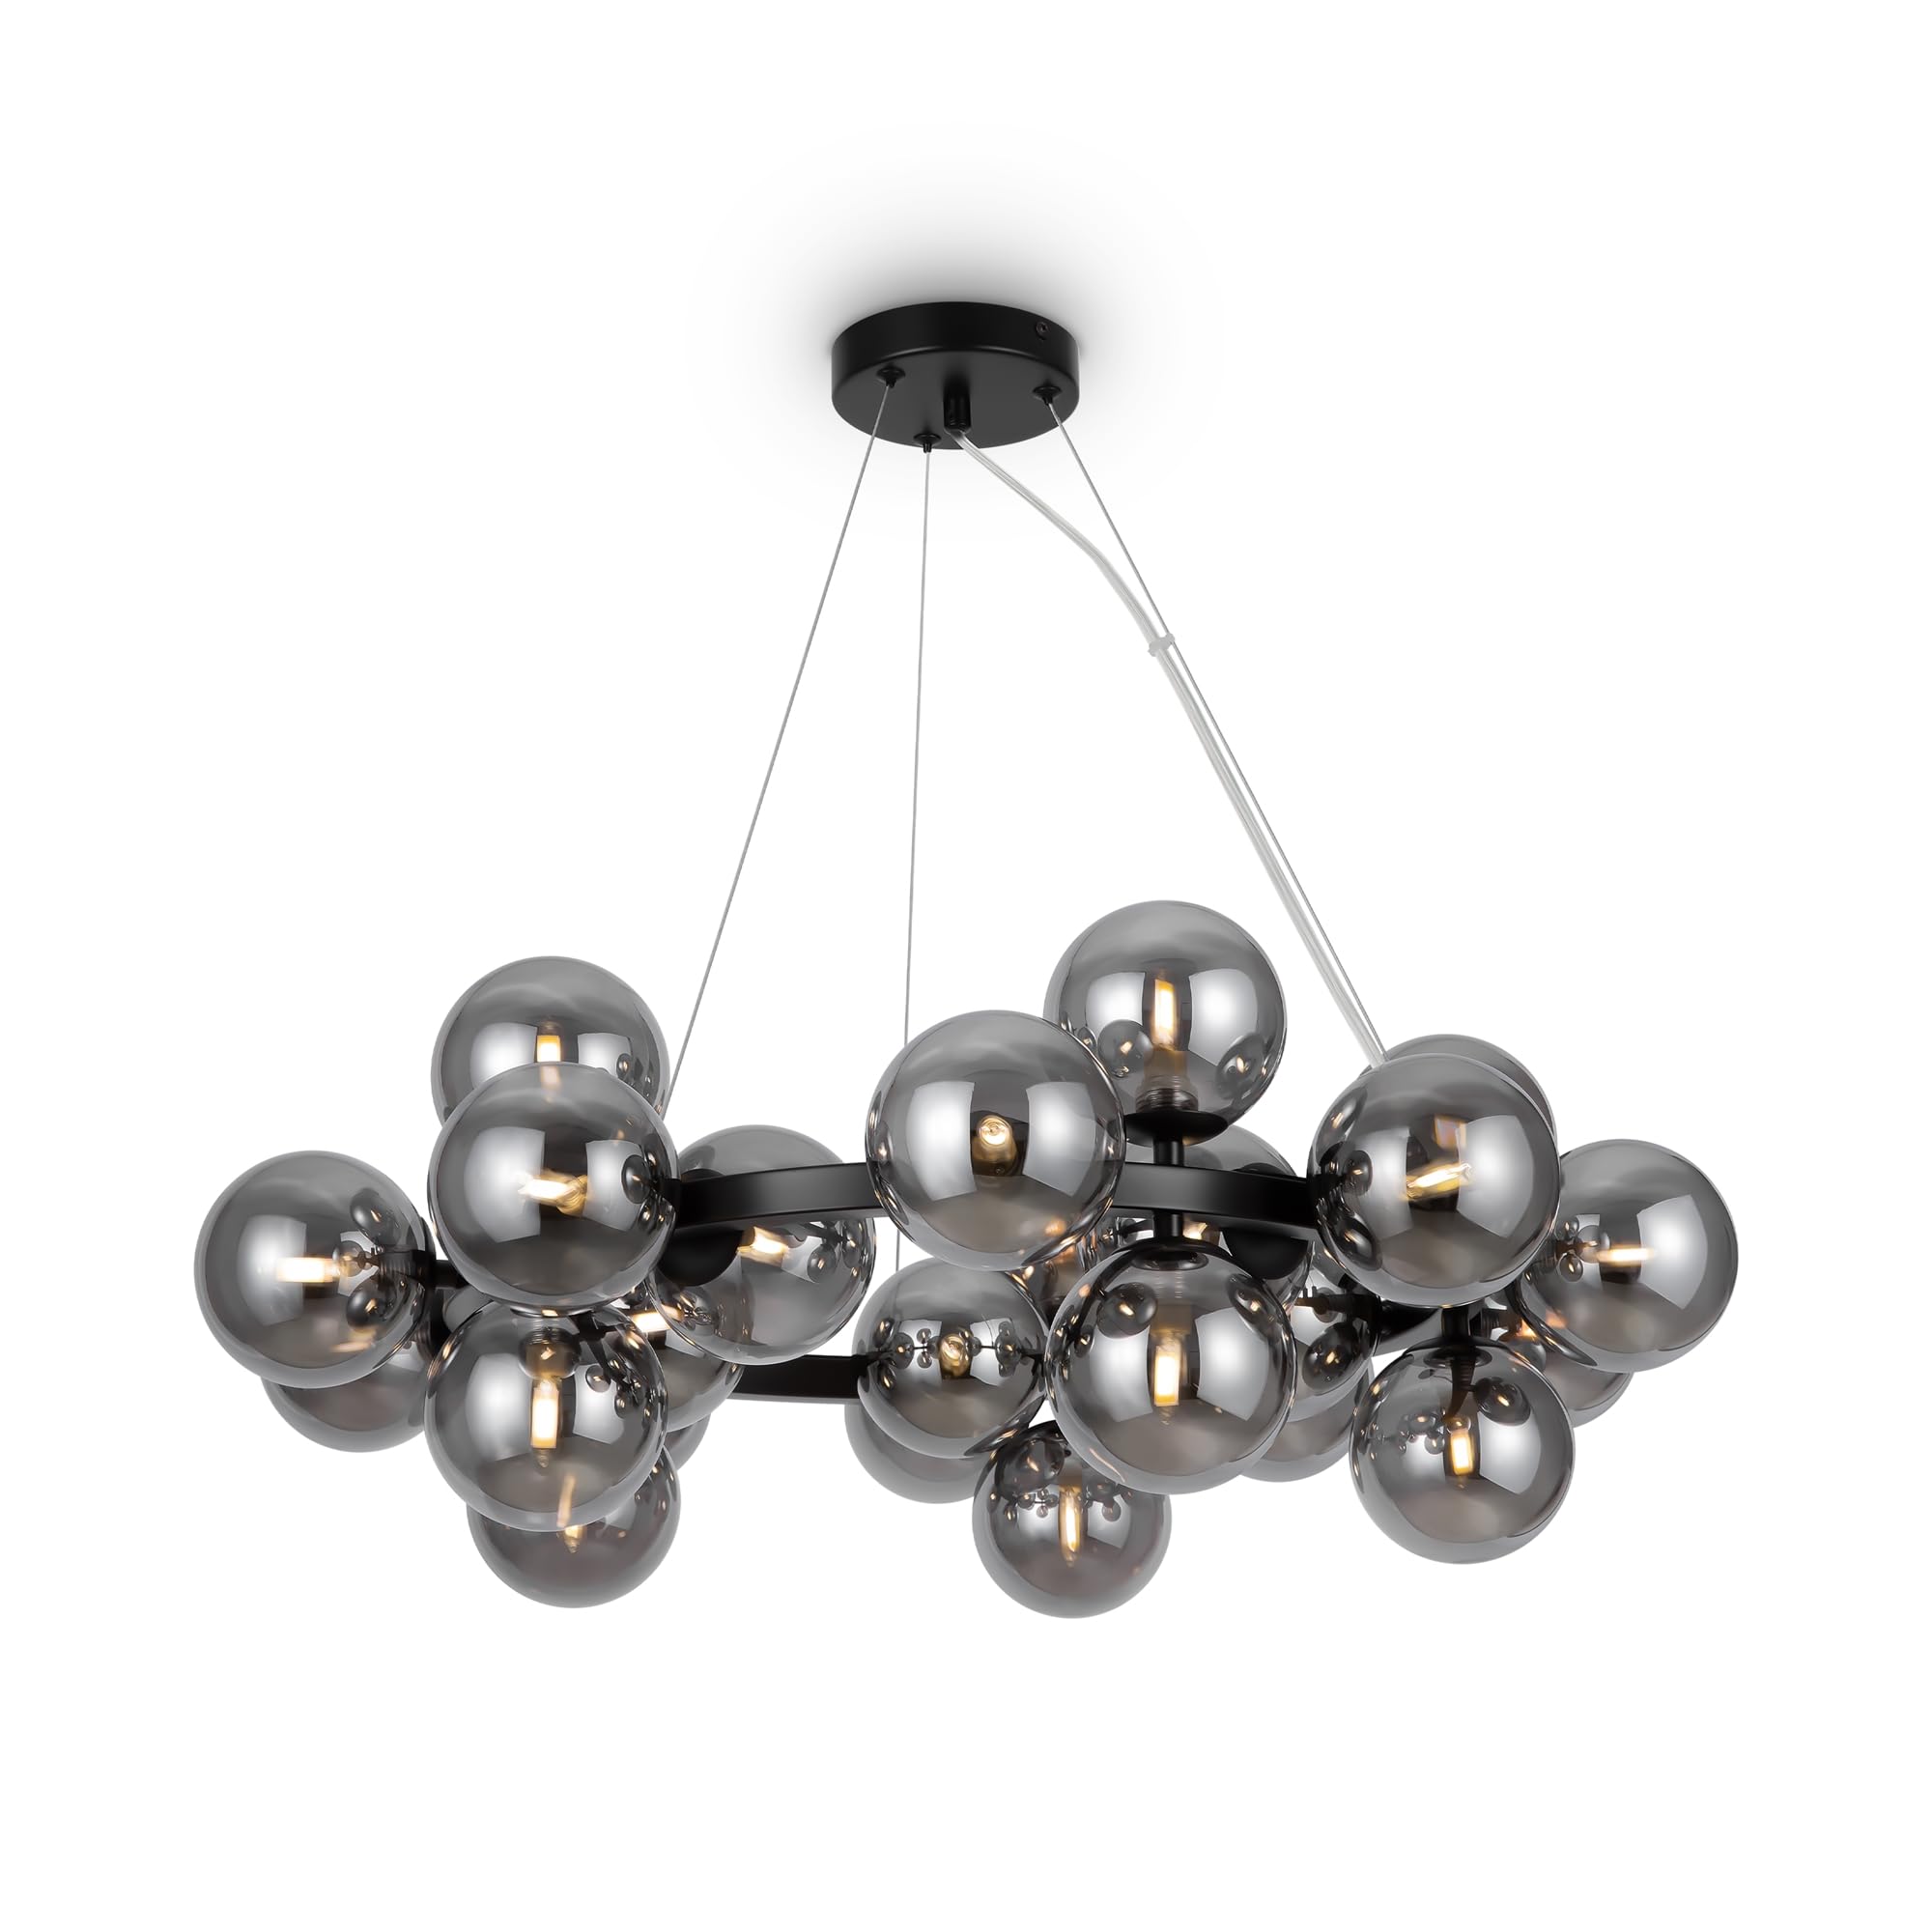
Figure 2.1: MAYTONI Dallas Chandelier (MOD545PL-25B) - Overall View.
This chandelier provides bright and pleasant general illumination, suitable for rooms with low ceilings due to its total height of 25 cm and diameter of 75 cm. The shade diameter is 10 cm.
3. Contenu de la boîte
Carefully unpack the box and ensure all components are present and undamaged. If any parts are missing or damaged, contact customer support before proceeding with installation.
- Chandelier frame (black metal)
- 25 Smoked glass spheres (shades)
- Matériel de montage (vis, chevilles, etc.)
- Manuel d'instructions
Note: G9 bulbs are not included and must be purchased separately.
4. Spécifications
| Fonctionnalité | Détail |
|---|---|
| Marque | ÉCLAIRAGE DÉCORATIF MAYTONI |
| Numéro de modèle | MOD545PL-25B |
| Dimensions du produit (L x l x H) | 123.5 x 23.8 x 135.4 cm |
| Hauteur totale | 25 cm |
| Diamètre | 75 cm |
| Poids de l'article | 5.84 kg |
| Matériel | Metal (frame), Glass (shades) |
| Couleur | Black (frame), Smoked (shades) |
| Style | Moderne |
| Nombre d'ampoules | 25 |
| Type d'ampoule | G9 (non inclus) |
| Max Vattage par ampoule | 28 watts |
| Voltage | 240 volts |
| Indice de protection IP | IP20 (utilisation en intérieur uniquement) |
| Source d'énergie | Électrique avec fil |
| Caractéristiques spéciales | Efficacité énergétique |
5. Configuration et installation
Avant de commencer : Ensure the power supply is turned off at the circuit breaker. It is recommended to have two people for installation due to the size and weight of the fixture.
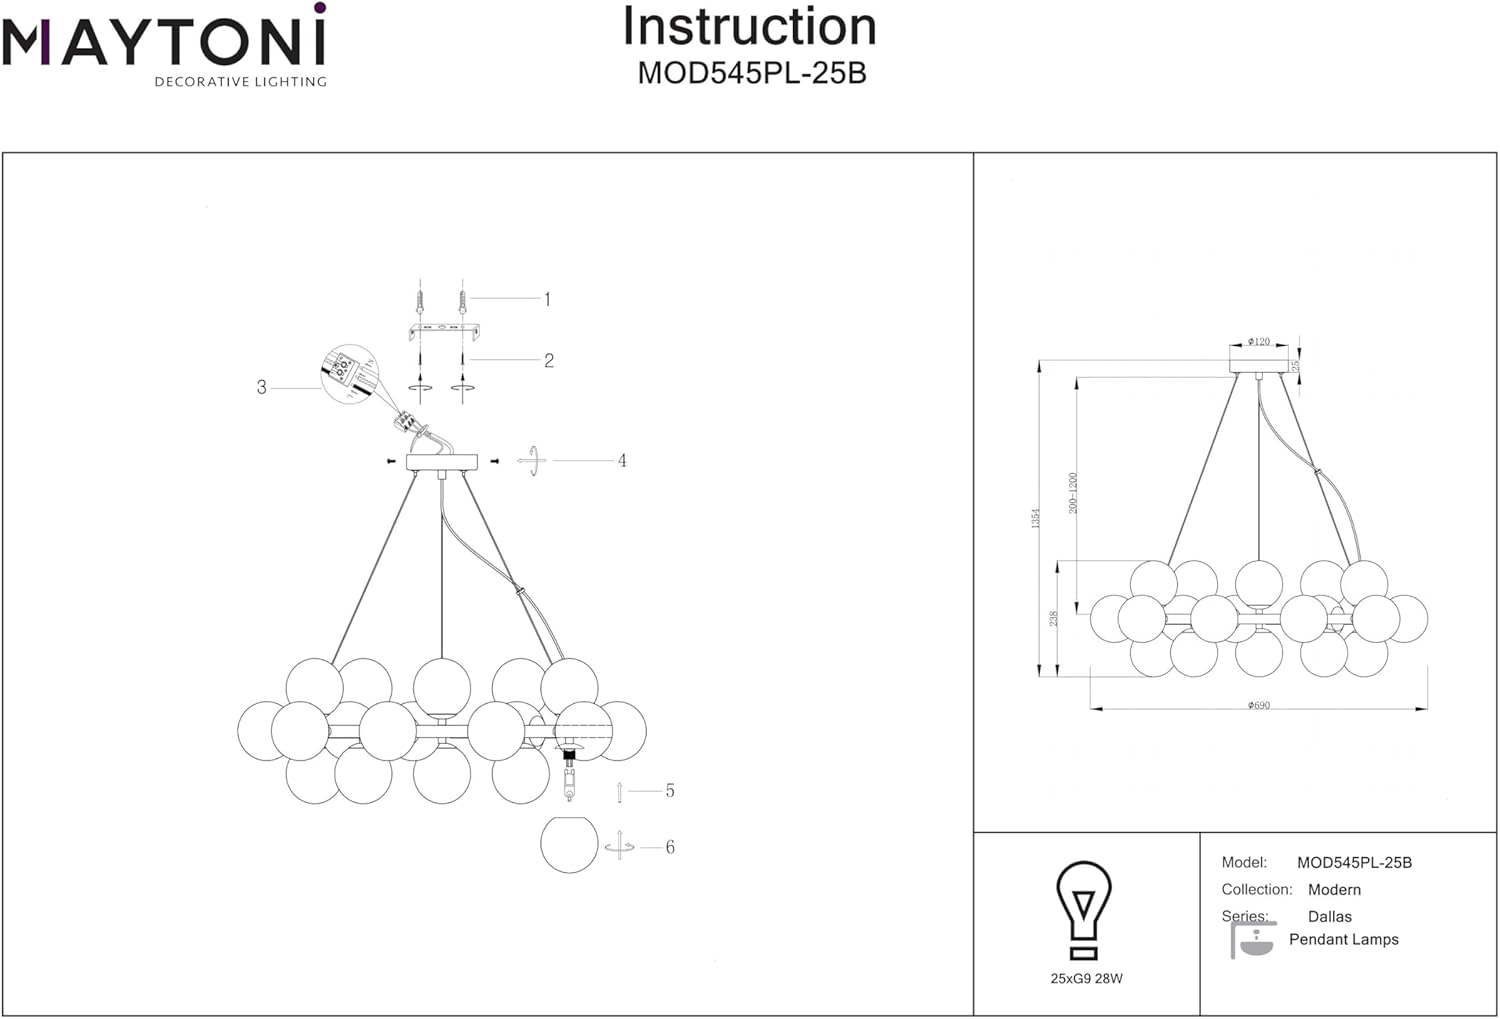
Figure 5.1: Installation Diagram and Dimensions.
- Préparez le plafond : Mark the drilling points on the ceiling for the mounting bracket (1). Ensure the location is suitable and can support the chandelier's weight.
- Installez le support de montage : Drill holes and insert appropriate anchors. Secure the mounting bracket to the ceiling using screws (2).
- Connecter le câblage : Carefully connect the chandelier's electrical wires to your household wiring. Ensure correct polarity (Live to Live, Neutral to Neutral, Ground to Ground). Use appropriate wire connectors.
- Fixer l'auvent : Lift the chandelier and secure the canopy to the mounting bracket using the provided screws (4). Ensure the wires are not pinched.
- Installer des ampoules G9 : Insert the G9 bulbs into their respective sockets (3). Gently push and twist to secure.
- Attach Glass Spheres: Carefully attach each smoked glass sphere (6) to its designated holder on the chandelier frame (5). Twist or push to secure, depending on the mechanism.

Figure 5.2: Ceiling Mount Detail.
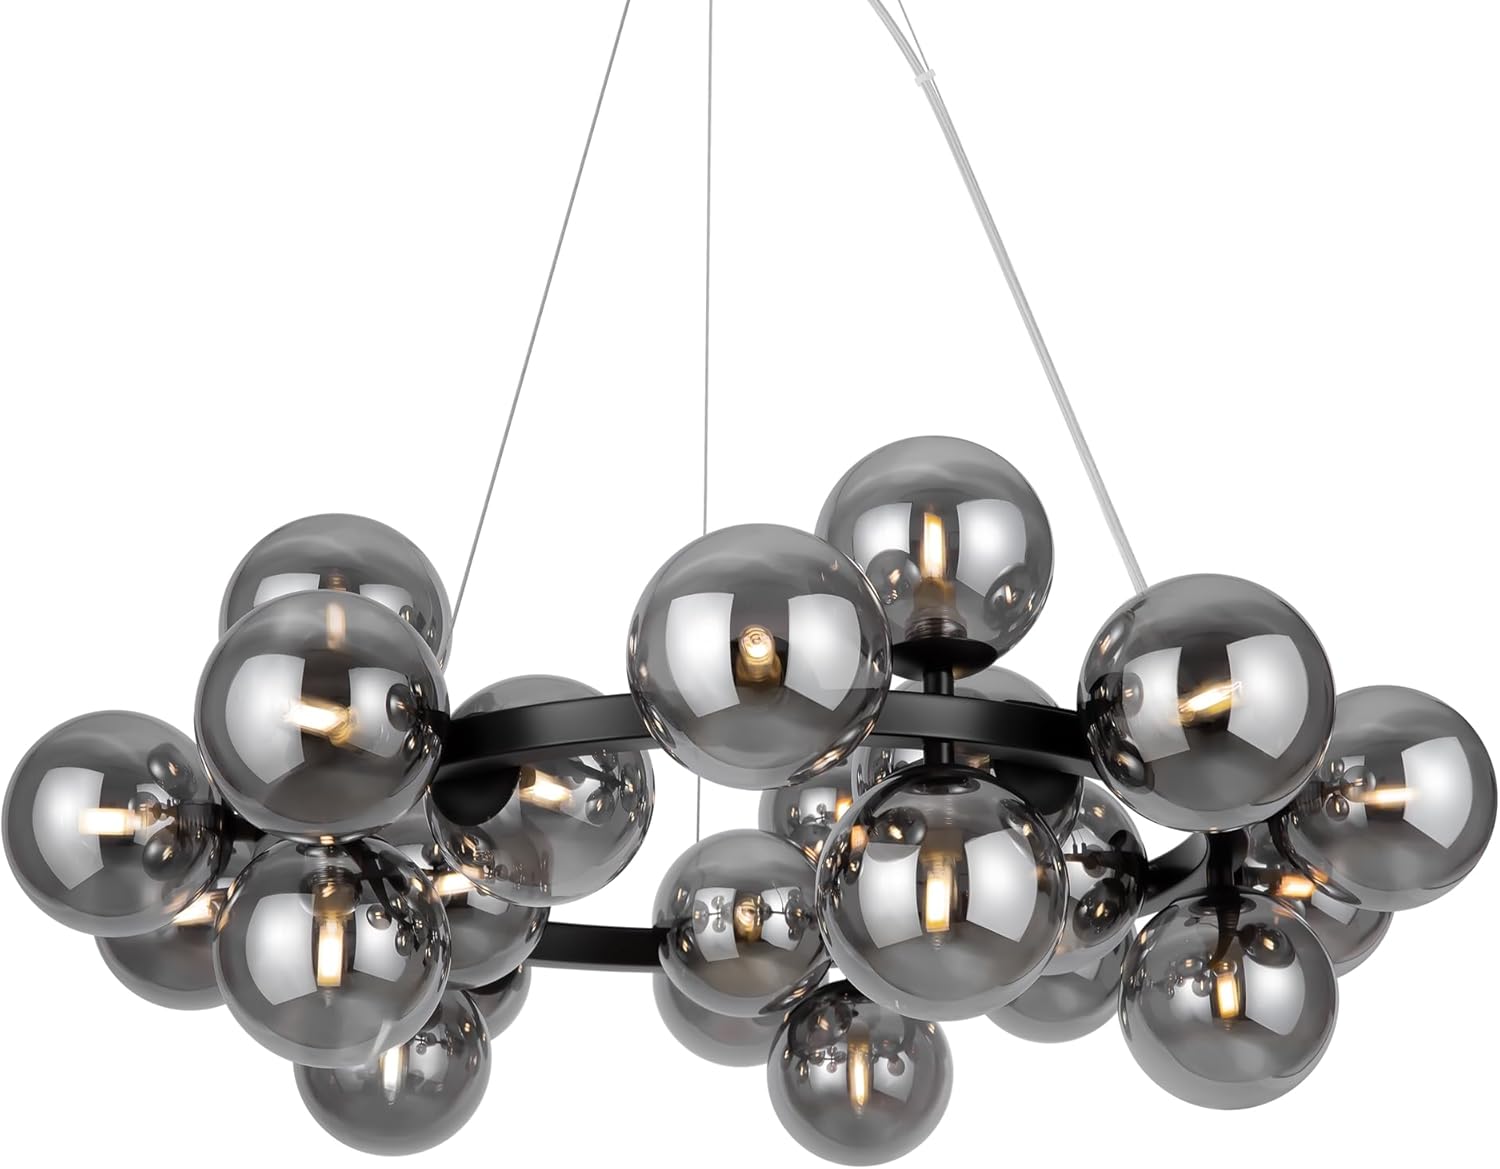
Figure 5.3: Detail of Glass Spheres and Bulb Sockets.
6. Mode d'emploi
Once installed, operating your MAYTONI Dallas Chandelier is straightforward:
- Mise sous tension : Rétablissez le courant au niveau du disjoncteur principal.
- Activer/désactiver : Use your standard wall switch to turn the chandelier on or off.
- Remplacement de l'ampoule : Ensure power is off before replacing any G9 bulbs. Allow bulbs to cool completely before handling.
7. Entretien
Un entretien régulier contribuera à préserver l'apparence et le bon fonctionnement de votre lustre.
- Nettoyage: Disconnect power before cleaning. Use a soft, dry, lint-free cloth to wipe the metal frame and glass spheres. Do not use liquid cleaners, abrasive materials, or chemical solvents, as these can damage the finish.
- Remplacement de l'ampoule : As needed, replace G9 bulbs with new ones of the same type and wattage (max 28W). Always ensure power is off and bulbs are cool before replacing.
- Inspection: Vérifiez régulièrement toutes les connexions et les éléments de fixation pour vous assurer qu'ils restent bien en place.
8. Dépannage
Si vous rencontrez des problèmes avec votre lustre, consultez les problèmes courants et leurs solutions ci-dessous :
| Problème | Cause possible | Solution |
|---|---|---|
| La lumière ne s'allume pas |
|
|
| La lumière scintille |
|
|
| Glass sphere falls off |
|
|
Si le problème persiste après avoir essayé ces solutions, veuillez contacter le support client.
9. Garantie et assistance
Garantie: This MAYTONI product comes with a 2-year warranty from the date of purchase, covering manufacturing defects. Please retain your proof of purchase for warranty claims.
Assistance clientèle : For any questions, concerns, or assistance with installation or troubleshooting, please contact MAYTONI customer service. Our dedicated team is ready to help you create the perfect lighting solution for your home or business.
You can visit the MAYTONI brand store for more information: MAYTONI Brand Store