1. Produit terminéview
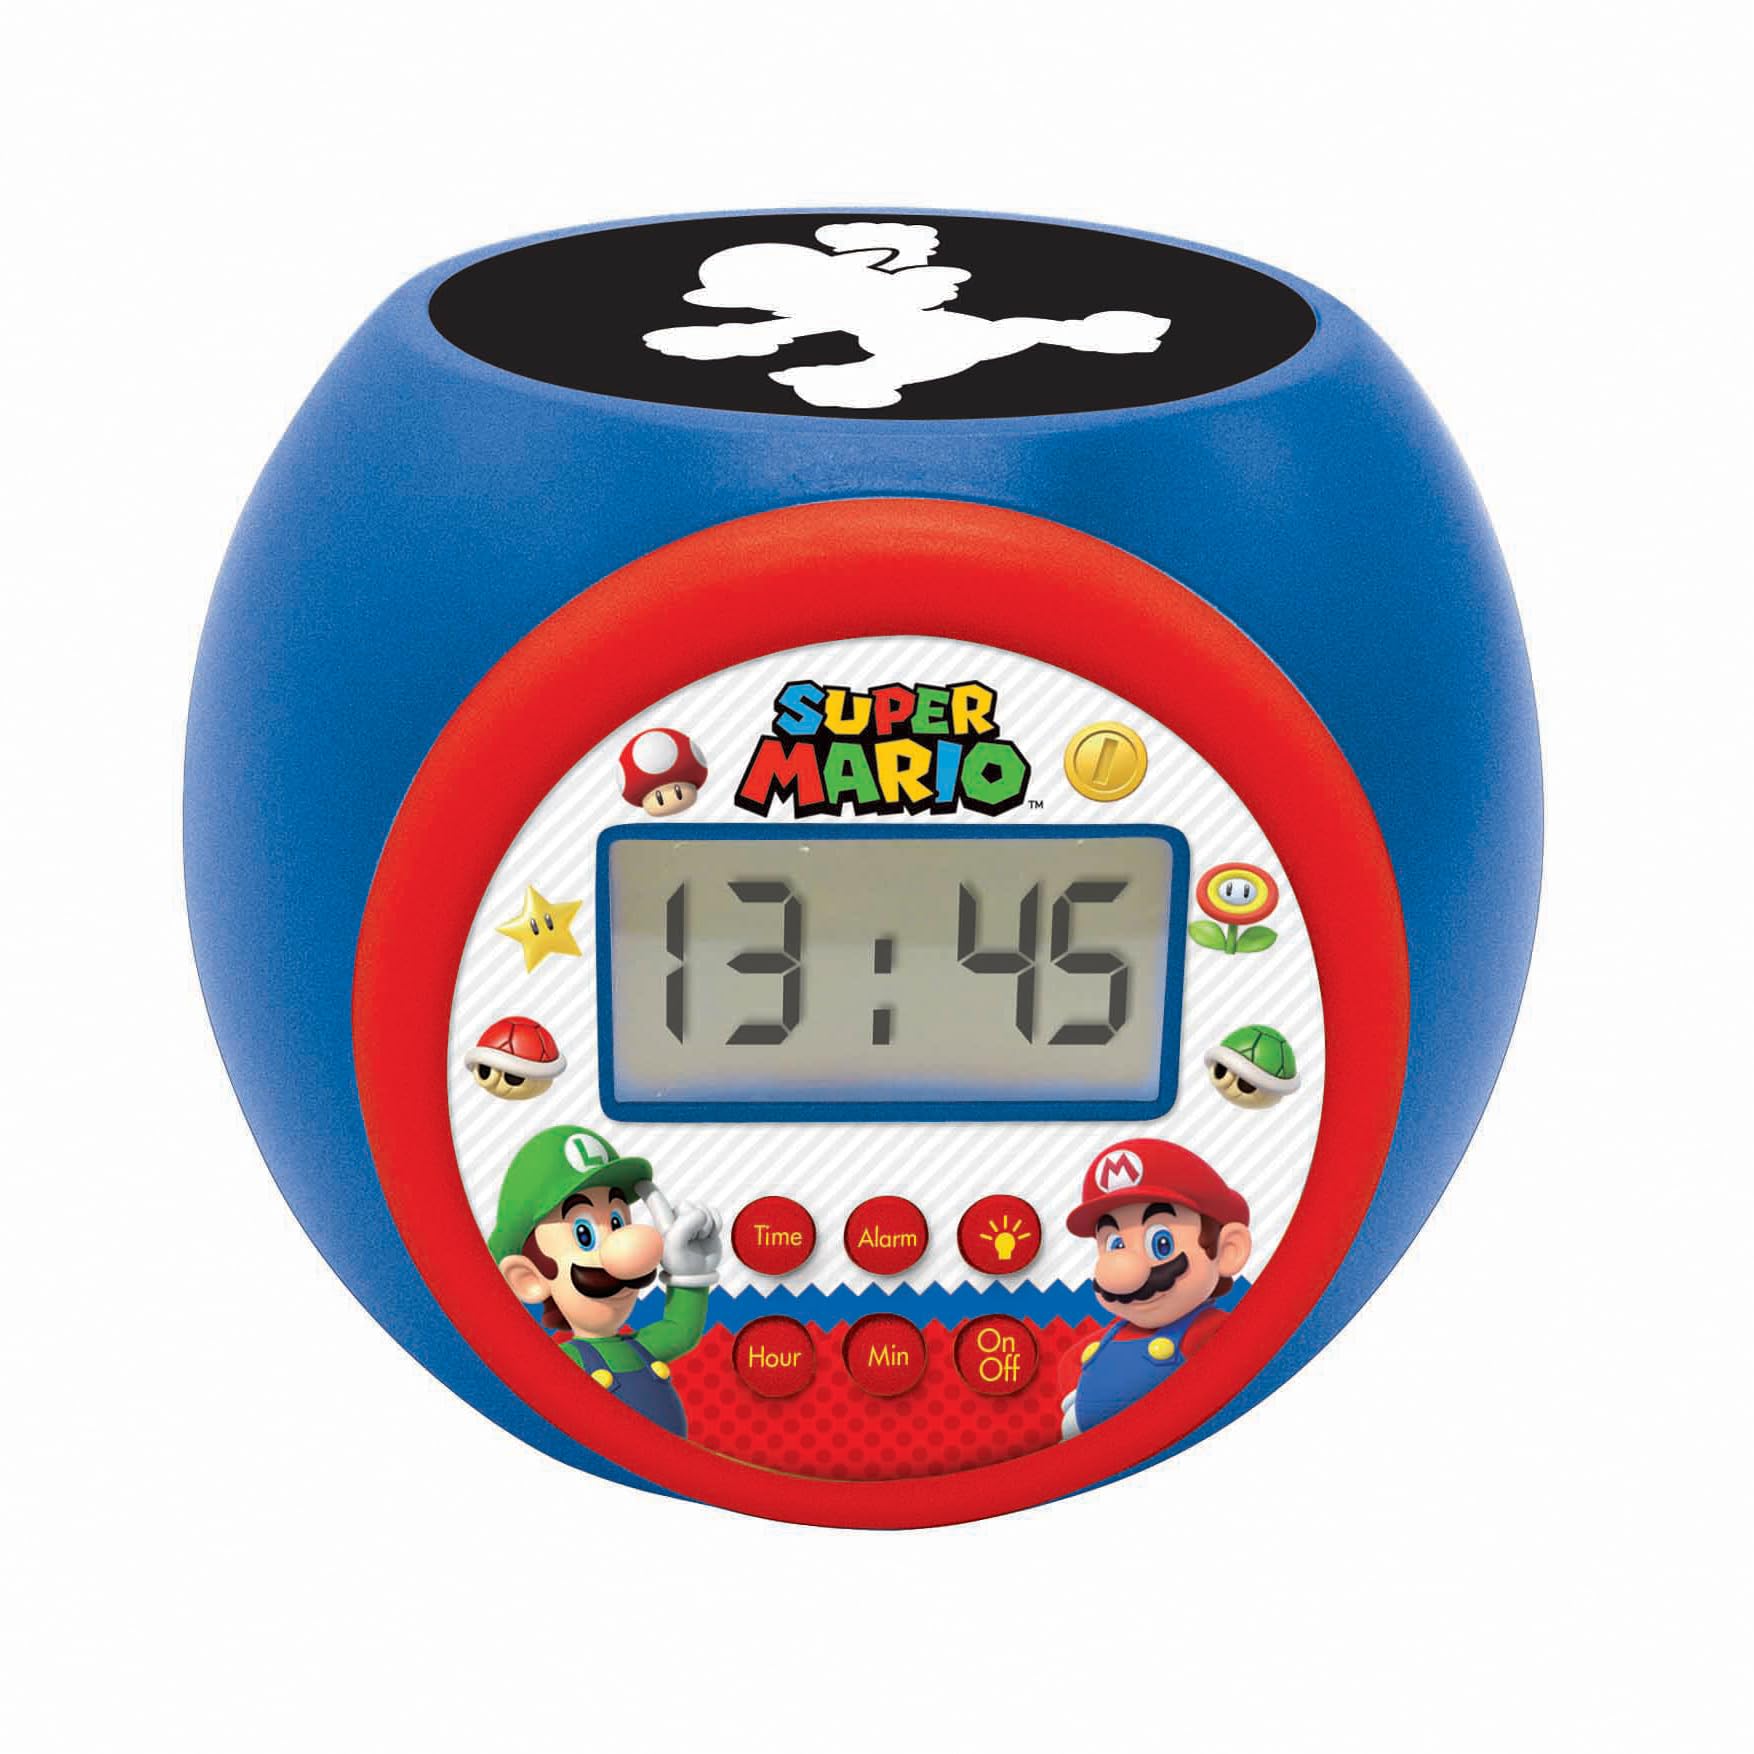
The LEXIBOOK Super Mario Projector Alarm Clock RL977NI is a digital alarm clock designed with a Super Mario theme. It features a backlit LCD screen, a projection function that displays Super Mario symbols onto the ceiling in three different colors, and a night light with integrated timers. This device includes an alarm with a snooze function and operates on batteries.
Caractéristiques principales :
- Round shaped alarm clock with backlit LCD screen.
- 3 integrated night light timers (5, 10, or 15 minutes).
- Super Mario symbol projection in 3 colors.
- Time display in 12/24 hour format.
- Réveil avec fonction snooze.
2. Installation
2.1 Installation de la batterie
The alarm clock requires 3 AAA batteries (not included) for operation. Follow these steps to install the batteries:
- Repérez le compartiment à piles sous le réveil.
- À l'aide d'un petit tournevis, ouvrez délicatement le couvercle du compartiment à piles.
- Insérez 3 piles AAA neuves en veillant à respecter la polarité (+ et -) indiquée à l'intérieur du compartiment.
- Replacez le couvercle du compartiment des piles et fixez-le avec la vis.
Note: Always use fresh batteries and dispose of old batteries responsibly. Do not mix old and new batteries or different types of batteries.

3. Mode d'emploi
3.1 Fonctions des boutons
The alarm clock features several buttons for control:
- Bouton Heure : Permet d'accéder au mode de réglage de l'heure.
- Bouton d'alarme: Permet d'accéder au mode de réglage de l'alarme.
- Bouton Heure : Permet de régler l'heure lors du réglage de l'heure ou de l'alarme.
- Bouton Min : Permet de régler les minutes lors du réglage de l'heure ou de l'alarme.
- Bouton marche/arrêt : Activates or deactivates the night light/projector.
3.2 Réglage de l'heure
- Appuyez et maintenez enfoncé le Temps Appuyez sur le bouton jusqu'à ce que l'affichage de l'heure commence à clignoter.
- Utilisez le Heure bouton pour régler l'heure.
- Appuyez sur le Temps button again, and the minute display will flash.
- Utilisez le Min bouton pour régler les minutes.
- Appuyez sur le Temps Appuyez une nouvelle fois sur le bouton pour confirmer et quitter le mode de réglage de l'heure.
- Pour basculer entre le format 12 heures et le format 24 heures, appuyez sur la touche correspondante. Heure bouton pendant que l'heure s'affiche normalement (pas en mode réglage).
3.3 Réglage de l'alarme
- Appuyez et maintenez enfoncé le Alarme Appuyez sur le bouton jusqu'à ce que l'affichage de l'heure de l'alarme commence à clignoter.
- Utilisez le Heure bouton permettant de régler l'heure de l'alarme souhaitée.
- Appuyez sur le Alarme button again, and the alarm minute display will flash.
- Utilisez le Min bouton permettant de régler la durée de l'alarme (en minutes).
- Appuyez sur le Alarme button one more time to confirm and activate the alarm. An alarm icon will appear on the LCD screen.
- Pour désactiver l'alarme, appuyez sur le Alarme button once when the time is displayed normally. The alarm icon will disappear.
3.4 Fonction de répétition
Lorsque l'alarme sonne, appuyez sur n'importe quel bouton (sauf le Alarme button to turn it off completely) to activate the snooze function. The alarm will temporarily stop and sound again after a few minutes.
3.5 Using the Projector and Night Light
The alarm clock features a projector that displays Super Mario symbols and also functions as a night light with a timer.
- Appuyez sur le Marche/Arrêt button to activate the projector and night light.
- The projector will display Super Mario symbols onto the ceiling in one of three colors.
- To cycle through the projection colors or turn off the projection, press the Marche/Arrêt Appuyez plusieurs fois sur le bouton.
- The night light has integrated timers of 5, 10, or 15 minutes. The timer setting is usually cycled by pressing the Marche/Arrêt button or a dedicated light button (if present, not explicitly mentioned but implied by "3 integrated timers"). Refer to the icons on the clock face for specific light control.


4. Entretien
4.1 Nettoyage
To clean the alarm clock, use a soft, dry cloth. Do not use abrasive cleaners, solvents, or chemical sprays, as these can damage the surface and internal components. Avoid getting moisture into any openings.
4.2 Remplacement de la batterie
When the display dims or the functions become unreliable, it is time to replace the batteries. Follow the battery installation steps outlined in Section 2.1. Ensure the device is turned off before replacing batteries.
5. Dépannage
| Problème | Cause possible | Solution |
|---|---|---|
| L'affichage de l'horloge est faiblement lumineux ou absent. | Batteries faibles ou déchargées. | Remplacez les piles par des piles AAA neuves. Respectez la polarité. |
| Projection light is not working. | Projector is off or batteries are low. | Appuyez sur le Marche/Arrêt button to activate. Check and replace batteries if necessary. |
| L'alarme ne sonne pas. | L'alarme n'est pas réglée ou est désactivée. | Ensure the alarm is set correctly and the alarm icon is visible on the display. Check battery level. |
| Les boutons ne répondent pas. | Low batteries or temporary software glitch. | Replace batteries. If issue persists, remove batteries for a few minutes and reinsert to reset the device. |
| Time or alarm settings reset unexpectedly. | Batteries removed or completely depleted. | Replace batteries and reset the time and alarm. |
6. Spécifications
- Numéro de modèle : RL977NI
- Marque: LEXiBOOK
- Type d'affichage : LCD numérique
- Source d'alimentation : Fonctionne sur piles (3 piles AAA non incluses)
- Dimensions du produit : Approximately 4.65" W x 3.58" H (11.8 cm x 9.1 cm)
- Poids de l'article : Environ 7.4 onces (210 grammes)
- Matériel: Plastique
- Caractéristiques spéciales : Alarm, Snooze, Night Light Timer, Projector
- Âge recommandé : 3 ans et plus
- Date de sortie : 27 mai 2020
7. Informations sur la garantie
This LEXIBOOK product is covered by a Garantie de 2 ans À compter de la date d'achat, cette garantie couvre les défauts de fabrication et les vices de matériaux dans des conditions normales d'utilisation. Veuillez conserver votre preuve d'achat pour toute réclamation au titre de la garantie.
The warranty does not cover damage caused by misuse, accidents, unauthorized modifications, or normal wear and tear. For detailed warranty terms and conditions, please refer to the official LEXiBOOK website ou contacter le support client.
8. Assistance
For further assistance, technical support, or inquiries regarding your LEXIBOOK Super Mario Projector Alarm Clock RL977NI, please visit the official LEXiBOOK website ou contactez leur service client.
Vous trouverez plus d'informations et de ressources d'assistance en visitant le site web. Boutique LEXiBOOK sur Amazon.