Introduction
Thank you for choosing the DINOKA A3/A4 Laminator. This manual provides essential information for the safe and efficient operation of your laminator. Please read it thoroughly before first use and keep it for future reference.

Image: The DINOKA A3/A4 Laminator in operation, demonstrating its ability to laminate documents up to A3 size.
The DINOKA A3/A4 Laminator is a versatile device designed for both thermal and cold lamination, suitable for various document sizes up to A3. It features a rapid warm-up time, efficient lamination speed, and includes an integrated paper trimmer and a corner rounder for professional finishing.
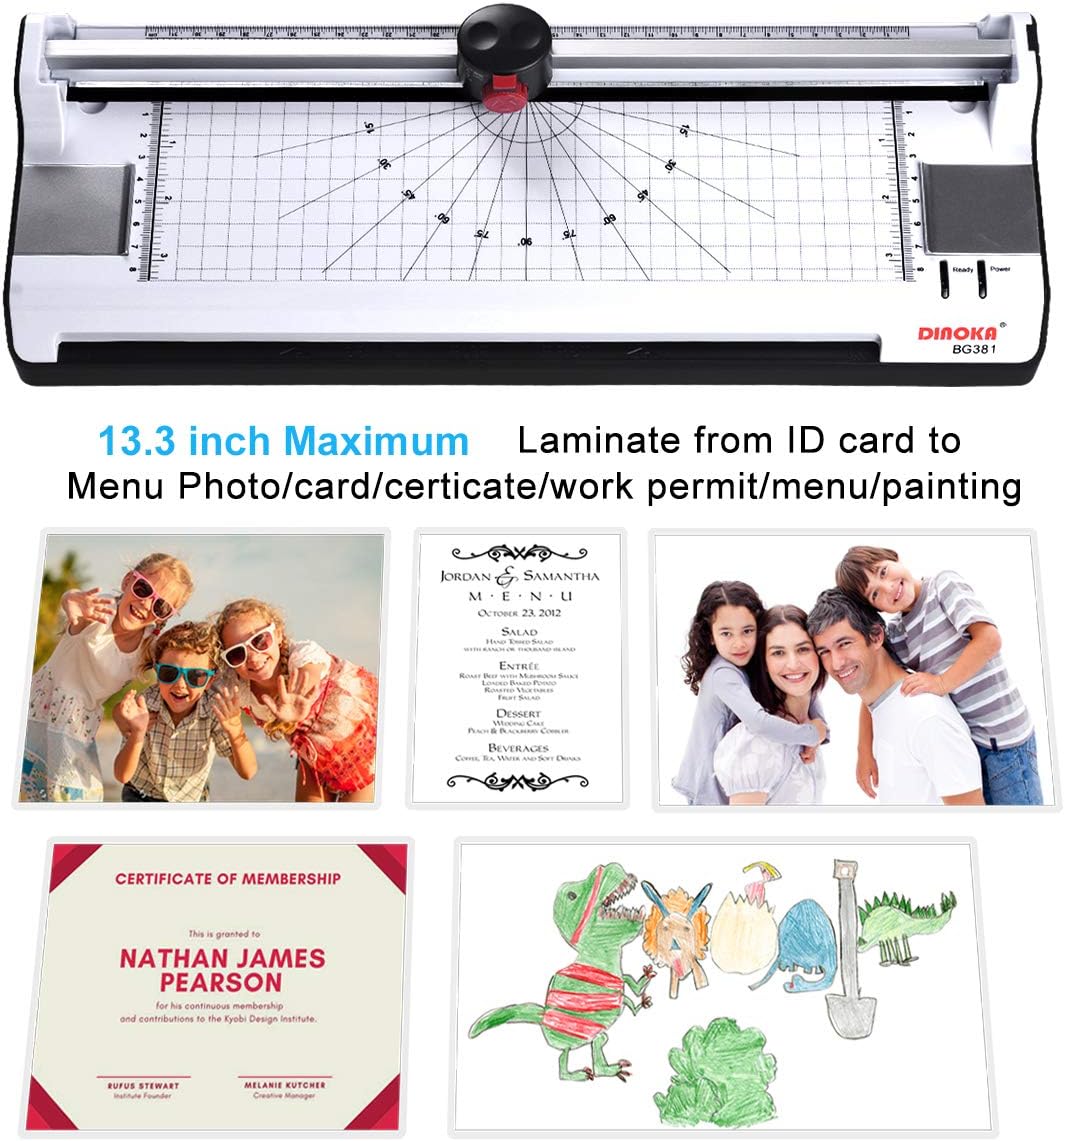
Image: The laminator highlighting its maximum lamination width and various applications for laminating different types of documents.
Contenu du colis
- 1 x DINOKA A3/A4 Laminator (Model BG381-A3)
- 1 x arrondisseur d'angle
- 1 x Paper Trimmer (integrated)
- 20 x Laminating Pouches (5 x A3, 5 x A4, 5 x A5, 5 x A6)
Installation
- Déballez la plastifieuse : Retirez soigneusement la plastifieuse et tous ses accessoires de leur emballage.
- Placement: Place the laminator on a stable, flat surface with adequate ventilation. Ensure there is enough space behind the machine for laminated documents to exit freely.
- Connexion électrique : Connect the power cord to the laminator and then to a suitable power outlet.
- Mise sous tension initiale : Turn the power switch to the "ON" position. Select either "COLD" or "HOT" lamination mode based on your needs. For thermal lamination, select "HOT".
- Réchauffer: Allow the machine to warm up. The warm-up time is approximately 3-5 minutes. The "Ready" indicator light will illuminate when the machine is ready for use.
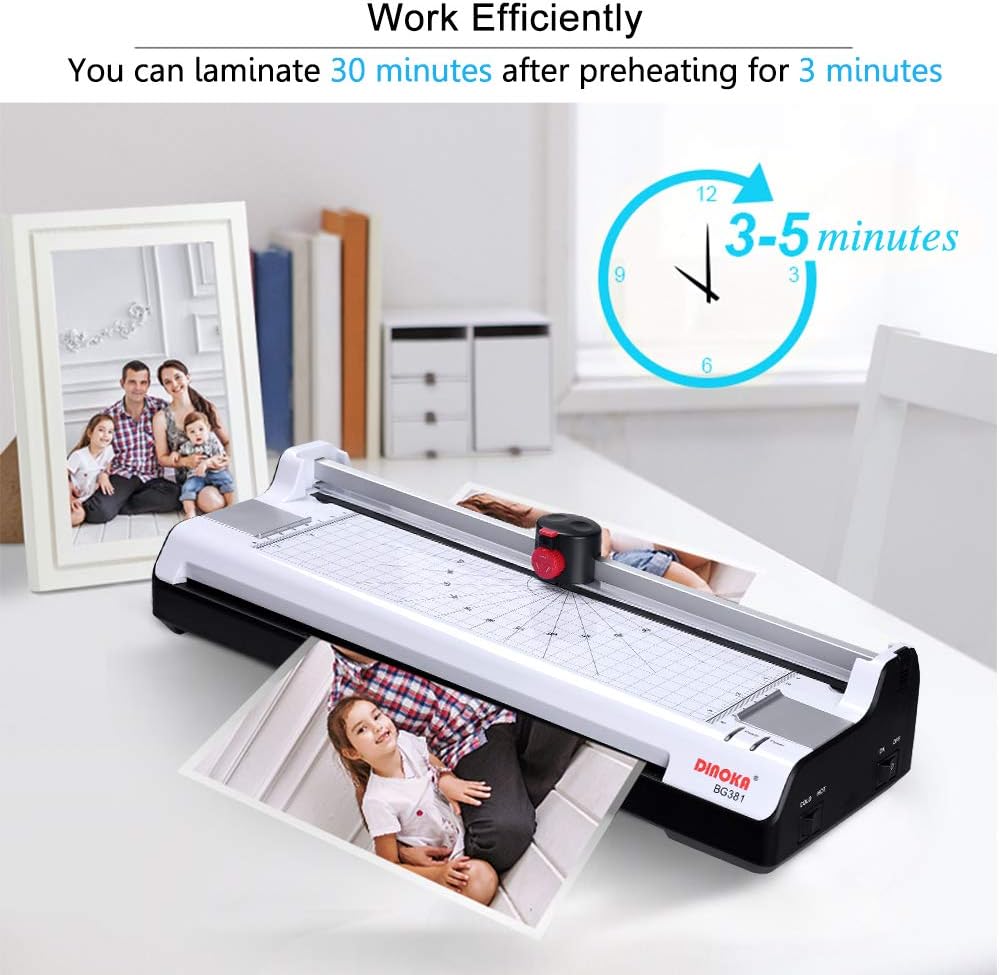
Image: The laminator displaying its warm-up time of 3-5 minutes, indicating readiness for efficient operation.
Mode d'emploi
1. Lamination thermique
- Préparer le document : Placez votre document dans une pochette de plastification, en veillant à ce qu'il soit bien centré et qu'il y ait une bordure régulière autour des bords.
- Sélectionnez le mode: Ensure the laminator is powered on and set to "HOT" mode. Wait for the "Ready" indicator light.
- Insérer la pochette : Insérez le bord scellé de la pochette de plastification dans la fente d'entrée de la plastifieuse. La machine fera automatiquement avancer la pochette.
- Récupérer le document : Once the laminated document exits the rear of the machine, allow it to cool on a flat surface before handling.

Image: Step-by-step guide for thermal lamination, showing document preparation and insertion into the laminator.
2. Lamination à froid
For documents sensitive to heat, use cold laminating pouches. Ensure the laminator is powered on and set to "COLD" mode. Insert the cold laminating pouch with your document into the entry slot, similar to thermal lamination. The machine will process it without heat.
3. Using the Integrated Paper Trimmer
- Open Trimmer: Push the red button on the trimmer head upwards to open it.
- Select Cut Pattern: Rotate the button to choose your desired cutting pattern (straight, perforated, or wavy).
- Document de position : Place the document under the trimmer guide, aligning it with the desired cut line.
- Couper: Press down firmly on the trimmer head and slide it along the guide to cut the document.
- Close Trimmer: Recover the button to secure the trimmer head when not in use.

Image: Instructions for using the integrated 3-in-1 paper trimmer, demonstrating how to select cutting patterns and perform a cut.
4. Utilisation de l'arrondisseur d'angles
The included corner rounder helps to create smooth, rounded edges on your laminated documents, preventing sharp corners. Simply insert the corner of your document into the slot of the corner rounder and press down firmly.

Image: Demonstration of the corner rounder in use, illustrating how it transforms sharp corners into smooth, rounded edges.
Entretien
- Nettoyage: Avant de nettoyer la plastifieuse, assurez-vous qu'elle est débranchée et froide. Essuyez l'extérieur avec un chiffon doux et sec. N'utilisez pas de nettoyants abrasifs ni de solvants.
- Nettoyage des rouleaux : Periodically run a cleaning sheet (a piece of paper folded in half) through the laminator to remove any adhesive residue from the rollers.
- Stockage: Rangez la plastifieuse dans un endroit propre et sec lorsqu'elle n'est pas utilisée.
- Évitez la surutilisation : To protect your laminator, avoid continuous operation for excessively long periods. The machine is designed for efficient use, allowing continuous operation for up to 30 minutes after initial warm-up.
Dépannage
Paper Jam Release
If a laminating pouch gets stuck or misaligned during operation, immediately press the ABS (Anti-Blocking System) button. This will release the rollers, allowing you to gently pull out the jammed pouch. Ensure the pouch is inserted straight and not at an angle to prevent future jams.

Image: The ABS button on the laminator, designed for quick release of jammed documents or pouches.
General Tips to Prevent Issues
- Épaisseur de poche: It is recommended to use laminating pouches with a thickness between 160 (2 x 80) and 250 (2 x 125) microns. The total thickness of the paper and pouch should not exceed 0.5 mm (19 mil) to prevent jams.
- Insertion correcte : Always insert the sealed edge of the laminating pouch into the machine first.
- Évitez la surcharge : Do not attempt to laminate multiple sheets or excessively thick items simultaneously.
Spécifications techniques
| Numéro de modèle | BG381-A3 |
| Maximum Lamination Width | 330 mm (A3) |
| Temps d'échauffement | 3-5 minutes |
| Plage d'épaisseur de la pochette | 160 (2 x 80) - 250 (2 x 125) microns (up to 0.5 mm / 19 mil total) |
| Vitesse de lamination | 300 mm/min |
| Consommation d'énergie | 365 W |
| Système de chauffage | 2-Roller System (Supports Thermal and Cold Lamination) |
| Jam Prevention | ABS (Anti-Blocking System) Release Button |
| Interrupteurs | ON/OFF, COLD/HOT |
| Dimensions (L x l x H) | 422 x 160 x 99 mm (16.54 x 5.71 x 3.15 pouces) |
| Poids de l'article | 5.16 livres (2.34 kg) |
| Code UPC | 723990220080 |
Garantie et assistance
Your DINOKA laminator is covered by a Garantie de 12 mois. For any issues or assistance, please contact our customer support team.
E-mail du support client: m18820960159@163.com
We are committed to providing lifetime customer service for your product.