
Introduction
Thank you for choosing the VEVOR Professional Ozone Generator. This manual provides essential information for the safe and effective operation, maintenance, and troubleshooting of your device. Please read it thoroughly before use and retain it for future reference.
This ozone generator is designed for commercial and residential use to effectively eliminate odors and purify air and water in various environments, including cars, homes, offices, and for treating food items.
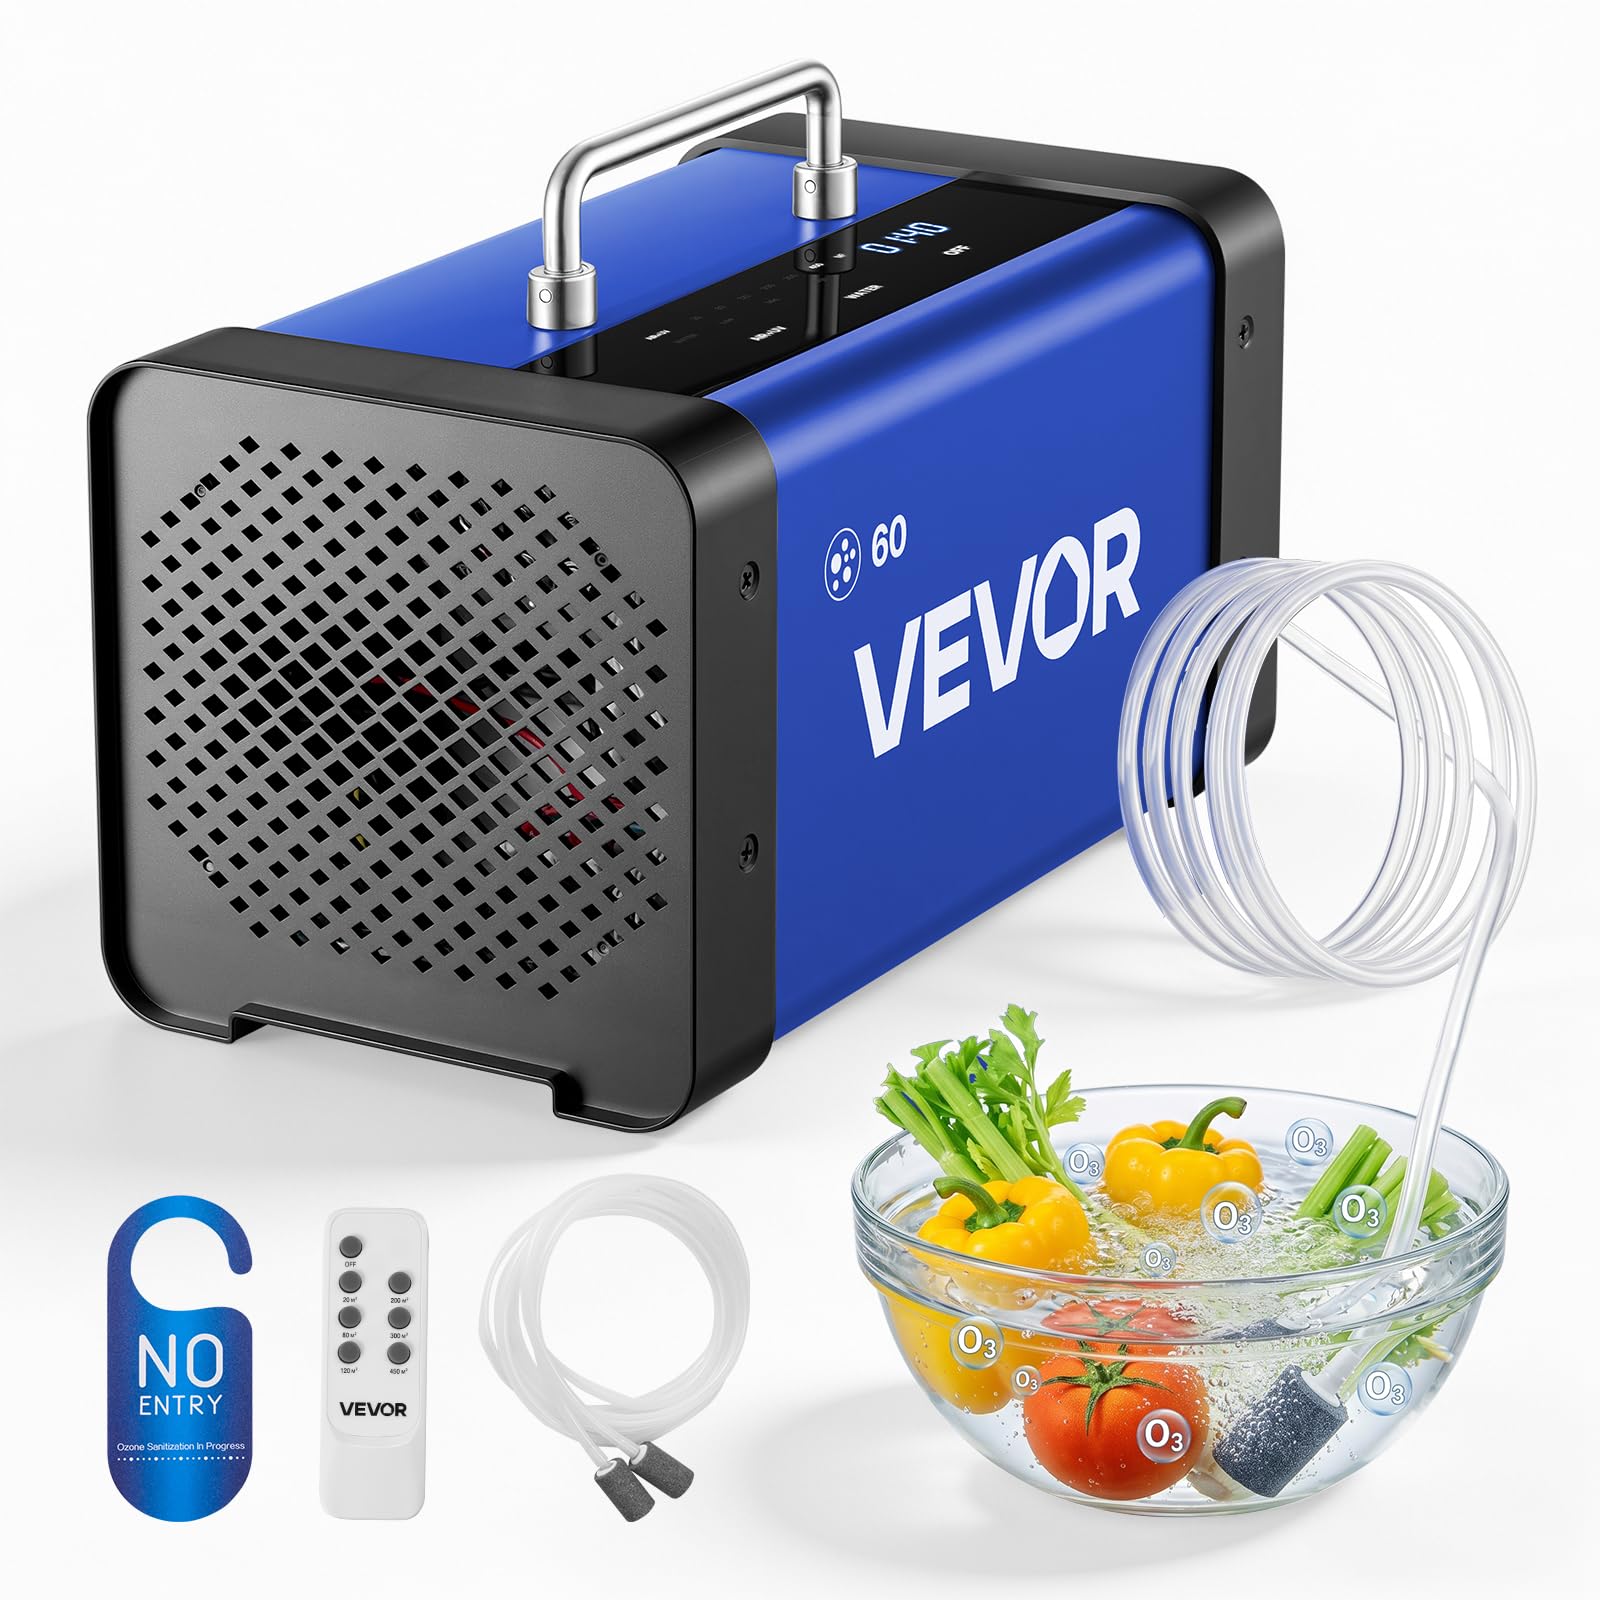
Image: The VEVOR Professional Ozone Generator.
Important Safety Instructions
WARNING: Ozone is a powerful oxidant and can be harmful if inhaled directly. Always ensure the area is unoccupied by humans and pets during operation. Proper ventilation is crucial after treatment.
- DO NOT operate this device in occupied spaces. Ensure all people, pets, and plants are removed from the treatment area before starting.
- Always use the 15-second delayed start feature to allow time to exit the treatment area.
- After ozone treatment, ventilate the area thoroughly for at least 30-60 minutes before re-entry. Open windows and doors.
- Keep the device away from flammable materials and liquids.
- Do not block the air intake or outlet vents.
- Do not immerse the unit in water or expose it to excessive moisture, except for the designated water mode accessories.
- Unplug the device from the power outlet before cleaning or maintenance.
- This appliance is not intended for use by persons (including children) with reduced physical, sensory or mental capabilities, or lack of experience and knowledge, unless they have been given supervision or instruction concerning use of the appliance by a person responsible for their safety.

Image: A 'NO ENTRY' sign on a door handle, reminding users to keep the space unoccupied during ozone treatment.
Product Features
- Enhanced Quartz Tube System: Integrated with 12 quartz tubes for stable ozone output, up to 3 times longer lifespan than ceramic plates, and reduced energy consumption.
- Dual Treatment System: High ozone output of 60000 mg/h combined with an integrated auxiliary light source for effective odor elimination, especially persistent smoke odors.
- Area-Based Selection: Simplifies operation by automatically adjusting run time based on selected room size (up to 450 m²).
- Remote Control Operation: Allows control through walls with a 15-second delayed start, ensuring user safety by providing time to leave the treatment area. (Note: Batteries for remote not included).
- Dual-Tube Water Mode: Equipped with two tubes to simultaneously treat food, dishes, toys, and other items in two separate sinks.
- LCD Touchscreen: Intuitive interface for easy mode selection and time adjustment.

Image: Comparison of VEVOR's quartz tube system versus traditional ceramic plates, showing superior performance.

Image: The ozone generator in a living room, illustrating its effectiveness against various odors like pet, smoke, musty, and cooking smells.
Package Contents
Please check the package for the following items:
- 1x VEVOR Ozone Generator (Model: HS-B05-US)
- 1x User Manual
- 1x Warning Sign (e.g., "NO ENTRY" door hanger)
- 1x Power Cord
- 2x FDA Silicone Tubes
- 2x Corundum Air Stones
- 1x Y-Splitter
- 1x Remote Control (Batteries not included)

Image: The ozone generator and its included accessories.
Setup
Initial Setup:
- Unpack the ozone generator and all accessories.
- Place the unit on a stable, flat surface in the area to be treated. Ensure adequate clearance around the air intake and outlet vents.
- Connect the power cord to the unit and then to a suitable power outlet.
For Water Mode Operation:
- Attach the FDA silicone tubes to the designated water mode outlets on the unit.
- Connect the corundum air stones to the other end of the silicone tubes.
- If treating items in two sinks, use the Y-splitter to connect both tubes to a single water mode outlet on the unit, or use two separate outlets if available.
- Submerge the air stones into the water where items are to be treated (e.g., fruits, vegetables, dishes).

Image: The ozone generator connected for dual-tube water treatment in a kitchen sink.
Operating Instructions
Follow these steps for safe and effective operation:
- Prepare the Area:
For air treatment, ensure the space is completely unoccupied by people, pets, and plants. Close all windows and doors. For water treatment, prepare the items in water with the air stones submerged.

Image: Four easy steps to use the ozone generator.
- Select Mode and Settings:
Use the LCD touchscreen or remote control to select your desired operating mode (Air+UV or Water Mode) and treatment duration/area.
- Air+UV Mode: Select the appropriate room size (e.g., 20m², 80m², 450m²). The device will automatically set the optimal run time.
- Water Mode: Select the desired potency (Low, Mid, High) which corresponds to different treatment durations (e.g., 20 min, 40 min, 60 min).

Image: LCD touchscreen showing room size selection for Air+UV mode and timer.

Image: Recommended treatment times for Air and Water modes.
- Start Operation and Exit:
Press the 'ON' button. The device will initiate a 15-second delayed start. Use this time to safely exit the treatment area. If using the remote control, you can activate the device from outside the room.

Image: Remote control operation with 15-second delayed start for safe exit.
- Post-Treatment Ventilation:
Once the treatment cycle is complete, the device will turn off. Wait for at least 30-60 minutes, then open windows and doors to thoroughly ventilate the treated area before re-entry.
Application Examples:
- Air Mode: Bedrooms, bathrooms, kitchens, cars, garages, offices, basements, etc.
- Water Mode: Fruits, vegetables, water, olive oil, toys, dishes, etc.

Image: Examples of environments and items suitable for air and water mode treatments.
Maintenance
Regular maintenance ensures optimal performance and longevity of your ozone generator.
- Cleaning the Unit:
Before cleaning, always unplug the device. Use a soft, dry cloth to wipe the exterior of the unit. Do not use abrasive cleaners or solvents.
- Cleaning Ozone Tubes/Plates:
Over time, dust and debris may accumulate on the ozone generating components. Refer to the detailed instructions in the full PDF manual (if available) for specific cleaning procedures for the quartz tubes. Generally, these components may require gentle cleaning with a cotton swab and isopropyl alcohol, ensuring they are completely dry before reassembly and use.
- Storage:
When not in use, store the ozone generator in a cool, dry place, away from direct sunlight and excessive humidity.
Troubleshooting
If you encounter issues with your VEVOR Ozone Generator, please refer to the following common problems and solutions:
| Problem | Possible Cause | Solution |
|---|---|---|
| Unit does not power on. | No power supply; loose power cord; faulty outlet. | Check power cord connection. Ensure outlet is functional. Try a different outlet. |
| No ozone smell or weak output. | Ozone tubes/plates are dirty; unit malfunction. | Clean the ozone generating components as per maintenance instructions. If problem persists, contact customer support. |
| Remote control not working. | Batteries are dead or missing; remote out of range; signal obstruction. | Install new batteries (ensure correct polarity). Ensure remote is within range and pointed towards the unit. |
| LCD touchscreen unresponsive. | Temporary software glitch; physical damage. | Unplug the unit for 1 minute, then plug it back in to reset. If damage is visible or problem persists, contact customer support. |
For issues not covered here, please contact VEVOR Customer Support.
Specifications
| Feature | Detail |
|---|---|
| Model Number | HS-B05-US |
| Brand | VEVOR |
| Power | 110 W |
| Air Output | 60000 mg/h |
| Water Output | 1000 mg/h |
| Maximum Coverage Area | 450 m² (approx. 4800 sq ft) |
| Weight | 2.6 kg (5.73 lbs) |
| Dimensions (L x W x H) | 29 cm x 15.5 cm x 16.5 cm (11.4 in x 6.1 in x 6.5 in) |
| Operating Temperature | -10°C to 40°C (14°F to 104°F) |
| Main Material | Galvanized Steel Sheet |
| Control Method | Remote, Touchscreen |
| Special Functions | 15s Delayed Start, Dual-Tube Water Mode, Remote Control, LCD Touchscreen |
| UPC | 197988925538 |
Image: Product dimensions and detailed specifications.
Warranty and Support
VEVOR products are designed for durability and performance. For specific warranty information, please refer to the warranty card included with your product or visit the official VEVOR website.
If you require technical assistance, have questions about operation, or need to report a problem, please contact VEVOR Customer Support:
- Website: www.vevor.com
- Email: Refer to your product documentation for specific contact email.
- Phone: Refer to your product documentation for specific contact phone number.
Please have your model number (HS-B05-US) and purchase date ready when contacting support.