1. مقدمه
This manual provides detailed instructions for the installation, operation, and maintenance of your WinZo Smart Toilet with Bidet Built-in, Model SM8013-1H. Please read this manual thoroughly before installation and use to ensure proper function and safety. Keep this manual for future reference.
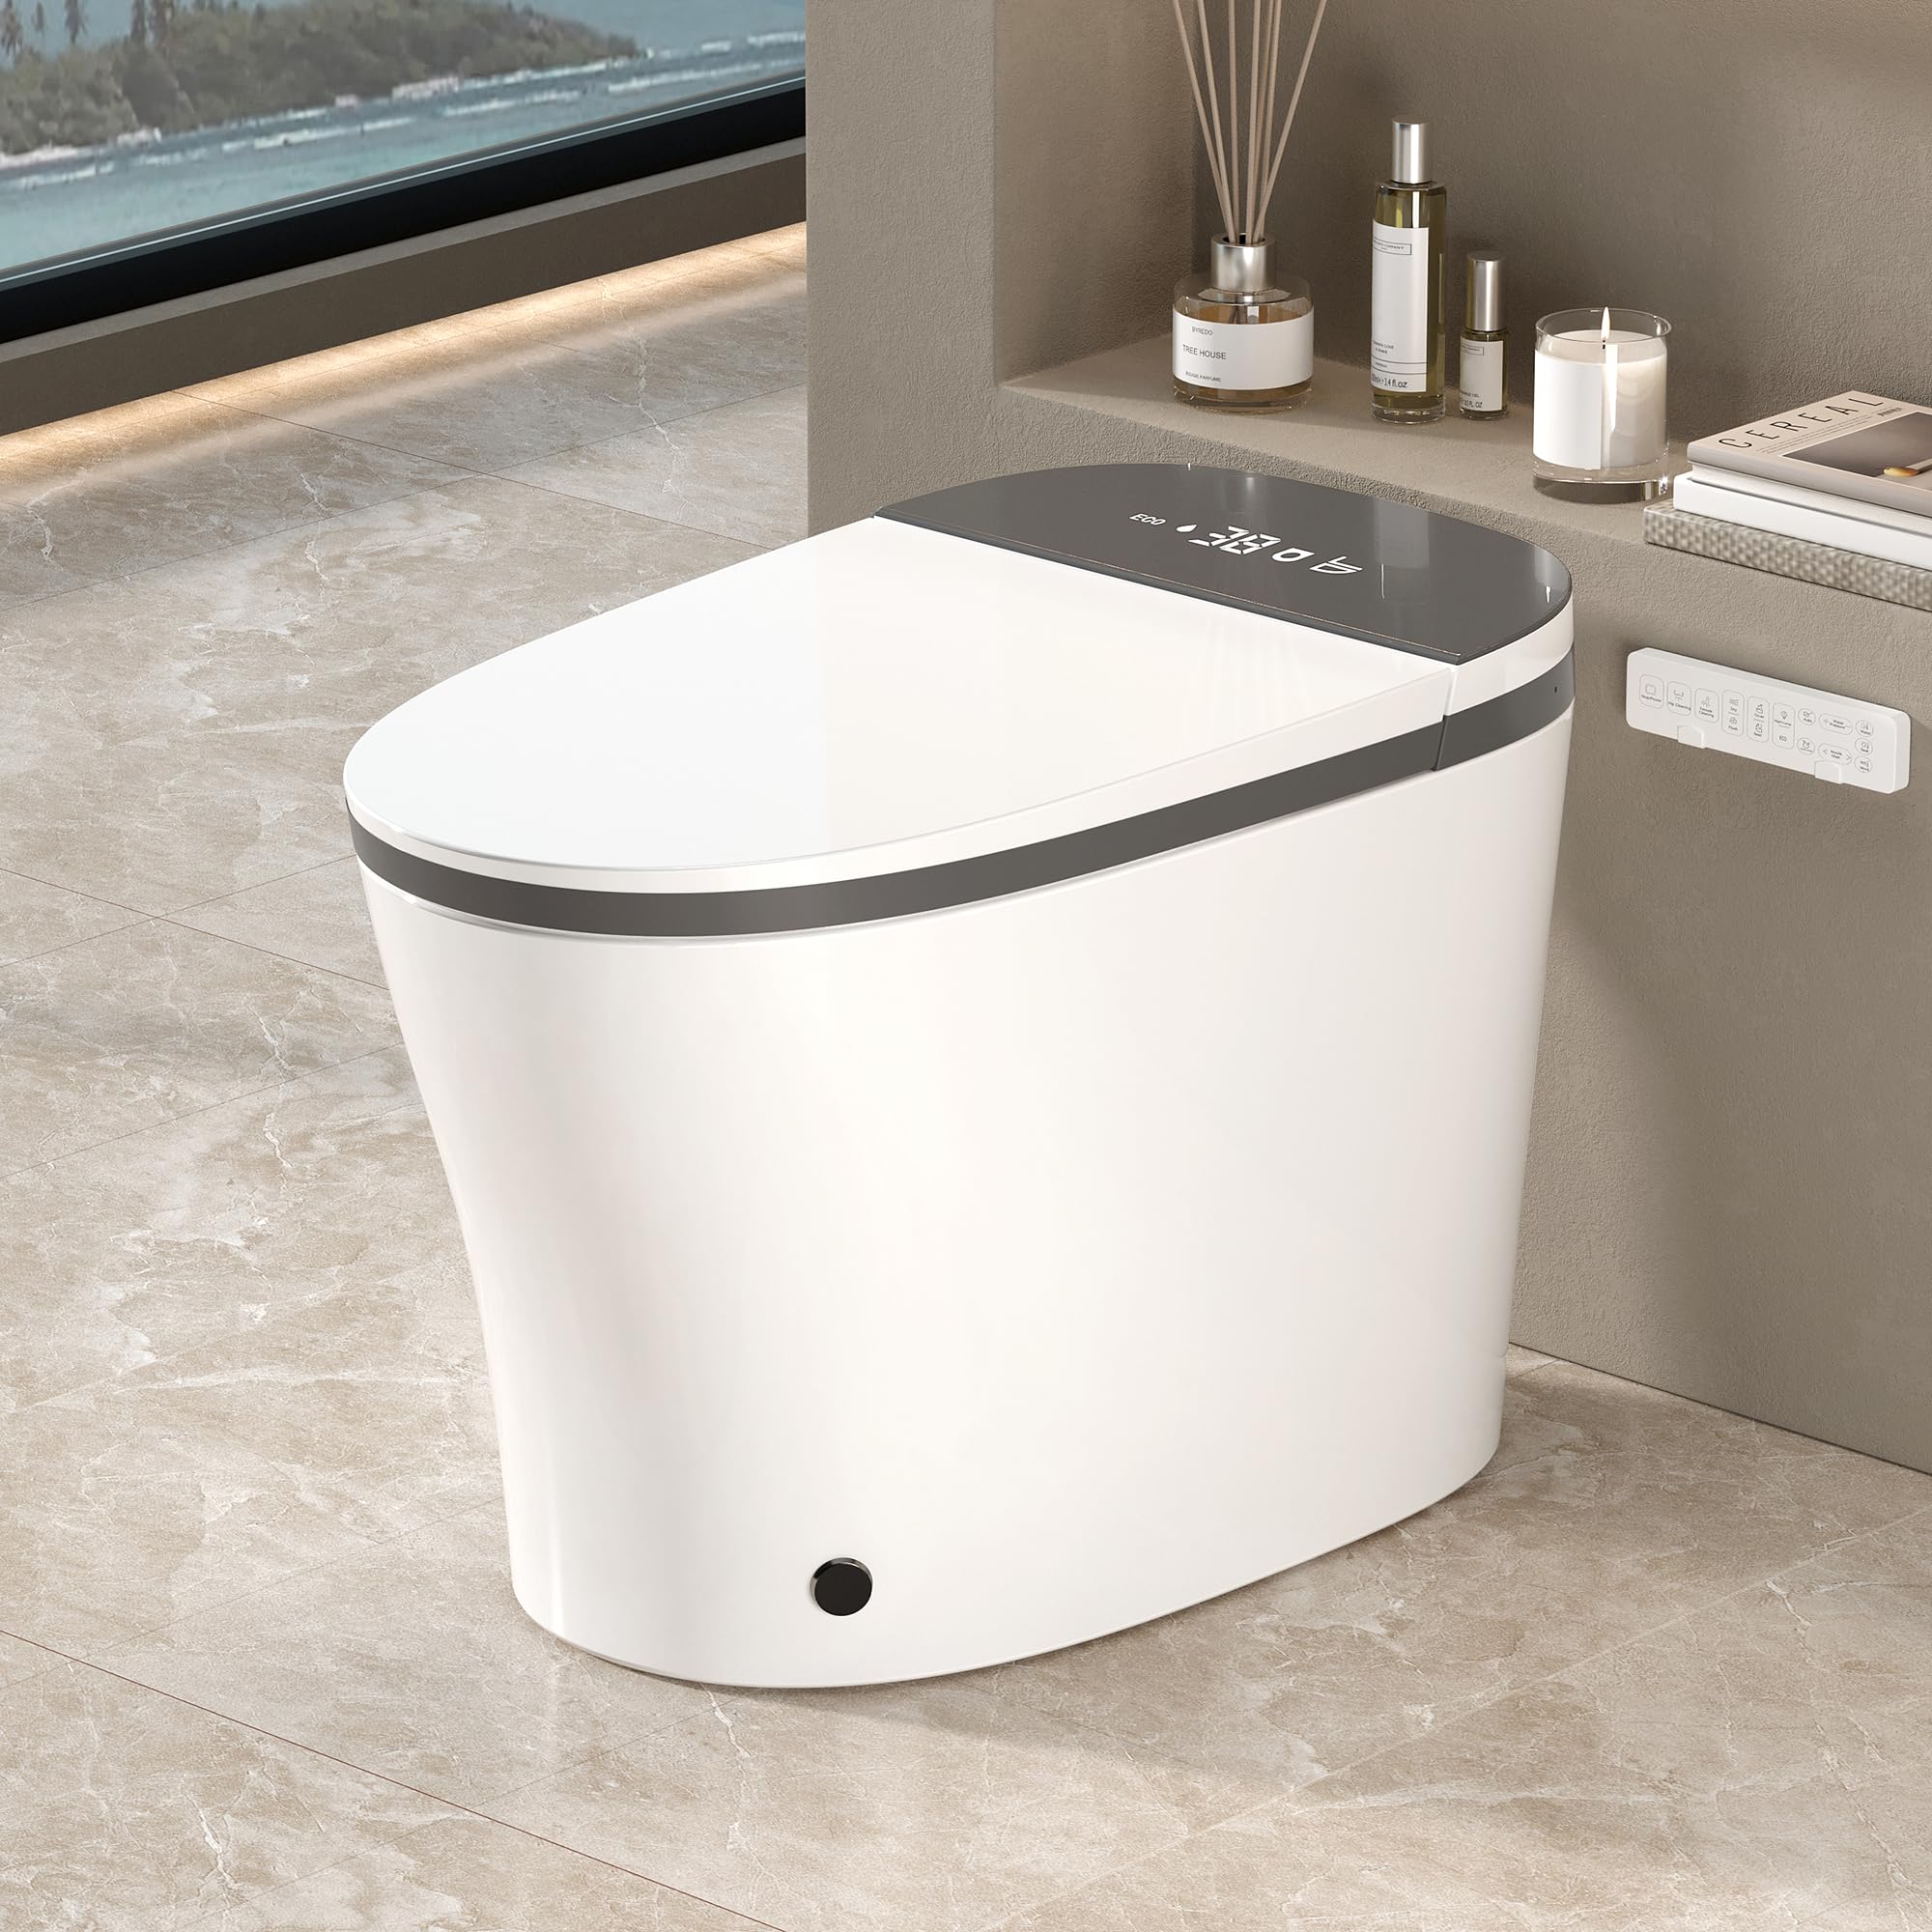
Figure 1.1: WinZo Smart Toilet, Model SM8013-1H
2. اطلاعات ایمنی
Observe all safety warnings and precautions to prevent injury or damage. This appliance is for household use only. Do not attempt to repair or modify the unit yourself. Contact qualified service personnel for assistance.
اقدامات احتیاطی مهم:
- Ensure the power supply is 110V and properly grounded.
- دستگاه را در آب فرو نبرید و یا مستقیماً آب را روی قطعات الکتریکی اسپری نکنید.
- Keep children and individuals with reduced physical, sensory, or mental capabilities away from the unit unless supervised.
- قبل از تمیز کردن یا انجام هرگونه تعمیر و نگهداری، برق را قطع کنید.
- Do not use abrasive cleaners or harsh chemicals on the toilet surface.
- The tankless design requires a minimum water pressure of 0.15 Mpa.

Figure 2.1: Multiple Security Protection Features
3. اجزای محصول
The WinZo Smart Toilet includes the following main components:
- Smart Toilet Unit (one-piece ceramic body)
- Integrated Bidet System
- صندلی گرم کن
- نمایشگر LED
- نور شب
- Remote Control (All-in-One)
- Installation Hardware (e.g., mounting bolts, wax ring)
- شیلنگ تامین آب

Figure 3.1: Product Dimensions and Installation Requirements
۱. راهاندازی و نصب
Professional installation is recommended. Ensure all local plumbing and electrical codes are met. The toilet is designed for a standard 12-inch rough-in.
مراحل نصب:
- منطقه را آماده کنید: Turn off the water supply to the existing toilet and flush to empty the tank. Remove the old toilet. Clean the flange area thoroughly.
- Install Mounting Bolts: Secure the mounting bolts to the floor flange.
- Place Wax Ring: Position a new wax ring around the drain opening on the floor flange.
- توالت را تنظیم کنید: Carefully lower the WinZo Smart Toilet onto the mounting bolts, ensuring the wax ring creates a seal. Press down firmly and evenly.
- توالت را محکم کنید: Install washers and nuts onto the mounting bolts. Tighten gradually and evenly to prevent cracking the ceramic. Do not overtighten.
- منبع آب را وصل کنید: Connect the water supply hose from the angle stop valve to the toilet's water inlet. Ensure a tight, leak-free connection. The toilet requires a minimum water pressure of 0.15 Mpa.
- اتصال برق: Plug the toilet's power cord into a grounded 110V electrical outlet.
- عملکرد تست: منبع آب را باز کنید و نشتی را بررسی کنید. تمام عملکردهای توالت را طبق دستورالعملهای عملیاتی آزمایش کنید.
5. دستورالعمل های عملیاتی
Your WinZo Smart Toilet offers a range of automated and customizable features for enhanced comfort and hygiene.
5.1 Auto Open/Close & Flush
- باز شدن درب: The lid automatically opens as you approach the toilet.
- Seat Opening (Foot Kick): For standing use, a gentle foot kick near the sensor will open the seat.
- شستشوی خودکار: توالت فرنگی پس از استفاده به طور خودکار سیفون را میکشد.
- Lid Closing: The lid closes automatically after a set period (e.g., 90 seconds) or after flushing.

Figure 5.1: Auto Open/Close and Flush Operation
5.2 Bidet Functions (Washing & Drying)
The bidet features instant warm water and adjustable settings.
- شستشوی زنانه: Rotate the side knob counter-clockwise or select on the remote.
- Rear Wash (Hip Wash): Rotate the side knob clockwise or select on the remote.
- Oscillating Wash (Mobile Wash): Select on the remote to move the nozzle forward and back for a wider cleaning area.
- تنظیم فشار آب: Use the remote to adjust water pressure.
- خشک کردن با هوای گرم: After washing, select the drying function on the remote. Adjust from four temperature settings.

Figure 5.2: Arc-Shaped Spray Nozzle and Wash Modes
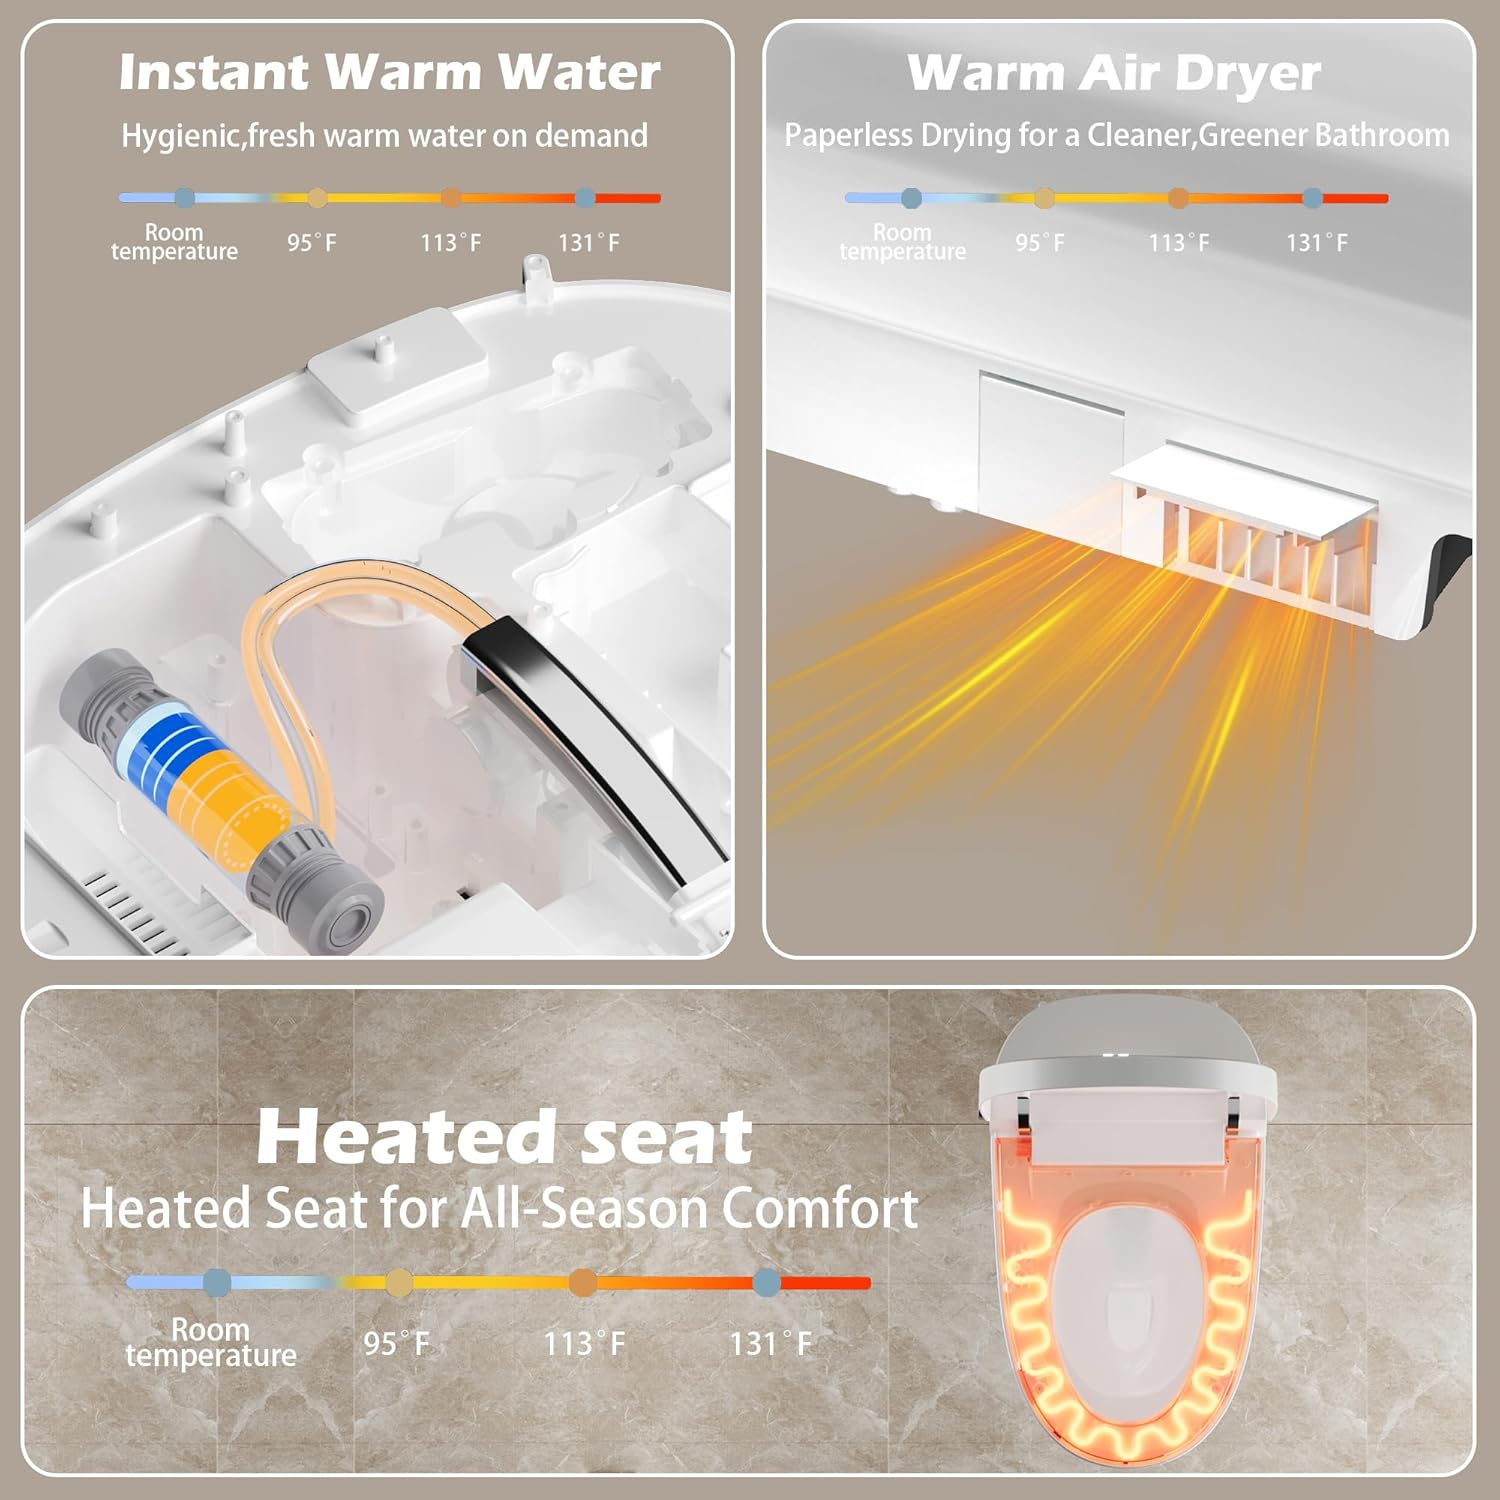
Figure 5.3: Instant Warm Water, Warm Air Dryer, and Heated Seat
5.3 Heated Seat & Night Light
- صندلی گرم شده: The seat offers four adjustable temperature settings for comfort. Control via remote.
- نور شب: A gentle LED night light illuminates the bowl, providing visibility in the dark. This feature activates automatically in low light conditions.

Figure 5.4: Instant Heated Seat

Figure 5.5: LED Display
5.4 کنترل
- Side Knob Control: A multi-functional knob on the side of the toilet allows for easy control of essential bidet functions (feminine wash, hip wash, stop).
- کنترل از راه دور: The included remote provides full control over all features, including wash modes, water pressure, water temperature, seat temperature, dryer temperature, and flush options.

Figure 5.6: Side Knob and Remote Control
6. تعمیر و نگهداری
تمیز کردن و نگهداری منظم، طول عمر و عملکرد بهینه توالت هوشمند شما را تضمین میکند.
۷.۱ تمیز کردن توالت
- نمای بیرونی: سطوح بیرونی را با نرم، دamp پارچه و یک پاککننده ملایم و غیر ساینده. از مواد شیمیایی قوی یا پدهای ساینده خودداری کنید.
- کاسه: Use a standard toilet brush and toilet bowl cleaner for the interior of the bowl.
- نازل: The bidet nozzle features a self-cleaning function. Activate this function periodically via the remote control. For manual cleaning, gently pull out the nozzle and wipe with a soft cloth. Do not use excessive force.

Figure 6.1: Nozzle Self-Cleaning Feature
6.2 تعمیر و نگهداری فیلتر
Periodically check the water inlet filter for debris. If clogged, turn off the water supply, disconnect the hose, and clean the filter screen. Reassemble and check for leaks.
6.3 برقtage
The toilet includes a built-in battery compartment (batteries not included) to ensure flushing capability during power outages. Install appropriate batteries as per the compartment markings.
7 عیب یابی
برای مشکلات رایج و راهحلهای آنها به جدول زیر مراجعه کنید. اگر مشکل همچنان ادامه داشت، با پشتیبانی مشتری تماس بگیرید.
| مشکل | علت احتمالی | راه حل |
|---|---|---|
| برق/صفحه نمایش LED خاموش نیست | Power cord unplugged, circuit breaker tripped, no power to outlet. | Check power connection, reset circuit breaker, test outlet with another device. |
| No water for bidet/flush | Water supply valve closed, water pressure too low, inlet filter clogged. | Open water supply valve, ensure minimum 0.15 Mpa pressure, clean inlet filter. |
| صندلی گرم شونده کار نمیکند | Seat heating function off, temperature setting too low, seat sensor not detecting user. | Activate heating via remote, increase temperature setting, ensure proper seating. |
| Auto open/close not working | Sensor obstructed or dirty, auto function disabled. | Clean sensor area, ensure no obstructions, check remote settings for auto function. |
| نشتی | Loose connections, damaged wax ring, cracked ceramic. | Check all water connections and tighten. If wax ring or ceramic is damaged, professional repair or replacement may be needed. |
8. مشخصات
| ویژگی | جزئیات |
|---|---|
| شماره مدل | SM8013-1H |
| رنگ | خاکستری |
| ابعاد محصول (D x W x H) | ۵.۹ اینچ در ۱۱.۸ اینچ در ۱۴.۶ اینچ |
| مواد | سرامیک |
| وزن مورد | 95 پوند |
| خشن در | 12 اینچ |
| برق مورد نیاز | 110 ولت |
| حداقل فشار آب | 0.15 مگاپاسکال |
| جنس صندلی | پلاستیک |
| روش نصب | کف مونتاژ |
| اجزای شامل | Smart Toilet, Remote Control |
9. ضمانت و پشتیبانی
For warranty information and customer support, please refer to the documentation included with your purchase or visit the official WinZo webرسید خرید خود را به عنوان مدرک خرید برای درخواستهای گارانتی نگه دارید.
If you encounter any issues not covered in the troubleshooting section, or require further assistance, please contact WinZo customer service.