1. مقدمه
This manual provides essential information for the setup, operation, and maintenance of your FANPEEC Fanless Mini PC, Model FA-H7. This industrial-grade mini PC is designed for reliable, silent operation, featuring an Intel Core i5-8350U processor, 16GB DDR4 RAM, and a 256GB M.2 SSD. It supports 4K dual-screen display, dual Gigabit LAN, WiFi, and Bluetooth 4.2, making it suitable for various applications from business to industrial automation.

تصویر 1.1: جلو view of the FANPEEC Fanless Mini PC FA-H7, showcasing its compact design and fanless heatsink chassis.
2. اطلاعات ایمنی
- منبع تغذیه: Use only the provided power adapter. Ensure the power outlet matches the voltage الزامات
- تهویه: Although fanless, ensure adequate airflow around the device to prevent overheating. Do not block the heatsink fins.
- محیط زیست: Avoid exposing the device to water, moisture, extreme temperatures, or direct sunlight. Operate in a clean, dry environment.
- رسیدگی: با احتیاط حمل کنید. دستگاه را نیندازید یا در معرض ضربات شدید قرار ندهید.
- سرویس دهی: خودتان اقدام به باز کردن یا تعمیر دستگاه نکنید. تمام مراحل سرویس را به پرسنل متخصص ارجاع دهید.
3. محتویات بسته
مطمئن شوید که تمام موارد ذکر شده در زیر در بسته شما موجود است:
- FANPEEC Mini PC (FA-H7)
- 2 عدد آنتن وای فای
- VESA Bracket (for mounting)
- آداپتور برق
- سیم برق
- کابل SATA
- راهنمای کاربر (این سند)

Image 3.1: Visual representation of the items included in the FANPEEC Mini PC package, including the PC unit, antennas, VESA mount, power adapter, power cord, SATA cable, and user manual.
4. محصول تمام شدview
4.1 ویژگی های کلیدی
- پردازنده: Intel Core i5-8350U (4 Cores, 8 Threads, up to 3.60GHz, 6MB Smart Cache)
- حافظه: رم 16 گیگابایتی DDR4 (قابل ارتقا تا 32 گیگابایت)
- ذخیره سازی: 256GB M.2 SSD (expandable with an additional 2.5-inch SSD/HDD via SATA 3.0)
- گرافیک: Integrated Intel UHD Graphics, supporting 4K resolution at 30Hz
- خروجی نمایش: 2 x HDMI ports for dual-screen display
- شبکه: 2 x Gigabit RJ45 LAN ports, Dual-band WiFi 5, Bluetooth 4.2
- پورت ها: 4 x USB 3.0, 4 x USB 2.0, 2 x RS232 COM, Audio (SPK/MIC)
- سیستم عامل: Pre-installed Windows 11 Pro, supports Windows 10 and Linux
- طراحی: Fanless, industrial-grade chassis for silent and stable 24/7 operation

Image 4.1: Diagram illustrating the Intel Core i5-8350U processor, highlighting its specifications such as 3.60GHz max frequency, 15W TDP, 14nm lithography, and 6MB cache.
۲.۱ طرحبندی پورتها
The FANPEEC Mini PC features a comprehensive set of ports to meet diverse connectivity needs:

تصویر ۱.۱: جلو و عقب views of the FANPEEC Mini PC, labeling all available ports including USB 3.0, USB 2.0, COM ports, HDMI, LAN, and audio jacks.
4.3 Internal Structure and Expandability
The internal design allows for easy upgrades and expansion:
- 1 x DDR4 260-pin SO-DIMM slot (Max 32GB)
- 1 x M.2 2280 slot for NVMe/SATA SSD (Max 2TB)
- 1 x SATA 3.0 port for 2.5-inch HDD/SSD expansion
- 1 x Mini PCIe slot (supports WiFi/4G/3G module, WiFi module installed by default)
- 1 x SIM slot (for Nano-SIM card, requires 4G/3G module)

Image 4.3: Diagram showing the internal layout of the FANPEEC Mini PC, highlighting the DDR4 RAM slot, M.2 SSD slot, Mini PCIe slot, and SIM card slot for various expansion options.
۱. دستورالعملهای راهاندازی
۴.۱ اتصال اولیه
- Attach WiFi Antennas: Screw the two WiFi antennas onto the corresponding connectors on the rear of the mini PC.
- اتصال لوازم جانبی: Connect your monitor(s) to the HDMI ports, keyboard and mouse to the USB ports.
- اتصال شبکه: For wired internet, connect an Ethernet cable to one of the RJ45 LAN ports. For wireless, ensure antennas are attached.
- اتصال برق: Connect the power adapter to the DC-IN port on the mini PC, then plug the power cord into a wall outlet.
5.2 نصب VESA
The mini PC supports VESA mounting for discreet placement behind a monitor or on a wall.
- Attach the VESA bracket to the back of your monitor or desired mounting surface using appropriate screws.
- Slide the mini PC onto the VESA bracket until it clicks securely into place.

Image 5.1: Illustration of the FANPEEC Mini PC mounted behind a monitor using the VESA bracket, demonstrating space-saving placement options.
6. دستورالعمل های عملیاتی
6.1 روشن/خاموش
- روشن کردن: دکمه پاور واقع در پنل جلویی را فشار دهید. چراغ نشانگر پاور روشن خواهد شد.
- خاموش: To shut down the system, use the standard Windows 11 Pro shutdown procedure (Start > Power > Shut down). Avoid direct power disconnection during operation to prevent data loss.
6.2 سیستم عامل
Your mini PC comes pre-installed with Windows 11 Pro. Follow the on-screen instructions for initial setup, including language, region, and user account creation.

Image 6.1: Displays the FANPEEC Mini PC with multiple monitors showing different operating systems like Windows, Linux, and FreeBSD, indicating its compatibility.
۵.۶ اتصال به شبکه
- سیمی (اترنت): Once an Ethernet cable is connected, the system should automatically detect and connect to the network.
- Wireless (WiFi): In Windows, navigate to Settings > Network & internet > Wi-Fi, then select your network and enter the password.
۵.۲ تنظیم نمایشگر دوگانه
Connect two monitors to the HDMI ports. Windows 11 Pro will automatically detect both displays. You can configure display settings (extend, duplicate, or show only on one) by right-clicking on the desktop and selecting 'Display settings'.
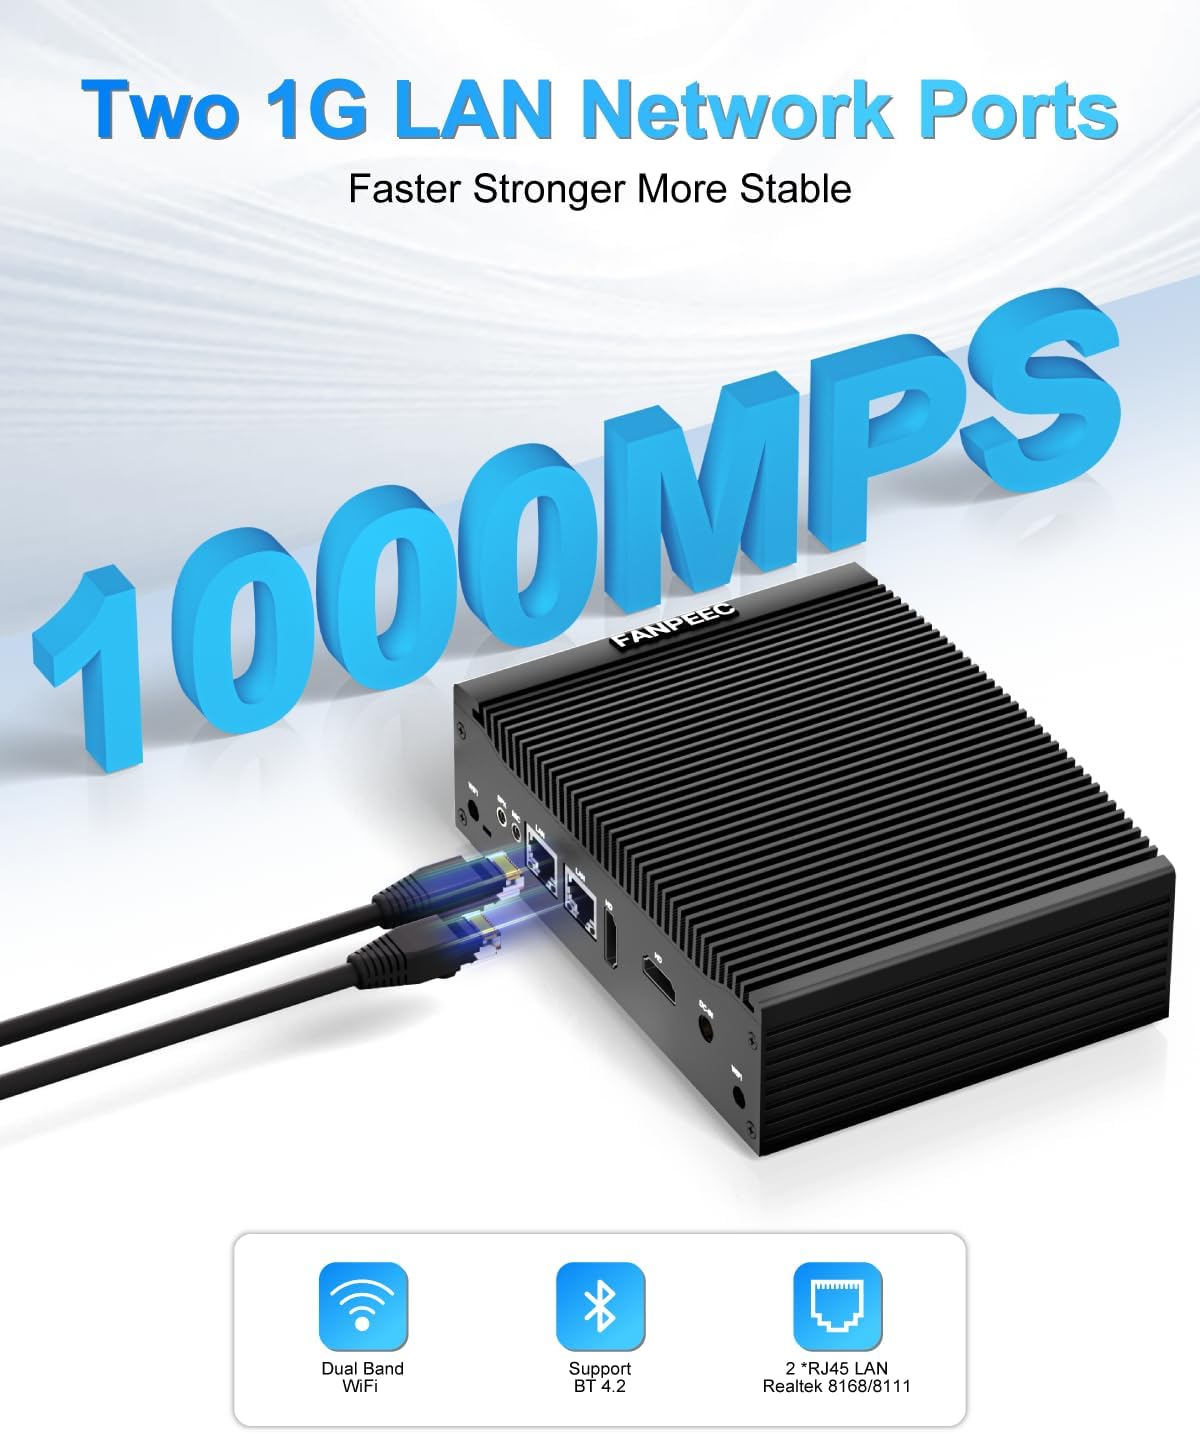
Image 6.2: The FANPEEC Mini PC connected to two monitors, demonstrating its dual-screen display capability for enhanced productivity.
7. تعمیر و نگهداری
7.1 تمیز کردن
- Regularly wipe the exterior of the mini PC with a soft, dry cloth.
- Use compressed air to gently clear dust from the heatsink fins and ports. Ensure the device is powered off and unplugged before cleaning.
7.2 به روز رسانی نرم افزار
Keep your operating system and drivers updated to ensure optimal performance and security. Windows 11 Pro will typically manage updates automatically, but you can manually check via Settings > Windows Update.
۳.۱ ارتقاء فضای ذخیرهسازی و حافظه
Refer to Section 4.3 for details on expanding storage and memory. When performing upgrades, ensure the device is powered off and unplugged. Use anti-static precautions to prevent damage to components.

Image 7.1: Highlights the fanless design ensuring quiet operation, along with features like dust and rust prevention, Kensington lock support, moisture proofing, and shock resistance, contributing to the device's durability.
8 عیب یابی
- بدون برق: Ensure the power adapter is securely connected to both the mini PC and a working power outlet. Check the power indicator light.
- بدون نمایش: Verify that the monitor is powered on and correctly connected to the HDMI port. Try a different HDMI cable or monitor if available.
- بدون اتصال به شبکه: For wired connections, check the Ethernet cable and router. For WiFi, ensure antennas are attached and the correct network is selected with the correct password. Restart the mini PC and your router.
- کند شدن سیستم: Check for excessive background processes or insufficient storage space. Consider upgrading RAM or SSD if performance issues persist.
- دستگاه جانبی شناسایی نشد: Ensure USB devices are properly plugged in. Try a different USB port. Update drivers if necessary.
9. مشخصات
| ویژگی | مشخصات |
|---|---|
| پردازنده | Intel Core i5-8350U (3.6 GHz max) |
| RAM | 16 GB DDR4 (SODIMM) |
| هارد دیسک | 256 GB M.2 SSD (Solid State) |
| سیستم عامل | ویندوز 11 پرو |
| گرافیک | گرافیک UHD اینتل |
| خروجی نمایش | ۲ عدد HDMI (4K@30Hz) |
| پورت های USB | 4 x USB 3.0 ، 4 x USB 2.0 |
| پورت های سریال | ۴ پورت RS2 |
| شبکه | 2 x Gigabit Ethernet (RJ45), WiFi 5, Bluetooth 4.2 |
| ابعاد (LxWxH) | 8.78 x 7.68 x 5.51 اینچ (22.3 x 19.5 x 14 سانتیمتر) |
| وزن مورد | 4.19 pounds (1.9 KG) |
| اجزای شامل | آداپتور برق |
10. گارانتی و پشتیبانی
10.1 اطلاعات گارانتی
Please refer to the warranty card included with your product or contact FANPEEC customer support for detailed warranty terms and conditions.
10.2 پشتیبانی مشتری
For technical assistance or product inquiries, please contact FANPEEC customer support:
- ایمیل پشتیبانی: fanpeec_service@126.com
- Amazon Order Support:
- وارد حساب آمازون خود شوید.
- Find your order for this product.
- Click "Get Help" or "Contact Seller."

Image 10.1: Contact information for FANPEEC customer support, including email and steps for obtaining support through Amazon orders.