
مقدمه
Thank you for choosing the Neoteck Digital Indicator and Dial Test Indicator set. This manual provides essential information for the safe and effective operation, setup, and maintenance of your precision measuring instruments. Please read this manual thoroughly before use and retain it for future reference.
اطلاعات ایمنی
- Always handle the instruments with care to avoid damage to precision components.
- Keep the instruments clean and free from dust, oil, and other contaminants.
- Do not expose the digital indicator to extreme temperatures, humidity, or direct sunlight.
- Avoid dropping or subjecting the instruments to strong impacts.
- Ensure the magnetic base is securely attached to a ferromagnetic surface before mounting any indicator.
- When replacing batteries, use the correct type and observe polarity.
محتویات بسته
مطمئن شوید که تمام موارد ذکر شده در زیر در بسته شما موجود است:
- 1 x Digital Dial Indicator (0-25.4 mm / 0-1 inch)
- 1 x Rear Cover for Digital Indicator
- 2 x 1.5V LR44 Batteries (one pre-installed, one spare)
- 1 x 0-0.03" Dial Test Indicator
- 1 x Magnetic Base Holder
- ۱ عدد جعبه نگهداری پلاستیکی
- 2 x Steel Dovetail Clamps
- ۱ عدد دفترچه راهنما (این سند)
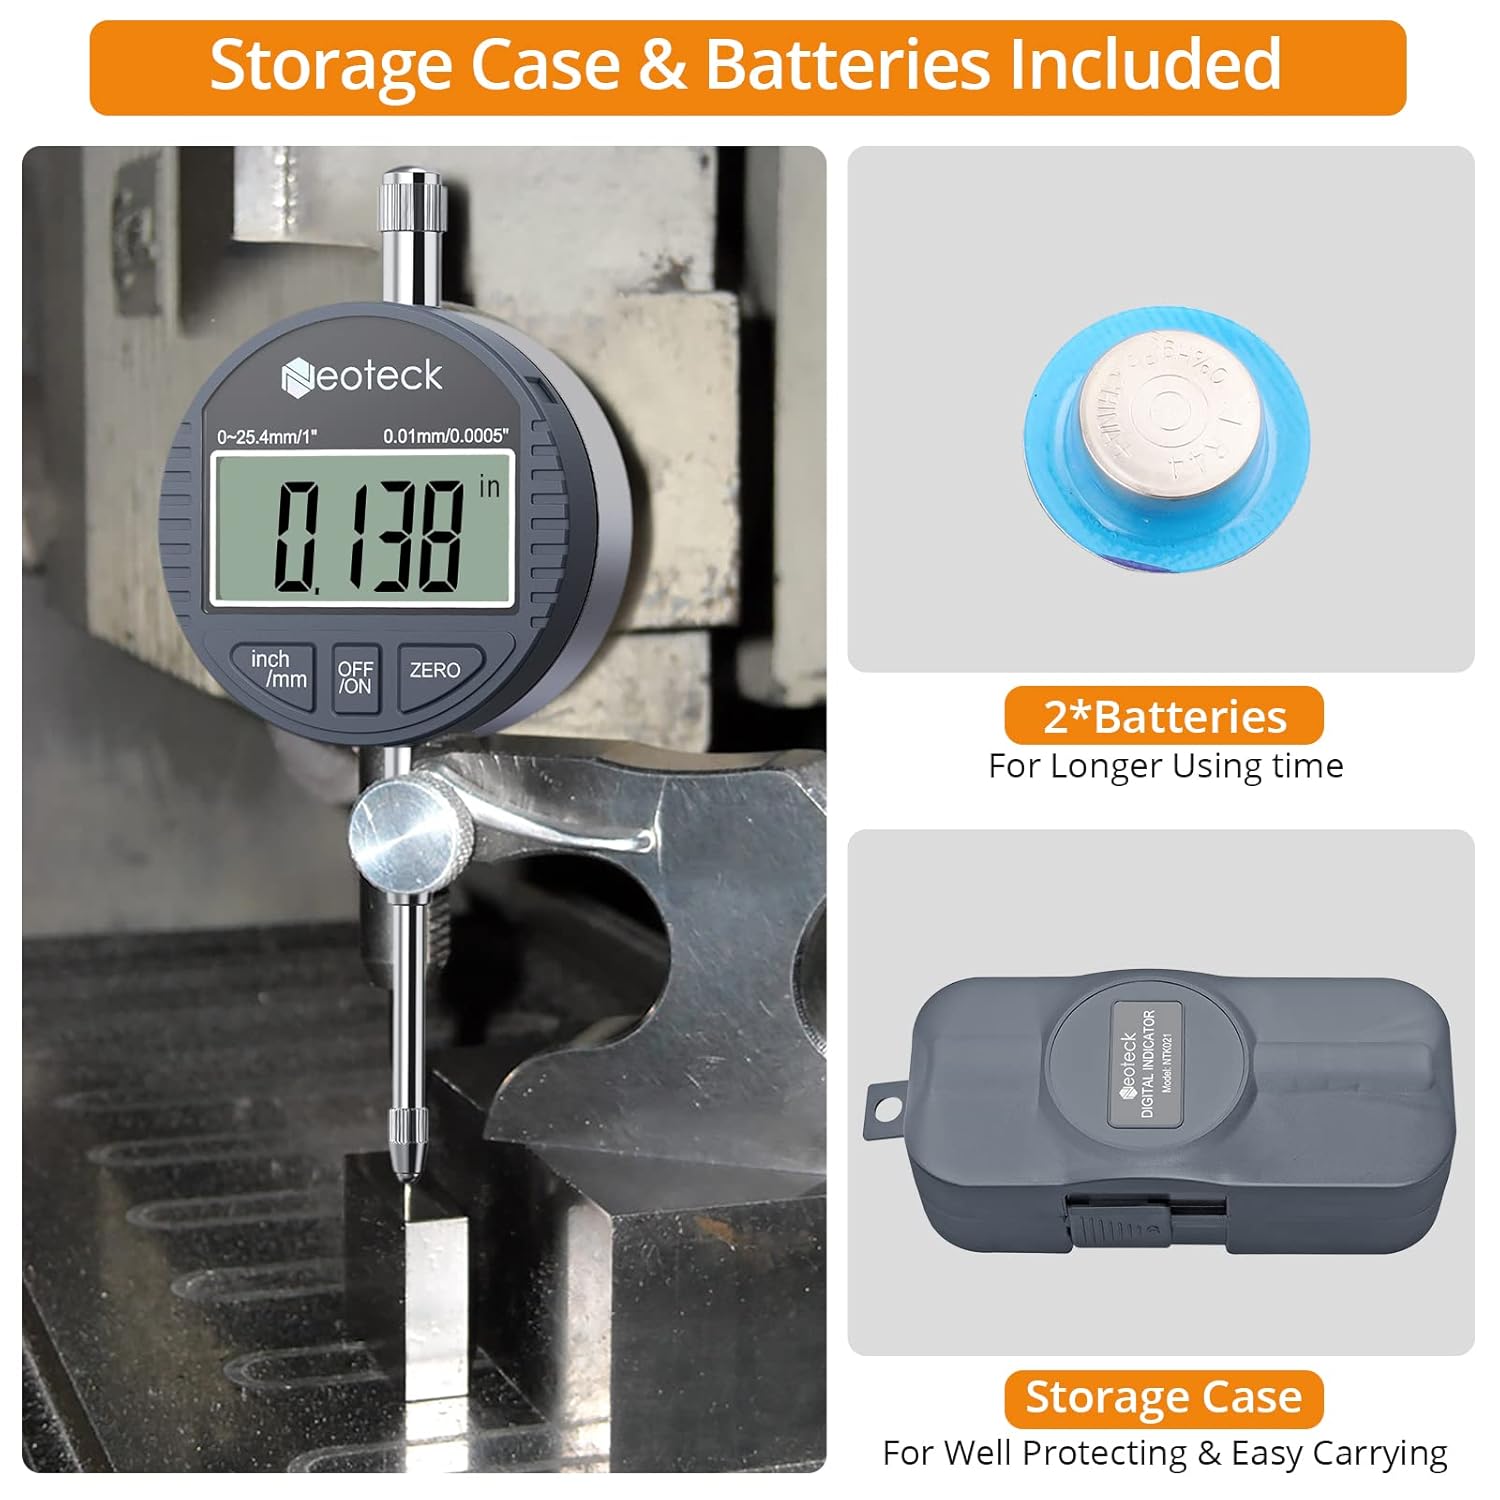
Image: The Neoteck Digital Indicator, spare batteries, and the protective storage case included in the package.
محصول تمام شده استview
Digital Indicator Components
- نمایش: Large LCD for clear measurement readings.
- Inch/mm Button: بین واحدهای امپریال (اینچ) و متریک (میلیمتر) تغییر وضعیت میدهد.
- دکمه خاموش/روشن: دستگاه را روشن یا خاموش میکند.
- دکمه صفر: Resets the display to zero at any position.
- اسپیندل: The movable rod that contacts the workpiece.
- نقطه تماس: The tip of the spindle, typically M2.5 screw thread for interchangeability.
- محفظه باتری: Located on the rear, for LR44 battery.

تصویر: دقیق view of the digital indicator showing the LR44 battery compartment, M2.5 screw thread contact point, and unit conversion display.
Magnetic Base and Holder Components
- پایه مغناطیسی: Features two solid magnet surfaces with an ON/OFF control switch.
- کنترل روشن/خاموش: Lever to activate or deactivate the magnetic force.
- بازوی نگهدارنده قابل تنظیم: Flexible, sturdy, and precise rotary joint for positioning the indicator.
- Fine-Tuning Knob: For precise adjustments of the indicator's position.
- Clampمکانیسم ing: Designed to securely hold digital or dial indicators with a 3/8 inch (9.52mm) clamping diameter.

Image: The magnetic base showing the ON/OFF control lever and illustrating its strong magnetic pull.

Image: The adjustable holder arm of the magnetic base, detailing its dimensions and the 3/8 inch clamping diameter.
راه اندازی
1. Installing/Replacing Digital Indicator Battery
- Locate the battery compartment on the rear of the digital indicator.
- به آرامی درب باتری را باز کنید.
- Insert one LR44 1.5V battery, ensuring the correct polarity (+/-).
- درپوش باتری را محکم ببندید.
2. Attaching Indicator to Magnetic Base
- Ensure the magnetic base's ON/OFF switch is in the 'OFF' position.
- cl را شل کنیدamping screw on the adjustable holder arm.
- Insert the stem of either the digital indicator or the dial test indicator into the clampبه clamping diameter is 3/8 inch (9.52mm).
- cl را سفت کنیدamping screw to secure the indicator firmly.
- For the dial test indicator, use the provided steel dovetail clamps if necessary for alternative mounting angles.
تصویر: clamping mechanism of the magnetic base, illustrating the 3/8 inch diameter for indicator stems.
3. Securing the Magnetic Base
- Place the magnetic base on a clean, flat ferromagnetic surface.
- Move the ON/OFF control switch to the 'ON' position to activate the magnetic force. Ensure the base is firmly attached before proceeding.
- Adjust the flexible arm using the rotary joints and fine-tuning knob to position the indicator as required for your measurement.

Image: The magnetic base with its ON/OFF switch in the 'ON' position, demonstrating its secure attachment capability.
دستورالعمل های عملیاتی
Using the Digital Indicator
- روشن کردن: را فشار دهید خاموش/روشن button to turn on the digital indicator.
- تبدیل واحد: را فشار دهید اینچ / میلی متر button to switch between inches and millimeters as needed.
- تنظیم صفر: Bring the contact point into initial contact with the reference surface or workpiece. Press the صفر button to set the display to zero. This establishes your reference point for relative measurements.
- اندازه گیری: Move the indicator's contact point along the surface to be measured. The display will show the displacement from the zero point.
- خاموش: را فشار دهید خاموش/روشن button again to turn off the indicator. Note: The digital indicator does not remember the zero setting position after auto-off or manual power-off.
Image: The digital indicator display demonstrating unit conversion between inches and millimeters, and the zero setting function.
Using the Dial Test Indicator
- نصب: Secure the dial test indicator to the magnetic base using the clampمکانیزم ing
- موقعیت یابی: Adjust the flexible arm to bring the contact point of the dial test indicator into contact with the workpiece.
- تنظیم صفر: Rotate the outer bezel of the dial to align the '0' mark with the needle. This sets your reference point.
- اندازه گیری: Move the indicator along the surface. The needle will show the deviation from the zero point.

Image: The dial test indicator in various measurement scenarios, highlighting the ability to turn the dial to adjust the scale for zeroing.
برنامه های کاربردی
The Neoteck Digital Indicator and Dial Test Indicator are versatile tools suitable for various precision measurement tasks, including:
- Machine setup (e.g., CNC Lathes)
- Measuring runout and flatness
- Aligning components (e.g., 3D printer beds, table saw blades)
- General dimensional inspection

تصویر: مثالamples of the digital indicator being used in practical applications such as on a CNC Lathe, a 3D printer, and a table saw for precise measurements.
تعمیر و نگهداری
تمیز کردن
- Wipe the instruments with a soft, dry, lint-free cloth after each use.
- برای آلودگیهای سرسخت، از پارچهای به آرامی استفاده کنیدampened with isopropyl alcohol. Avoid harsh chemicals or abrasive cleaners.
- Ensure no liquid enters the electronic components of the digital indicator.
ذخیره سازی
- Store the instruments in their protective plastic case when not in use.
- Keep them in a dry environment, away from direct sunlight and extreme temperatures.
- Ensure the magnetic base is in the 'OFF' position during storage to prevent accidental attraction to other metal objects.
عیب یابی
| مشکل | علت احتمالی | راه حل |
|---|---|---|
| Digital indicator display is blank or flickering. | باتری ضعیف یا از کار افتاده؛ نصب نادرست باتری. | باتری LR44 را تعویض کنید و از قطب صحیح آن اطمینان حاصل کنید. |
| Inaccurate or inconsistent readings from digital indicator. | Dirty contact point or spindle; instrument not zeroed correctly; environmental factors (temperature changes). | Clean the contact point and spindle. Re-zero the instrument. Allow instrument to acclimate to ambient temperature. |
| پایه مغناطیسی محکم نگه نمیدارد. | ON/OFF switch in 'OFF' position; dirty base surface; non-ferromagnetic surface; thin metal surface. | Ensure switch is 'ON'. Clean base and mounting surface. Use on a ferromagnetic surface at least 30mm thick for maximum pull. |
| Indicator wobbles on the magnetic base arm. | Clamping screw not tightened sufficiently. | cl را سفت کنیدamping screw on the adjustable holder arm. |
مشخصات
نشانگر دیجیتال
- محدوده اندازه گیری: 0 - 25.4 mm (0 - 1 inch)
- رزولوشن: 0.01 میلی متر (0.0005 اینچ)
- نوع باتری: 1 x LR44 1.5V (included)
- Contact Point Thread: M2.5
نشانگر تست شماره گیری
- محدوده اندازه گیری: 0 - 0.03 inch
- رزولوشن: 0.0005 اینچ
Magnetic Base Holder
- Maximum Tensile Force: 90 lbs (40 kg) (Requires metal working surface/surface with thickness of 30mm and above for max pull)
- Lower Arm Dimensions: 2.6 اینچ (6.6 سانتی متر)
- Upper Arm Dimensions: 2.7 اینچ (7 سانتی متر)
- Total Height (approx.): 5.7 اینچ (13.6 سانتی متر)
- Clamping Diameter: 3/8 اینچ (9.52 میلی متر)
گارانتی و پشتیبانی
Neoteck products are manufactured to high-quality standards. For any questions, technical support, or warranty inquiries, please contact Neoteck customer service through the retailer where the product was purchased or visit the official Neoteck webسایت برای اطلاعات تماس