
مقدمه
This manual provides essential information for the safe and efficient use of your Tera EV Type 2 Wallbox 11kW 3-Phase Electric Vehicle Charging Station. Please read this manual thoroughly before installation and operation to ensure proper functionality and safety.
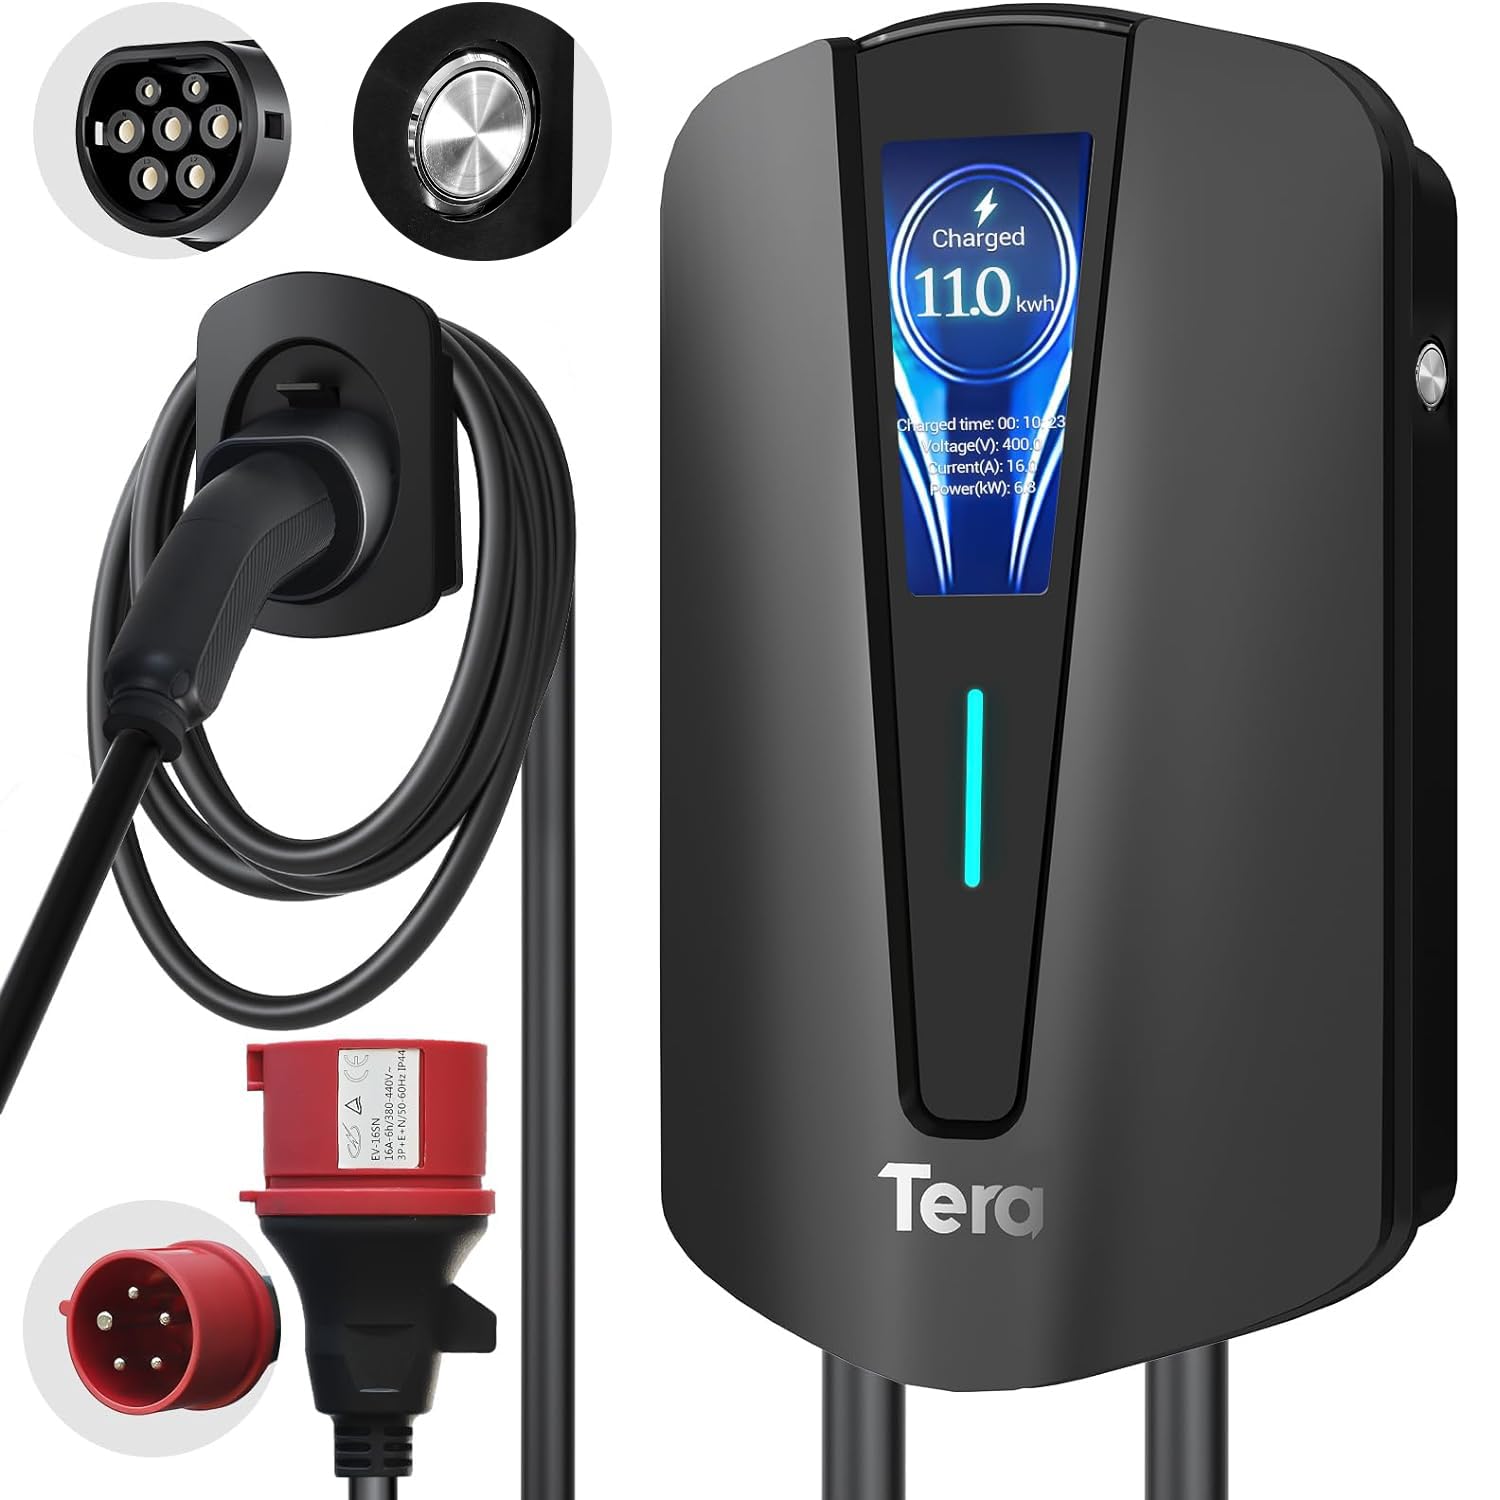
Image: The Tera EV Type 2 Wallbox charging station, featuring a sleek black design and integrated display.
The Tera EV charger is designed for electric vehicles (EVs) and plug-in hybrid electric vehicles (PHEVs), offering a maximum power output of 11 kW, 16A current, and 400V voltage. It complies with the European standard IEC 62196-2 and features advanced safety protections.

Image: The Tera EV charger in use, demonstrating its Type 2 and 3-phase CEE plug compatibility and plug-and-play operation.
Key features include a 7-meter charging cable, an integrated digital display for monitoring charging status, and an IP54 waterproof rating for outdoor use in various weather conditions. The pure copper charging cables ensure excellent conductivity and minimal heat generation.

Image: The Tera EV charger features a Type 2 connector and a CEE 3-phase plug, highlighting multiple safety protections.
راه اندازی و نصب
Professional installation by a qualified electrician is recommended for this 3-phase EV charging station to ensure compliance with local electrical codes and safety standards.
محتویات بسته:

Image: The package includes the EV charger unit, user manual, mounting plate, screw set, and a CEE 3-phase plug.
- EV Charger Type 2 Unit
- راهنمای کاربر
- صفحه نصب
- مجموعه پیچ
- CEE 3-Phase Plug
- نگهدارنده کابل
مراحل نصب:
- انتخاب مکان: Choose a suitable wall location for the charging station, ensuring it is within reach of your vehicle's charging port and a compatible power source. The location should be protected from direct sunlight and heavy rain if possible, despite its IP54 rating.
- سوراخ های مته: Use the mounting plate as a template to mark and drill holes on the wall.
- صفحه نصب ایمن: صفحه نصب را با استفاده از پیچ ها و لنگرهای ارائه شده به دیوار وصل کنید.
- Mount Charger: Carefully place the EV charger unit onto the mounting plate.
- Secure Charger: Fasten the anti-theft screw (if applicable) to secure the charger to the mounting plate.
- Install Cable Holder: Mount the cable holder near the charging station for convenient cable management.

Image: Visual guide for mounting the EV charger: drilling holes, attaching the mounting plate, securing the charger, and final assembly.
اتصال برق: Connect the CEE 3-phase plug to a compatible 400V, 16A 3-phase power outlet. Ensure the electrical circuit is properly protected with a residual current device (RCD) and circuit breaker as per local regulations.
دستورالعمل های عملیاتی
شروع شارژ:
- Ensure the charging station is properly connected to the power supply. The LED indicator on the unit should be lit.
- Take the Type 2 charging cable from the holder.
- Insert the Type 2 connector firmly into your electric vehicle's charging port.
- The charging process will begin automatically. The digital display will show charging progress, current power, and duration.

Image: The digital display provides real-time charging information, including energy delivered and charging speed.
متوقف کردن یک شارژ:
- Once charging is complete, or if you need to stop it prematurely, unlock your vehicle's charging port (if applicable).
- Remove the Type 2 connector from your vehicle.
- Return the charging cable to its holder on the wallbox.
شاخص های وضعیت:
The LED indicators and digital display provide visual feedback on the charger's status:
- سبز جامد: Power on, no load (ready to charge).
- سبز چشمک زن: Plug inserted, not charging (waiting for vehicle to initiate).
- آبی جامد: شارژ کامل شد
- آبی چشمک زن: شارژ در حال انجام است.

Image: Visual representation of the charger's status lights, indicating power, charging activity, and error states.
Adaptive Power Adjustment:
The charger features adaptive power adjustment to prevent overcharging and protect the vehicle's battery. The charging power may decrease as the battery approaches full capacity, ranging from 11 kW down to 1 kW, depending on the vehicle's requirements.

Image: The charger intelligently adjusts power output to optimize battery health and prevent overcharging.
حالت های شارژ:
The charger supports both three-phase and single-phase charging, adapting to the vehicle's capabilities.

Image: Comparison of three-phase and single-phase charging capabilities, showing how the charger adapts to different power inputs.
تعمیر و نگهداری
- نظافت منظم: قسمت بیرونی ایستگاه شارژ را با یک پارچه نرم و لطیف پاک کنید.amp پارچه از پاک کننده ها یا حلال های ساینده استفاده نکنید.
- بازرسی کابل: Periodically inspect the charging cable and connectors for any signs of wear, damage, or corrosion. If any damage is found, discontinue use and contact customer support.
- حفاظت از محیط زیست: The unit is IP54 rated for water and dust resistance. Ensure the cover is properly closed when not in use to maintain this protection.
- بدون قطعات قابل سرویس توسط کاربر: The internal components of the charging station are not user-serviceable. Do not attempt to open or repair the unit yourself.

Image: The IP54 rating ensures the charger's durability and functionality in various weather conditions, requiring minimal external maintenance.
عیب یابی
If you encounter issues, refer to the following common problems and their solutions. For persistent problems, contact customer support.
| مشکل | علت احتمالی | راه حل |
|---|---|---|
| شارژر روشن نمیشود. | No power from the outlet, faulty connection. | Check the CEE 3-phase plug connection and the power supply. Ensure the circuit breaker is on. |
| شارژ شروع نمی شود | Vehicle not ready, connector not fully inserted, or vehicle communication error. | Ensure the Type 2 connector is fully inserted. Check vehicle's charging settings. Re-plug the connector. |
| سرعت شارژ پایین. | Vehicle's battery management system limiting power, or external factors (e.g., grid load). | This may be normal due to adaptive power adjustment. Check vehicle's charging status. |
| Red LED indicator flashing. | Error detected (e.g., overcurrent, ground fault, overvoltagالف) | Refer to the error code on the digital display or the manual's error indicator section. Disconnect and reconnect. If persistent, contact support. |
Error Indicators (Red LED Flashing):
- 1 فلش: Ground fault protection.
- 2 فلش: حفاظت در برابر جریان بیش از حد
- 3 فلش: Earth leakage (ungrounded).
- 4 فلش: زیر / بیش از حدtagهشدار دهنده
- 5 فلش: خطای رله.
- 6 فلش: CP/CC fault.
If any red LED error occurs, disconnect the charger from the vehicle and power source, wait a few minutes, then reconnect. If the error persists, contact customer support.
مشخصات فنی
| ویژگی | مشخصات |
|---|---|
| شماره مدل | Q8-Schwarz |
| نام تجاری | ترا |
| نوع رابط | Type 2, CEE 16A 5-pin |
| دستگاه های سازگار | Electric Vehicles (EVs) and Plug-in Hybrid Electric Vehicles (PHEVs) |
| حجم ورودیtage | 400 ولت |
| Ampخشم | 16 الف |
| توان خروجی | 11 کیلو وات |
| جریان خروجی | 16 الف |
| خروجی جلدtage | 400 ولت |
| محدوده فرکانس | 50 هرتز |
| منبع تغذیه | AC |
| ویژگی خاص | نگهدارنده کابل |
| رنگ | مشکی |
| وزن | 4.6 کیلوگرم |
| رتبه بندی حفاظت از ورود (IP). | IP54 |
| دمای عملیاتی | -30 تا 50 درجه سانتی گراد |
| گواهینامه ها | CE، UKCA، RoHS |
سازگاری:
This charger is compatible with all Type 2 electric vehicles. Exampموارد زیر شامل، اما محدود به موارد زیر نیست:
- Tesla (Model S, 3, X, Y)
- Volkswagen (e-Golf, ID4)
- Jeep (Grand Cherokee 4xe, Wrangler 4xe)
- Toyota (Prius Prime, RAV4 EV, C-HR EV)
- Honda (EV Plus, Clarity Electric)
- Fiat (500e, 500e 3+1)
- Hyundai (Ioniq Electric, Kona Electric, Santa Fe Hybrid)
- Nissan (LEAF, LEAF S, LEAF S PLUS, Altra EV)
- Chevrolet (EV1, Bolt Volt)

Image: The Type 2 connector ensures broad compatibility with a wide range of electric vehicle models.
اطلاعات گارانتی
Tera products are manufactured to high-quality standards. For specific warranty terms and conditions, please refer to the warranty card included with your product or visit the official Tera webسایت. فاکتور خرید خود را برای موارد گارانتی نگه دارید.
پشتیبانی مشتری
For technical assistance, troubleshooting, or warranty inquiries, please contact Tera customer support through the following channels:
- Webسایت: Visit the official Tera webسایتی برای منابع پشتیبانی و فرمهای تماس.
- ایمیل: به بستهبندی محصول یا به اطلاعات رسمی مراجعه کنید webسایتی برای آدرسهای ایمیل خدمات مشتریان.
- تلفن: شمارههای تماس ممکن است در وبسایت رسمی موجود باشد webسایت یا در مستندات محصول شما.
When contacting support, please have your product model number (Q8-Schwarz) and proof of purchase readily available.