1. Introducción
Thank you for choosing the HITBOX ARC200E 3-in-1 Welding Machine. This versatile unit is designed for Stick (MMA), Lift TIG, and Flux Core MIG welding, offering robust performance for various applications. Featuring an 81V high no-load voltage for superior arc stability, synergic control for easy parameter selection, and a clear TFT-LCD display, the ARC200E is suitable for both beginners and experienced welders. Please read this manual thoroughly before operation to ensure safe and efficient use of your welding machine.
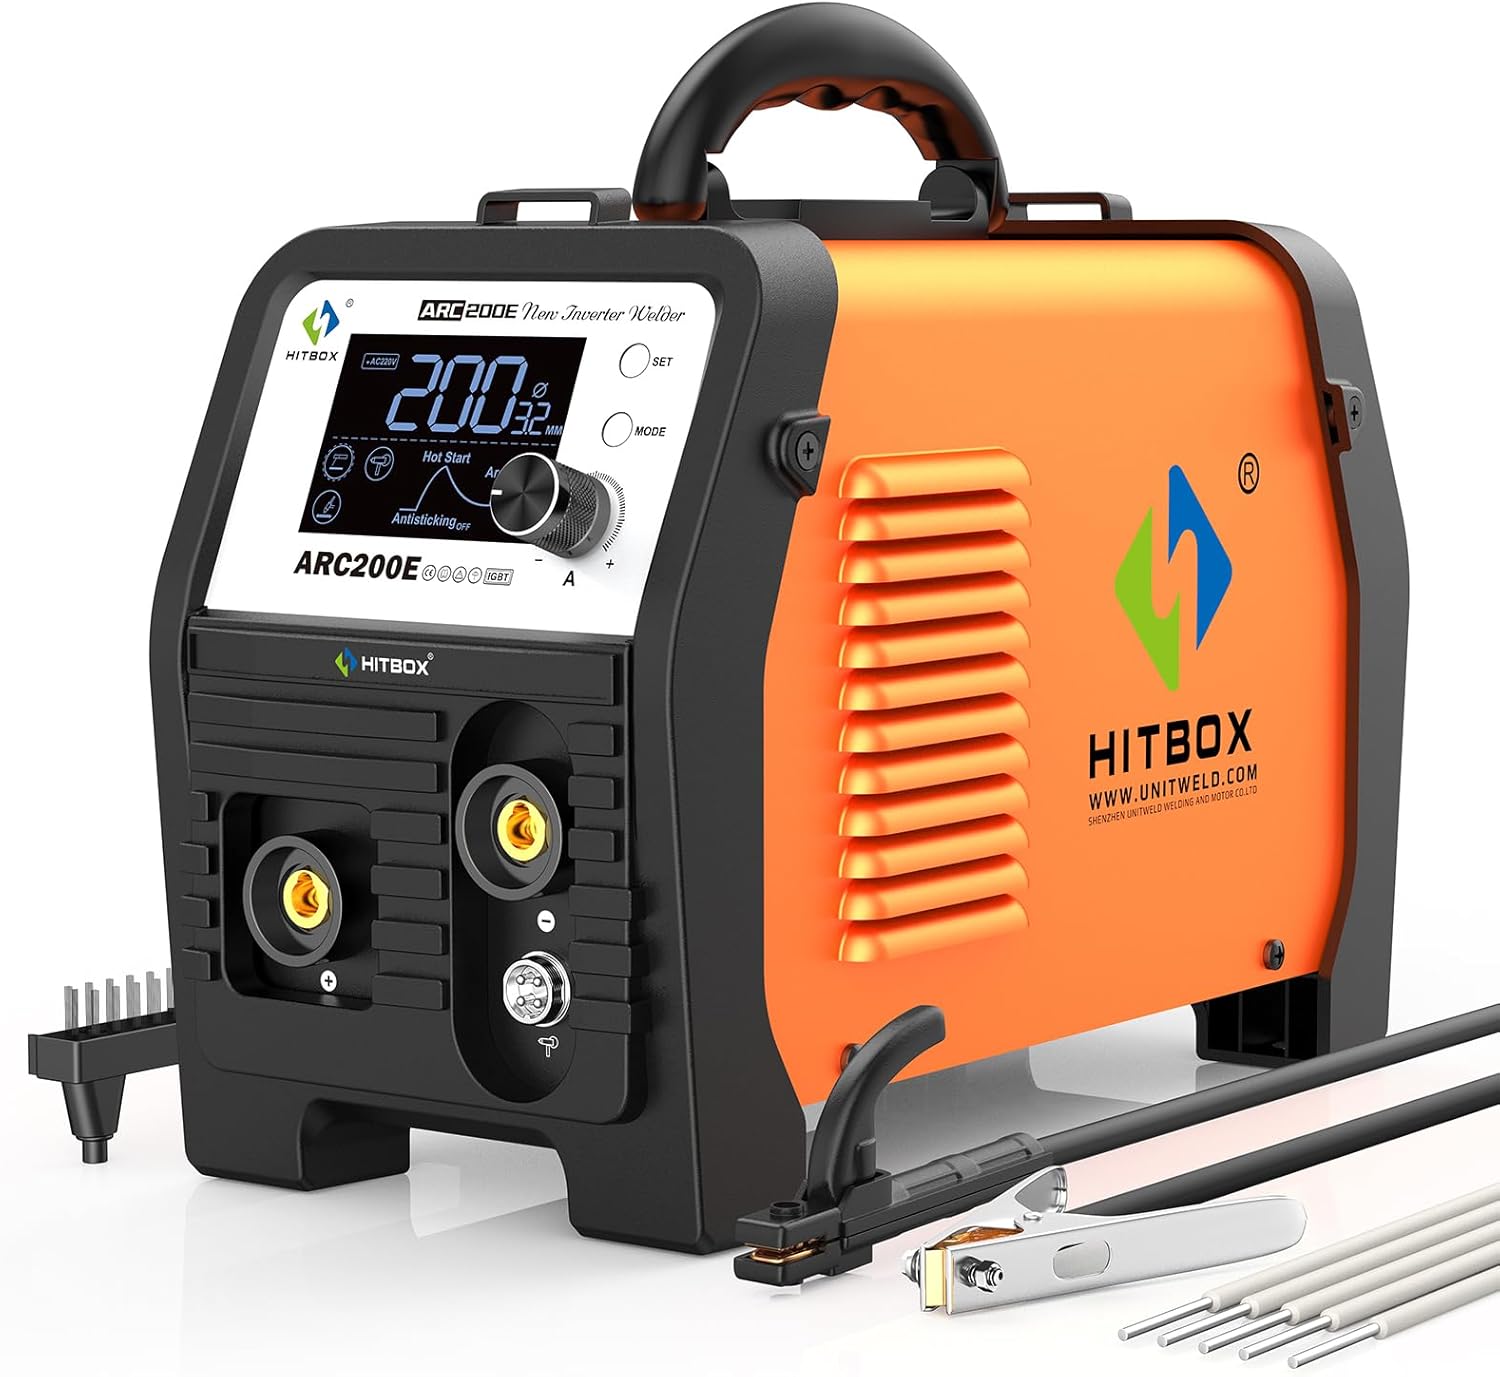
Figure 1: HITBOX ARC200E 3-in-1 Welding Machine.
2. Información de seguridad
Welding can be dangerous. Always follow safety precautions to prevent injury or damage. This section outlines general safety guidelines. Refer to local regulations and standards for comprehensive safety information.
- Protección para ojos y cara: Utilice siempre un casco de soldar con lentes de color adecuado para protegerse contra arcos eléctricos y chispas.
- Protección corporal: Use ropa resistente al fuego, guantes resistentes y calzado protector.
- Ventilación: Ensure adequate ventilation to remove welding fumes. Work in a well-ventilated area or use a fume extractor.
- Seguridad eléctrica: Asegúrese de que la máquina de soldar esté correctamente conectada a tierra. No la utilice en condiciones de humedad. Inspeccione los cables y las conexiones antes de cada uso para detectar posibles daños.
- Prevención de incendios: Mantenga los materiales inflamables alejados del área de soldadura. Tenga un extintor a mano.
- Área de trabajo: Mantenga el área de trabajo limpia y ordenada. Asegúrese de que sus pies estén bien apoyados.
- Niños y transeúntes: Mantenga a los niños y al personal no autorizado lejos del área de soldadura.
3. Producto terminadoview
The HITBOX ARC200E is a versatile welding machine offering three primary welding processes:
- Soldadura con electrodo revestido (MMA): Compatible with 1.6–4.0mm electrodes, suitable for welding material thickness of 2–10mm. Excellent for basic and cellulosic electrodes (E7018, E7016, E7028, E8018, E6010, E6011) in addition to acidic electrodes like E6013.
- Flux Cored MIG: Compatible with 0.8–1.0mm flux-cored wire, suitable for welding material thickness of 1–8mm. Requires a spool gun (sold separately).
- Levante TIG: Compatible with 1.6–2.4mm tungsten rods, suitable for welding material thickness of 1–4mm. A Lift TIG torch (e.g., WP17V) is not included and must be purchased separately.
Características principales:
- 81V High No-Load Voltage: Provides stronger starting power, higher arc stability, and greater arc penetration, ideal for various electrodes and long-distance welding.
- Control sinérgico: Automatically matches welding parameters to material thickness and current, simplifying setup and ensuring optimal weld quality.
- TFT-LCD Large Display: Offers an intuitive, informative, and user-friendly interface with better visibility compared to traditional LED displays.
- Adjustable Hot Start & Arc Force: Improves arc initiation and stability, enhancing weld quality.
- Anti-stick & VRD: Provides operational flexibility and enhanced safety.

Figure 2: The ARC200E supports Stick, Lift TIG, and Flux Core MIG welding modes.
4. Configuración
4.1 Componentes incluidos
Antes de comenzar, asegúrese de que todos los componentes estén presentes:
- 1 x ARC200E Welding Machine
- 1 x American adapter: 30A plug to 15A socket (for 110V connection)
- 1 x Electrode Holder (4.9FT)
- 1 x Cl molidoamp (4.9 pies)
- 1 x Manual de usuario
- 1 x cepillo

Figure 3: Standard accessories included with the ARC200E.
4.2 Conexión de alimentación
The ARC200E supports both 110V and 220V power inputs. Use the provided adapter for 110V connections. Ensure the power source matches the machine's requirements and is properly grounded.

Figure 4: The ARC200E supports both 110V and 220V power inputs.
4.3 Stick Welding (MMA) Setup
- Connect the electrode holder cable to the appropriate terminal (positive or negative depending on electrode type).
- Conecte el cable de tierraamp cable al terminal restante.
- Fije firmemente el soporte de tierra.amp to a clean, bare metal section of the workpiece.
- Inserte el electrodo de soldadura en el portaelectrodos.
4.4 Flux Cored MIG Setup (Spool Gun - Sold Separately)
- Connect the spool gun to the designated spool gun terminal on the machine.
- Install the flux-cored welding wire into the spool gun, ensuring it is properly fed through the roller guide track.
- Conecte el cable de tierraamp a la pieza de trabajo.
4.5 Lift TIG Setup (TIG Torch - Sold Separately)
- Assemble the TIG torch by installing the collet, collet body, tungsten electrode, and ceramic cup.
- Connect the TIG torch cable to the appropriate terminal on the machine.
- Conecte el cable de tierraamp a la pieza de trabajo.
- Connect the argon gas cylinder to the TIG torch via a regulator and hose. Ensure all gas connections are secure and leak-free.
5. Instrucciones de funcionamiento
5.1 Panel de control terminadoview
The ARC200E features a TFT-LCD display and intuitive controls:
- TFT-LCD Display: Shows welding mode, current (amperage), voltage, material thickness correlation, and status of features like Hot Start, Arc Force, Anti-stick, and VRD.
- Botón de ajuste: Se utiliza para ingresar a los menús de configuración o confirmar selecciones.
- Botón MODE: Used to cycle through welding modes (Stick, Flux Core MIG, Lift TIG) and other adjustable parameters.
- Perilla de valor: Ajusta la corriente de soldadura (amperage) and other selected parameter values.
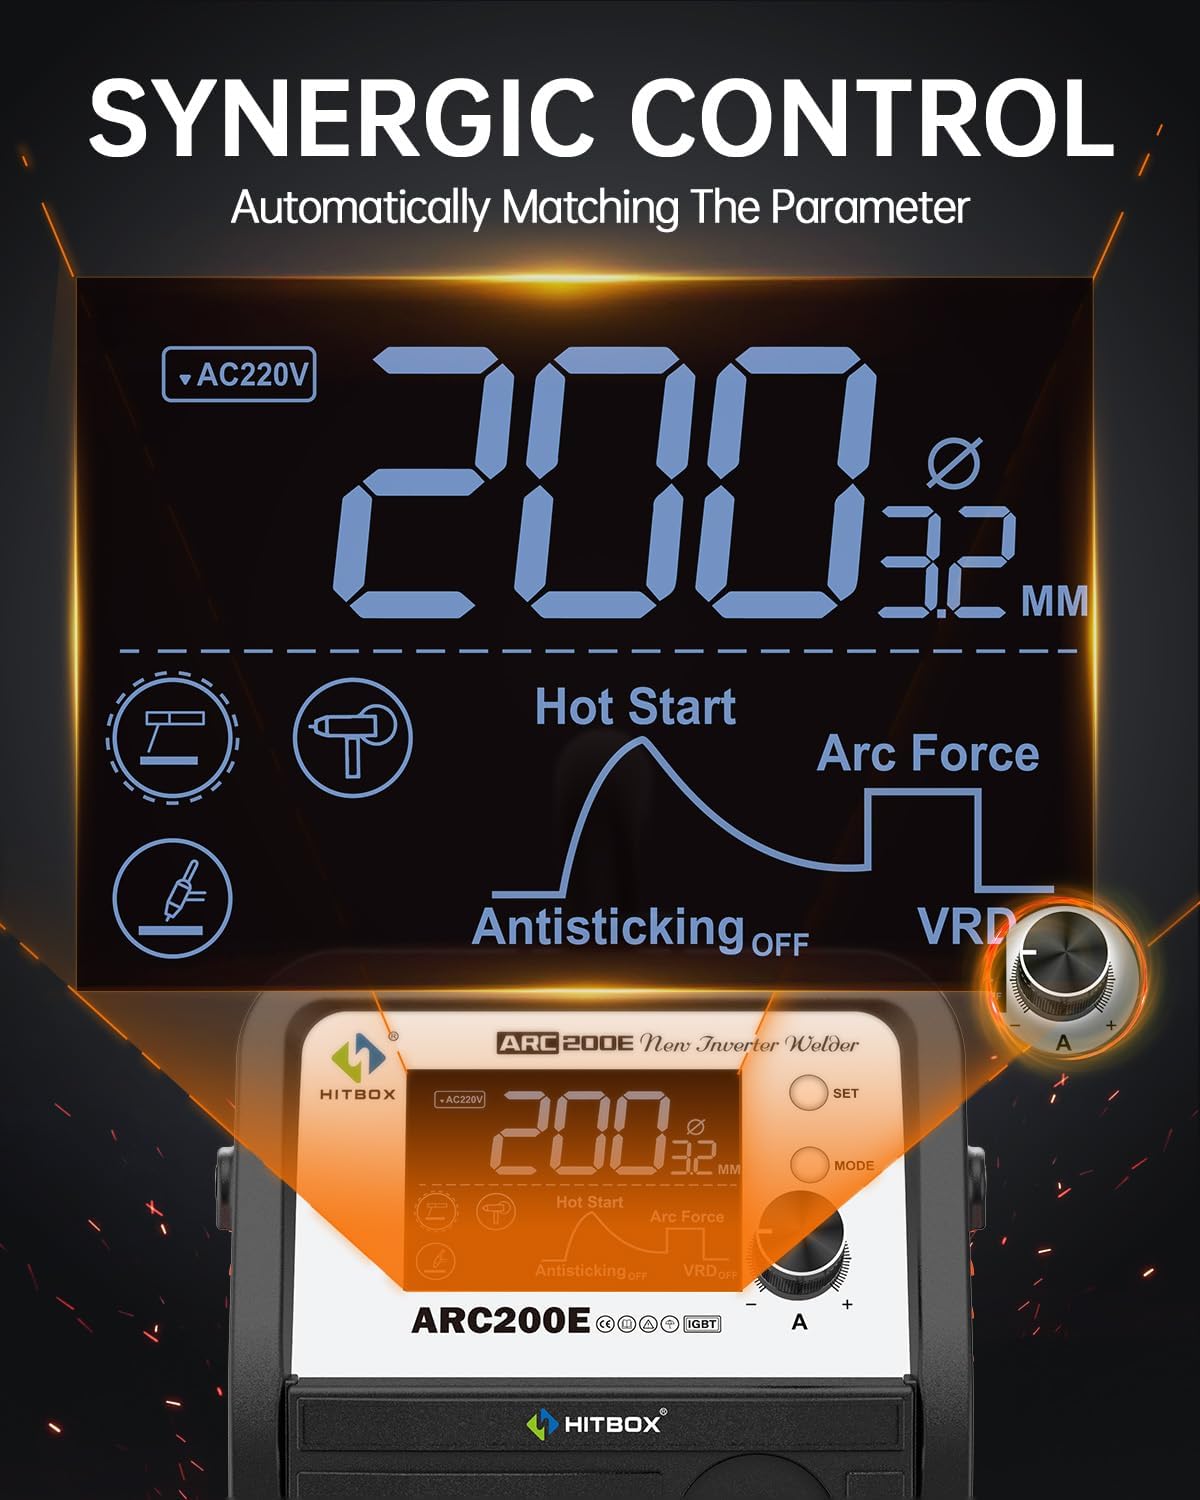
Figure 5: The TFT-LCD display provides clear information and synergic control.
5.2 Control sinérgico
The synergic control feature simplifies parameter setting. As you adjust the welding current with the Value Knob, the display will show the correlated material thickness, helping you quickly select appropriate settings for optimal welding performance.
5.3 Welding Modes and Features
Use the MODE button to select your desired welding process. Adjust parameters using the Value Knob and SET button.
- Arranque en caliente: Provides an initial surge of current to help ignite the arc easily, especially with difficult electrodes. Adjustable from 0-10.
- Fuerza del arco: Prevents the electrode from sticking to the workpiece by temporarily increasing current when the arc length shortens. Adjustable from 0-10.
- Antiadherente: Automatically reduces the current if the electrode sticks, preventing overheating and making it easier to detach. Can be toggled ON/OFF.
- VRD (Vol.tage Dispositivo de reducción): Reduce el vol de circuito abierto.tage to a safe level when not welding, enhancing operator safety. Can be toggled ON/OFF.

Figura 6: Example of Stick welding with the ARC200E.

Figura 7: Example of Flux Core MIG welding with the ARC200E and an optional spool gun.
5.4 Official User Guide Video
Video 1: Official HITBOX ARC200E User Guide. This video provides a visual demonstration of the machine's features and basic operation.
6. Mantenimiento
Regular maintenance ensures the longevity and safe operation of your HITBOX ARC200E welding machine.
- Limpieza: Regularly clean the machine's exterior with a dry cloth. Use compressed air to clear dust from ventilation openings.
- Inspección de cables: Periodically inspect all welding cables, connections, and the power cord for cuts, abrasions, or loose connections. Replace damaged components immediately.
- Portaelectrodos/Cl de tierraamp: Asegúrese de que el portaelectrodos y la conexión a tierra estén limpios.amp are clean and free of spatter to maintain good electrical contact.
- Almacenamiento: Guarde la máquina en un ambiente seco y libre de polvo cuando no esté en uso.
7. Solución de problemas
This section addresses common issues you might encounter with your ARC200E welding machine.
| Problema | Posible causa | Solución |
|---|---|---|
| No hay energía para la máquina | Interruptor de encendido apagado, cable de alimentación suelto, disyuntor disparado | Turn on power switch, check power cable connections, reset circuit breaker |
| Sin arco / Arco débil | Mala conexión a tierra, incorrecta amperage setting, wet electrode, damaged cable | Ensure clean ground connection, adjust amperage, use dry electrodes, inspect cables |
| El electrodo se pega con frecuencia | Bajo amperage, Anti-stick feature off, improper technique | Aumentar amperage, activate Anti-stick, improve welding technique |
| Indicador de sobrecalentamiento encendido | Ciclo de trabajo excedido, mala ventilación | Allow machine to cool down, ensure adequate ventilation, reduce welding time |
8. Especificaciones
Detailed technical specifications for the HITBOX ARC200E welding machine:
| Característica | Especificación |
|---|---|
| Fabricante | HITBOX |
| Número de pieza | ARC200E-HB |
| Peso del artículo | 13.77 libras |
| Dimensiones del producto | 17.8 x 13.8 x 7.8 pulgadas |
| Número de modelo del artículo | ARC200E-HB |
| Material | Metal |
| Fuente de poder | AC |
| Volumentage | 110 voltios, 220 voltios |
| Stick Electrode Compatibility | 1.6–4.0mm (2–10mm material thickness) |
| Flux Cored Wire Compatibility | 0.8–1.0mm (1–8mm material thickness) |
| Lift TIG Tungsten Rod Compatibility | 1.6–2.4mm (1–4mm material thickness) |

Figure 8: Physical dimensions and weight of the ARC200E.
9. Garantía y soporte
The HITBOX ARC200E welding machine comes with a 2-year quality support warranty. For any technical assistance, warranty claims, or product inquiries, please contact HITBOX customer support through the official channels provided at the time of purchase or on the manufacturer's webSitio. Conserve su comprobante de compra para validar la garantía.