Información importante de seguridad
Please read this manual carefully before using your new Haier HD100-A3959E-IT I-Pro Serie 5 heat pump dryer. Keep it for future reference. This appliance is designed for domestic use only. Improper use may result in electric shock, fire, or injury.
- Asegúrese de que el aparato esté correctamente conectado a tierra.
- No permita que los niños jueguen con el aparato ni lo manipulen.
- Nunca bloquee las aberturas de ventilación de la secadora.
- No seque prendas sin lavar en la secadora.
- Retire todos los objetos de los bolsillos, como encendedores y fósforos.
- Desenchufe siempre el aparato antes de limpiarlo o realizarle mantenimiento.
1. Configuración e instalación
1.1 Desembalaje
Carefully remove all packaging materials. Inspect the dryer for any damage during transit. Report any damage to your retailer immediately.
1.2 Colocación
The Haier HD100-A3959E-IT is a free-standing appliance. Place it on a firm, level floor. Ensure there is adequate ventilation around the dryer. Do not install the appliance behind a lockable door, a sliding door, or a door with a hinge on the opposite side to that of the tumble dryer, in such a way that a full opening of the tumble dryer door is restricted.
Dimensiones:
- Ancho: 596 mm
- Profundidad: 650 mm
- Altura: 850 mm
1.3 Nivelación
Ajuste las patas ajustables en la parte inferior de la secadora para asegurar que esté perfectamente nivelada. Un aparato nivelado reduce la vibración y el ruido durante su funcionamiento.
1.4 Conexión eléctrica
Connect the dryer to a properly earthed power outlet. The appliance requires a 220-240 V AC power supply. Do not use extension cords or multi-plugs.
1.5 Drenaje de condensado
This heat pump dryer collects water in a condensate tank. You can either manually empty this tank after each cycle or connect the dryer to a permanent drain using the provided drain hose. Refer to the diagram for connecting the drain hose.

Figura 1: Frente view of the Haier HD100-A3959E-IT I-Pro Serie 5 Heat Pump Dryer, illustrating its design and controls.
2. Instrucciones de funcionamiento
2.1 Carga de la secadora
Open the dryer door and load laundry into the drum. Do not overload the dryer; the maximum capacity is 10 kg. Ensure items are not tangled and distribute them evenly. Close the door firmly.
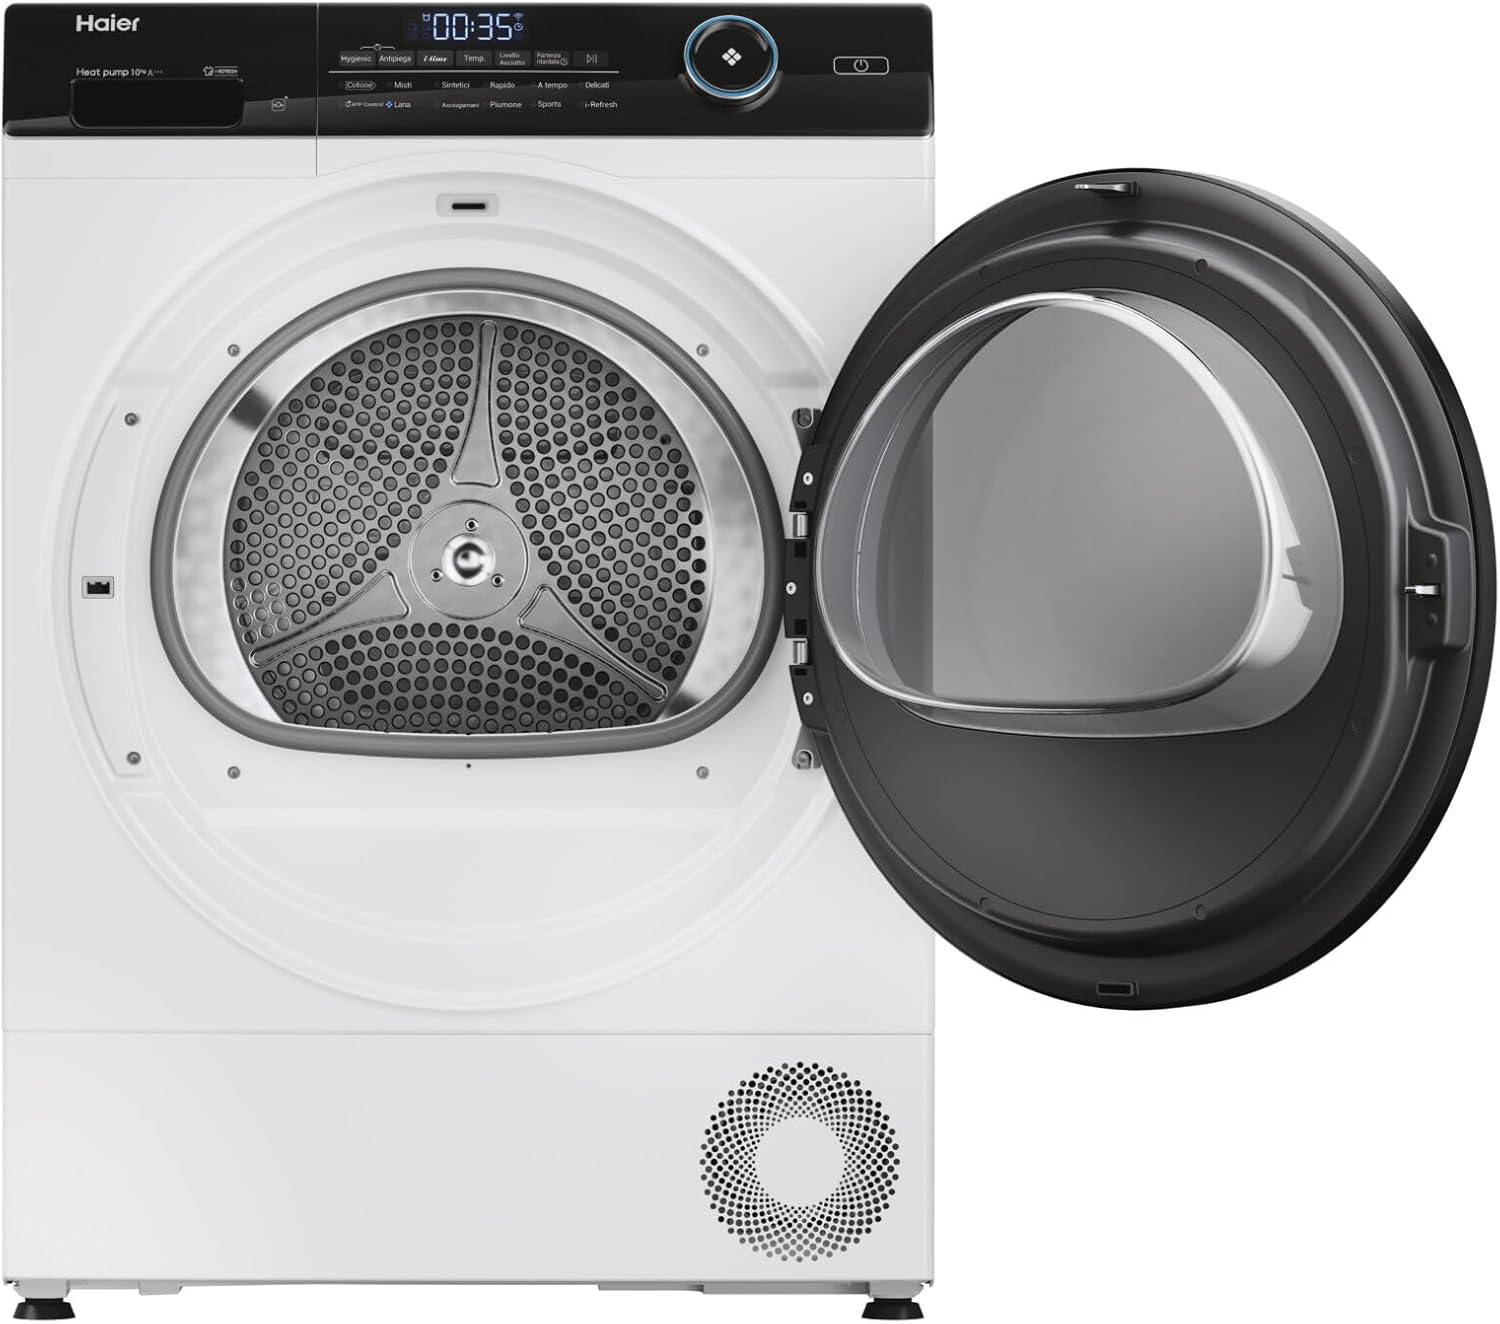
Figure 2: The dryer with its door open, revealing the stainless steel drum and internal light, ready for loading.
2.2 Selección de un programa
Turn the program selection knob to choose the desired drying program. The integrated display will show program details. Available programs include:
- 30min: Secado rápido para cargas pequeñas.
- Algodón: Para artículos de algodón.
- Delicati/Seta (Delicates/Silk): Secado suave para tejidos delicados.
- Piumino/piumone (Duvet/Quilt): For larger, bulky items like duvets.
- Hygienic drying: Para una mejor higiene.
- Mezcla: Para cargas de tejidos mixtos.
- Refrescar: To air and refresh clothes without full drying.
- Deporte: Para ropa deportiva.
- Sintetico (Synthetics): Para tejidos sintéticos.
2.3 Program Options and Features
Use the control buttons to select additional options:
- Comienzo demorado: Postpone the start of the drying cycle.
- Anti-crease Function: Reduce creasing secando periódicamente la ropa una vez finalizado el ciclo.
- Protección infantil: Bloquea el panel de control para evitar cambios accidentales.
- Wi-Fi / Bluetooth (hOn App): Connect your dryer to the hOn app for remote control, additional programs, and smart features.
- Internal Drum Light: Illuminates the drum for better visibility when loading and unloading.
- Indicador de tiempo restante: Shows the estimated time left for the current cycle.
2.4 Inicio y parada de un ciclo
Press the On/Off button to power on the dryer. After selecting your program and options, press the Start/Pause button to begin the cycle. To pause or stop a cycle, press the Start/Pause button again.
3. Mantenimiento y limpieza
El mantenimiento regular garantiza un rendimiento óptimo y prolonga la vida útil de su secadora.
3.1 Limpieza del filtro de pelusa
The lint filter should be cleaned after every drying cycle. A clogged filter reduces drying efficiency and increases energy consumption.
- Abra la puerta de la secadora.
- Extraiga el filtro de pelusa ubicado dentro de la abertura de la puerta.
- Retire cualquier pelusa acumulada con la mano o con un cepillo suave.
- Enjuague el filtro con agua corriente si es necesario y asegúrese de que esté completamente seco antes de volver a insertarlo.
3.2 Emptying the Condensate Tank
If you are not using a permanent drain connection, the condensate tank must be emptied after each cycle. The display will indicate when the tank is full.
- Pull out the condensate tank from its housing (usually at the top left or right of the control panel).
- Vierta el agua recogida en un fregadero.
- Empuje el tanque nuevamente a su posición hasta que haga clic.
3.3 Limpieza del condensador
The condenser should be cleaned periodically (e.g., every few months) to maintain drying efficiency. Refer to the appliance's specific instructions for accessing and cleaning the condenser unit.
3.4 Limpieza del exterior
Limpie las superficies exteriores de la secadora con un paño suave y seco.amp Paño. No utilice limpiadores abrasivos ni disolventes.
4. Guía de solución de problemas
Antes de contactar con el servicio de atención al cliente, verifique los siguientes problemas comunes:
| Problema | Posible causa | Solución |
|---|---|---|
| La secadora no arranca | No power supply; Door not closed properly; Program not selected; Child lock active. | Check power plug and fuse; Close door firmly; Select a program and press Start; Deactivate child lock. |
| la ropa no esta seca | Lint filter clogged; Condensate tank full; Overloaded dryer; Incorrect program selected. | Clean lint filter; Empty condensate tank; Reduce load size; Select appropriate program. |
| Ruido/vibración excesivos | Secadora no nivelada; objetos extraños en el tambor. | Ajuste las patas niveladoras; revise el tambor para ver si hay elementos sueltos. |
| Fuga de agua | Condensate tank not properly inserted; Drain hose loose or blocked. | Ensure condensate tank is correctly seated; Check drain hose connection and clear any blockages. |
Si el problema persiste después de intentar estas soluciones, comuníquese con el servicio de atención al cliente de Haier.
5. Especificaciones del producto
| Característica | Especificación |
|---|---|
| Marca | Haier |
| Nombre del modelo | HD100-A3959E-IT I-Pro Serie 5 |
| Tipo de aparato | Secadora con bomba de calor |
| Tipo de instalación | Independiente |
| Tipo de carga | Carga frontal |
| Capacidad | 10 kilogramos |
| Clase de eficiencia energética | A+++ (Scale A+++ to D) |
| Consumo anual de energía | 211 kWh |
| Clase de eficiencia de condensación | A |
| Nivel de ruido | 64 dB |
| Standard Cycle Time | 265 minutos |
| Volumen del tambor | 125 litros |
| Material del tambor | Acero inoxidable |
| Tipo de control | Buttons, Knob, Display |
| Conectividad | Wi-Fi, Bluetooth (aplicación hOn) |
| Dimensiones (An x Pr x Al) | 596 x 650 x 850 mm |
| Peso | 47.8 kilogramos |

Figure 3: The energy efficiency label for the Haier HD100-A3959E-IT, indicating its A+++ rating.
6. Información de garantía
Specific warranty details for the Haier HD100-A3959E-IT I-Pro Serie 5 dryer are not provided in this manual. Please refer to the warranty card included with your purchase, your sales receipt, or contact your retailer for information regarding the warranty period and terms and conditions.
7. Atención al cliente
For technical assistance, spare parts, or service requests, please contact Haier customer support. You can find contact information on the official Haier website or through your local authorized service center.
- Visit the official Haier websitio para su región.
- Refer to your purchase documentation for local service numbers.