1. Producto terminadoview
The REOLINK TrackMix PoE is a 4K dual-lens PTZ (Pan-Tilt-Zoom) security camera system designed for outdoor surveillance. It features advanced functionalities such as auto-tracking, smart detection, and flexible storage options, all powered via Power over Ethernet (PoE).
Características principales:
- Dual View: Simultáneamente view wide-angle and close-up details on one screen using its 2.8mm wide-angle lens and 8mm telephoto lens.
- Zoom híbrido 6X: The telephoto lens automatically zooms in on detected targets for detailed views.
- Panorámica de 355° e inclinación de 90°: The camera can rotate horizontally and vertically to follow subjects.
- Seguimiento automático: Automatically tracks people, vehicles, and pets within its detection zone.
- Detección inteligente: Differentiates between people, vehicles, and pets to reduce false alarms.
- Grabación 24/7: Continuous recording to a microSD card or Reolink NVR.
- AI Video Search: Localice rápidamente eventos específicos en alimentos grabadostage without subscription fees.
- PoE Convenience: Simplified installation with power and data transmission over a single Ethernet cable.
- Alertas instantáneas: Triggers spotlights and sirens upon suspicious motion detection, sending push/email notifications.
2. Configuración e instalación
2.1 ¿Qué hay en la caja?
Before you begin, ensure you have all components:
- REOLINK TrackMix PoE Camera
- Placa de montaje
- Plantilla de montaje
- Tornillos y anclajes de pared
- Waterproof Lid for Ethernet Connector
- Guía de inicio rápido
Nota: A PoE switch or Reolink NVR (for power and network connection) and an Ethernet cable are required but not included. A DC 12V power adapter is also not included if not using PoE.
2.2 Initial Setup (Power On & App Configuration)
- Conecte la cámara: Connect the camera to a PoE switch using an Ethernet cable. Then, connect the PoE switch to your router's LAN port with another Ethernet cable.
- Descargue la aplicación Reolink: Scan the QR code in the Quick Start Guide or search for 'Reolink' in your app store to download the latest version of the Reolink App.
- Agregar cámara a la aplicación:
- Detección automática: Ensure your phone is connected to the same network as the camera. In the Reolink App settings, enable 'Add Devices Automatically'. The camera should appear in the device list. Tap it to initialize.
- Adición manual: Tap the '+' button in the app, then choose 'Input UID/IP' to enter the camera's UID (found on the camera label) or IP address. Alternatively, tap 'LAN' to find devices within your local network.
- Inicializar cámara: Follow the on-screen prompts to create a device password and name your camera.
Video: How to Initially Set up And Install Reolink Trackmix PoE. This video demonstrates the steps for initial setup and physical installation of the camera.
2.3 Instalación física
La cámara se puede montar en la pared o en el techo. Asegúrese de que la ubicación de montaje proporcione un campo despejado de view and is within range of your network connection.

Image: Stable PoE Connection. This diagram illustrates how to connect the camera using a PoE switch to your router for both power and data.
- Preparar la ubicación de montaje: Utilice la plantilla de montaje proporcionada para marcar los orificios de perforación en la pared o el techo.
- Perforar agujeros: Drill holes at the marked positions. Insert wall anchors if installing on masonry.
- Coloque la base de montaje: Secure the camera's mounting base to the wall or ceiling using the screws.
- Adjust Camera Direction: After mounting, use the Reolink App or Client software to pan and tilt the camera to achieve the desired viewángulo de ing.
- Impermeabilizar la conexión: Install the waterproof lid over the Ethernet cable connector to prevent water intrusion and ensure long-lasting performance.

Imagen: Detallada view of the camera's components and ports, including the reset button, microSD card slot, and cable connections.
2.4 Important Notes for Camera Placement:
- Avoid pointing the camera directly at sunlight, mirrors, or glass windows to prevent image quality issues.
- Ensure the camera is mounted securely to prevent accidental falls.
3. Operación de la cámara
3.1 en vivo View y doble View
Access the live feed through the Reolink App or Client software. The dual-lens design allows you to see both a wide-angle overview and a zoomed-in detail simultaneously on one screen.

Image: Dual Lens for Immersive Visual Experience. This image demonstrates the simultaneous wide-angle and zoomed-in views provided by the dual-lens system.
3.2 Auto Tracking and Pan-Tilt-Zoom (PTZ)
The camera features 355° pan and 90° tilt capabilities. When motion is detected, the camera can automatically track the subject. You can also manually control the pan and tilt via the app.

Image: 355° Auto Zoom Tracking, Fast Positioning. This image illustrates the camera's ability to automatically track moving subjects across a wide area.
Modos de seguimiento:
The TrackMix PoE offers three tracking modes:
- Digital Tracking: The camera tracks targets only within the range of the wide-angle lens. If the target moves out of this range, tracking stops. Recommended for smaller monitoring areas (up to 100° field of view, ~10m distance).
- Digital Tracking First: The camera first tracks and zooms digitally. When the target approaches the edge of the wide-angle lens's field of view, the camera starts to pan and tilt to keep the target in frame. Suitable for larger areas (>100° field of view, ~10m distance).
- PT Tracking First: The camera tracks and zooms as normal. When the target is about to reach the edge of the telephoto lens's field of view, the camera pans and tilts to maintain tracking. Also suitable for larger areas (>100° field of view, ~10-15m distance).
Video: Introducing Three Tracking Modes. This video explains and demonstrates the different auto-tracking modes available on the camera.
3.3 Detección inteligente y alertas
The camera's AI can distinguish between people, vehicles, and pets, minimizing irrelevant alerts. Upon detection, the camera can trigger its built-in spotlights and siren, and send instant push notifications or email alerts to your device.

Image: Harsh Warning for the Unwelcome. This image shows the camera's smart detection capabilities triggering spotlights and sending alerts.
3.4 Visión nocturna
The camera provides full-color night vision with 4K clarity, utilizing its spotlights. It also supports infrared night vision for discreet monitoring in low-light conditions.

Image: Full-Color Night Vision with 4K Clarity. This image compares the visual output of the camera with spotlights on versus infrared night vision.
3.5 Grabación y almacenamiento
Recordings can be stored locally on a microSD card (up to 512GB, sold separately), a Reolink NVR, or uploaded to an FTP server. No subscription fees are required for these storage options.

Image: Flexible Recording Options. This image displays the various recording and storage methods available for the camera.
3.6 AI Video Search
The Reolink App allows you to search through recorded videos using AI. You can filter by detection modes (people, vehicles, pets) and control the timeline to quickly locate specific events without manually scrubbing through footage.
3.7 Integración de casas inteligentes
The camera is compatible with Home Assistant, allowing for integration into your existing smart home ecosystem.
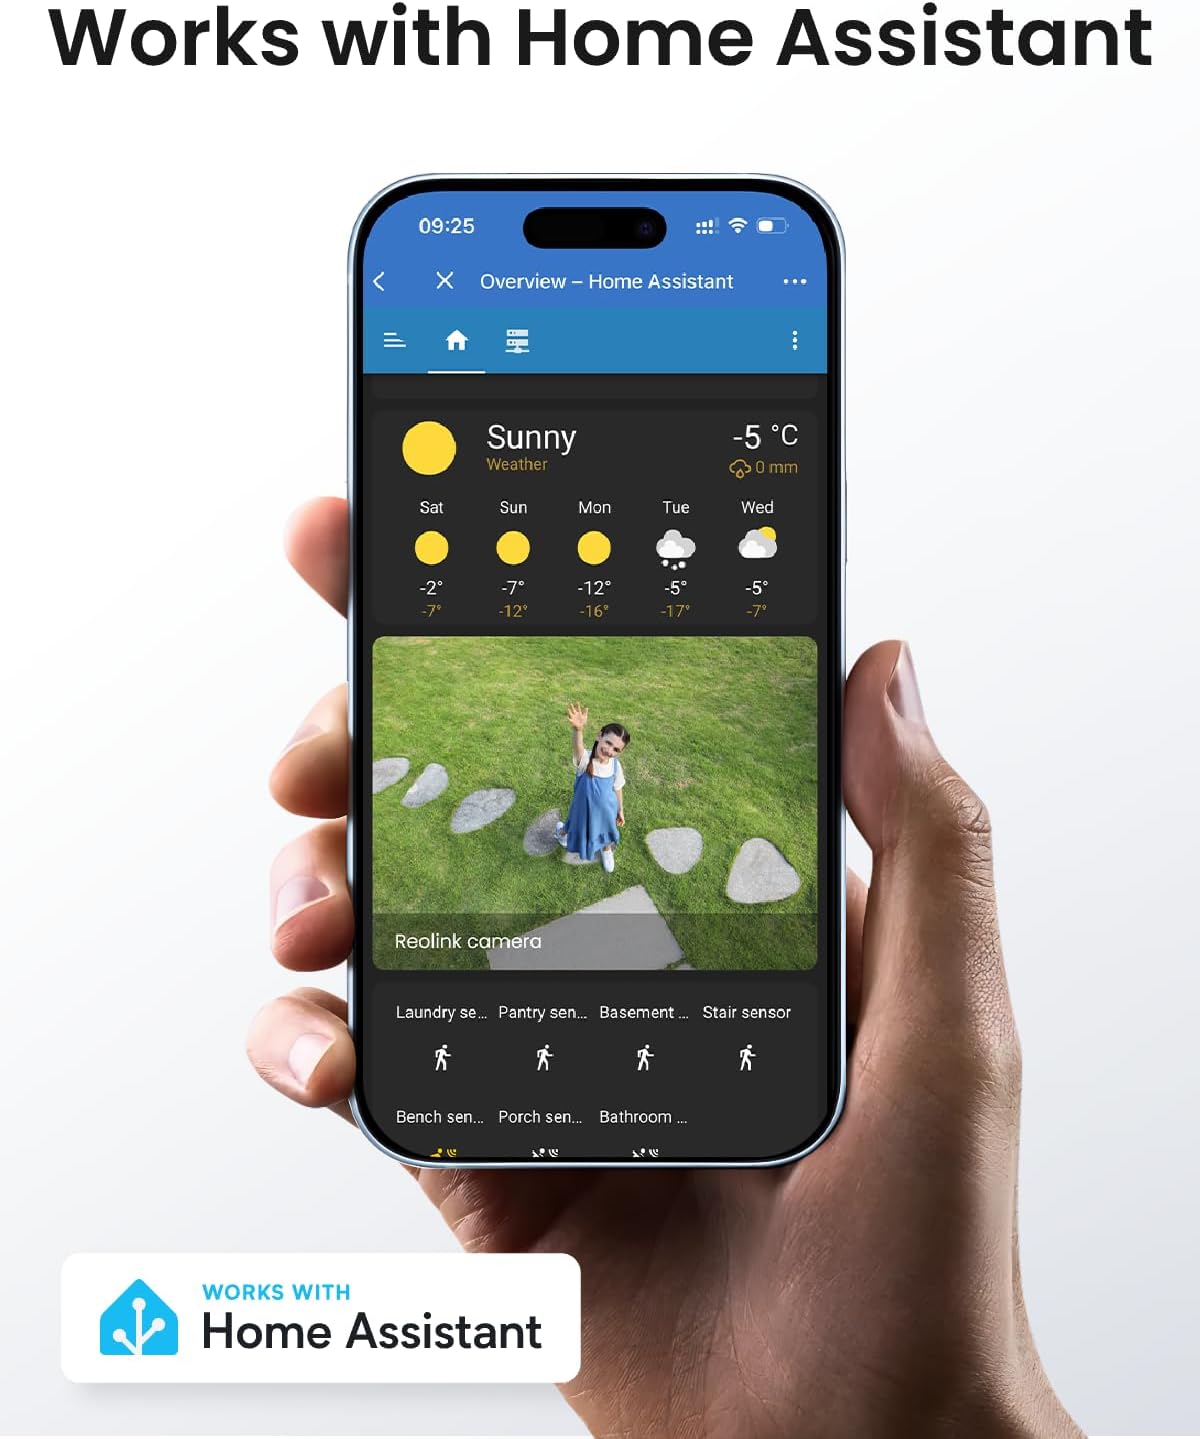
Image: Works with Home Assistant. This image shows the camera's integration with the Home Assistant platform.
Video: REOLINK PoE Security PTZ Camera, TrackMix PoE Grey. This video provides a general overview de las características y capacidades de la cámara.
4. Mantenimiento
- Limpieza: Limpie periódicamente la lente y la carcasa de la cámara con un paño suave y húmedo.amp Paño para garantizar una calidad de imagen nítida. Evite los limpiadores abrasivos.
- Actualizaciones de firmware: Check the Reolink App or webSitio periódicamente para actualizaciones de firmware para garantizar un rendimiento óptimo y acceso a nuevas funciones.
- Inspección de cables: Periodically inspect all cables for any signs of wear or damage, especially the Ethernet cable, to maintain a stable connection.
5. Solución de problemas
- Sin energía/conexión: Ensure the Ethernet cable is securely connected to both the camera and the PoE switch/NVR. Verify the PoE switch/NVR is powered on and functioning correctly.
- Lagging Live View: This can be caused by network congestion or insufficient bandwidth. Ensure your network is stable and has adequate bandwidth for 4K streaming. Reduce video quality settings in the app if necessary.
- Alarmas falsas: Adjust the sensitivity of motion detection and configure detection zones in the Reolink App to minimize triggers from irrelevant movements (e.g., swaying trees).
- Compatibilidad NVR: If using with a Reolink NVR, ensure your NVR's hardware version (H3MB18, N2MB02, or N3MB01) is compatible and has the latest firmware update to correctly display dual-lens UI.
- Problemas de calidad de imagen: Check the lens for dirt or obstructions. Ensure the camera is not pointed directly at strong light sources or reflective surfaces.
6. Especificaciones
| Característica | Detalle |
|---|---|
| Usos recomendados | Seguridad al aire libre |
| Marca | REO ENLACE |
| Nombre del modelo | Reolink TrackMix PoE |
| Tecnología de conectividad | Ethernet, cableado |
| Característica especial | Visión nocturna |
| Uso en interiores y exteriores | Exterior |
| Dispositivos compatibles | NVR Reolink |
| Tipo de controlador | NVR Reolink |
| Tipo de montaje | Montaje en el techo |
| Color | Gris |
| Protocolo de conectividad | Ethernet |
| Fuente de poder | Eléctrico con cable |
| Pilas necesarias | No |
| Formato de captura de video | MP4 |
| Resolución de captura de video | 4K |
| Dimensiones del artículo | 8.15 x 8.07 x 7.48 pulgadas |
| Peso del artículo | 1.61 kilogramos |
7. Garantía y soporte
7.1 Información de garantía
The REOLINK TrackMix PoE camera typically comes with a Garantía limitada de 2 años. Please refer to your purchase documentation or the official Reolink webSitio para conocer los términos y condiciones específicos de la garantía.
7.2 Atención al cliente
For technical assistance, troubleshooting, or product inquiries, please visit the official Reolink support website or contact their customer service through the Reolink App.
Reolink Websitio: reolink.com