1. Introducción
This manual provides instructions for the safe and efficient use of your Brother CP2160F Computerized Sewing Machine. Please read this manual thoroughly before operating the machine to ensure proper function and to prevent damage or injury. Keep this manual in a safe place for future reference.
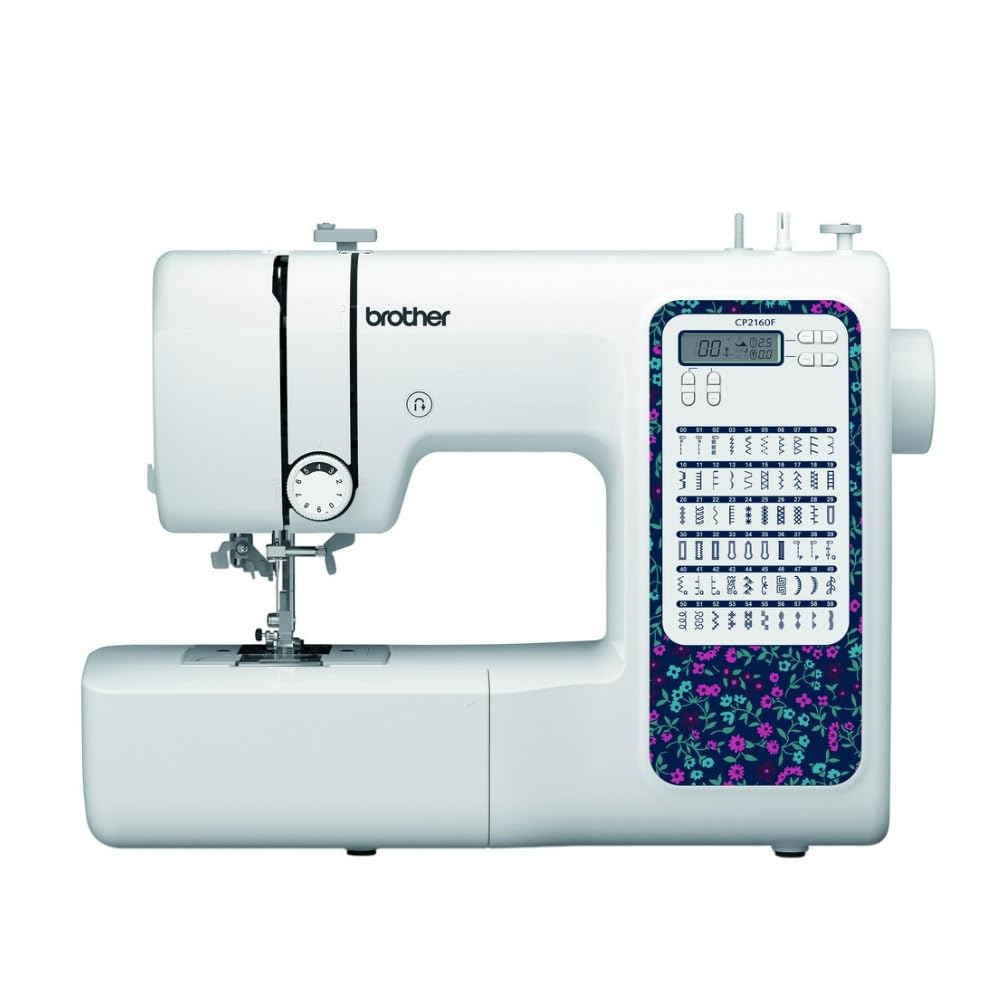
Figure 1: Brother CP2160F Computerized Sewing Machine. This image shows the overall view of the sewing machine, highlighting its compact design and the LCD screen for stitch selection.
2. Instrucciones de seguridad importantes
Al utilizar un aparato eléctrico, siempre se deben seguir precauciones básicas de seguridad, incluidas las siguientes:
- Lea todas las instrucciones antes de usar esta máquina de coser.
- Mantenga los dedos alejados de todas las piezas móviles. Se requiere un cuidado especial alrededor de la aguja de la máquina de coser.
- Utilice siempre la placa de aguja adecuada. Una placa incorrecta puede provocar que la aguja se rompa.
- Apague la máquina de coser cuando realice cualquier ajuste en el área de la aguja, como enhebrar la aguja, cambiar la aguja, enhebrar la bobina o cambiar el prensatelas.
- Desenchufe siempre la máquina de coser del tomacorriente cuando retire las cubiertas, lubrique o haga cualquier otro ajuste de mantenimiento del usuario mencionado en el manual de instrucciones.
- Nunca deje caer ni inserte ningún objeto en ninguna abertura.
- No utilizar en exteriores.
- No lo utilice en lugares donde se utilicen productos en aerosol (spray) o se administre oxígeno.
- Para desconectar, gire todos los controles a la posición de apagado y luego retire el enchufe del tomacorriente.
3. Contenido del paquete
Verifique que todos los componentes estén presentes en el paquete:
- Brother CP2160F Computerized Sewing Machine
- Cable de alimentación
- Controlador de pie
- Accessory Bag (containing bobbins, needle set, twin needle, screwdriver, spool caps, extra spool pin, seam ripper, cleaning brush)
- 7 prensatelas para coser: Buttonhole foot, Zipper foot, Blind stitch foot, Button sewing foot, Overcasting foot, Monogramming foot, Zigzag foot (on machine)
- Manual de instrucciones (este documento)
4. Configuración
4.1 Conexión de alimentación
- Coloque la máquina sobre una superficie plana y estable.
- Insert the machine plug into the jack on the right side of the machine.
- Insert the power supply plug into a standard electrical outlet.
- Turn on the main power switch, located on the right side of the machine. The LCD screen will illuminate.
4.2 Bobinado de la bobina
- Coloque un carrete de hilo en el portacarrete.
- Guide the thread through the upper thread guide and around the pre-tension disc.
- Coloque una bobina vacía en el eje del bobinador y empújelo hacia la derecha.
- Wrap the thread clockwise around the bobbin a few times.
- Press the foot controller (or Start/Stop button) to begin winding. The machine will stop automatically when the bobbin is full.
- Cut the thread, push the bobbin winder shaft to the left, and remove the wound bobbin.
4.3 Enhebrado de la máquina (hilo superior)
- Suba la palanca del pie prensatela.
- Coloque un carrete de hilo en el portacarrete.
- Pase el hilo a través de la guía del hilo superior.
- Siga la ruta de enhebrado numerada indicada en la máquina, asegurándose de que el hilo pase a través de los discos de tensión y tome la palanca.
- Use the advanced needle threading system: Lower the presser foot, lower the needle, then push down the needle threader lever to engage it. Guide the thread through the hook and release the lever.
- Pase el lazo del hilo a través del ojo de la aguja.
4.4 Instalación de la aguja
- Apague la máquina.
- Afloje la aguja clamp atorníllelo girándolo en sentido antihorario.
- Retire la aguja vieja.
- Inserte la aguja nueva con el lado plano hacia la parte posterior de la máquina, empujándola hacia arriba hasta el fondo.
- Apriete el cierre de la aguja.amp atornillar de forma segura.
5. Operación
5.1 Selección de puntadas
The CP2160F features 60 built-in stitches. Use the stitch selector buttons (usually '+' and '-') to navigate through the stitch patterns displayed on the LCD screen. The recommended stitch length and width will be displayed automatically, but can be adjusted if desired.
5.2 Ojales automáticos
This machine includes 7 auto-size buttonhole styles. Attach the buttonhole foot. Place the button you wish to match into the buttonhole foot's holder. Select the desired buttonhole stitch. The machine will automatically sew a buttonhole to the correct size.
5.3 Free-Arm Sewing
To convert to free-arm sewing, slide off the accessory box located at the front of the machine. This exposes the free arm, ideal for sewing cylindrical items like cuffs, sleeves, and pant hems.
5.4 Costura de telas gruesas
The CP2160F's robust feed system and fixed needle bar are designed to handle thick materials such as denim and tweed. Ensure you use the correct needle type and size for the fabric thickness to prevent needle breakage and ensure smooth feeding.
5.5 Using Included Sewing Feet
The machine comes with seven specialized sewing feet. Refer to the specific stitch instructions for which foot to use. To change a presser foot:
- Levante la aguja y el prensatelas.
- Presione la palanca negra en la parte posterior del soporte del prensatelas para liberar el prensatelas actual.
- Align the new foot with the pin on the presser foot holder and lower the presser foot lever until it snaps into place.
6. Mantenimiento
6.1 Limpieza de la máquina
La limpieza regular ayuda a mantener un rendimiento óptimo. Desenchufe siempre la máquina antes de limpiarla.
- Dientes de arrastre: Remove the needle plate and use the cleaning brush to remove lint and dust from the feed dogs and bobbin area.
- Hook Race: Carefully remove the bobbin case and clean the hook race area with the brush.
- Exterior: Limpie las superficies exteriores con un paño suave y seco. No utilice limpiadores líquidos ni productos químicos agresivos.
Note: This machine does not require user lubrication.
7. Solución de problemas
Antes de contactar con el servicio de atención al cliente, vuelva aview these common issues and their solutions:
| Problema | Posible causa | Solución |
|---|---|---|
| Rotura de la aguja | Incorrect needle size/type for fabric; bent needle; needle not fully inserted; pulling fabric while sewing. | Use correct needle; replace bent needle; re-insert needle correctly; guide fabric gently. |
| Puntadas omitidas | Needle bent or dull; incorrect needle insertion; improper threading; wrong needle for fabric. | Replace needle; re-insert needle; re-thread machine; use appropriate needle. |
| Thread jams | Improper threading; lint in bobbin case; bobbin wound unevenly. | Re-thread machine; clean bobbin area; re-wind bobbin evenly. |
| La máquina no se enciende | Power cord not connected; power switch off; electrical outlet issue. | Check power cord connections; ensure switch is ON; test outlet with another appliance. |
8. Especificaciones
- Modelo: Brother CP2160F
- Recuento de puntadas: 60 puntadas incorporadas
- Ojales: 7 One-step auto-size buttonholes
- Enhebrador de agujas: Advanced Needle Threading System
- Mostrar: Pantalla LCD
- Sewing Area: Free-arm capability
- Sistema de alimentación: Exceptional feed for thick fabrics
- Pies incluidos: 7 (Buttonhole, Zipper, Blind Stitch, Button Sewing, Overcasting, Monogramming, Zigzag)
- Color: Blanco
- Material: Metal, Plástico
- Dimensiones del producto (Pr x An x Al): 6.65" x 12.2" x 16.26"
- Peso del artículo: 226 onzas (aprox. 14.1 libras)
- Fuente de energía: Eléctrico con cable
- Código postal: 196271536956
9. Atención al cliente y garantía
For technical assistance, warranty information, or service inquiries, please contact Brother customer support. Refer to the official Brother websitio o la documentación incluida con su compra para obtener los detalles de contacto y los términos de garantía más actualizados.
Soporte en línea: www.brother-usa.com/support
Nota: Las condiciones de la garantía pueden variar según la región y el vendedor. Conserve su comprobante de compra para reclamaciones de garantía.