
1. Introducción
The Hello Kitty Sunrise Alarm Clock is designed to provide a gentle and natural waking experience with its sunrise simulation feature. This digital alarm clock includes multicolor lights, an LED display showing time, date, and temperature, a USB charging port, and a convenient snooze function. Its charming Cinnamoroll design adds a whimsical touch to any room.

Image 1: Hello Kitty Cinnamoroll Sunrise Alarm Clock with multicolor lighting.
2. Información de seguridad
- No exponga el dispositivo a temperaturas extremas, luz solar directa o humedad alta.
- Utilice únicamente el cable de alimentación USB proporcionado o un equivalente certificado.
- Mantenga el dispositivo alejado del agua u otros líquidos.
- No intente desmontar ni reparar el dispositivo usted mismo. Contacte con personal de servicio técnico cualificado.
- Asegúrese de que el dispositivo esté colocado sobre una superficie plana y estable.
3. Contenido del paquete
Por favor revise el paquete para ver los siguientes artículos:
- Hello Kitty Sunrise Alarm Clock (Cinnamoroll design)
- Cable de alimentación USB
- Manual de usuario (este documento)
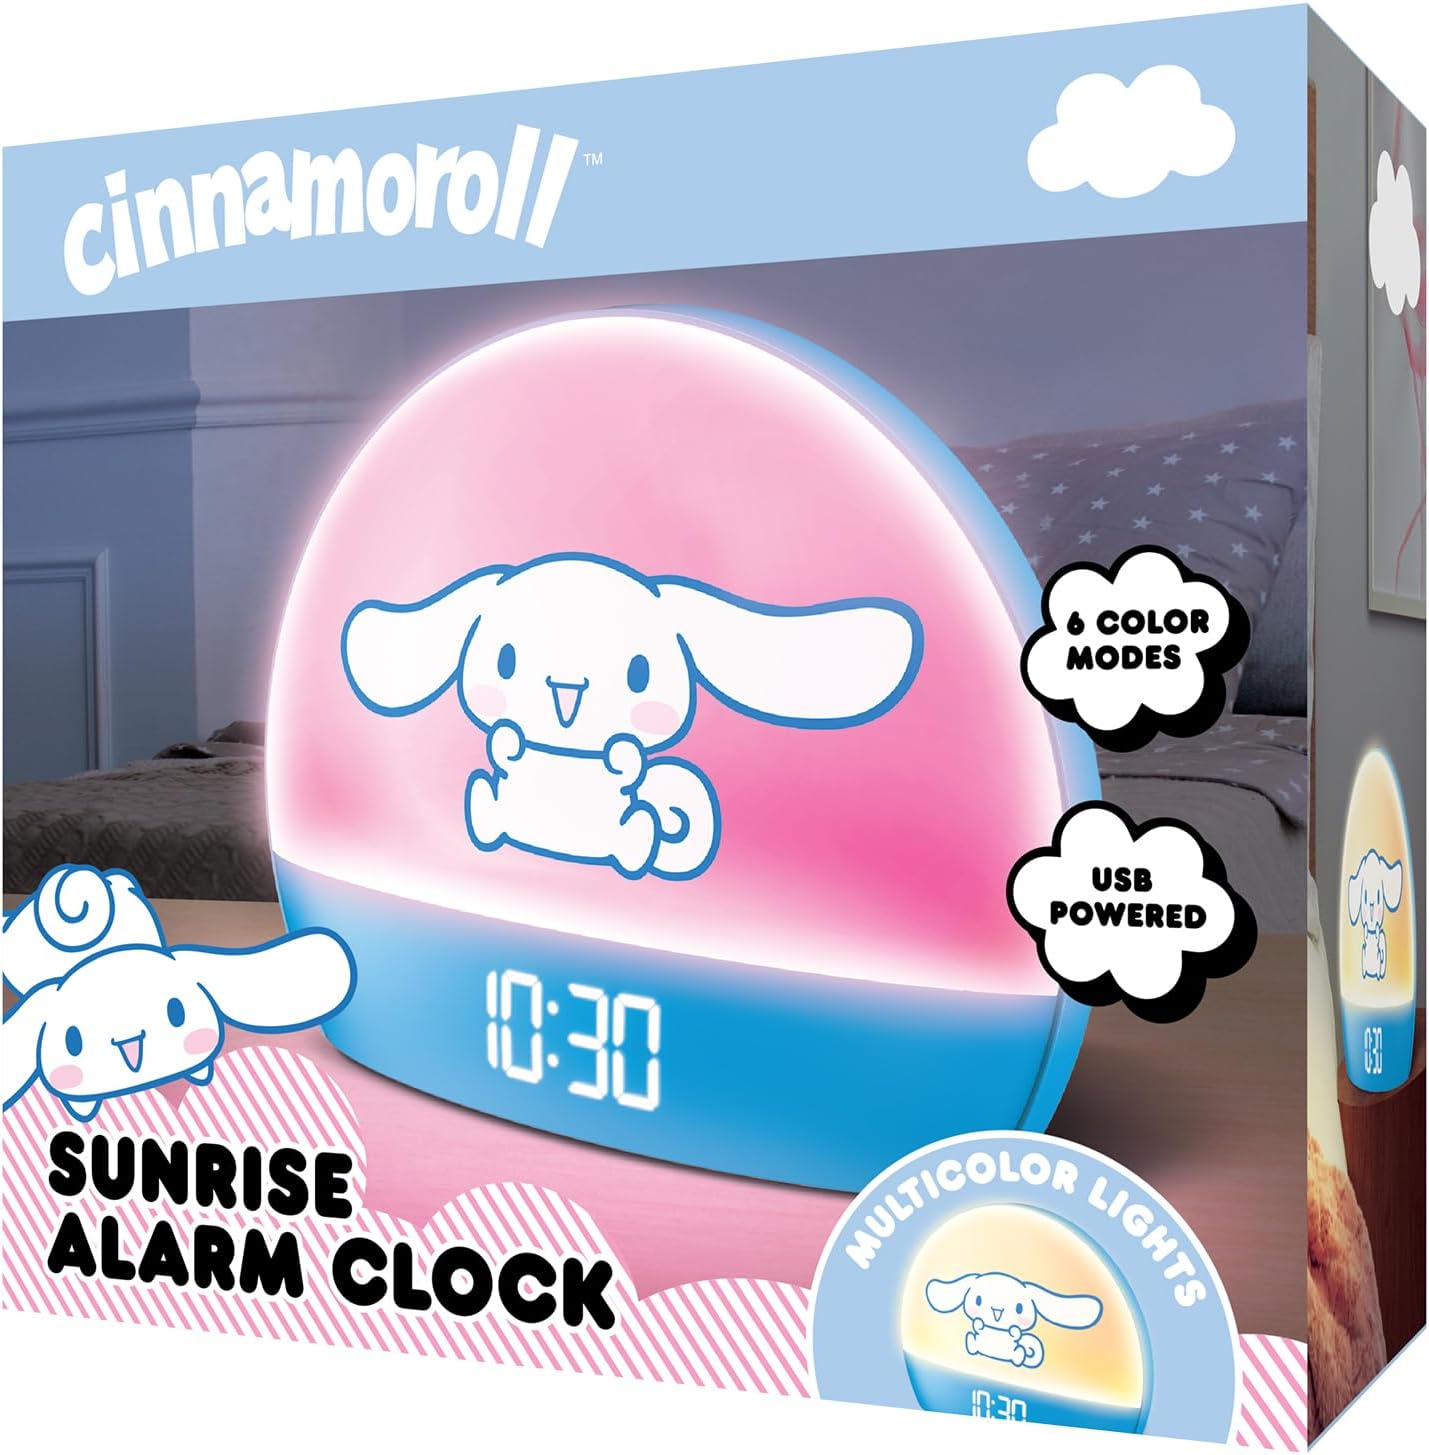
Image 2: Front packaging of the Hello Kitty Cinnamoroll Sunrise Alarm Clock.
4. Producto terminadoview
Familiarícese con los componentes principales de su reloj despertador.
- Pantalla LED: Muestra la hora, la fecha y la temperatura.
- Panel de luz: Emits multicolor and sunrise simulation lights.
- Botones de control: Located on the back or bottom for setting time, alarm, and light functions.
- Puerto de carga USB: For powering the device and charging external devices.
- El botón de dormitar: Typically a prominent button on the top or front.

Image 3: Hello Kitty Cinnamoroll Sunrise Alarm Clock in a bedroom setting.
5. Configuración
5.1 Conexión de alimentación
- Conecte el cable de alimentación USB provisto al puerto USB en la parte posterior del reloj despertador.
- Conecte el otro extremo del cable USB a un adaptador de corriente USB compatible (no incluido) o a un puerto USB con alimentación.
- La pantalla LED se iluminará, indicando que el dispositivo está encendido.
5.2 Configuración de hora y fecha
Specific button names are not provided, so general instructions are given. Refer to the physical device for exact button labels.
- Press the "SET" or "TIME" button to enter time setting mode.
- Use the "UP" and "DOWN" buttons to adjust the hour. Press "SET" again to confirm.
- Adjust the minute using "UP" and "DOWN" buttons. Press "SET" to confirm.
- Continúe este proceso para configurar el año, el mes y el día.
- The clock may offer 12-hour or 24-hour format selection. Follow on-screen prompts or consult the device's specific button functions.
6. Instrucciones de funcionamiento
6.1 Configuración de la alarma
- Presione el botón “ALARM” para ingresar al modo de configuración de alarma.
- Use "UP" and "DOWN" buttons to set the desired alarm hour. Press "ALARM" to confirm.
- Adjust the alarm minute. Press "ALARM" to confirm.
- Some models may allow setting alarm volume or sound. Follow prompts if available.
- To activate/deactivate the alarm, look for an "ALARM ON/OFF" button or a toggle within the alarm setting menu.
6.2 Simulación del amanecer
The sunrise simulation feature gradually increases light intensity before your set alarm time, mimicking a natural sunrise.
- This feature is typically linked to the alarm function. When the alarm is active, the light will begin to brighten a set period (e.g., 30 minutes) before the alarm sounds.
- Consult the device's specific controls for adjusting the duration or intensity of the sunrise simulation, if applicable.
6.3 luces multicolores
The clock offers various color modes for ambient lighting.
- Press the "LIGHT" or "COLOR" button to cycle through different color options or activate a color-changing mode.
- Press and hold the "LIGHT" button to turn off the ambient light.
- Brightness of the display and ambient light can often be adjusted using dedicated buttons or by holding the "LIGHT" button.
6.4 Función de repetición
When the alarm sounds, press the large "SNOOZE" button (usually on top) to temporarily pause the alarm. The alarm will sound again after a short interval (e.g., 5-10 minutes).
6.5 puertos de carga USB
The integrated USB port can be used to charge small electronic devices like smartphones or tablets. Simply connect your device's charging cable to the USB port on the alarm clock.
6.6 Visualización de temperatura
The LED display shows the current room temperature. No specific action is usually required to view this, as it cycles with time and date or is displayed continuously.
7. Mantenimiento
- Limpie el reloj con un paño suave y seco. No utilice limpiadores abrasivos ni disolventes.
- Asegúrese de que el puerto USB esté libre de polvo y residuos.
- Guarde el reloj en un lugar fresco y seco cuando no lo utilice durante períodos prolongados.
8. Solución de problemas
| Problema | Posible causa | Solución |
|---|---|---|
| El reloj no se enciende. | El cable USB no está conectado correctamente o hay un problema con la fuente de alimentación. | Check USB cable connection. Try a different USB power adapter or port. Ensure the cable is securely inserted. |
| Time is incorrect or drifts. | Time not set correctly or internal clock issue. | Re-set the time following Section 5.2. If the issue persists, try disconnecting and reconnecting power. |
| La alarma no suena. | Alarma no activada o configurada incorrectamente. | Verify the alarm is set and activated (check for an alarm icon on the display). Ensure the volume is not set to zero if adjustable. |
| Los botones no responden. | Error temporal del software o problema con el botón físico. | Disconnect power for a few seconds and reconnect to reset the device. If buttons remain unresponsive, contact support. |
| El puerto de carga USB no funciona. | Cable issue, device not fully powered, or port malfunction. | Ensure the clock is properly powered. Try a different USB charging cable. Check if the port is clean and free of debris. |
9. Especificaciones
| Marca | Hola gatito |
| Número de modelo | HKCLK01CR-MFN |
| Color | Rollo de canela |
| Tipo de pantalla | Digital |
| Características especiales | Brillo ajustable, alarma, puerto de carga, pantalla LED, visualización de temperatura, simulación de amanecer, luces multicolor |
| Dimensiones del producto | 7" de ancho x 6" de alto |
| Fuente de poder | Eléctrico con cable (USB) |
| Material | Plástico |
| Peso del artículo | 0.4 kilogramos (14 onzas) |
| Tecnología de conectividad | USB |
| Fabricante | Telecomunicaciones del Sur |
10. Garantía y soporte
For warranty information or technical support, please refer to the contact details provided on the product packaging or visit the official Hello Kitty product support websitio. Guarde su recibo de compra para reclamos de garantía.